
 Lesson 4.3
Lesson 4.3 · From Drawings to Renders
Massing Studies to Rendered Concepts
From a grey SketchUp box to an atmospheric concept render
The grey box is the best gift you can give the AI - it removes the one thing it is worst at.
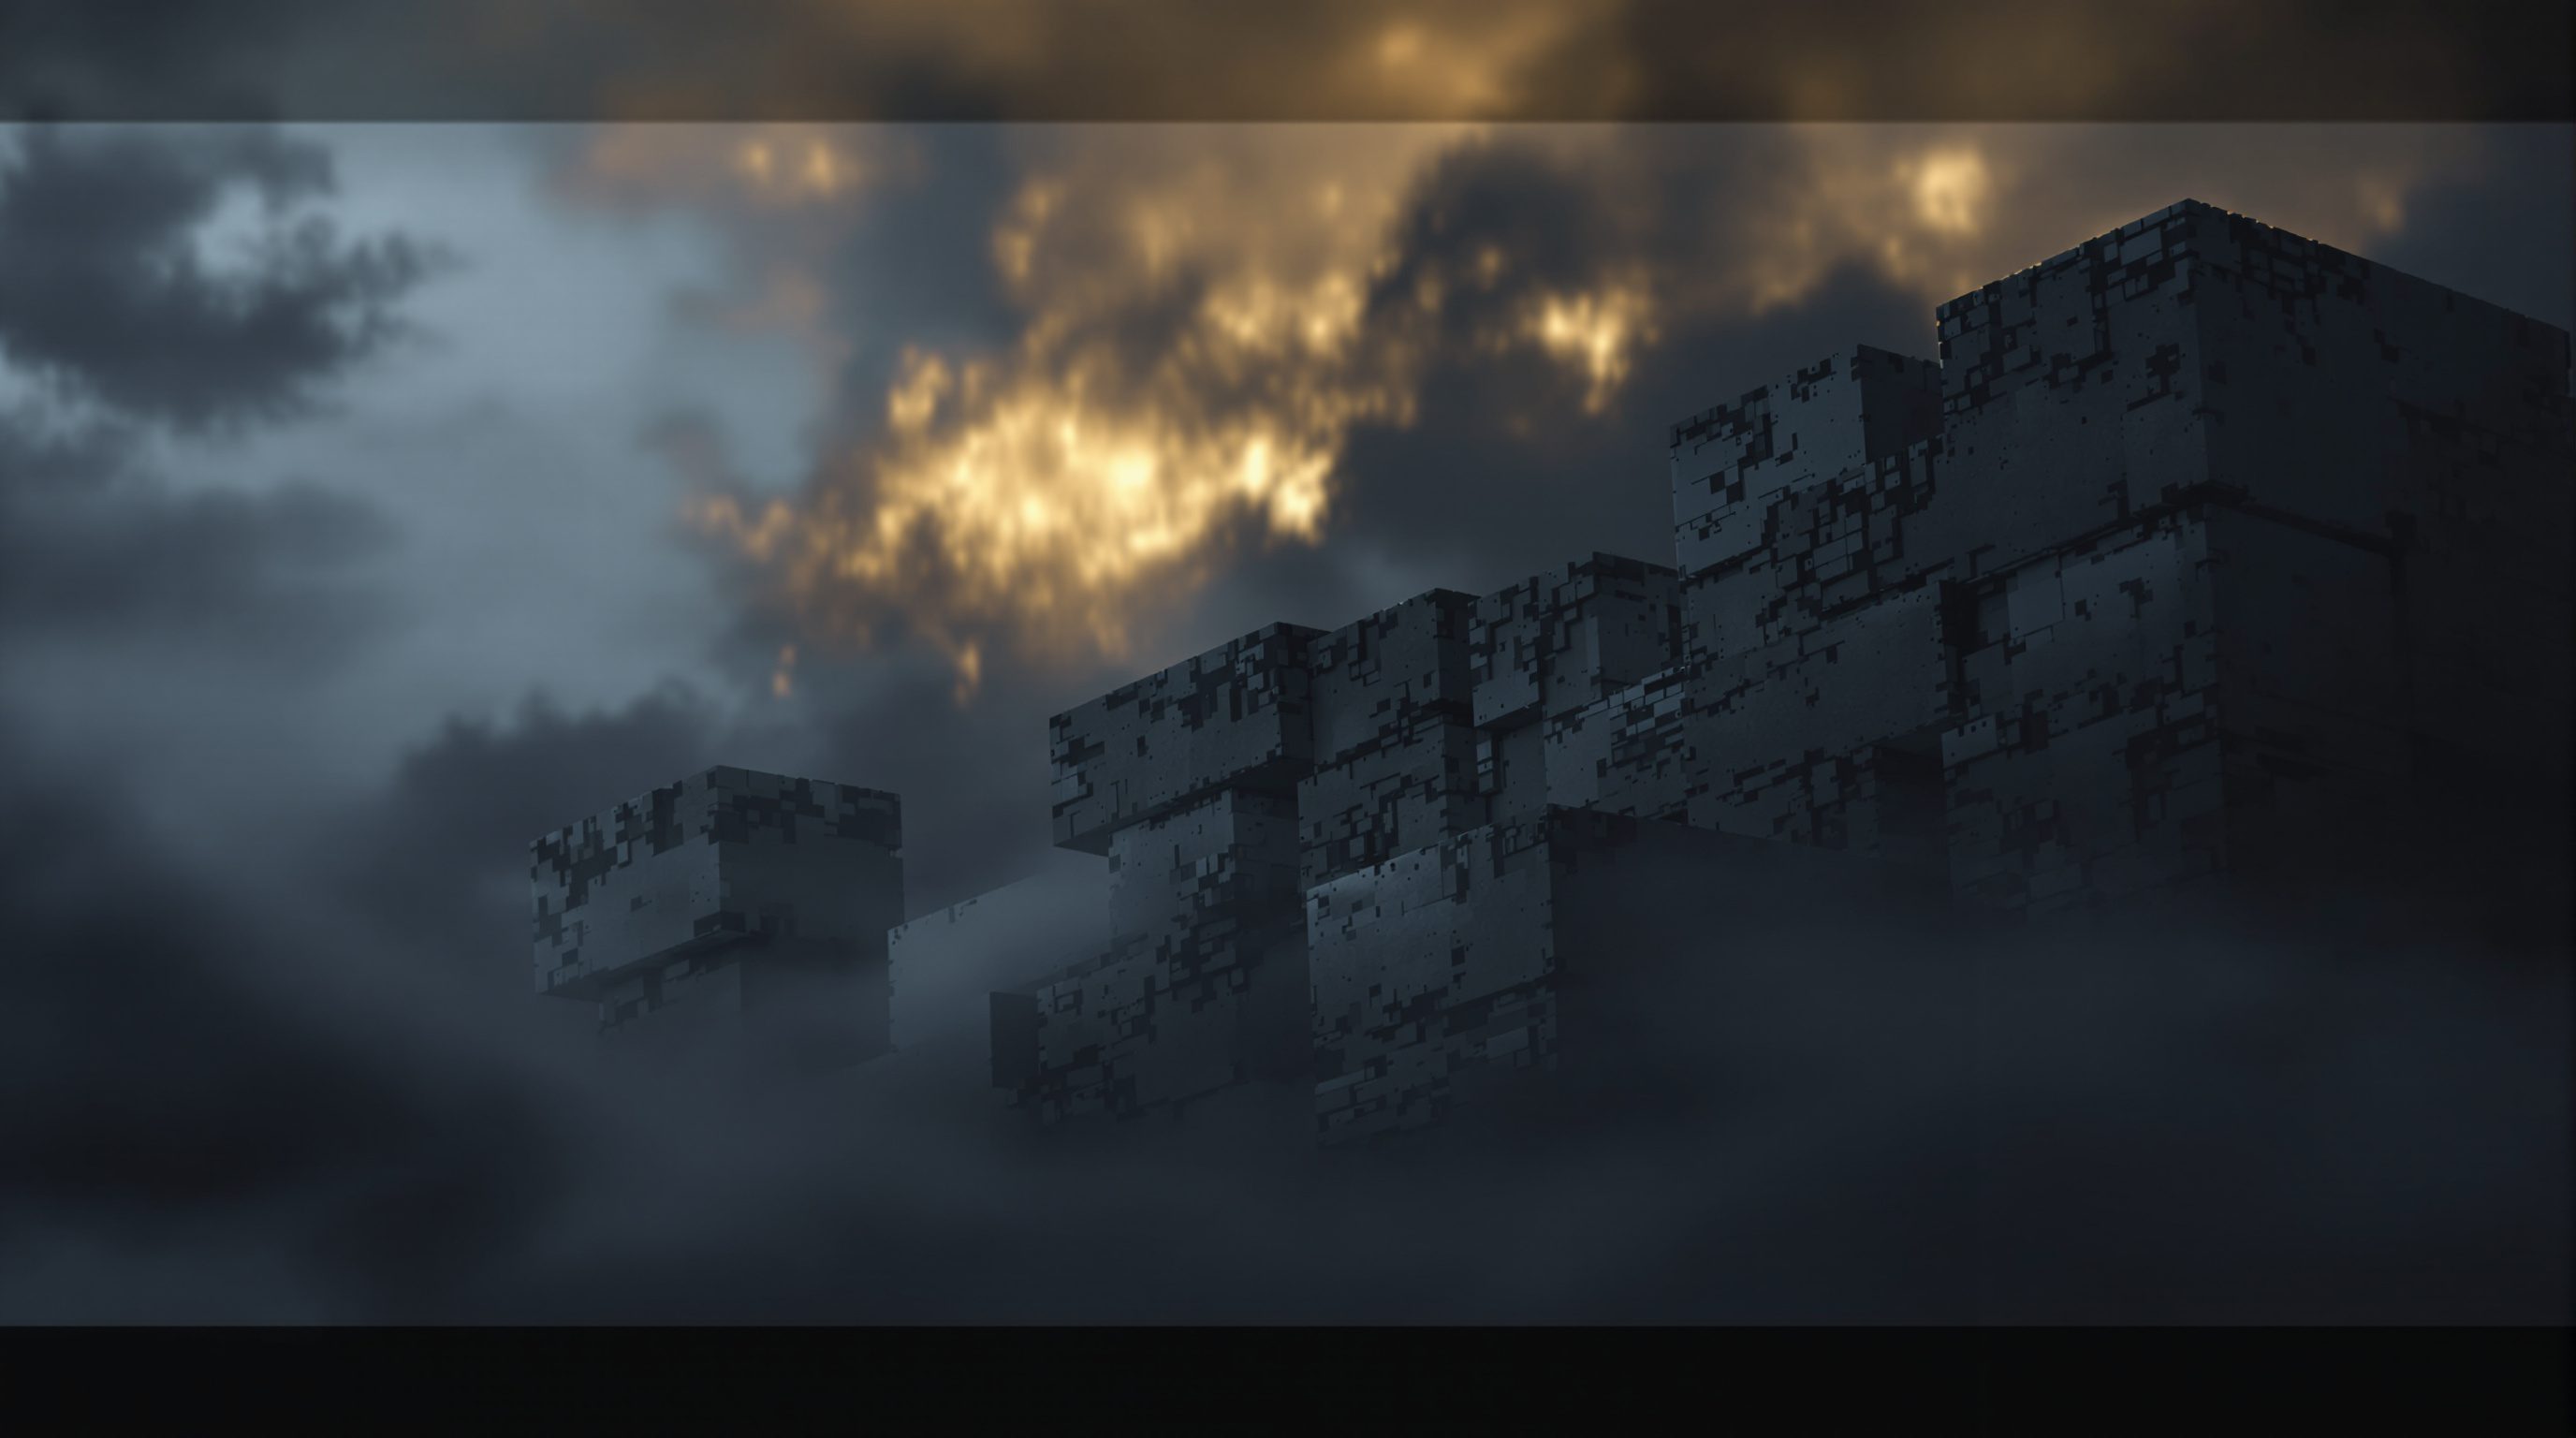
A generative model's great weakness is form - left alone it invents storeys, warps proportion and cannot hold a consistent building across two views. A massing model erases that weakness at a stroke. When you feed the AI a grey SketchUp, Rhino or Blender box, the form is no longer negotiable - the silhouette, the proportion, the storey count and the massing moves are all fixed ground truth. The model stops guessing shape and does what it is genuinely brilliant at: pouring material, sky, atmosphere and season onto a form you already resolved. Massing-to-render is where AI and 3D modelling stop competing and start collaborating.
Model the form, direct the mood. The grey box is a gift - unwrap it in ten atmospheres.
Why massing is the ideal conditioning input
Everything difficult about plan-to-3D dissolves when you start from a massing model. A plan has no viewpoint and no depth, so the model must invent both; a massing model is three-dimensional, so you set a camera in your own software and export exactly the view you want. A plan implies one floor; a massing box states the storeys unambiguously. A plan gives the model room to hallucinate proportion; a massing model pins it. In short, the grey box supplies precisely the four non-negotiables from Lesson 4.1 - footprint, storeys, camera and scale - as geometry rather than as things you have to fight the prompt to preserve.
That is why professional AI-augmented workflows lean so heavily on massing. You get the model's speed and atmosphere without surrendering the form, because the form was never the model's to decide. The conditioning image - usually a depth map or a flat clay/ambient-occlusion render exported straight from the viewport - tells diffusion exactly where every surface sits in space. The model then denoises material and light onto that scaffold. The result holds proportion because proportion came from you, and holds it across multiple views because every view is a render of the same underlying model.
The grey box removes the model's worst skill - inventing form - and unleashes its best.
Depth map or clay render - choosing the conditioning pass
Two exports do most of the work. A depth map is a greyscale image where brightness encodes distance - near surfaces light, far ones dark - and it is the richest thing you can give a diffusion model because it reconstructs the full three-dimensional relationship of every plane. Feed a depth map through ControlNet's depth conditioner and the render understands overlap, recession and perspective almost perfectly. Most 3D tools export depth directly, or you can generate it from a clay render.
A clay or ambient-occlusion render - the untextured grey view with soft contact shadows - is the other workhorse. It carries not just silhouette but the self-shadowing that makes a form legible, and it conditions well through depth, normal or even Canny models. Use depth when you want maximum perspectival fidelity and freedom of material; use a clay render when the massing has fine articulation (reveals, steps, brise-soleil) whose shadow you want the model to honour. Often you stack both - depth for the big spatial truth, a line or normal pass for the crisp edges - which is trivial in a node tool like ComfyUI and increasingly one-click in hosted renderers.
The atmosphere is the whole point
With form locked, the prompt is free to do the emotional work that turns a study model into a concept. This is where massing-to-render earns its keep. Name the material world - 'board-formed concrete and weathered teak', 'white render and terracotta screens'. Name the sky and season - 'monsoon clouds, wet ground, reflections', 'clear winter dawn, long shadows', 'hazy Delhi afternoon'. Name the atmosphere - 'misty', 'golden hour', 'blue hour with warm interior glow spilling out'. Name the entourage - trees appropriate to the region, a few figures for scale, distant context.
A grey massing box says nothing about mood; your prompt says everything. The same model rendered at dawn versus dusk, in stone versus timber, in fog versus clear light, tells four different stories about the same building - and because the geometry is constant, they read as the same project in different conditions, which is exactly what a concept presentation needs. This is the moment the AI does what no amount of your own modelling time could: it makes the scheme feel inhabited and situated, in seconds, so you can judge the idea rather than the render's incompleteness.
Be deliberate about the atmosphere rather than reaching reflexively for golden hour on everything. Light and season are arguments about the building. A civic building might want the flat, even light that reads as permanence and calm; a hill retreat wants mist and the low sun that says refuge; a market wants the busy, warm clutter of afternoon. Choosing the mood that makes your case - rather than the one that most flatters any building - is a design decision in itself, and it is one the massing-to-render workflow lets you make and test cheaply, over and over, until the render is arguing for the scheme instead of merely decorating it.
The viewport loop - iterate on the model, not just the prompt
Massing-to-render unlocks a workflow the flat-drawing lessons cannot: when a view is wrong, you fix the model. Because the geometry lives in SketchUp or Rhino, a bad composition is not a prompt problem - you move the camera, adjust the mass, re-export the depth pass, and re-render. This tight loop between the 3D viewport and the diffusion output is the real professional method, and it is fundamentally different from praying to the prompt gods for a better roll.
The payoff is consistency across views. Set three cameras in the model - approach, courtyard, corner - export three depth passes, and render all three with the same prompt and seed. You get a coherent set of a single building rather than three unrelated hallucinations, which is what turns AI renders from a party trick into a presentable concept package. Keep an eye on the control weight: too low and the atmosphere dissolves your form back into mush; too high and the render turns stiff and plasticky. The sweet spot holds your silhouette firmly while giving diffusion enough room to make the surfaces sing. This loop - model, export, render, judge, adjust the model - is the spine of the next lesson's freehand workflow too.
Wrong view? Do not beg the prompt - move the camera and re-export. The loop is the method.
Where massing-to-render belongs in practice
This technique sits at a precise point in the process: after the massing is resolved enough to be worth dressing, before the design is detailed enough to visualise conventionally. That is a wide and valuable window. It lets you take a competition scheme from grey model to atmospheric board in an afternoon; it lets you show a client three material and mood options on the actual massing before committing to any; it lets you test whether a form that works in plan and section also has presence in the light of its real site.
The cautions are the module's familiar ones. The render resolves appearance, not detail - it will invent a mullion pattern, a paving, a soffit that you have not designed, and those are mood suggestions, not decisions. Audit that the material scale is right and that the model has not quietly rounded off a corner or merged two volumes. And always present these as concept renders of a massing study, honestly labelled.
There is also a subtle strategic benefit worth naming. Because massing-to-render is so cheap once set up, it lets you test form decisions against their eventual atmosphere far earlier than usual. You can carry two massing options - the taller slender one, the lower spread one - and render both in the same light and material to compare not their diagrams but their felt presence on the site. That is a genuinely better way to choose between massings than arguing over grey models, because you are judging the thing the building will actually be experienced as. Handled with that discipline, massing-to-render is arguably the highest-value AI move in an architect's kit - it multiplies the return on 3D work you were doing anyway, and Studio Matrx DesignAI is built to take a viewport export straight to a controlled concept render.
ControlNet - depth
Conditions on a greyscale near-far map
The richest conditioning for massing: reconstructs full 3D relationships so overlap, recession and perspective render correctly.
Clay / ambient-occlusion render
Untextured grey viewport export with contact shadows
Carries silhouette plus self-shadowing; conditions well through depth, normal or Canny models for articulated massing.
SketchUp / Rhino / Blender
The massing source and camera controller
Where you set the view and export the depth or clay pass; the viewport loop lives here, not in the prompt.
Studio Matrx DesignAI
Viewport export to controlled concept render
Takes a depth or clay pass to an atmospheric render with the form held, without hand-building a node graph.
Workshop - one massing, a consistent three-view set
Take a rough massing model - build a five-minute one if you have none - and produce a coherent set of three atmospheric concept renders from three cameras, proving the form stays constant while the mood is yours to direct.
A 3D tool that exports depth or clay renders (SketchUp, Rhino, Blender), Stable Diffusion + ControlNet or Studio Matrx DesignAI, and a fixed seed for consistency across views.
Goal: three concept renders of ONE massing model that read as the same building
Inputs: a grey 3D model + depth export + a conditioning tool + a fixed seed
Time: ~50 minutes
- 1In SketchUp, Rhino or Blender, set three cameras on your massing - an approach view, a corner, and a courtyard or interior glimpse. Export a depth map (or clay render) from each.
- 2Write one atmosphere prompt to reuse across all three - material, sky, season, light, entourage - e.g.
board-formed concrete and teak, monsoon dusk, warm interior glow, tropical trees. - 3Condition the first depth pass through ControlNet depth (or DesignAI), fix the seed, and dial the control weight until the form holds firmly but the surfaces still look rich.
- 4Render all three views with the SAME prompt, seed and control weight. Check they read as one coherent building, not three unrelated images.
- 5Now change only the atmosphere - re-run one view at dawn versus dusk, stone versus timber - to feel how much mood you control while the form never moves.
You’ll walk away with
A three-view concept set of one massing model plus one 'mood variant' of a single view, captioned with the conditioning pass, control weight and seed, and one line on what stayed constant.
Three altitudes on the same idea
Read the band that fits you — or all three.
This is the highest-leverage AI move in your kit because it multiplies work you already do. Any massing model you build for study becomes, in minutes, an atmospheric concept board in three material and light options - form guaranteed constant because it came from your geometry. Master the viewport loop: fix bad views by moving the camera and re-exporting depth, not by re-rolling the prompt. Guard the control weight so atmosphere never dissolves your silhouette, and keep presenting these as concept, not detail.
Build a rough room in SketchUp and the same method dresses it. A grey model of a space - walls, openings, a few volumes for built-ins - conditioned as depth, lets you render the room in different palettes, materials and light moods while the proportions stay true. It is more reliable than restyling a flat reference photo because the spatial relationships are fixed by your model. Watch that furniture and finishes the model invents match your actual spec before anyone treats them as real.
Massing-to-render is the workflow that makes AI renders look professional rather than lucky. Show three cameras of one massing model rendered as a consistent set, and you demonstrate the viewport loop that studios actually use. Learn to export a depth map from SketchUp, Rhino or Blender and condition on it - that single skill separates portfolio work that holds together from a scatter of unrelated pretty images. Name your control weight and conditioning pass when you present it.
“If I already built a 3D model, using AI on it is pointless - I should just render it properly.”
Do it yourself
No render needed - reason it through.
- 1Why is a grey massing model a better AI input than a floor plan?
- 2What does a depth map encode, and why is it such rich conditioning?
- 3When a rendered view is badly composed, what should you change - and why not the prompt?
- 4How do you get three views that read as the same building?
- 5What happens if the control weight is too low? Too high?
The one line to carry out
Peer-reviewed journals & authoritative standards
- 01Zhang, L., Rao, A., & Agrawala, M. - Adding Conditional Control to Text-to-Image Diffusion Models (ControlNet) — IEEE/CVF International Conference on Computer Vision (ICCV), 2023.
- 02Rombach, R., Blattmann, A., Lorenz, D., Esser, P., & Ommer, B. - High-Resolution Image Synthesis with Latent Diffusion Models — IEEE/CVF Conference on Computer Vision and Pattern Recognition (CVPR), 2022.
- 03Kerbl, B., Kopanas, G., Leimkuhler, T., & Drettakis, G. - 3D Gaussian Splatting for Real-Time Radiance Field Rendering — ACM Transactions on Graphics (SIGGRAPH), 2023.
- 04Stability AI - Stable Diffusion — Official product and research site, 2024.
Massing, elevations and plans are all things you build in software. But the very first move in design is faster and looser than any of them - a line on paper. The last lesson brings the whole module home: turning a raw hand sketch into a render, and the real tool loop that makes it work.
The author
Amogh N P
Architect, interior designer, and creative polymath. Studio Matrx began in his notebooks — his vision of design made honest, useful, and open to everyone. Its Academy is written and taught in his memory, and free, forever.
More about Amogh →