
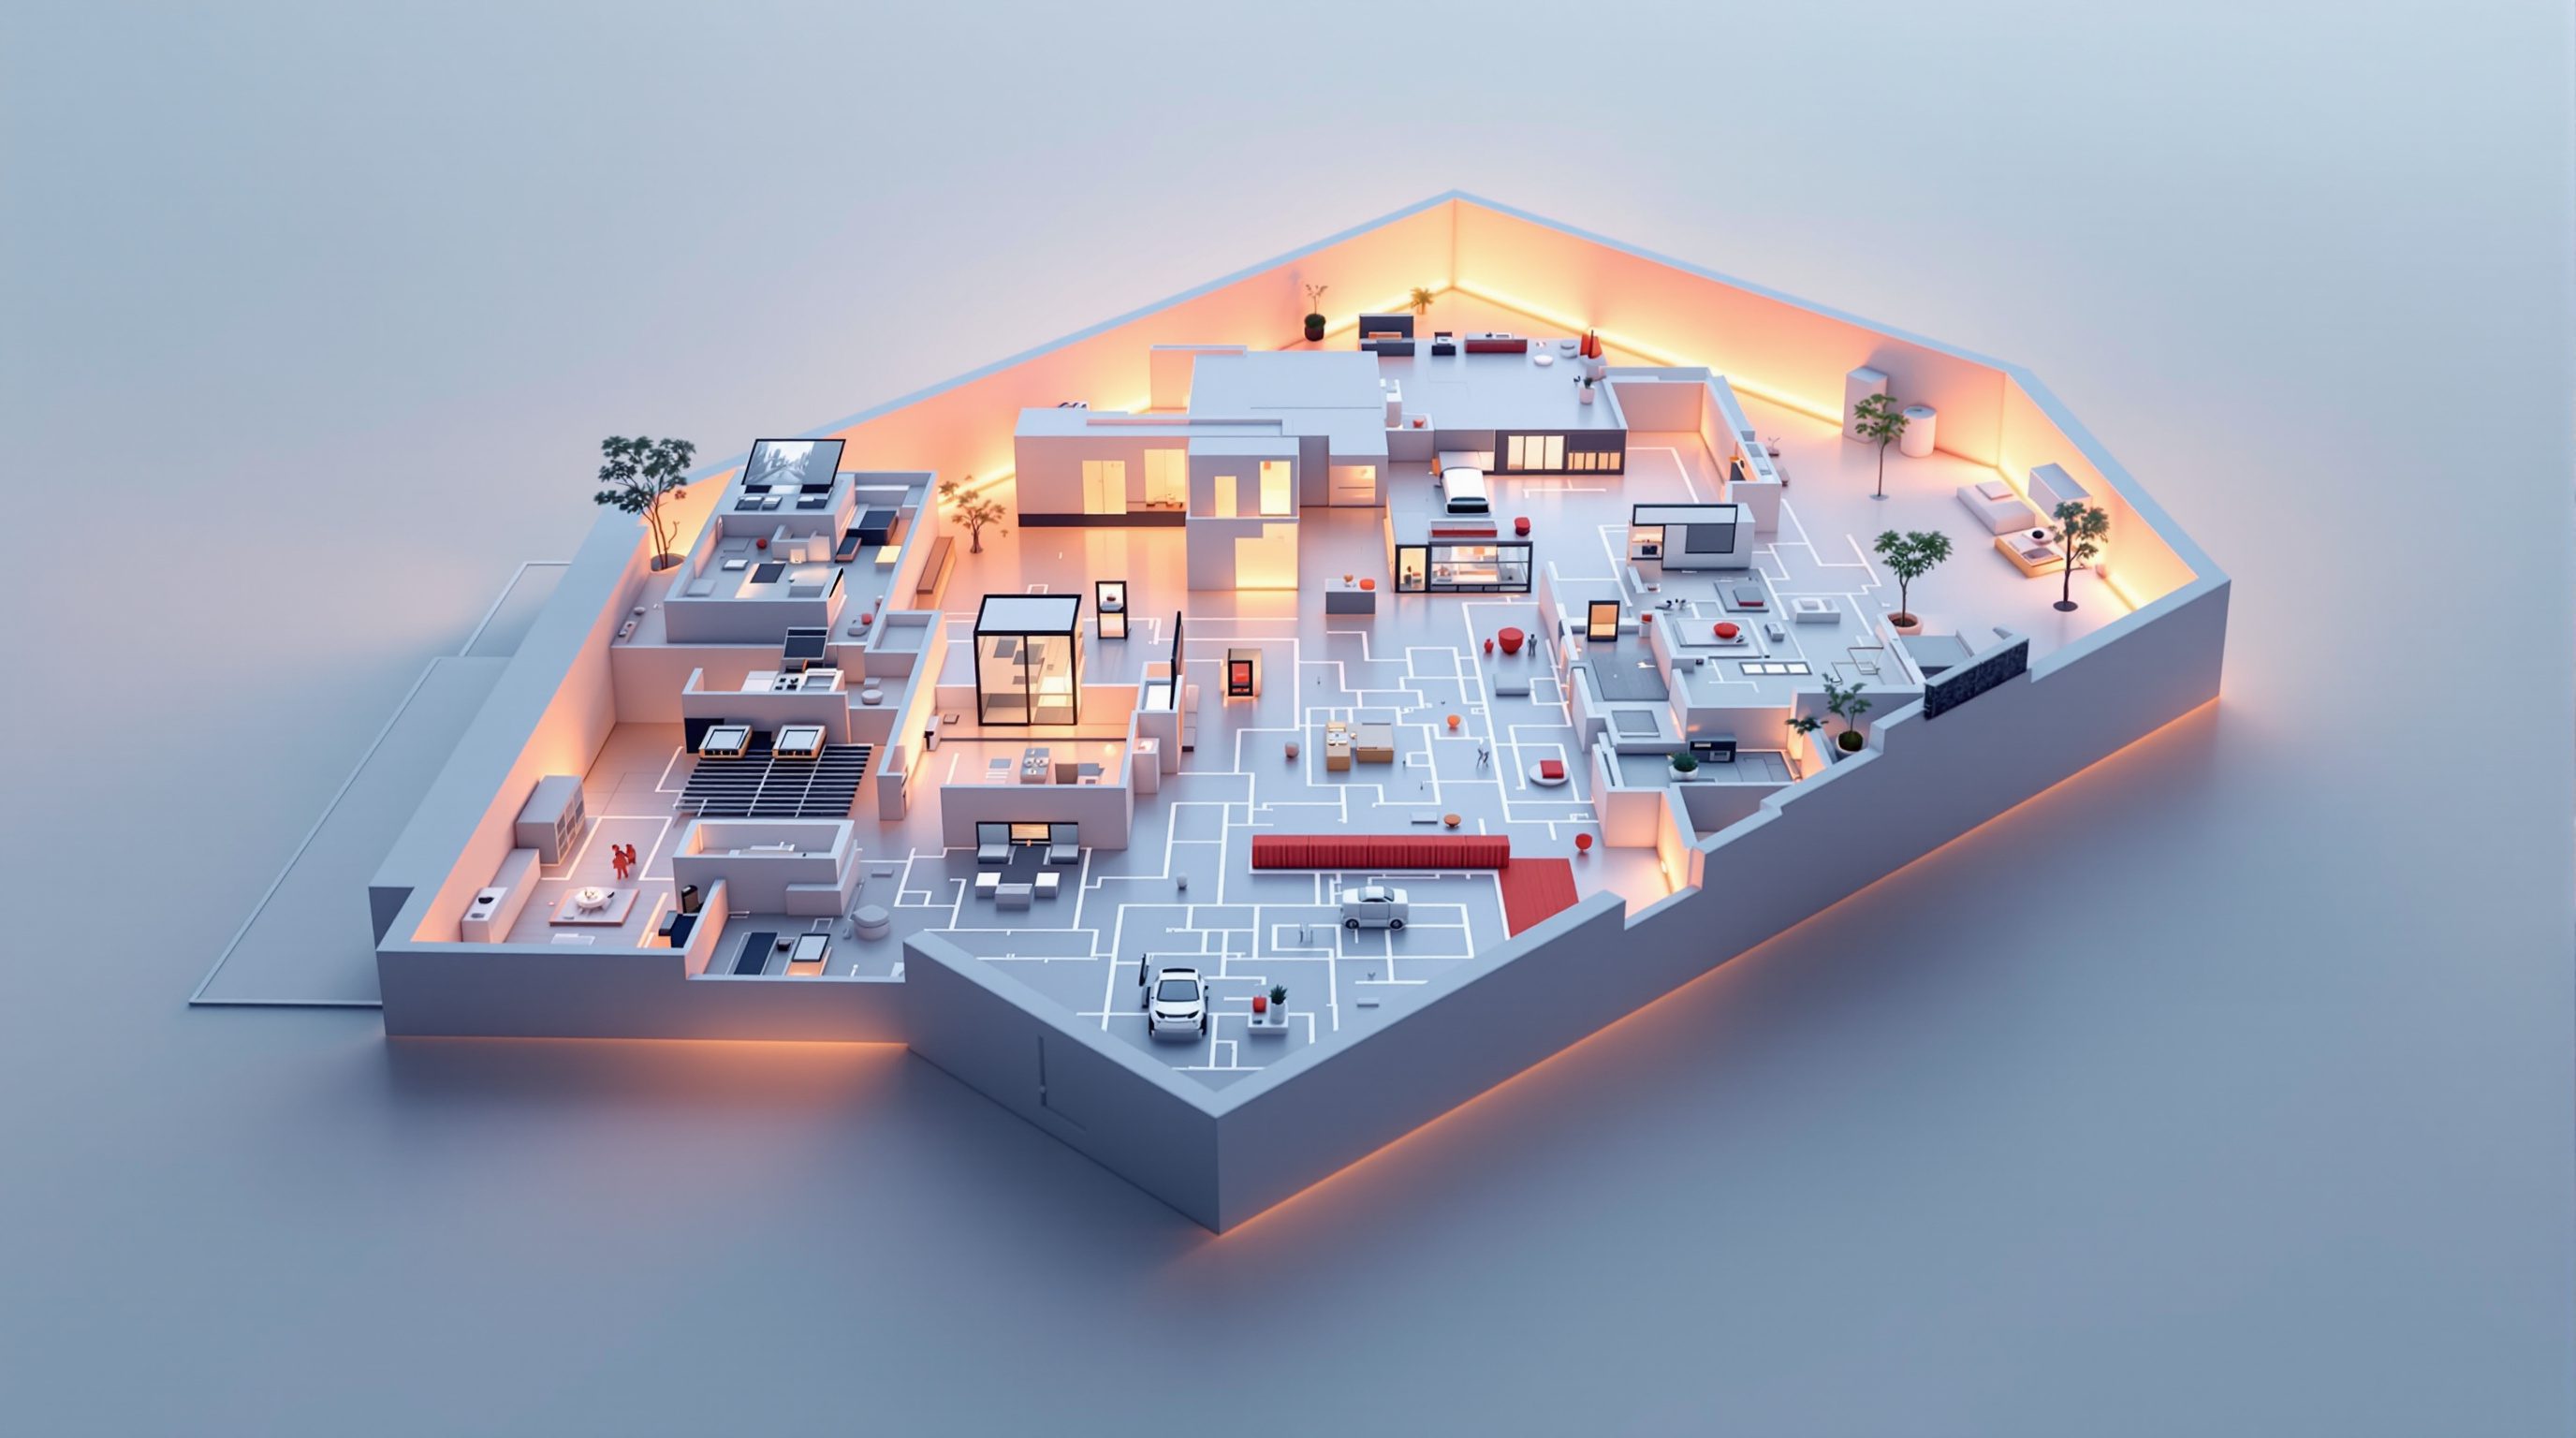
 Lesson 4.1
Lesson 4.1 · From Drawings to Renders
Plans to 3D Visuals
Turning a 2D plan into 3D concept imagery you can trust
Hand the AI your plan and it will draw a building - just not the one you drew.
Drop a floor plan into a text-to-image model and something remarkable happens: in seconds you get a polished three-dimensional view. Look closer and your heart sinks. The rooms have migrated, a storey has appeared, the entrance faces the wrong way. The model did not read your plan the way an architect does - it treated it as a texture and hallucinated a plausible building around it. The skill of this module is learning exactly what the AI fills in for free and what you must hand it deliberately, so the 3D visual respects the geometry you actually designed.
You own the geometry, the model earns the atmosphere. Frame it on your monitor.
Why a raw plan confuses the model
A floor plan is a convention: an orthographic slice taken about a metre above the floor, with walls as poche, symbols for doors and windows, and no third dimension at all. You read it fluently because you were trained to. A diffusion model was not. It learned from millions of photographs and renders, not from construction drawings, so when you paste a plan it sees an abstract pattern of black lines and grey fills - and it does the only thing it knows how to do: denoise that toward something that looks like the images it has seen.
The result is a building that has the flavour of your lines but none of their meaning. Wall centrelines become suggestions. A courtyard reads as a light-well or vanishes. The number of rooms drifts because the model has no concept of 'room' - only of pixels that tend to co-occur. Understanding this is the difference between fighting the tool and directing it. You are not asking it to interpret a plan; you are giving it a scaffold and asking it to dress that scaffold in light and material.
It helps to notice why the misreading is so confident. Diffusion always produces a complete, plausible image - it cannot output 'I am not sure what floor two looks like'. Faced with an ambiguous plan it simply commits to whatever the training data makes most likely, and it does so with the same slick finish it gives a genuine photograph. That is what makes the failure dangerous rather than obvious: the render does not look broken, it looks resolved. So the first habit to build is suspicion of exactly the images that impress you most, and the second is to stop expecting the plan alone to do work it was never able to do.
The plan is a language the model never learned. Translate it into edges and depth it can.
What the AI infers for free - and why that is dangerous
Left to itself, the model supplies an astonishing amount: wall thickness and texture, furniture and rugs, a sky, foliage, reflections, people on a terrace, ornament you never specified. This is genuinely useful - it is why one prompt produces a fully furnished, atmospheric scene instead of a naked massing box. For early ideation that generosity is a gift.
It is also where the danger lives, because every one of those inferred elements is plausible rather than measured. The model will happily give a ground-floor window a sill at chest height, a stair with no landing, a beam that carries nothing, a facade rhythm that has no relation to your structural grid. None of it is wrong in the training data's terms - it all looks like architecture - but none of it is a decision you made. If you present these images as if they were your design resolved, you are showing the client the model's guesses dressed as your intent. The rule from Module 0 returns with teeth here: the model reproduces the appearance of resolution without any of its logic.
What you must control - the four non-negotiables
Four things must come from you, never from the model's imagination. First, the footprint and layout - conditioning the generation on your actual plan geometry (an edge map, a depth pass, or a clean line export) so walls land where you put them. Second, the storey count and overall envelope - a plan implies one floor; if you want three, the massing has to say so, because the model will guess. Third, the camera - a plan has no viewpoint, so eye height, lens and station point are decisions you make; a two-metre eye height reads as a person on the ground, a forty-metre one as a drone, and they tell utterly different stories. Fourth, scale and proportion - the model has no sense of a metre, so a doorway can come out oversized or a ceiling crushed unless your conditioning and prompt pin human scale.
Hold those four and the model's freedom becomes an asset: it fills materials, light and mood around a frame you trust. Let any of the four float and you are gambling. This is why conditioning from Module 3 - ControlNet on edges or depth - is the backbone of plan-to-3D work rather than prompting alone.
Notice that these four are not a random list - they are precisely the things a plan cannot encode. A plan is silent about viewpoint, height and the third dimension, so anything that depends on those is yours to supply. Get into the habit of asking, before you generate, 'what does my input actually pin, and what am I leaving to the dice?' Every unpinned variable is a place the render can diverge from your intent, and naming them in advance is how you decide which to control with geometry, which to steer with the prompt, and which you genuinely do not mind the model choosing.
The practical pipeline: plan to edges to depth to render
The reliable route is a short chain, not a single leap. Start by producing a clean input from your plan: either a simple 3D pull of the walls in SketchUp or Rhino, or a tidy line drawing with the clutter (dimensions, text, hatching) stripped out - noise in equals noise out. From that you generate a conditioning image: an edge map (Canny or MLSD) for a strict line-led result, or a depth map when you want the model to understand near-and-far and give you a believable perspective.
You then run the diffusion model with that conditioning plus a prompt that carries only the things the drawing cannot: material palette, time of day, weather, and the emotional register of the scene. Keep the control weight high enough that your geometry survives but not so high that the image turns stiff and dead. Generate a spread, pick the frames that honour the plan, and refine. Studio Matrx's own DesignAI wraps much of this so you can go from a plan to controlled concept views without assembling the node graph by hand - but the thinking is identical whether you use it, ComfyUI, or a hosted tool.
Clean input, honest conditioning, a prompt for only what the drawing cannot say.
Reading the result like a designer, not a spectator
When the frames come back, resist the pull of the prettiest one and audit against your plan. Count the openings. Trace the entrance. Check the storeys. Measure the scale against the people the model added. Ask the questions a plan answers and an image hides: does this facade correspond to the rooms behind it, or has the model decorated a box? Is that inviting double-height space real in your section, or did diffusion invent it?
This auditing habit is what makes AI 3D visuals safe to put in front of a client. Used well, a plan-to-3D render is the fastest way ever invented to feel a scheme in three dimensions at concept stage - to test whether the courtyard sings, whether the proportions hold, whether the light does what you hoped. Used carelessly, it is a beautiful way to mislead yourself and everyone downstream.
There is a communication discipline that goes with the technical one. When you show a plan-to-3D render, say what it is: a concept visual generated from the plan, resolving mood and material but not structure, services or exact dimensions. Clients are far more forgiving of an honestly labelled concept than of a 'render' that later turns out to have promised a window that cannot exist. Framed correctly, the image does its real job - it aligns everyone on the feeling of the scheme early, cheaply and vividly - while leaving the resolved decisions where they belong, in your drawings and your BIM or CAD model. The remaining lessons in this module take the same discipline into elevations, massing and freehand sketches - always the same bargain: you own the geometry, the model earns the atmosphere.
ControlNet (edge / depth conditioning)
Locks generated geometry to your drawing
The backbone of reliable plan-to-3D: Canny or MLSD edges hold lines; a depth map gives believable perspective. Without it, prompting alone drifts.
Depth map
A greyscale near-far image from your model or plan pull
Lets the diffusion model understand three dimensions and produce a coherent perspective instead of a flat pastiche.
Studio Matrx DesignAI
Hosted plan-to-concept rendering for the built environment
Wraps the conditioning pipeline so you can go from a plan to controlled 3D views without building the node graph by hand.
SketchUp / Rhino (clean input)
A fast wall pull to feed the conditioner
A tidy 3D mass or line export gives cleaner edges and depth than a cluttered plan sheet - noise in, noise out.
Workshop - one plan, one honest 3D view
Take a plan you already have (yours, a studio project, or a simple three-room layout you sketch now) and produce a 3D concept view that genuinely matches it - not the model's fantasy. You will feel the difference conditioning makes the moment you compare a raw pass to a conditioned one.
A conditioning-capable tool (Stable Diffusion + ControlNet via ComfyUI, a hosted ControlNet space, or Studio Matrx DesignAI) and any 3D or line tool to clean the plan. No paid tier required to feel the effect.
Goal: a 3D concept render that a colleague could match back to the plan
Inputs: one clean plan or line export + one conditioning-capable tool
Time: ~45 minutes
- 1Prepare a clean input: strip dimensions, text and hatching from the plan, or do a two-minute wall pull in SketchUp/Rhino so you have crisp geometry.
- 2Run a control pass FIRST with no conditioning - just paste the plan and prompt
warm modern house, evening light, architectural photograph. Note everything that drifts: rooms, storeys, scale. - 3Now condition it: generate an edge map or depth map from your clean input and run the same prompt through ControlNet (or DesignAI). Set a firm control weight so your geometry holds.
- 4Set the camera deliberately - choose an eye height (about 1.6 m for a human view) and a station point. Regenerate a small spread from the same conditioning.
- 5Audit the best frame against the plan: count openings, trace the entrance, check storeys and the scale of any people. Mark every place the render and the plan disagree.
You’ll walk away with
A two-up board: the plan beside your best conditioned render, annotated with three lines on what conditioning fixed versus the raw pass, and one honest note on what still does not match.
Three altitudes on the same idea
Read the band that fits you — or all three.
This is a concept-stage superpower with a documentation-stage trap. A conditioned plan-to-3D render lets you feel a scheme in perspective the same afternoon you draw it, and test proportion and light before you commit. But it resolves appearance, not your section, structure or code. Condition on real geometry, audit every frame against the plan, and never let a render stand in for a resolved design or a coordinated set.
Your plans are where AI pays off fastest. A furniture layout conditioned into a perspective shows a client the room, not just a diagram they cannot read - palette, light and styling wrapped around your actual layout. Watch scale: the model loves to enlarge sofas and shrink doorways. Keep the walls and openings pinned by conditioning, and treat the furniture it invents as a mood suggestion to correct, not a spec.
Master the plan-to-3D pipeline and you carry a skill studios pay for. Anyone can paste a plan and get a pretty lie; the hire-able skill is producing a render that matches the plan - clean input, edge or depth conditioning, controlled camera, audited output. Show both the plan and the render side by side in your portfolio and let the correspondence between them prove you controlled the tool instead of being surprised by it.
“If I upload my floor plan, the AI will render exactly that plan in 3D.”
Do it yourself
No render needed - reason it through.
- 1Why does a text-to-image model 'misread' a floor plan even though the lines are clear to you?
- 2Name the four things you must control rather than let the model infer.
- 3What does a depth map give the model that a bare plan does not?
- 4A render looks gorgeous but has four windows where your plan has three. What went wrong and how do you fix it?
- 5Complete the bargain: you own the _; the model earns the _.
The one line to carry out
Peer-reviewed journals & authoritative standards
- 01Zhang, L., Rao, A., & Agrawala, M. - Adding Conditional Control to Text-to-Image Diffusion Models (ControlNet) — IEEE/CVF International Conference on Computer Vision (ICCV), 2023.
- 02Rombach, R., Blattmann, A., Lorenz, D., Esser, P., & Ommer, B. - High-Resolution Image Synthesis with Latent Diffusion Models — IEEE/CVF Conference on Computer Vision and Pattern Recognition (CVPR), 2022.
- 03Podell, D., et al. - SDXL: Improving Latent Diffusion Models for High-Resolution Image Synthesis — arXiv preprint, 2023.
- 04Hugging Face - Diffusers: State-of-the-art diffusion models and pipelines — Official library documentation, 2024.
A plan gives the model a footprint to stand on. An elevation gives it something even more direct - a picture of the face of the building. Next: driving a rendered facade from a line elevation, and coaxing real depth out of a flat drawing.
The author
Amogh N P
Architect, interior designer, and creative polymath. Studio Matrx began in his notebooks — his vision of design made honest, useful, and open to everyone. Its Academy is written and taught in his memory, and free, forever.
More about Amogh →