
 Lesson 4.2
Lesson 4.2 · From Drawings to Renders
Elevations & Facades from Line Drawings
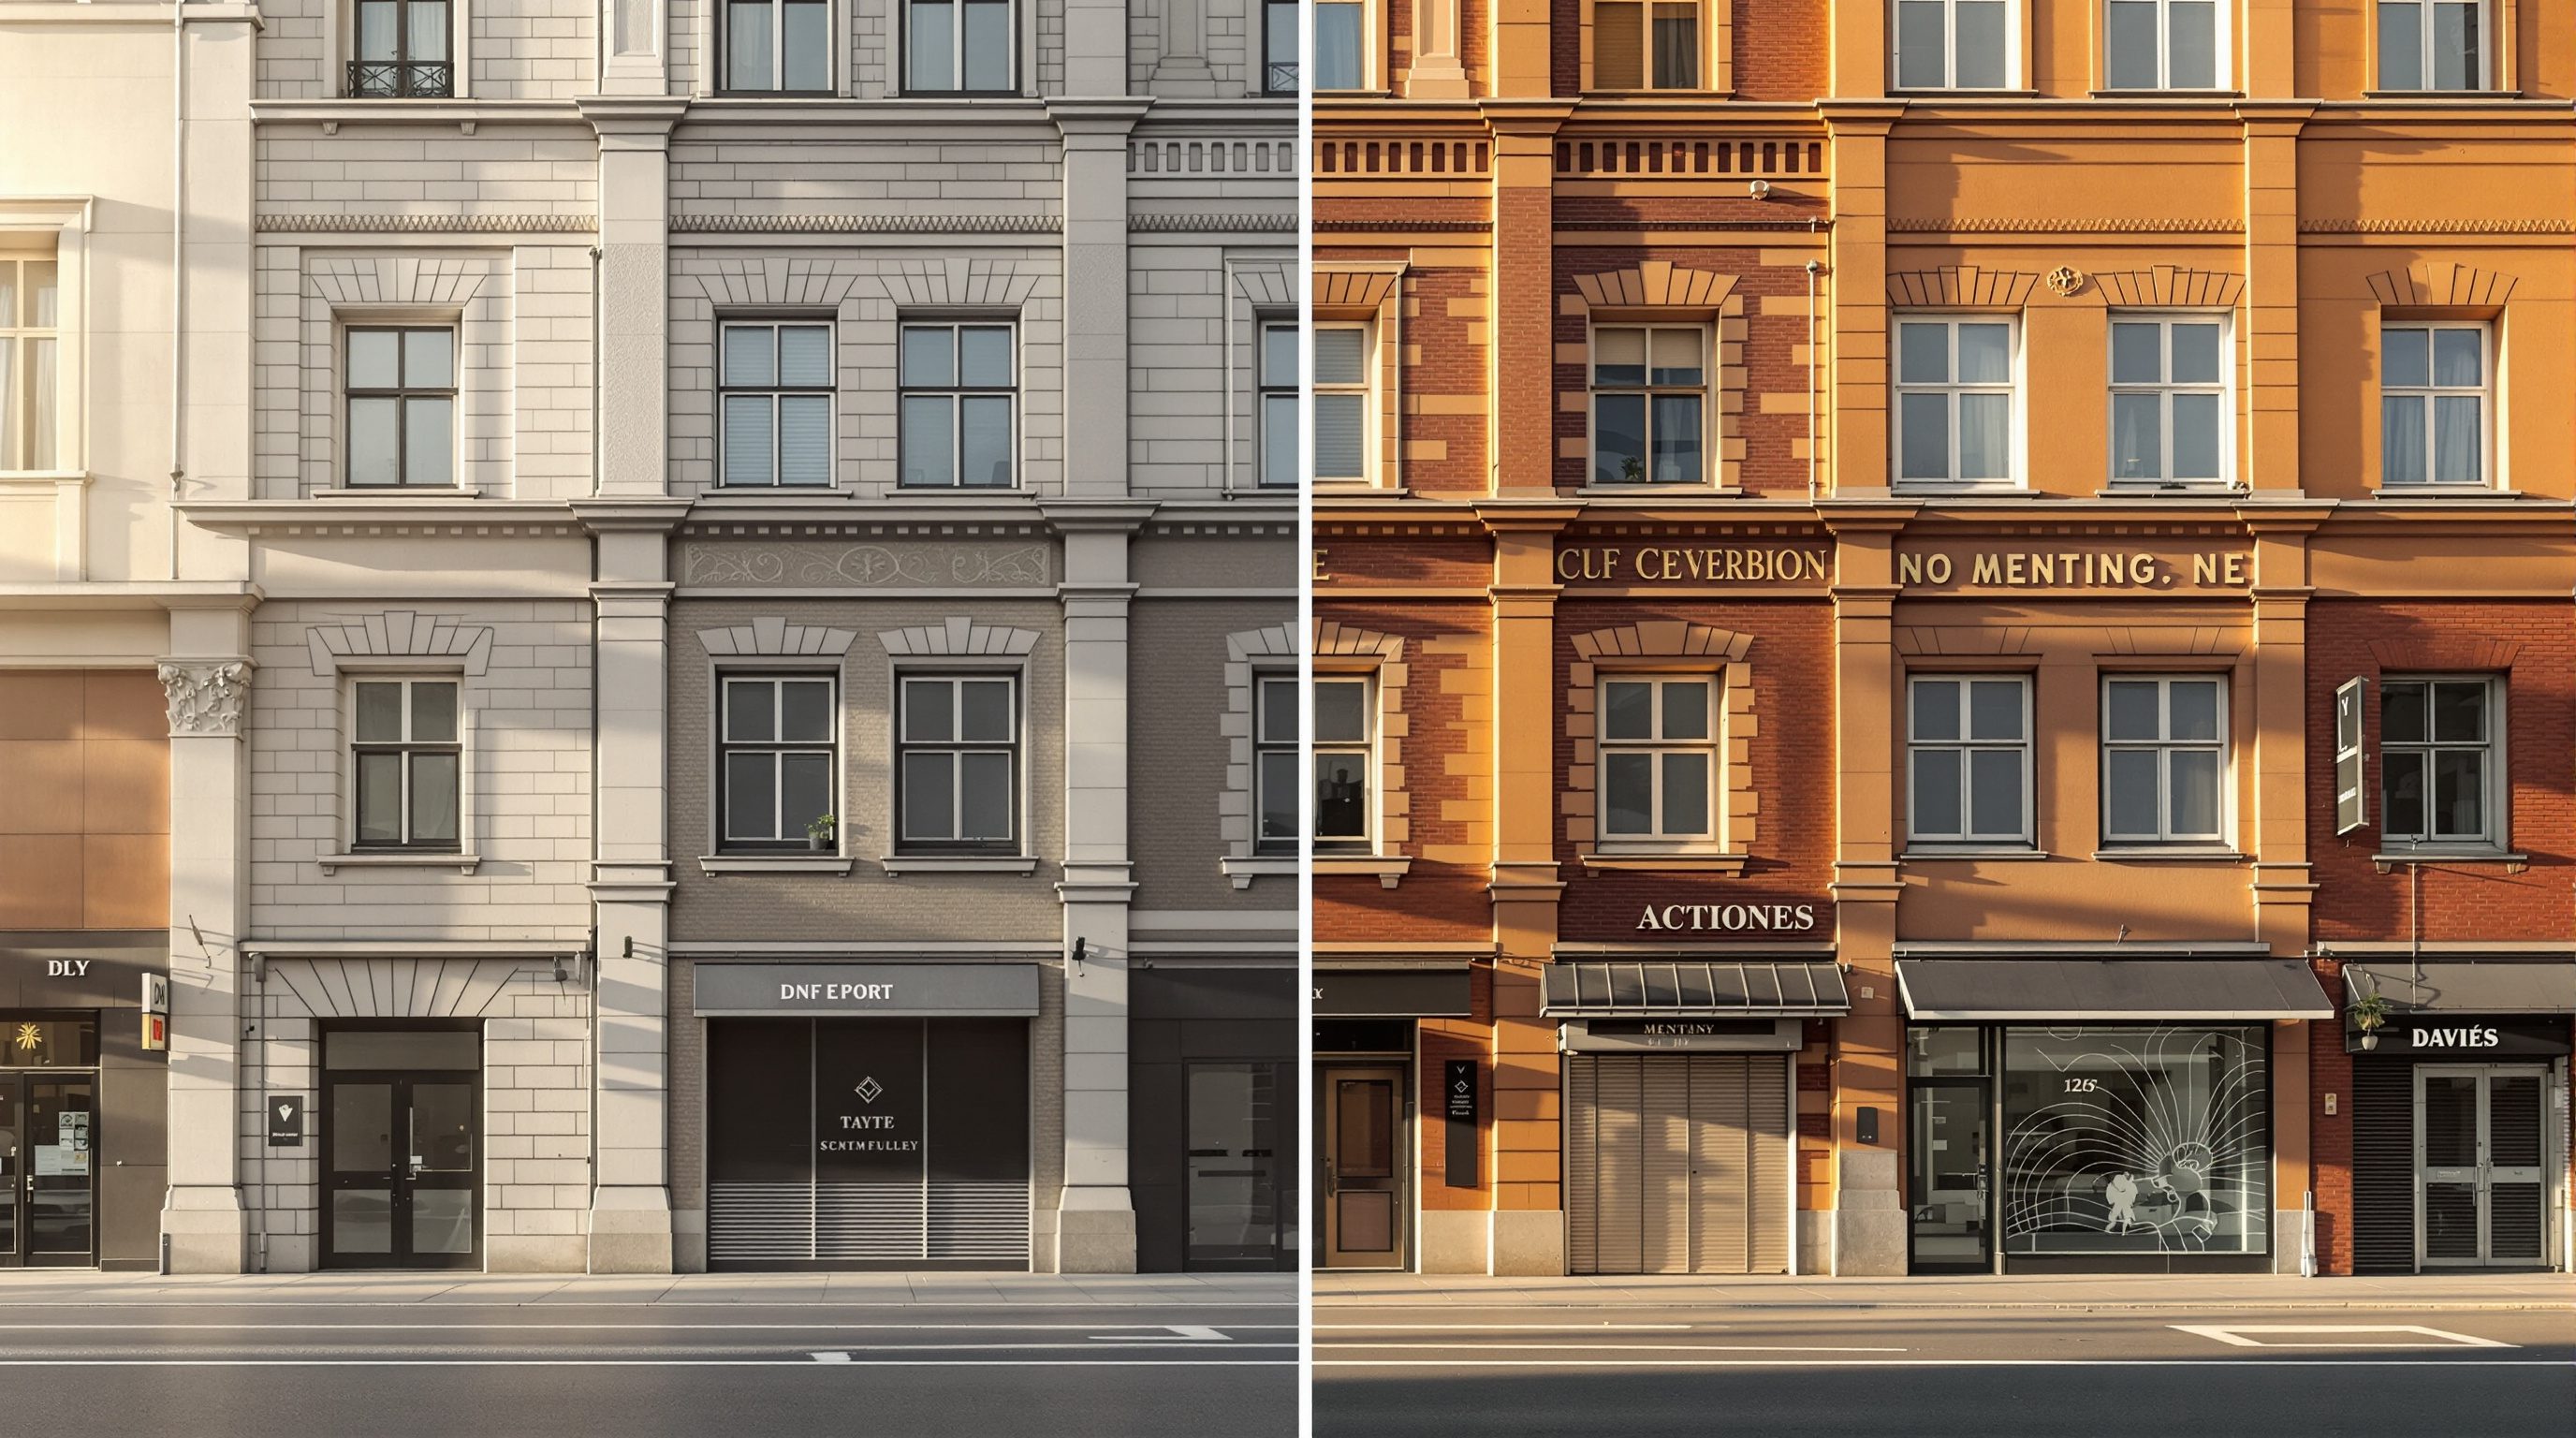
From a flat line elevation to a material, light-filled facade
Your elevation already shows the building's face - the AI just has to give it skin.
Of all the drawings you can feed a generative model, a line elevation is the friendliest. Unlike a plan, it is already a picture of what the building looks like from outside - the openings, the proportions, the rhythm are all there in the right place. The model does not have to imagine the composition; it only has to clothe it. That makes elevation-to-render one of the highest-yield moves in the whole course: with the right conditioning, your carefully judged window rhythm survives intact while diffusion pours on stone, timber, glazing, weathering and evening light. Get it wrong and the model quietly re-composes your facade into something generic. This lesson is about keeping your lines and gaining a facade.
Lock the lines, swap the skin. A material study a week used to take, now takes a minute.
Why elevations condition so well
A line elevation is, in machine terms, almost an edge map already. The whole point of ControlNet's Canny and MLSD conditioners is to reduce an image to its significant edges and force the diffusion process to respect them; an elevation arrives pre-reduced. The floor lines, the window heads and sills, the parapet, the column rhythm - these are exactly the structural edges the conditioner wants, and because you drew them deliberately they carry real design intent rather than photographic accident.
This is why an elevation gives you far more predictable results than a plan. A plan has to be pushed through geometry and camera before the model can render a view; an elevation is the view, orthographic and honest. Feed a clean line elevation through an edge conditioner and the model treats your openings as fixed constraints, filling only the surfaces between them. The rhythm you laboured over stays put - which is precisely the part of a facade that a naive prompt would have scrambled. The lesson from Module 3 lands cleanly here: conditioning turns the model from a gambler into a collaborator that colours inside your lines.
There is a caveat that keeps this honest: an orthographic elevation is a flattened projection, so a straight conditioned render reads as an elevation-on, head-on view - useful for material study, less so for drama. If you want a three-quarter, eye-level hero shot you either draw the elevation already in slight perspective, or move to the massing workflow of the next lesson where the camera is free. Knowing which you want before you start - a flat, honest material study or a perspectival hero - decides whether an elevation is the right input at all.
An elevation is an edge map you already drew. Hand it over and keep your rhythm.
Choosing the right conditioner - Canny, MLSD, lineart
Not every edge conditioner suits every elevation. Canny detects all significant edges and is the general workhorse - good when your elevation has texture, mullions and detail you want honoured. MLSD finds straight lines only, which makes it superb for crisp orthogonal facades - curtain walls, grids, regular fenestration - because it ignores hand-drawn wobble and locks onto the rectilinear order. Lineart and scribble conditioners are gentler, tracking your strokes more loosely, which is what you want for a looser concept elevation where you would rather the model interpret than obey.
Match the conditioner to the drawing and the intent. A hard-line CAD elevation of a glass office wants MLSD; a textured hand elevation of a stone haveli wants Canny or lineart. The control weight then sets how tightly the model obeys - high weight for 'render exactly this facade in travertine', lower weight for 'use this as a guide but surprise me with the materiality'. Learning to reach for the right conditioner and dial is most of the craft; the prompt is almost secondary once the lines are held.
One practical detail saves a lot of grief: preprocess deliberately. Most tools run your drawing through the detector automatically, but the preview of that detected edge map is the single most useful thing to inspect, because it shows you exactly what the model will actually obey. If the Canny preview is a mess of doubled lines from a hatched wall, or MLSD has dropped a subtle set-back you cared about, the render will inherit that error no matter how good your prompt is. Clean the drawing until the edge preview reads the way you want the facade to read, and half of your conditioning problems disappear before you have generated a single image.
Material and light - what the prompt is actually for
With the composition locked by conditioning, your prompt stops fighting for the layout and does the job it is good at: specifying surface and situation. This is where a facade comes alive. Name the materials precisely - 'weathered Corten', 'fair-faced concrete with board marks', 'Jaisalmer sandstone', 'anodised bronze mullions', 'fluted glass' - because the model has rich associations for named materials and vague ones for adjectives like 'nice' or 'modern'. Name the glazing behaviour: 'reflective', 'transparent showing interior', 'spandrel'. Name the weather and time: 'golden hour raking light', 'overcast soft light', 'monsoon-wet, reflective pavement'.
The light angle is not cosmetic - it is how a facade reveals its depth. Raking, low-angle light throws the shadows that make reveals, fins and projections read; flat frontal light flattens everything to a drawing again. So your material-and-light prompt is really a depth-and-texture instruction, and pairing it with the locked lines is what separates a rendered facade from a coloured-in elevation. Keep the prompt disciplined - material, glazing, light, weather, context - and let conditioning carry the shape.
The hard part: getting real depth from a flat drawing
The classic failure of elevation-to-render is the cardboard cut-out - a facade that has your openings and your material but sits dead flat, as if printed on a sheet, because an orthographic elevation encodes no depth and the model defaulted to none. Real facades are layered: a back wall, mid-plane fins or jaali, projecting balconies and cornices, deep window reveals. If the drawing and prompt do not signal those layers, the render will not invent them convincingly.
There are two fixes, and you often use both. In the drawing, add depth cues the conditioner can see - shadow lines under overhangs, a hint of the returns on reveals, tonal difference between planes; or better, condition on a shallow 3D pull of the facade so the model gets an actual depth map. In the prompt, use the vocabulary of relief: 'deep window reveals', 'projecting balconies casting shadow', 'recessed entrance', 'self-shadowing brise-soleil', 'strong raking light'. Together these tell the model the facade is a set of stacked planes, not a single surface, and the shadows it renders will finally read as architecture rather than wallpaper.
Flat drawing plus flat light equals cardboard. Name the layers and rake the sun.
Material studies at the speed of thought
Once the pipeline is smooth, its real gift appears: the material study becomes instant. Hold the elevation and seed fixed and swap only the material clause, and you generate the same facade in stone, then timber, then render, then perforated metal, in the time it once took to redraw a single option. This is a genuinely new capability for practice - a client conversation about materiality that used to need a week of visualiser time now happens live, with the composition guaranteed constant because the lines never move.
The discipline is the same one running through this whole module. Audit that the model has not silently added a floor of glazing you did not draw or invented a canopy; check that the material reads at the right scale (brick courses, panel joints, mullion spacing); and remember that a beautiful AI facade is a concept of the elevation, not a fabrication drawing.
Think about where this sits in a real project, too. A materiality conversation with a client used to be a bottleneck - each option cost visualiser hours, so you brought two or three and defended them. With a locked-line, seed-fixed workflow you can bring the client into the exploration itself, auditioning a dozen directions live and letting them react. That changes the relationship: the client stops choosing from a menu you pre-cooked and starts co-selecting from a space you steer, while you keep quiet control of the composition the whole time. Used this way - lines locked, materials swapped, depth coaxed, output audited - elevation-to-render is one of the most immediately useful things generative AI does for the built environment, and Studio Matrx's DesignAI is built to make exactly this loop fast.
ControlNet - Canny
General edge conditioning
Honours all significant edges, including texture and detail; the workhorse for elevations with material articulation.
ControlNet - MLSD
Straight-line conditioning
Locks onto rectilinear order; ideal for curtain walls, grids and crisp orthogonal fenestration, ignoring hand wobble.
ControlNet - lineart / scribble
Loose stroke conditioning
Tracks your lines gently; use for concept elevations where you want the model to interpret rather than strictly obey.
IP-Adapter (material reference)
Image-prompt an existing material or facade
Feed a reference photo of a real material or precedent facade so the render matches a specific stone or texture, not just a word.
Workshop - one elevation, three materials, honest depth
Take a line elevation and produce the same facade in three materials with real, readable depth - proving your composition stays constant while the surface changes. You will learn which conditioner suits your drawing and how to stop the cardboard-cut-out effect.
Stable Diffusion with ControlNet (ComfyUI or a hosted space), or Studio Matrx DesignAI. A fixed seed is essential so only the material changes between runs.
Goal: three material studies of one locked facade, all with believable relief
Inputs: one clean line elevation + a conditioning tool + a fixed seed
Time: ~40 minutes
- 1Clean your elevation: remove dimensions and notes, keep openings, floor lines and any depth hints (shadow lines under overhangs help).
- 2Pick and test a conditioner - MLSD for a crisp orthogonal facade, Canny for a textured one - and set a high control weight so openings stay fixed.
- 3Fix the seed, then run the same composition three times changing ONLY the material clause: e.g.
Jaisalmer sandstone, thenweathered Corten, thenfair-faced concrete. - 4Add depth vocabulary and a raking light angle to every prompt -
deep reveals, projecting balconies, low golden-hour light- and compare against a flat-light control to see the cardboard effect vanish. - 5Audit each result against the elevation: same openings, same rhythm, correct material scale (course heights, panel joints, mullion spacing). Note any drift.
You’ll walk away with
A strip of four images - your line elevation and three material studies of the identical composition - with a one-line caption each naming the conditioner, control weight and light angle used.
Three altitudes on the same idea
Read the band that fits you — or all three.
Elevation-to-render is your fastest material-study engine. Lock the composition with an edge conditioner and your painstaking window rhythm survives while you audition Corten, stone and render live in a client meeting. Two cautions: chase real depth - flat elevations render as cardboard unless you signal layers and rake the light - and treat the output as a materiality concept, never a facade detail package that has been coordinated with structure and services.
The same move works on interior elevations and feature walls. Condition a line elevation of a joinery wall or a headboard composition and swap finishes - fluted oak, brass inlay, microcement - without the layout shifting. It is a fast way to present material options for a specific wall you have already designed. Mind scale and joint lines: the model will happily render a veneer at the wrong grain size or invent a shadow gap you did not detail.
This is the clearest way to show you can control an AI rather than be surprised by it. Put your line elevation next to three rendered material studies of the exact same composition, and the constant rhythm proves the conditioning held. Learn the difference between Canny, MLSD and lineart, and when to reach for each - naming that choice in a crit or interview signals you understand the machinery, not just the buttons.
“I just describe the facade in words and the AI renders my elevation.”
Do it yourself
No render needed - reason it through.
- 1Why does a line elevation condition more predictably than a floor plan?
- 2When would you choose MLSD over Canny, and vice versa?
- 3What is the 'cardboard cut-out' failure, and name two ways to fix it?
- 4Once conditioning locks the composition, what is the prompt mainly for?
- 5Why fix the seed when generating a set of material studies?
The one line to carry out
Peer-reviewed journals & authoritative standards
- 01Zhang, L., Rao, A., & Agrawala, M. - Adding Conditional Control to Text-to-Image Diffusion Models (ControlNet) — IEEE/CVF International Conference on Computer Vision (ICCV), 2023.
- 02Ye, H., Zhang, J., Liu, S., Han, X., & Yang, W. - IP-Adapter: Text Compatible Image Prompt Adapter for Text-to-Image Diffusion Models — arXiv preprint, 2023.
- 03Podell, D., et al. - SDXL: Improving Latent Diffusion Models for High-Resolution Image Synthesis — arXiv preprint, 2023.
- 04Hugging Face - Diffusers: State-of-the-art diffusion models and pipelines — Official library documentation, 2024.
A plan and an elevation are both flat drawings. But often the thing you most want to render is not a drawing at all - it is a rough 3D massing model. Next: turning a grey SketchUp or Rhino box into an atmospheric concept render without losing the form you built.
The author
Amogh N P
Architect, interior designer, and creative polymath. Studio Matrx began in his notebooks — his vision of design made honest, useful, and open to everyone. Its Academy is written and taught in his memory, and free, forever.
More about Amogh →