
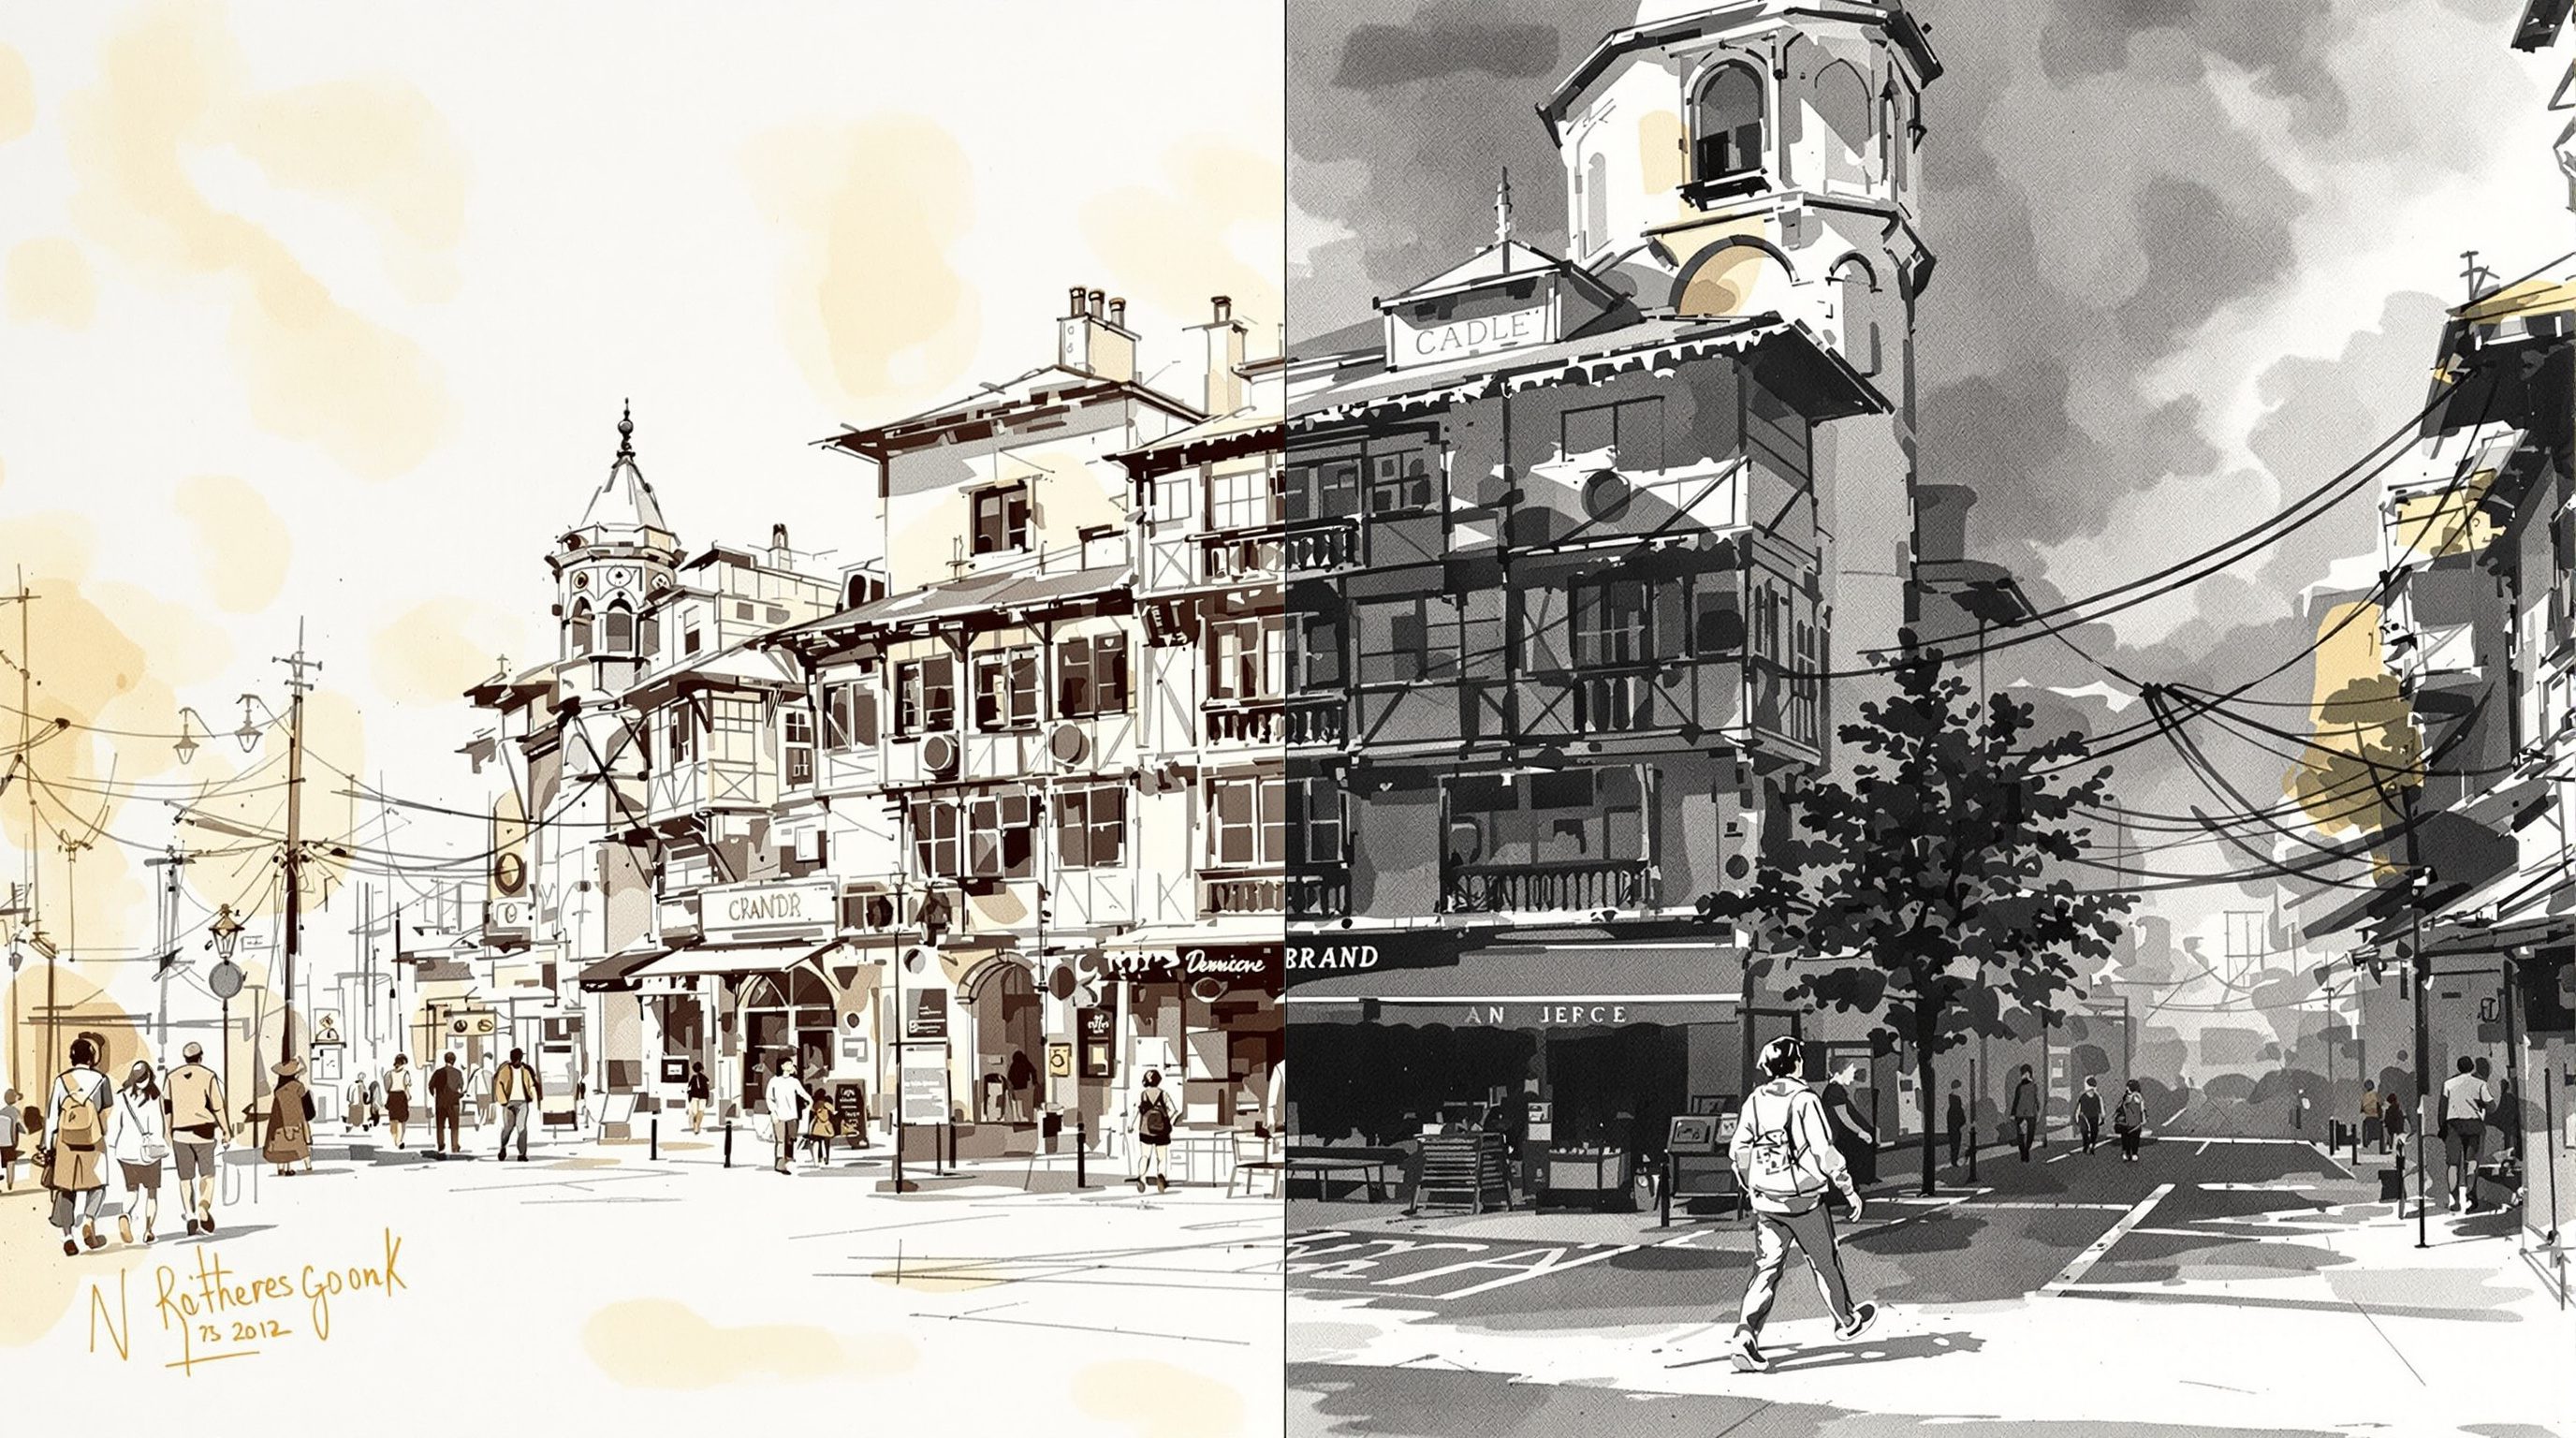
 Lesson 4.4
Lesson 4.4 · From Drawings to Renders
Sketch-to-Render Workflows
From a hand sketch to a render - and the real tool loop that gets you there
The oldest design tool - a line on paper - is now the fastest way into a render.
Before CAD, before massing models, before anything, there is the sketch: the fastest, loosest, most honest way a designer thinks. For most of computing history that freehand energy hit a wall - to see it rendered you had to rebuild it in a model first. Generative AI removes the wall. A rough sketch, even a napkin scribble, can now become an atmospheric render in seconds, and - crucially - stay in a loop where you draw, render, judge, adjust the sketch, and render again in real time. This lesson brings the whole module home: the tools that actually do it, the two dials that trade fidelity against freedom, and the loop that turns AI from a slot machine into a design partner.
Start free, end faithful. Two dials, one loop - the whole module in six words.
Why the sketch is such a natural AI input
A sketch and a diffusion model are, surprisingly, made for each other. A sketch is deliberately incomplete - it fixes the big moves (massing, view, key lines) and leaves everything else open. A diffusion model is an engine for filling in the open parts plausibly. So the match is exact: your lines carry the intent that matters, and the model supplies the material, light and detail you did not bother to draw. Unlike a plan, a sketch is usually already drawn as a view - a perspective or an eye-level scene - so the model does not have to infer a camera. Unlike a finished model, it costs seconds to make and seconds to change.
That cheapness is the real unlock. Because a sketch takes a moment, the render can be part of thinking rather than presentation - you are no longer choosing between drawing and visualising, you are doing both at once. The scribble conditioner and img2img were practically built for this: they take a loose input and a strength setting and hand back a rendered interpretation that still respects your gesture. The freehand line, the least technical tool in architecture, turns out to be one of the most powerful AI inputs there is.
A sketch is intent plus blanks. Diffusion fills the blanks. They were made for each other.
The two dials: denoise strength and control weight
Every sketch-to-render tool, however it dresses them up, exposes two fundamental controls, and mastering them is 80% of the craft. The first is denoise strength (the img2img term): how far from your original image the model is allowed to travel. Low strength (around 0.3) keeps the render close to your sketch - same composition, gently rendered; high strength (around 0.8) treats the sketch as a loose suggestion and reinvents freely. The second is control weight (the ControlNet term): how strictly the model must obey your lines as a hard constraint. High weight nails your geometry; low weight lets it wander.
The two interact, and thinking of them as one fidelity-versus-freedom dial is the practical shortcut. Early in a concept, push toward freedom - high strength, low control - to let the model surprise you and open options you had not drawn. As the idea firms up, pull toward fidelity - low strength, high control - to lock the design and just render it faithfully. Start free, end faithful. Nearly every frustration with sketch-to-render - 'it ignored my sketch' or 'it just traced my sketch and added nothing' - is this dial in the wrong place for the stage you are at.
There is a deeper reason to keep the dial in mind beyond troubleshooting: it maps onto how design actually moves. The front of a project should be high-freedom - you want divergence, surprise, options you did not consciously choose - and the end should be high-fidelity, converging on a single resolved thing. The dial is not just a technical setting; it is a way of telling the tool which phase of thinking you are in. Reach for freedom when you are still asking 'what could this be', and for fidelity when you have decided and are asking 'show me exactly this'. Match the dial to the question and the tool stops fighting you.
The real tools - ControlNet, img2img, Veras, Krea
Names matter here because these are what you will actually reach for. img2img is the base technique in any Stable Diffusion interface: give it your sketch as the starting image and a denoise strength, and it renders from there - simple, universal, the thing to learn first. ControlNet scribble / lineart layers structural control on top, holding your lines as a constraint so higher strengths do not lose the composition; the img2img-plus-ControlNet pair is the workhorse combination. ComfyUI is where power users wire these into a repeatable node graph.
On the hosted side, Veras (from EvolveLAB) is built specifically for architects - it plugs into SketchUp, Revit, Rhino and Forma and renders the active viewport or a sketch with a strength slider, which is the sketch-to-render loop packaged for practice. Krea offers real-time generation - you draw and the render updates as you move, the loop collapsed to almost zero latency, which is extraordinary for live ideation. And Studio Matrx's DesignAI carries the same loop for the built environment without you assembling any of the plumbing. The tools churn fast, but they are all the same two dials and one loop underneath - which is exactly why this course teaches the principle, not the button layout.
The loop is the deliverable
The single most important shift in this lesson is to stop treating a render as a shot you try to nail and start treating it as a loop you run. The professional method looks like this: sketch quickly, render at a chosen strength, judge the result against your intent, then adjust - and here is the key - decide what to adjust. Sometimes you nudge the prompt; often you change the sketch, adding a line to fix a proportion or erasing one that misled the model; sometimes you move the strength dial. Then you re-run, ideally on a fixed seed so only the thing you changed moves.
Run that loop ten times fast and you will travel further than one careful hour ever could. This is the mirror of the viewport loop from Lesson 4.3 - there you adjusted the model, here you adjust the sketch - and it is the same core discipline the whole course is built on: the designer stays in the loop, judging and steering every pass. Ten fast, cheap, judged iterations beat one slow precious render, because design is a search and the loop is how you search. The sketch that started as a throwaway becomes, through the loop, a resolved concept you actually chose rather than one the machine happened to roll.
Ten fast judged passes beat one slow precious render. The loop is the deliverable.
Bringing the module together
Sketch-to-render closes the arc of Module 4 because it contains all of it. Like plan-to-3D, it demands you control what the model would otherwise invent. Like elevation-to-render, it lives or dies on conditioning and the fidelity dial. Like massing-to-render, its real power is a tight iteration loop where you adjust the source, not just the words. Across all four lessons the bargain never changed: you own the design intent - geometry, composition, the moves that matter - and the model earns the material, light and atmosphere on top.
What sketch-to-render adds is immediacy. It collapses the distance between thinking and seeing to almost nothing, which is why it belongs at the very front of the process, where ideas are cheap and plentiful and you want to see many of them fast. There is a real risk in that immediacy, though, and it is worth ending the module on: because the render is so seductive and so quick, it can short-circuit thinking rather than serve it - you stop when the image is pretty instead of when the idea is right. The loop protects you only if you keep judging against intent on every pass, not against 'does this look good'. Keep the module's discipline - audit the output, remember that inferred detail is a suggestion not a decision, present AI work honestly as concept - and you have, in the freehand line plus a render loop, one of the most powerful ideation instruments ever put in a designer's hands. Module 5 takes the next step: directing the material, light and atmosphere the model has been supplying, so that what it earns is exactly what you intend.
img2img (Stable Diffusion)
Render from a starting image at a chosen denoise strength
The universal base technique - learn it first. Low strength stays faithful to the sketch; high strength reinvents freely.
ControlNet - scribble / lineart
Holds your lines as a structural constraint
Layered over img2img so higher strengths keep your composition. The img2img-plus-ControlNet pair is the workhorse.
Veras (EvolveLAB)
Architect-focused render inside SketchUp, Revit, Rhino, Forma
Packages the sketch-to-render loop for practice - renders the active viewport or sketch with a strength slider.
Krea
Real-time generative rendering
Updates the render as you draw - the loop collapsed to near-zero latency, ideal for live ideation.
Studio Matrx DesignAI
Sketch-to-concept render for the built environment
The same two-dials-one-loop workflow without assembling any node graph or plugin plumbing.
Workshop - one sketch, the full loop
Take a single rough hand sketch of a building or room and run the real sketch-to-render loop end to end - feeling the two dials, adjusting the source between passes, and ending with a concept you chose rather than one you got lucky with.
Any img2img-capable tool (Stable Diffusion, ComfyUI, a hosted space), or a packaged sketch-to-render tool (Veras, Krea, Studio Matrx DesignAI). A fixed seed makes the loop legible; a phone camera is enough to capture the sketch.
Goal: a resolved concept render arrived at through a visible loop, not one lucky shot
Inputs: one hand sketch (photograph it) + an img2img or sketch-to-render tool + a fixed seed
Time: ~45 minutes
- 1Sketch a simple scene by hand - a courtyard, a street elevation, a living room - fixing only the big moves. Photograph it as your input image.
- 2Run img2img (or DesignAI/Veras) at HIGH strength (~0.75) with a short prompt. Let it surprise you - this is the explore pass; keep two directions you like.
- 3Now pull toward fidelity: drop strength (~0.4) or add a ControlNet scribble at higher weight so the render follows your lines. Fix the seed from here on.
- 4Judge against your intent and adjust the SOURCE - add or erase a line in the sketch to fix a proportion, or tweak one prompt clause - then re-run. Repeat three or four times.
- 5Lay the passes in order and pick the frame you actually chose. Note the strength and seed on each so the loop is legible.
You’ll walk away with
A loop board: your original sketch, the free explore pass, three fidelity iterations, and the final chosen frame - annotated with the strength/seed on each and one line on what you changed between passes.
Three altitudes on the same idea
Read the band that fits you — or all three.
Sketch-to-render belongs at the very front of your process, where ideas are cheap. A napkin perspective becomes a rendered option in seconds, and the loop - draw, render, judge, adjust the sketch, re-run on a fixed seed - lets you search a design space fast. Learn the two dials cold: push to freedom early to open options, pull to fidelity late to lock the scheme. Reach for Veras when you want it inside SketchUp or Revit; keep every output honestly labelled as concept.
A loose perspective of a room becomes a rendered mood in one pass. Sketch the volume, the key furniture and the window, then render at low strength to stay faithful or high to explore an unexpected direction. Real-time tools like Krea let you sketch and watch the room resolve live - superb for a fast client conversation about feel. Keep the fidelity dial high once you are presenting a specific scheme, so the render shows your room rather than a generic one.
This is the most hire-able skill in the module because it shows design thinking, not button-pushing. Anyone can post a lucky render; showing the loop - the sketch, three iterations, and the resolved frame, with the strength and seed noted - proves you drove the search. Learn img2img first as the universal base, then ControlNet scribble for control, then try Veras or Krea. Naming the two dials and the loop in a crit signals you understand the method beneath whatever tool is fashionable this year.
“Sketch-to-render means the AI turns my sketch into the finished design.”
Do it yourself
No render needed - reason it through.
- 1Why is an incomplete sketch such a good match for a diffusion model?
- 2Name the two dials and say what each one controls.
- 3You want the render to explore freely early on. Where do you set fidelity versus freedom?
- 4Between two passes, name three different things you could adjust - and why fix the seed?
- 5Complete the module's bargain: you own the _; the model earns the _.
The one line to carry out
Peer-reviewed journals & authoritative standards
- 01Zhang, L., Rao, A., & Agrawala, M. - Adding Conditional Control to Text-to-Image Diffusion Models (ControlNet) — IEEE/CVF International Conference on Computer Vision (ICCV), 2023.
- 02Rombach, R., Blattmann, A., Lorenz, D., Esser, P., & Ommer, B. - High-Resolution Image Synthesis with Latent Diffusion Models (img2img) — IEEE/CVF Conference on Computer Vision and Pattern Recognition (CVPR), 2022.
- 03comfyanonymous - ComfyUI: A powerful and modular Stable Diffusion GUI and backend — GitHub repository, 2024.
- 04Ye, H., Zhang, J., Liu, S., Han, X., & Yang, W. - IP-Adapter: Text Compatible Image Prompt Adapter for Text-to-Image Diffusion Models — arXiv preprint, 2023.
Across this module the model kept earning the material, light and atmosphere while you owned the geometry. Module 5 turns to that earned half directly: how to direct materials and finishes, sculpt light and mood, and place a building convincingly in its context and season.
The author
Amogh N P
Architect, interior designer, and creative polymath. Studio Matrx began in his notebooks — his vision of design made honest, useful, and open to everyone. Its Academy is written and taught in his memory, and free, forever.
More about Amogh →