
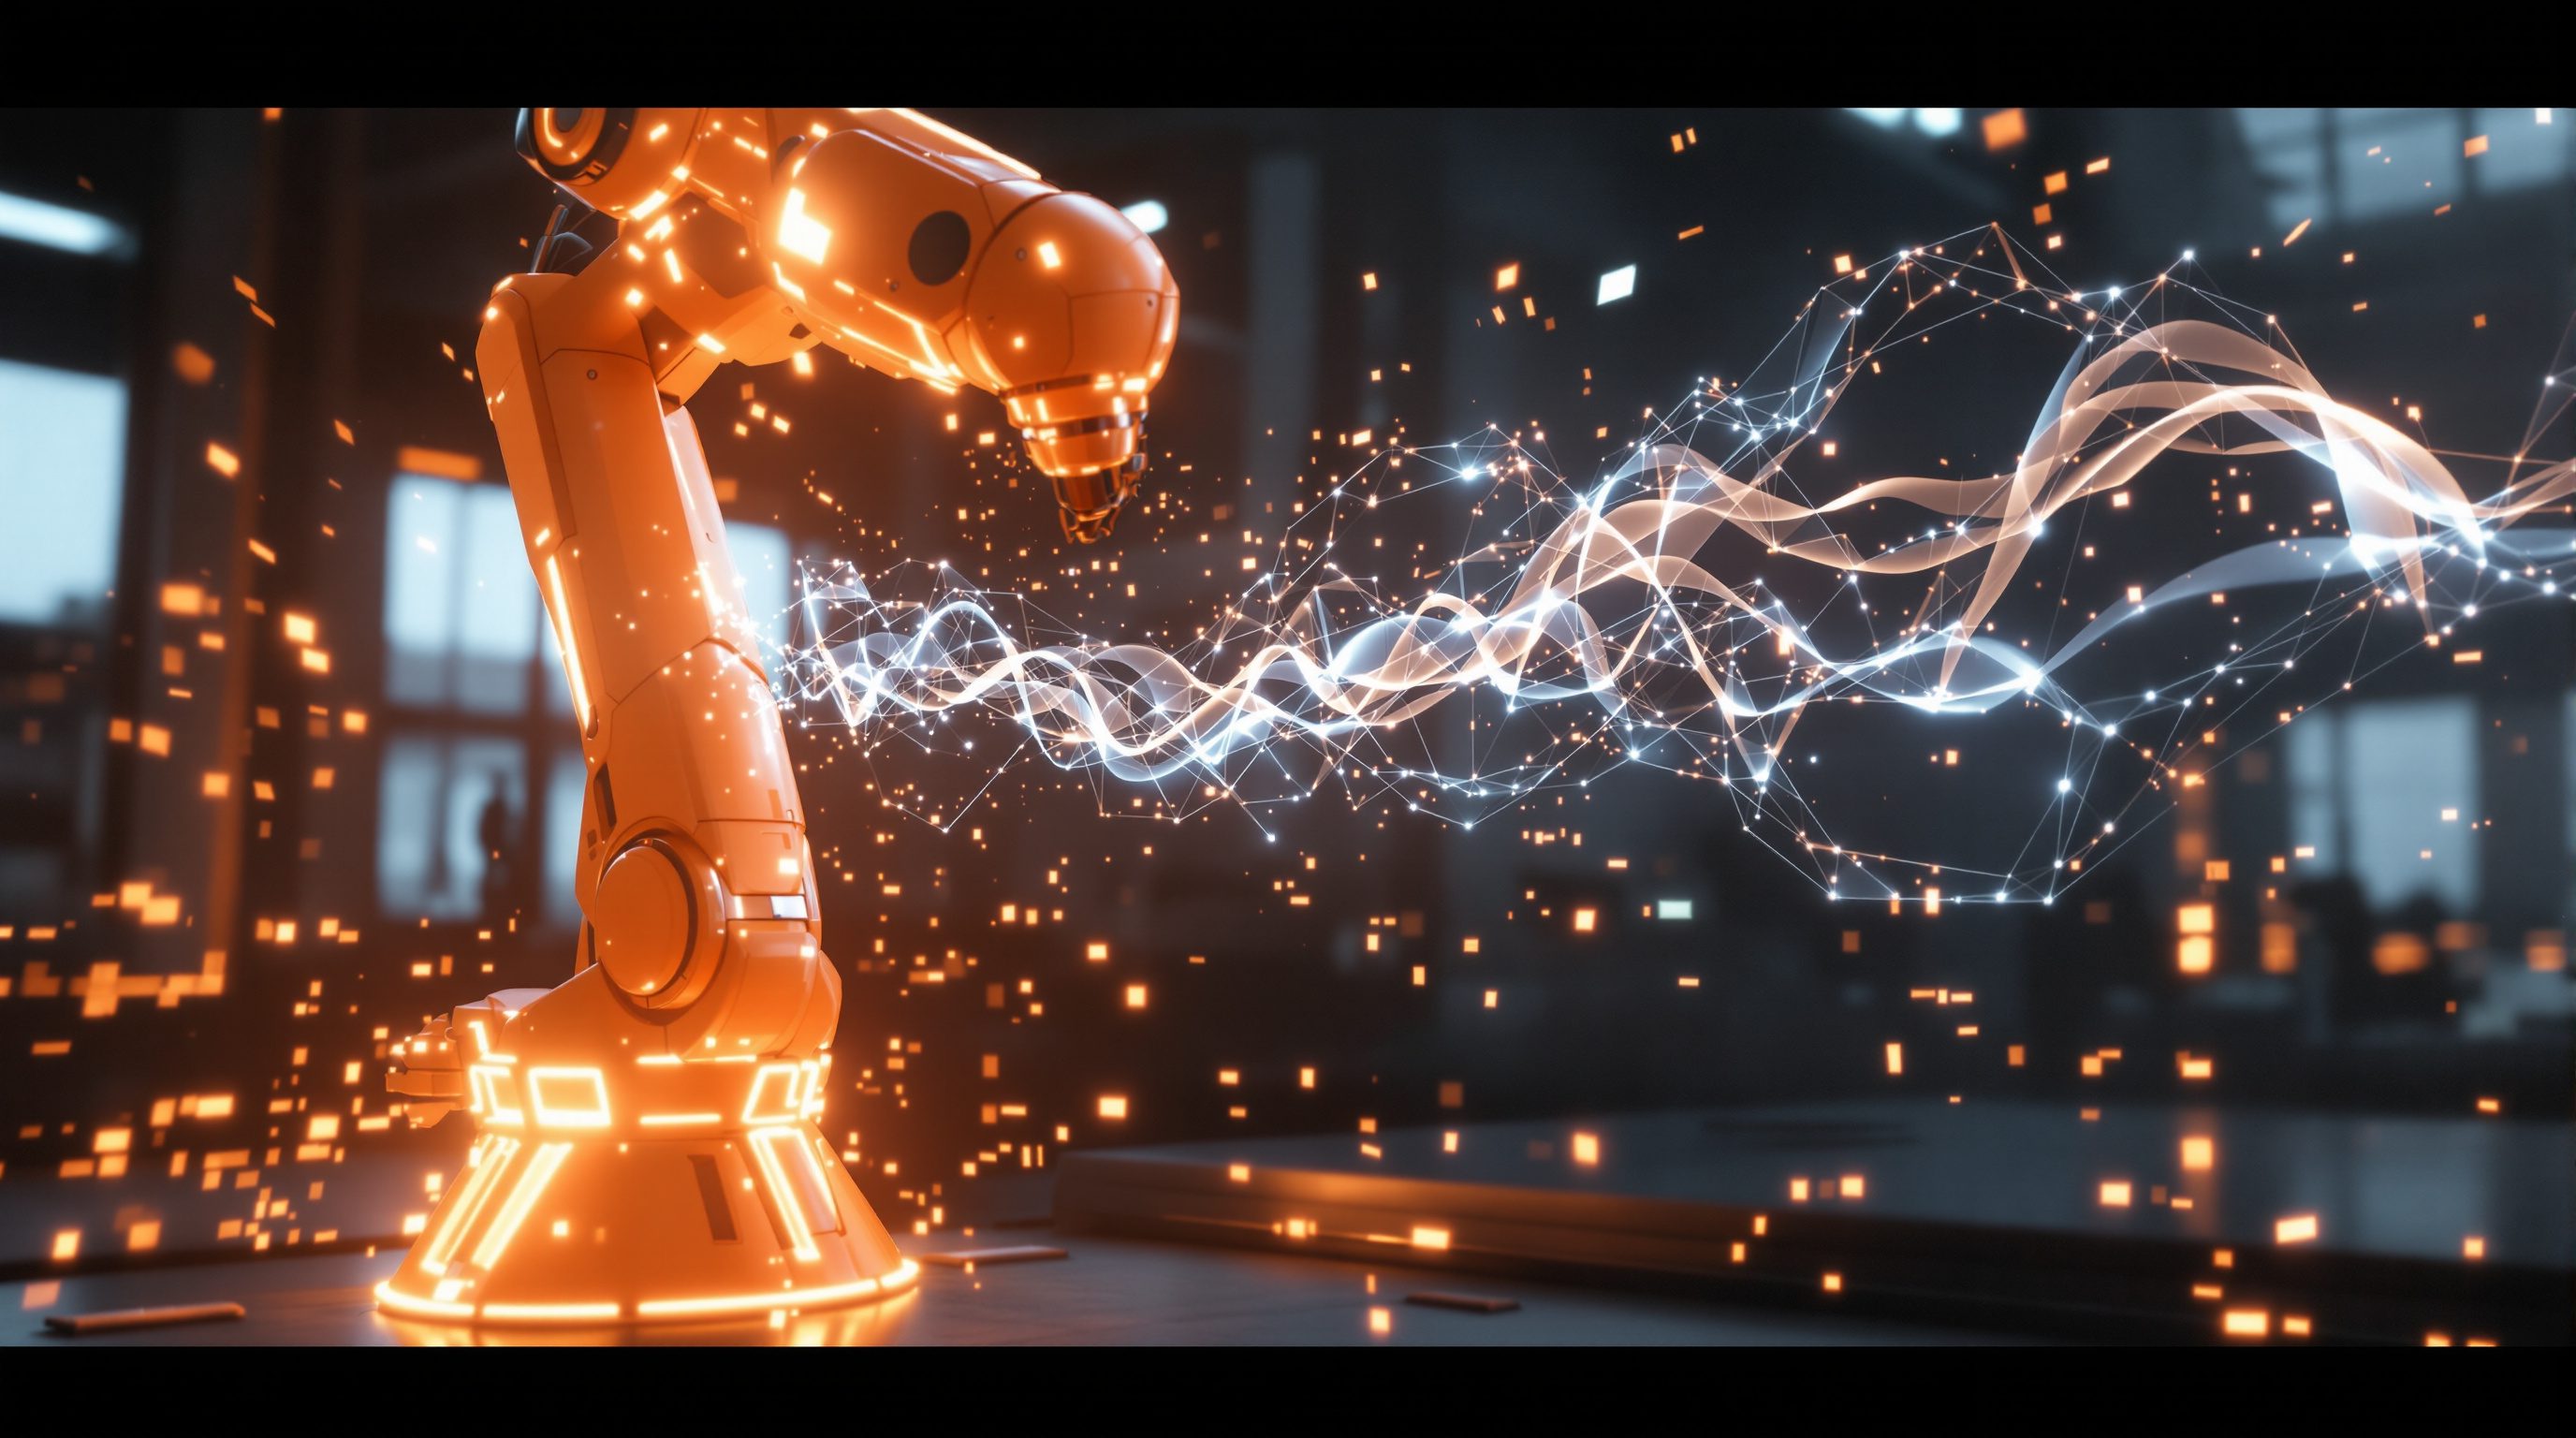
 Lesson 6.4
Lesson 6.4 · Robotics Fundamentals
Robot Programming & Simulation
How you tell a robot what to do - teach pendant versus offline programming, and why you always simulate first
A robot has no common sense. It will drive a spinning spindle straight through a clamp, a wall, or a person, at full speed, because you told it to. Simulation is where you find that out first.
Every machine in this course does exactly what its file says - but a laser that mis-cuts wastes a sheet, while a robot that mis-moves swings a multi-kilogram tool through whatever is in the way. The robot has no awareness and no judgement; it has your program. So the question 'how do you tell a robot what to do?' carries a weight the earlier machines did not.
There are two answers - teaching it by hand, or programming it offline and simulating first - and for architecture the second dominates. This final lesson of the module ties the arm, its motion and its tooling together into a workflow, and makes the case that simulation is not a nicety but the core safety practice of the whole field.
No judgement, only your program. Offline + simulate first = safety. Slow, dry, e-stop-in-hand first run.
Two ways to program: teach pendant vs offline
The old, direct way is the teach pendant: a handheld console, wired to the controller, with which an operator physically jogs the arm - driving each joint or the TCP with buttons or a joystick - to a desired pose and presses 'save' to record that point. String the saved points together and you have a program. Teaching is intuitive, needs no computer model, and is perfect for a handful of points (a simple pick-and-place). Its limits are brutal for architecture: it is slow, it holds the robot out of production while you teach, the operator is in or beside the cell with the arm powered (a real hazard, mitigated by a hold-to-run 'deadman' switch and reduced teach-speed), and it cannot practically handle the thousands of unique points a fabrication path needs.
The modern way is offline programming (OLP): you build the entire program in software, on a computer, against a virtual model of the cell, and only send it to the real robot once it is proven. Nothing about the robot moves while you program; the arm keeps producing the previous job. Offline programming is the only sane way to drive the complex, parametric, thousands-of-points toolpaths that architectural fabrication generates - and, crucially, it lets you simulate before you run. Most real workflows blend the two: program offline, then fine-tune a few critical points on the pendant at teach-speed.
Pendant = jog + save, few points, you in the cell. Offline = build in software, thousands of points, simulate.
The architecture toolchain: Grasshopper, KUKA|prc, Robots, COMPAS
Architecture programs robots where it already models: inside Grasshopper, the visual programming environment for Rhino. Rather than learn a manufacturer's proprietary language, designers define the tool path parametrically - as a list of target planes (each a position plus orientation for the TCP) generated by the same geometry that drives the design - and a plugin turns those planes into robot instructions. This is the bridge between the parametric world of an earlier course and the physical robot.
The common plugins: KUKA|prc (KUKA parametric robot control) is the long-standing tool from the Association for Robots in Architecture for driving KUKA arms from Grasshopper; Robots is a popular open-source plugin supporting KUKA, ABB, UR and Staubli; and COMPAS, with its COMPAS FAB package, is an open Python framework for robotic fabrication research spanning multiple brands and integrating planning and simulation. All share the same logic: geometry gives target planes, you assign move types (PTP or LIN) and speeds, the plugin runs the inverse kinematics, checks reach and singularities, simulates the motion on screen, and finally posts the program to the robot's native format (KUKA KRL, ABB RAPID, UR script). You design the path; the toolchain handles the translation to each controller - a direct descendant of the CAM idea from Module 1, now in six axes.
Grasshopper planes -> KUKA|prc / Robots / COMPAS -> simulate -> post to KRL / RAPID / URscript.
Simulate first: the core safety practice
Simulation is where a robot program is proven safe and correct before a single real motion. In the software you have a digital twin of the cell - the same arm, the same end-effector and its TCP, the fixtures, the workpiece, the fence - and you run the whole program virtually. The simulator checks the things that hurt: reach (is every target inside the envelope, with no joint past its limit?), collisions (does the tool, wrist or arm hit the fixture, the workpiece, the fence, or itself?), singularities (does any path pass through a pose that would whip a joint?), and cycle behaviour (does the sequence make sense, do tools change cleanly?). A fault found here costs nothing to fix; the same fault found on the floor can wreck a tool, ruin a workpiece, or injure a person.
This is the honest heart of robot safety in design practice: you assume nothing runs on the real robot until it has run clean in simulation. A worked mindset - a robot happily executing a program that drives its spindle into a steel clamp will not stop, back off or complain; it will push at full torque until something breaks. The simulator is the only place that mistake is free. Treat a passing simulation as necessary but not sufficient: models can be slightly wrong (a fixture a few millimetres off, a mis-measured TCP), so the real first run is still done deliberately - reduced speed, a finger on the e-stop, a dry run without material, stepping through, watching. Simulation removes the gross errors; careful commissioning catches the rest.
Digital twin of the cell. Check reach, collision, singularity, sequence. A crash in software is free.
From clean simulation to a safe first run
The complete workflow ties the module together. One: generate the geometry and, from it, the target planes for the TCP (in Grasshopper, driven by the design). Two: assign move types and speeds - PTP for rapid air moves, LIN for the process pass - and the tool, with its calibrated TCP. Three: simulate against the digital twin and iterate until it is clean - no reach errors, no collisions, no singularities. Four: post the program to the controller's native language. Five: commission on the real robot cautiously - verify the TCP and the workpiece position match the model, run at reduced speed first, dry-run without material, keep clear of the reach envelope, hand on the e-stop - then step up to production speed only once it behaves exactly as simulated.
Every step carries the module's lessons: the arm's payload and reach (6.1) bound what is possible, kinematics and the TCP (6.2) make the motion correct, the end-effector (6.3) does the work and defines the danger, and programming-with-simulation (6.4) makes it safe and repeatable. None of this replaces trained, supervised operation inside a guarded cell - it is the design-side discipline that makes that operation trustworthy. Master this loop and you can take a parametric idea all the way to a robotically-fabricated object, responsibly.
Geometry -> planes -> move types + tool -> simulate clean -> post -> slow, dry, e-stop-in-hand first run.
What the posted code is, and safety-rated speed
It is worth demystifying what 'posting' actually produces, because it connects straight back to Module 1. When the Grasshopper plugin finishes, it writes a program in the robot's native language - KRL for KUKA, RAPID for ABB, URScript for Universal Robots. Open one and it is surprisingly readable: a list of moves (a PTP or LIN command to a target), speeds, tool and frame declarations, and digital-output commands that switch the end-effector on and off (start the spindle, open the gripper, begin extruding). This is the six-axis cousin of the G-code a CNC reads: CAM-style software turning your geometry into low-level machine instructions. You rarely write it by hand, but knowing it exists - and that a line in it is one commanded motion - demystifies the machine.
Safety is not only guarding and simulation; it is also built into how the robot runs. Modern controllers offer safety-rated monitored speed and stop functions and configurable safety zones - the robot is electronically limited so that near a person, or inside a defined region, it cannot exceed a safe speed, and it triggers a protective stop if it does. Reduced-speed teach mode (the arm is capped at a slow speed whenever someone is programming it with the deadman held) is a legal and practical cornerstone. None of this makes an industrial arm casual to be around - the layered defence is deliberate: safe-rated software AND physical guarding AND simulation AND a cautious operator, because any one of them can fail. The designer's job in all this is upstream: hand over a program that has been simulated clean, so the people commissioning it on the real cell are checking your work, not discovering your mistakes at full speed.
Posted code = KRL / RAPID / URScript, the 6-axis G-code. Safety is layered: safe-speed + guarding + sim + operator.
Teach pendant
Handheld console for jogging and teaching points online
Intuitive for a few points; operator is near a powered arm (deadman + teach-speed). Impractical for thousands of points.
Offline programming (OLP)
Building and proving the program in software against a virtual cell
The architectural default: robot keeps producing while you program, and you can simulate before running.
KUKA|prc / Robots / COMPAS
Grasshopper-based tools that turn parametric planes into robot code
Run inverse kinematics, check reach and singularities, simulate, and post to KRL / RAPID / URscript.
Simulate-first
Proving reach, collisions and singularities virtually before any real motion
The core robot-safety practice. A crash in software is free; a crash in steel is not. Still commission the first run cautiously.
Workshop - simulate a robot path (no robot required)
The entire program-and-simulate workflow runs on a laptop, safely, before any real robot is involved - which is exactly why it is so learnable. This exercise builds a simulated robot path and reads its checks, without touching hardware.
Rhino + Grasshopper with the Robots plugin (free trial / open-source) on any laptop; or paper and a scale rule. No robot. Any real-robot work is trained and supervised in a guarded cell.
Goal: build and simulate a simple robotic toolpath and read the safety checks
Inputs: Rhino + Grasshopper with a robot plugin (Robots is free/open-source), or paper if no software
Time: ~40 minutes
- 1Install the free 'Robots' plugin (or KUKA|prc, or COMPAS FAB) in Grasshopper and load a robot model close to a real arm (reach and payload realistic). If you have no software, draw the cell to scale on paper instead.
- 2Define a simple path: a row of target planes across a flat surface (a drawing or milling pass), each plane giving the TCP position AND orientation. Assign LIN moves for the process pass and PTP for the approach.
- 3Set the tool and its TCP offset (for example a pen or spindle 150-210 mm beyond the flange). Note how a wrong TCP would shift the whole path - change it deliberately and watch the path move.
- 4Run the simulation and read the checks: is every target reachable? Any joint hitting a limit? Any collision with the table or fixture? Any singularity flagged? Move the workpiece nearer the base or tilt the tool and watch reach and singularity warnings appear and clear.
- 5Write the safe first-run plan you WOULD follow on a real cell: verify TCP and part position, reduced speed, dry run without material, keep clear of the reach envelope, hand on the e-stop - and note that real operation is supervised only.
You’ll walk away with
A simulated (or scale-drawn) robot path with a screenshot or sketch, notes on which reach/collision/singularity checks passed or failed and how you fixed them, and a written safe-first-run plan. The complete design-side workflow, proven without hardware.
Three altitudes on the same idea
Read the band that fits you — or all three.
Programming a robot in Grasshopper means the same parametric model that generates your geometry can generate the fabrication path - design and making in one definition. You may never post code yourself, but understanding the offline-then-simulate workflow lets you judge a fabricator's process, scope what is buildable, and insist on the simulate-first discipline that keeps an ambitious project safe and on schedule.
When a robotic fabricator shows you a screen simulation of your piece being made, this is what you are looking at - and why it matters. That virtual run is where reach, collisions and tool changes are proven before anything is cut. Knowing the workflow helps you collaborate: you can supply clean geometry, understand why a form is re-oriented for reach, and trust the process because it was simulated first.
Grasshopper plus KUKA|prc, Robots or COMPAS is the single most employable robotics skill for a designer - and it is learnable on a laptop before you ever touch an arm. You can build and simulate real robot programs entirely in software, safely, at home. Then supervised lab time is about commissioning, not learning from scratch. Simulate-first is also the safety mindset every lab and employer expects you to arrive with.
“If a robot program runs perfectly in simulation, it is safe to run at full speed on the real robot.”
Do it yourself
No robot - reason it through.
- 1What are the two ways to program a robot, and which suits a thousands-of-points fabrication path?
- 2Why is teaching on a pendant a safety concern, and what mitigates it?
- 3What does a Grasshopper plugin like KUKA|prc, Robots or COMPAS actually turn your geometry into?
- 4Name the four things a simulation checks before you run.
- 5Why is a clean simulation necessary but not sufficient for a safe full-speed run?
The one line to carry out
Peer-reviewed journals & authoritative standards
- 01Association for Robots in Architecture — Robots in Architecture, 2026.
- 02Grasshopper - Algorithmic modeling for Rhino — Robert McNeel & Associates, 2026.
- 03COMPAS - computational framework for research and collaboration in AEC — COMPAS, 2026.
- 04Robot kinematics — Wikipedia, 2026.
That completes Robotics Fundamentals: an arm that holds a tool, the kinematics that move it, the end-effector that works, and the simulate-first programming that makes it safe. Next module puts the arm to work - robotic fabrication in the wild: milling, assembly and spatial printing.
The author
Amogh N P
Architect, interior designer, and creative polymath. Studio Matrx began in his notebooks — his vision of design made honest, useful, and open to everyone. Its Academy is written and taught in his memory, and free, forever.
More about Amogh →