
 Lesson 6.3
Lesson 6.3 · Robotics Fundamentals
End-Effectors & Tooling
The tool at the wrist - grippers, spindles, extruders, hot-wire and sensors that turn an arm into a fabricator
The arm gets the tool to the right place. The end-effector is the tool. Change it, and the same robot changes trade.
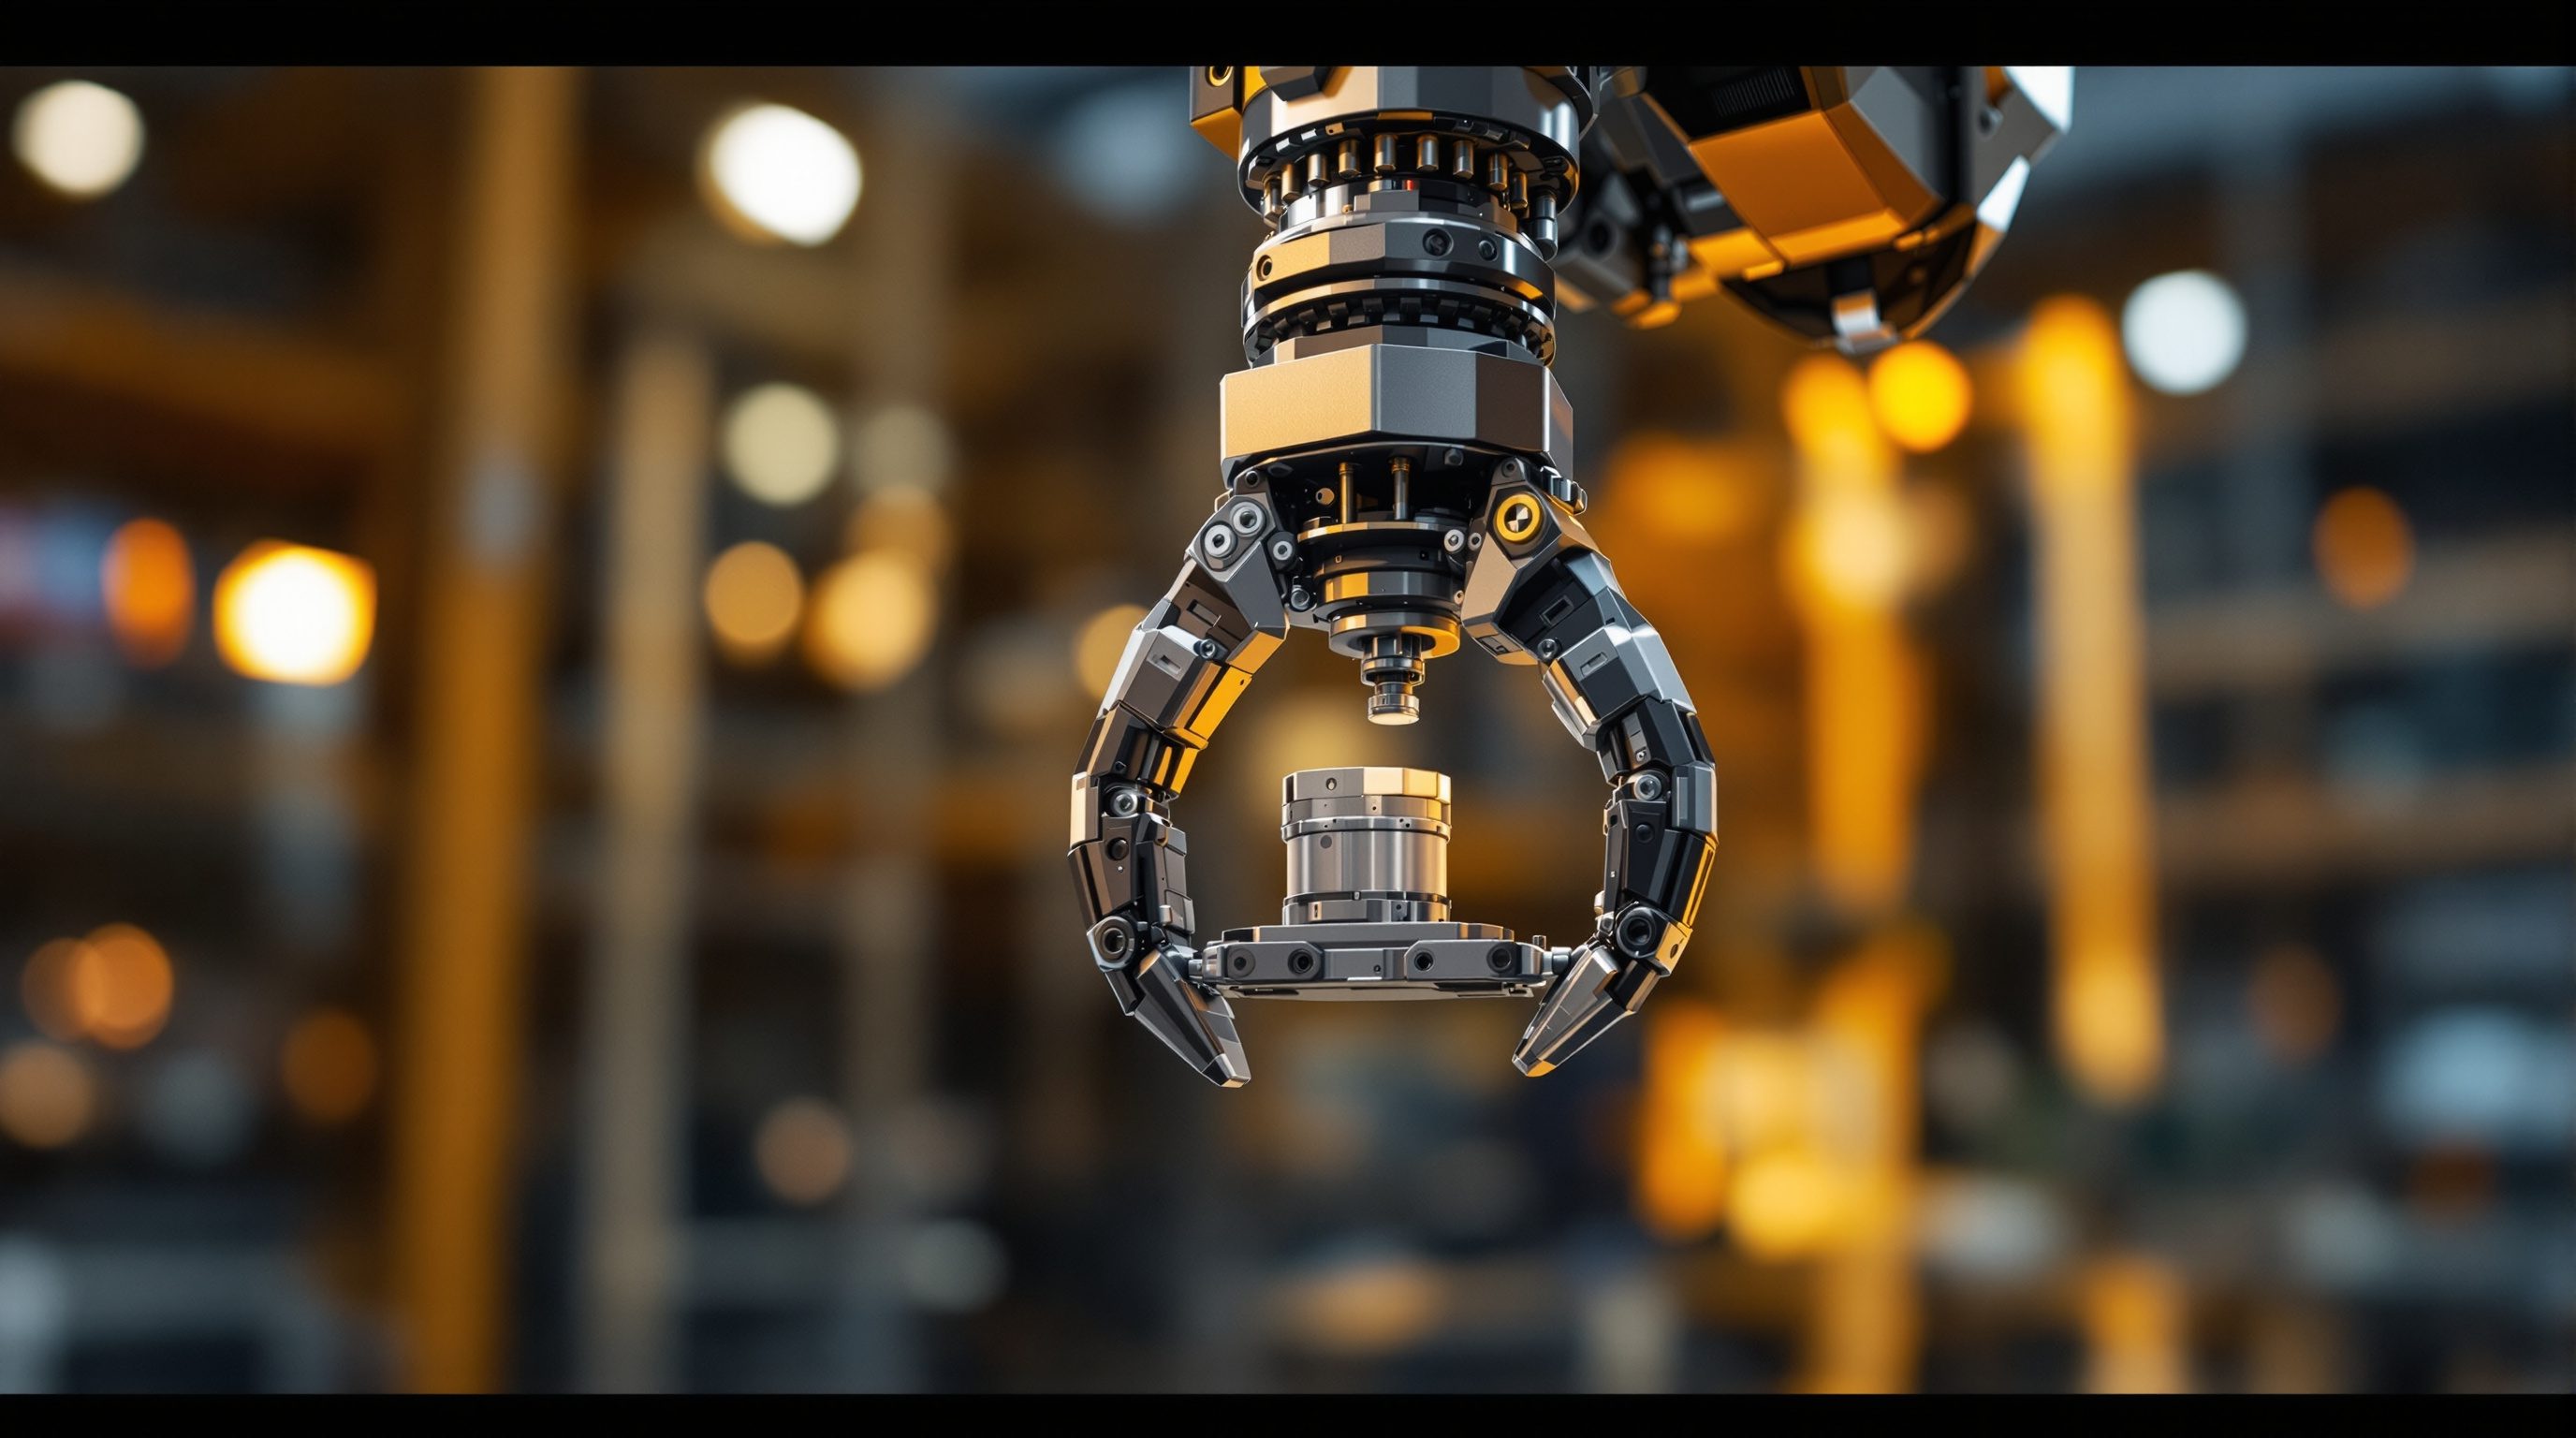
We have spent two lessons on the arm - but an arm ending in a bare mounting flange is a very expensive way to point at thin air. The end-effector, the tool bolted to the wrist, is what actually does the work. It is the reason a general-purpose arm is worth having: swap the end-effector and the identical robot becomes a mill, a printer, a cutter, a bricklayer.
End-of-arm tooling (EOAT) is where robotic fabrication gets real and specific. It is also where a lot of the engineering, the cost and the danger live - because the end-effector is the part that spins, heats, grips or extrudes, and the part you must guard, power and calibrate. This lesson is the catalogue and the craft of the tool at the wrist.
The tool at the wrist IS the fabricator. Grip, carve, extrude, cut, sense. Own TCP, own guarding, each.
Grippers and the flange: how tools attach
Every end-effector bolts to the robot's flange, a standardised circular face at the wrist (its pattern is set by an ISO mounting standard so tools are interchangeable across arms). Through or beside that flange run the tool's utilities: electrical power and signals, compressed air, coolant, filament or material feed. Designing an end-effector is as much about routing those services as about the tool itself.
The most fundamental end-effector is the gripper - the robot's hand, for pick-and-place and assembly. Grippers come in families: parallel-jaw grippers (two fingers that clamp, the workhorse), vacuum / suction grippers (a cup that grabs flat sheets, glass, panels - superb for handling large smooth material), and magnetic grippers for ferrous parts. Assembly robotics - stacking timber, laying brick, placing panels - lives on grippers. The craft is matching the gripper to the part: a suction cup that handles a glass sheet beautifully will drop a porous brick; a jaw sized for a brick will crush a fragile tile. Grip force, contact area and part fragility all have to be reasoned about before the arm ever moves. And a gripper does not only need to hold the part - it must hold it in a known position, because the robot assumes the grasped part sits exactly where the grip placed it; a component that shifts in the jaws mid-move throws off every placement that follows, which is why assembly grippers are often designed to seat a part against a hard stop rather than merely clamp it.
Flange = the standard mount + the services (power, air, material). Gripper = the robot's hand.
Process tools: spindles, extruders, hot-wire
Beyond grippers are the process tools that make the robot a fabricator in each of our families. For subtractive work, a spindle - essentially a high-speed router or mill motor - lets the arm carve foam, timber, plaster or plastic from any angle, the robot's flexibility giving it access a 3-axis CNC cannot match (undercuts, sculpted surfaces, work approached from the side). For additive work, an extruder deposits material layer by layer: a paste extruder for clay or concrete (as WASP and construction printers use), a pellet or filament extruder for large-scale plastic, even spatial printing that draws in mid-air. For a fast formative-adjacent cut, a hot-wire (a heated taut wire) slices expanded foam (EPS/XPS) into ruled and curved surfaces in seconds - the standard way robots make foam moulds and formwork for cast concrete.
Others you will meet: welding torches (the arm's original factory job), knives and routers for sheet trimming, polishing and grinding heads for finishing, pick-up and placing heads for tiles or bricks, and printing/spraying heads. Each process tool brings its own settings from earlier modules - spindle speed and feed rate for milling, layer height and flow for extrusion, wire temperature and speed for hot-wire cutting - now delivered by an arm that can also tilt and orient the tool through the cut. Critically, each tool also brings its own hazard: a spinning spindle, a hot wire, a live torch, hot extruded material. The end-effector is usually the most dangerous part of the whole cell.
Spindle carves, extruder adds, hot-wire slices foam. Each with its OWN settings AND its own hazard.
Custom end-effectors and sensing
Because architecture keeps inventing new processes, a huge amount of robotic-fabrication research is really custom end-effector design. Labs like ETH Zurich's Gramazio Kohler and ICD Stuttgart routinely build bespoke tools: an end-effector that grips a timber beam AND drives a screw to assemble a frame; a head that winds carbon or glass fibre in space to build a shell; a tool that both extrudes and smooths. The end-effector is where a research idea becomes a real capability - and designing one is a genuine skill combining mechanics, pneumatics, electronics and control.
Many advanced end-effectors also sense, not just act. A tool can carry a force/torque sensor so it presses with controlled pressure (essential for polishing, or for assembly that must not jam), a camera or laser scanner to locate parts or inspect the result, or a probe to touch off a reference and correct for a workpiece that is not exactly where the model assumed. This sensing is what lets robotic fabrication cope with the messiness of real materials - a slightly warped board, a brick that is a millimetre oversize - rather than blindly executing a path. It is also the frontier where robotics meets the digital-twin and adaptive-fabrication ideas of Module 9.
Custom EOAT is where research becomes capability. Add a sensor and the tool can feel + see, not just act.
Tool changing - and every tool needs its own TCP
The whole promise of a general-purpose arm is realised through tool changing. A manual change - unbolt one tool, bolt on the next - is fine for a workshop that does one process at a time. For a robot that mills, then places, then finishes within one job, an automatic tool changer (ATC) is used: a master coupling on the flange docks to a matching plate on each tool, passing power, air and signal through the connection. The robot drives to a tool stand, releases the current tool into its cradle, picks up the next, and continues - all under program control.
Here the previous lesson pays off: each tool carries its own TCP. The spindle's working point sits 210 mm beyond the flange; the extruder nozzle sits somewhere else entirely; the gripper's grasp centre somewhere else again. When the arm changes tools, the controller loads that tool's stored TCP so it always knows where the new working point is - otherwise every post-change move would be wrong. This is why TCP calibration is done carefully, per tool, and stored. Safety runs through all of it: tool changes happen with motion stopped and the cell secured, because a mis-docked tool - or a spindle that starts while being handled - is exactly the kind of event guarding and interlocks exist to prevent. Never change or handle an end-effector on a live, un-secured arm.
Auto tool-change = one arm, many trades. Each tool loads its own TCP. Change only with the cell safe.
The physics of tooling: mass, moment and utilities
An end-effector is not just chosen for what it does - it has to be carriable, and this is where beginners get caught. The payload rating from Lesson 6.1 is really about more than mass: it is about the moment, the mass multiplied by how far its centre of gravity sits from the flange. A 3 kg spindle mounted close to the wrist is easy; the same 3 kg cantilevered 400 mm out loads the wrist joints far harder and eats into the effective payload. Long, heavy, off-axis tools also carry inertia - at speed, the arm must accelerate and stop that mass, and too much of it forces slower moves or risks overshoot and wobble that spoil precision. So a good end-effector is designed compact, light and balanced, with its centre of gravity close to the flange axis.
Then there are the utilities, the unglamorous half of the job. A spindle needs power and often coolant; a pneumatic gripper needs compressed air; an extruder needs a material feed and heating power; a sensor needs data and power. All of these arrive through a dress pack - the bundle of cables and hoses running along the arm - and that bundle must flex through every pose without snagging, stretching or getting caught in the tool's own path. Many a beautifully-designed end-effector fails on its first full move because a hose fouled the fixture or a cable ran out of slack at full reach. Designing the tool means designing where its services live at every point in the motion - which, again, is exactly the kind of thing you catch in simulation rather than on the floor.
Payload is really MOMENT: mass x reach from flange. Keep the tool light, compact, balanced - and route the hoses.
End-effector (EOAT)
The tool bolted to the wrist flange
What turns a positioning device into a fabricator. Grippers, spindles, extruders, hot-wire, sensors, torches.
Gripper (parallel-jaw / vacuum / magnetic)
The robot's hand, for pick-and-place and assembly
Matched to the part: suction for smooth sheets, jaws for blocks, magnets for steel. Assembly robotics lives here.
Spindle / extruder / hot-wire
Process tools for subtractive, additive and foam-cutting work
Each brings its own settings (speed/feed, layer height/flow, wire temperature) - and its own serious hazard.
Automatic tool changer (ATC)
A coupling that lets one arm swap tools mid-job
Passes power, air and signal; each tool loads its own stored TCP. Change only with motion stopped and cell secured.
Workshop - design an end-effector on paper
You do not need a machine shop to think like a tooling engineer. Designing an end-effector on paper - even a simple one - teaches you the real constraints: mass, utilities, TCP and guarding.
Paper, pen, an arm datasheet for the payload figure. No fabrication required. Building or fitting any real end-effector must be done under supervision in a guarded cell.
Goal: design a mountable, calibratable, safe end-effector for one task
Inputs: a chosen task + a target arm's payload (from Lesson 6.1)
Time: ~30 minutes
- 1Pick a task and its tool: robotic drawing (a pen), pick-and-place of small blocks (a gripper), or foam cutting (a hot-wire). State the process settings it needs.
- 2Sketch the end-effector mounting to the flange. Show how it fastens and where its utilities run - power for a hot-wire, air for a pneumatic gripper, nothing but a spring for a pen. Estimate its mass and check it against the arm's payload.
- 3Mark the TCP: the exact working point (pen tip, grasp centre, wire midpoint) and its offset from the flange. Note how you would calibrate it (touch the tip to a fixed reference from several angles).
- 4Identify the hazard and the guarding: what is sharp, hot, spinning or pinching, and how is a person kept clear? Where does the e-stop sit? When is it safe to mount or change this tool?
- 5Write the one-line 'move type' note: does this task need PTP air moves, LIN process moves, or both - and where would a singularity or reach limit bite?
You’ll walk away with
A one-page end-effector design: a labelled sketch with mounting and utilities, a payload check, a marked-and-calibratable TCP, a hazard-and-guarding note, and the required move types. The complete thinking behind any real tool.
Three altitudes on the same idea
Read the band that fits you — or all three.
The end-effector decides what a robot can actually build for you - and it is often the bespoke part of the project. A facade of robotically-laid brick, a hot-wire-cut foam formwork for board-marked concrete, a robotically-milled timber node - each is really a story about the tool at the wrist. Knowing the palette of end-effectors lets you imagine, and credibly specify, processes beyond the off-the-shelf.
Spindle, hot-wire, extruder and gripper are the four tools behind most bespoke robotic interior work. A sculpted timber or foam-and-plaster feature, a 3D-printed clay screen, tiles placed to a pattern - each maps to an end-effector. Understanding them helps you brief a fabricator precisely and understand why a given finish, undercut or material feed is or is not possible on their setup.
Custom end-effector design is one of the most sought-after, genuinely engineering skills in computational fabrication. If you can design and build a working tool - even a simple gripper or a pen-holder for robotic drawing - and pair it with a correct TCP, you demonstrate exactly the hands-and-head capability labs and studios hire for. Start simple, get the TCP right, respect the hazards, and document it.
“A fabrication robot is a single machine you buy - it comes ready to mill or print.”
Do it yourself
No robot - reason it through.
- 1Why is an arm with a bare flange described as doing nothing useful?
- 2Match each end-effector to a family: gripper, spindle, extruder, hot-wire.
- 3Why does a vacuum gripper suit glass sheets but not porous bricks?
- 4When the arm changes tools automatically, what must load with each tool, and why?
- 5Name the hazard of each of a spindle, a hot-wire and a clay extruder.
The one line to carry out
Peer-reviewed journals & authoritative standards
- 01Robot end effector — Wikipedia, 2026.
- 02Gramazio Kohler Research - Digital fabrication in architecture — ETH Zurich, 2026.
- 03ICD - Institute for Computational Design and Construction — University of Stuttgart, 2026.
- 04Association for Robots in Architecture — Robots in Architecture, 2026.
We now have an arm, an understanding of its motion, and a tool at its wrist. The last question of the module is how you actually tell all of it what to do - safely. Next: programming and simulation.
The author
Amogh N P
Architect, interior designer, and creative polymath. Studio Matrx began in his notebooks — his vision of design made honest, useful, and open to everyone. Its Academy is written and taught in his memory, and free, forever.
More about Amogh →