
 Lesson 3.4
Lesson 3.4 · CNC Milling & Routing
Moulds & Formwork
Milling negatives to cast into - the formative payoff of a subtractive machine
Sometimes the most valuable thing a milling machine makes is not the part - it is the mould you cast the part from, over and over.
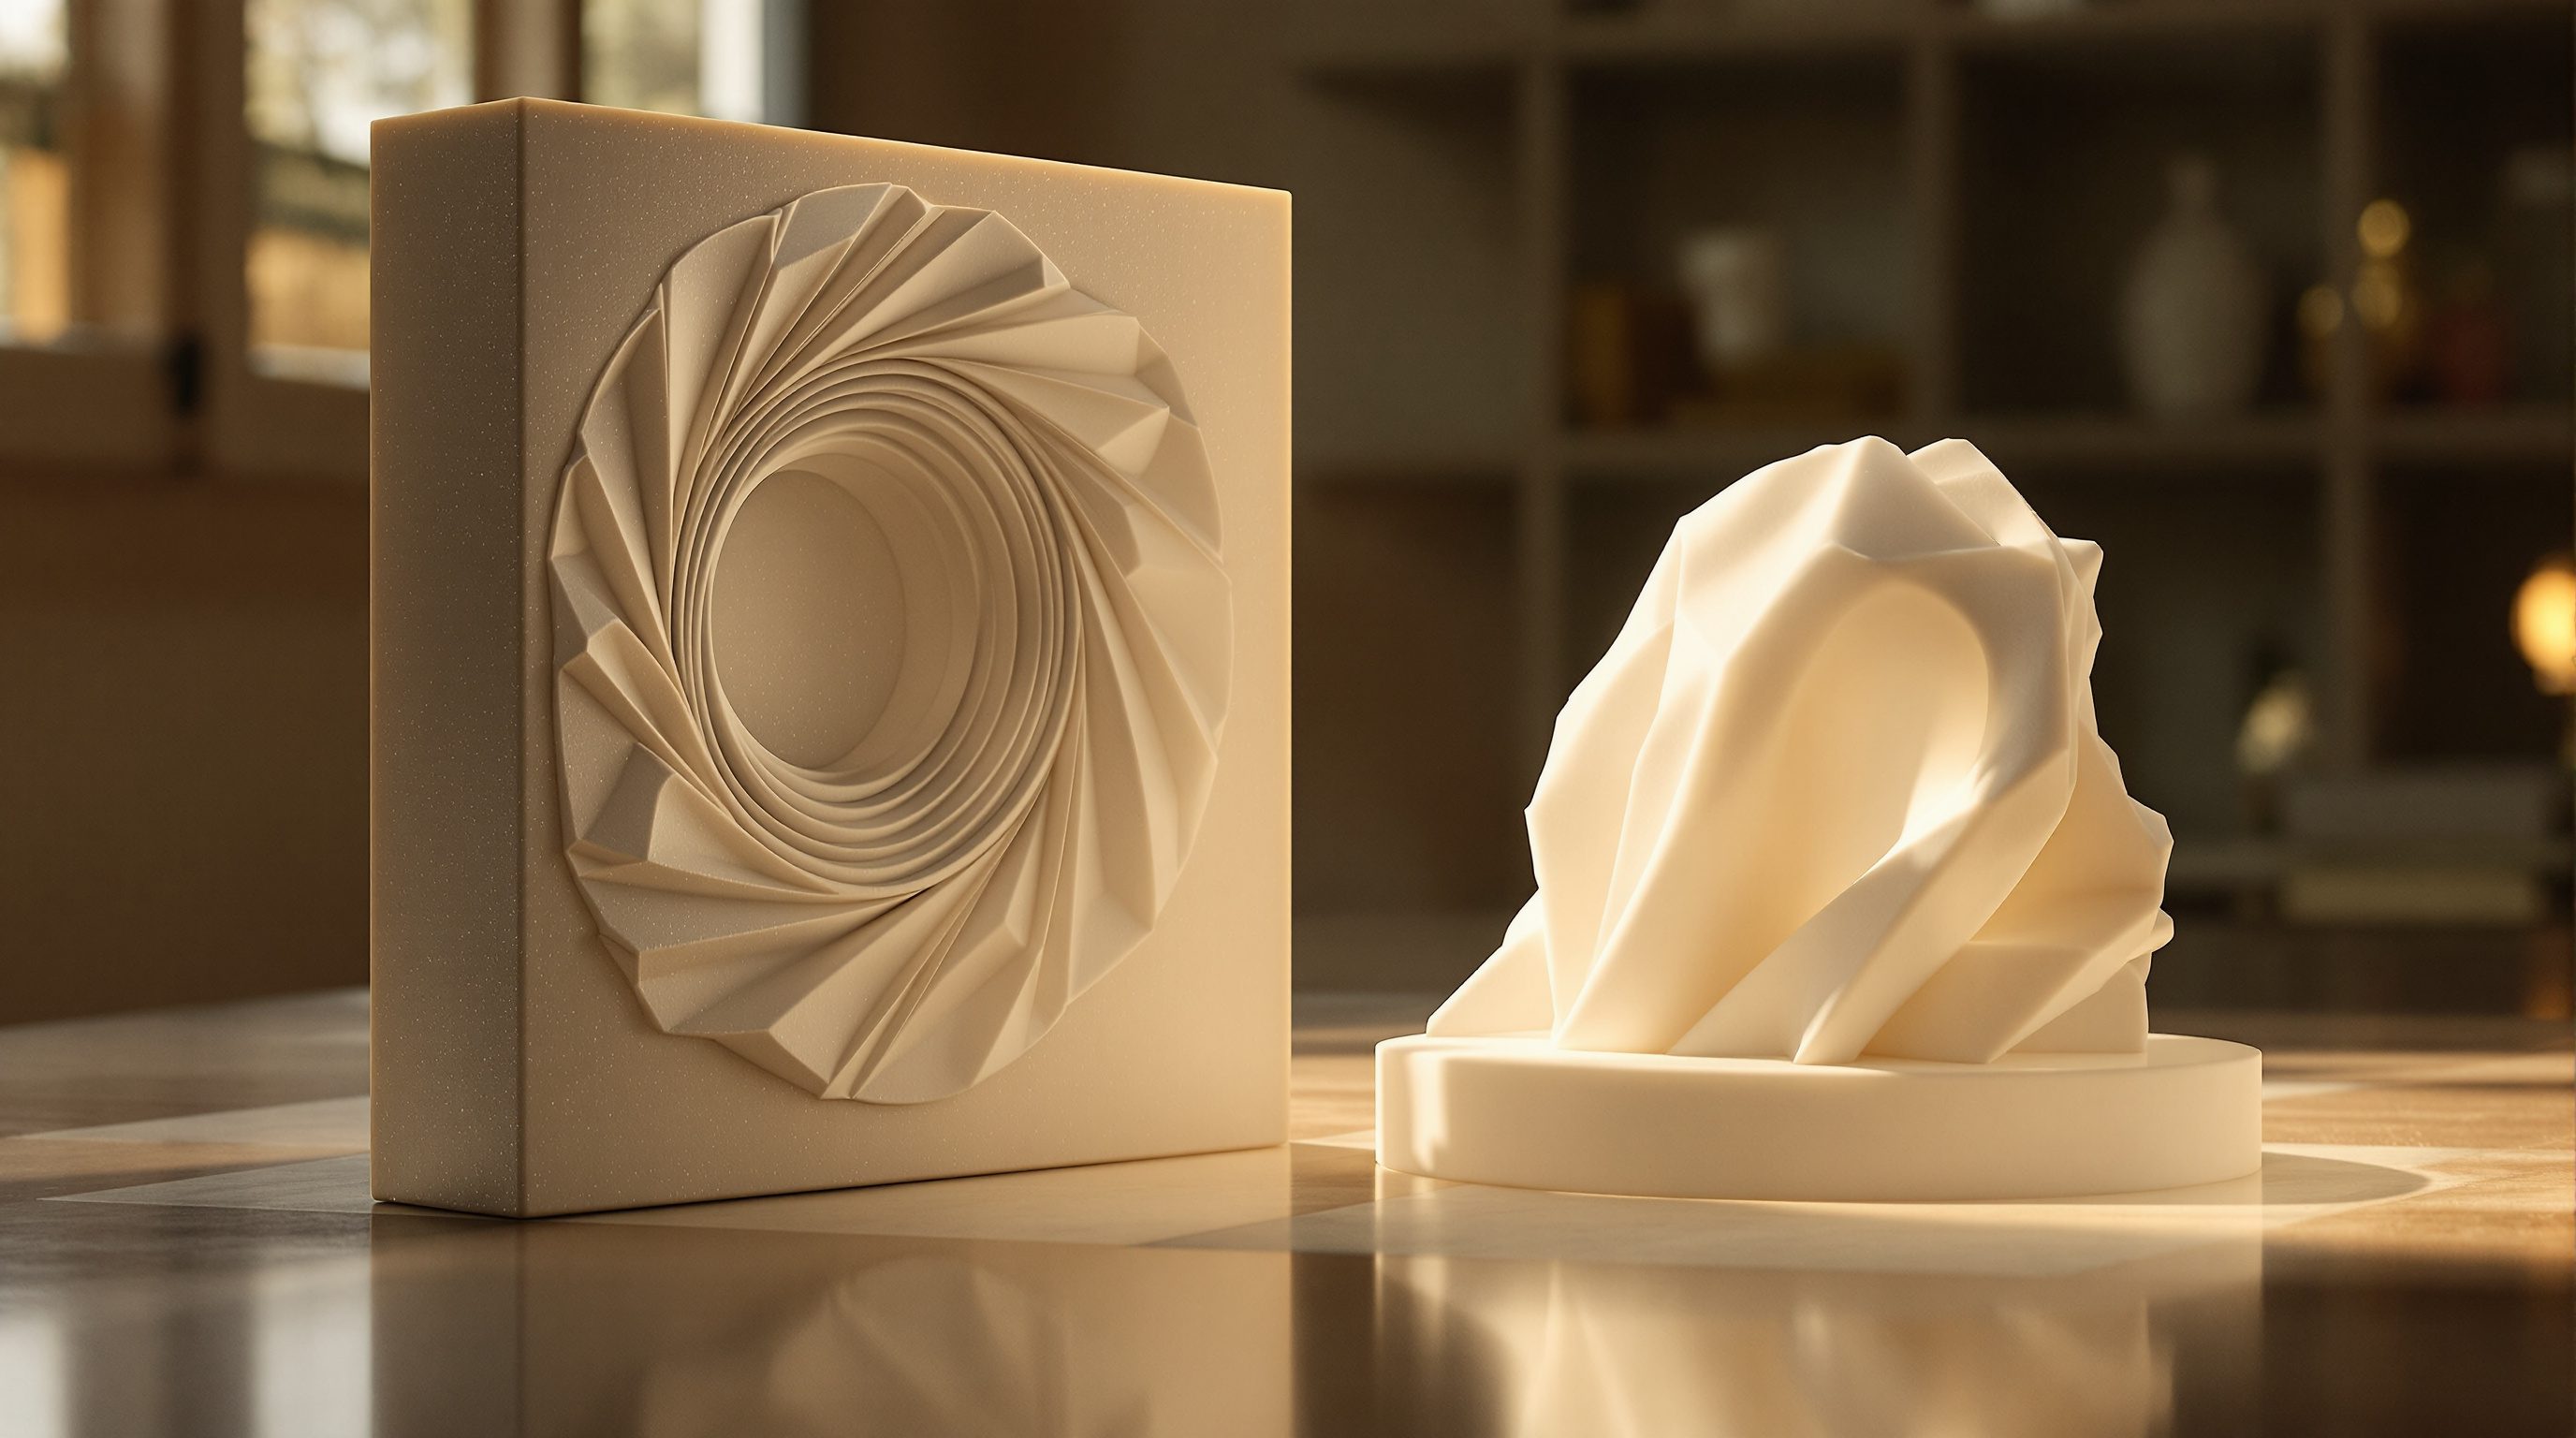
So far the mill has made the final object directly. But a subtractive machine has a quieter, hugely productive second life: it can carve the negative you pour material into. Mill a cavity, cast concrete, plaster or resin into it, and out comes a positive - the mirror of what you milled. This is a formative use of a subtractive machine, and it sits right at the heart of how much of the built environment is actually made.
The economics are the point. Milling one intricate part in solid material is slow; milling one mould and then casting a hundred parts from it is transformative. The hard, digital work happens once, in the mould; after that, repetition is cheap. Precast concrete panels, GRC facade elements, plaster mouldings, resin fittings - a great deal of bespoke architecture reaches the world this way.
Mill the void once, cast many. Draft + release + no undercuts. Formwork frees concrete from flat.
Milling a negative to cast a positive
The idea is a clean inversion of everything so far. Instead of milling your object directly, you mill its negative - a cavity in a block, shaped so that its hollow is exactly the form you want in reverse. Then you pour a liquid or plastic material into that cavity, let it cure (set hard), and release a positive: the cast, which is the precise mirror of the milled void. What was subtractive (removing material to make the cavity) becomes the means to a formative end (shaping poured material without cutting it).
Moulds are commonly milled into machinable wax, tooling board (a dense modelling foam), MDF sealed with resin, or machinable resins and metals for durable production tooling. The mould material is chosen for the casting material and the number of casts: a soft foam mould might survive a handful of plaster pulls, while a sealed hardwood or metal mould can produce many concrete casts. This is also where the ball-nose finishing skills of the previous lessons pay off directly - the smoothness of the cast is only ever as good as the smoothness of the milled cavity. Every tool mark in the mould appears, mirrored, on every part you cast from it. A mould, in other words, is a milled part where finish quality matters more than usual, because it is inherited by everything that comes after.
Mill the void, pour, cure, release. The cast is the mirror of the cavity - tool marks and all.
Draft, release and getting the part OUT
A mould is worthless if the cured part will not come out of it, and this is where beginners are caught. Two things make release possible. The first is draft angle: every wall of the cavity must taper slightly - a few degrees is typical - so the part loosens the instant it starts to lift, instead of gripping the walls all the way up. A cavity with perfectly vertical walls acts like a piston in a cylinder; the cast wedges and will not budge, and forcing it cracks the part or the mould. Designing draft into the geometry from the start is fundamental moldmaking discipline, and it is exactly why the indexed and undercut ideas from the multi-axis lesson matter: a mould must have no undercuts in the pull direction, or the part physically cannot leave (unless you use a flexible mould or a multi-part mould that splits open).
The second is the release agent: a wax, oil, spray or film applied to the cavity before pouring, so the cured material does not bond to the mould. Concrete, plaster and resin all stick to bare surfaces given the chance; a release agent, plus a well-sealed non-porous mould surface, lets the cast part company cleanly. Get draft and release right and demoulding is a satisfying, repeatable pop; get them wrong and you destroy the cast, the mould, or both. The honest rule of moldmaking: no draft, no release, no part. Design the exit before you design the shape.
Taper every wall a few degrees. Coat it with release. No undercuts in the pull direction.
When one rigid mould is not enough
A single rigid milled mould is perfect for a shape with draft and no undercuts - but real forms are not always so obedient, and there are three standard escapes. The first is the flexible mould: pour a silicone or polyurethane rubber against a CNC-milled master (the positive), let it cure, and peel off a stretchy negative that can flex over mild undercuts to release a part the rigid version would trap. Here the mill makes the master, not the working mould - a common and powerful division of labour. The second is the multi-part mould: split the negative into two or more rigid pieces along carefully-chosen parting lines, so the pieces clamp together for the pour then open to free a part with genuine undercuts. The mill cuts each half; you register them with locating pins so they close accurately.
The third escape is to rethink the geometry so a simple mould works: add draft, remove the undercut, or split the object itself into castable pieces you assemble afterwards. Which route to take is a judgement about quantity, material and detail - silicone for fine detail and short runs, multi-part rigid moulds for many concrete casts, redesign when the undercut was not essential. And moulds combine happily with the rest of the course: a laser-cut or 3D-printed master can be moulded and cast; a milled mould can produce a master that is then silicone-moulded for production. The through-line is always the same file-to-factory logic - only now the machine makes the tool that makes the part, and the design question becomes not just what shape you want, but how it will let go.
Undercuts? Silicone off a milled master, or a multi-part rigid mould with parting lines - or redesign the undercut away.
Casting materials: concrete, plaster, resin
Different casting materials suit different jobs, and each behaves differently in the mould. Plaster (and gypsum products) is the studio favourite: cheap, fast-setting, low-hazard, and superb for detail, which makes it ideal for mouldings, cornices, prototypes and study models - though it is brittle and not for structural or outdoor use. Concrete (including fine mixes and glass-fibre-reinforced concrete, GRC) is the architectural heavyweight: it casts facade panels, worktops, cladding, paving and precast structural elements, faithfully reproducing a milled texture at building scale, and it is where CNC-milled formwork earns its keep on real projects. Resin (polyurethane or epoxy) cures hard and tough, captures the finest detail, and can be pigmented or filled to imitate stone, metal or timber - excellent for fittings, decorative elements and durable prototypes, but more hazardous and more expensive, demanding ventilation and care.
Beyond the material there is the craft of the pour: mixing to the right consistency, and above all dealing with air bubbles, which spoil a surface. Vibrating the mould, pouring slowly in a thin stream, or drawing air out under vacuum all help the liquid fill every corner of the cavity and release trapped air. Curing takes time - minutes for plaster, hours to days for concrete to reach handling strength - and rushing it wrecks the cast. The mould defines the geometry; the pour and cure define whether that geometry comes out clean.
One mould, many casts - and formwork at building scale
The reason all this effort pays is repetition. The expensive, precise, digital work is spent once, milling the mould; after that, each additional cast costs only material, a little labour and time. Mill one mould, pull fifty identical plaster capitals or fifty GRC facade panels - the per-part cost collapses. This is precisely the mass-customization logic of the whole course, applied to casting: and because the mould itself is CNC-milled from a file, you can even mill a family of related-but-different moulds nearly as easily as one, so a facade of subtly varied panels becomes producible. Digital fabrication does not only make one-offs; it makes affordable, controlled repetition of bespoke forms.
At the largest scale this becomes formwork - the moulds that shape poured concrete in construction. Traditionally formwork is built by hand from timber and ply, which limits concrete to flat and simple shapes. CNC-milled formwork (in foam, timber or tooling board) unlocks complex, curved, patterned and double-curved concrete that hand-built forms could never achieve - the sculpted concrete surfaces of much contemporary architecture exist because a machine cut the mould. The same one-mould-many-casts thinking scales up: reuse a milled form across many pours, or mill a set of forms for a repeating structural bay. As always, structural concrete design and its formwork must be signed off by qualified engineers - but the geometry those forms can deliver is now bounded mainly by what you can mill, not by what a carpenter can build.
Digital cost paid once in the mould; casts are cheap thereafter. Milled formwork frees concrete from flat.
Negative mould
A milled cavity you cast a positive from
The cast mirrors the cavity exactly - including every tool mark - so mould finish is inherited by every part.
Draft angle
The slight taper on every mould wall
A few degrees so the cured part releases instead of wedging. No draft (or any undercut in the pull direction) means the part is trapped.
Mould release
Agent that stops the cast bonding to the mould
Wax, oil, spray or film on a sealed surface so concrete, plaster or resin lets go cleanly.
CNC-milled formwork
Machined moulds that shape poured concrete
Unlocks curved and complex concrete that hand-built timber forms cannot. Structural formwork needs engineer sign-off.
Workshop — design a castable mould, then pull a plaster cast
Moldmaking teaches by consequence: the cast shows you every mistake. This exercise designs a simple mould for release, then (with access) mills it and pulls a plaster positive.
Modelling or paper to design. To make it real: a supervised CNC router/mill, a mould blank, release agent, plaster, mixing tools and ventilation. Resin and concrete casting need extra safety precautions and supervision.
Goal: design a genuinely releasable mould and, if possible, cast from it
Inputs: a simple relief form (a tile, a coaster, a small dish) modelled or sketched + plaster if casting
Time: ~40 minutes to design; a session to mill and cast
- 1Model or sketch your form, then invert it into a negative cavity in a block. Confirm the cavity IS the mirror of the part you want.
- 2Add a draft angle of a few degrees to every wall so nothing is vertical. Check the whole cavity for undercuts in the pull direction and remove any - they trap the cast.
- 3Plan the milling: a flat end mill to rough the cavity, a ball nose to finish curves smoothly (remember the cast inherits this finish). Note bit choices and a finishing stepover.
- 4If you have supervised machine access, mill the mould in tooling board, machinable wax or sealed MDF; otherwise hand-carve a simple version to feel the principle.
- 5Apply a release agent, mix plaster to a smooth cream, pour slowly and tap or vibrate the mould to release air bubbles, let it cure fully, then demould and inspect - what did the cast reveal about your mould?
You’ll walk away with
A mould design showing draft angles and confirmed no undercuts, a milling plan with bit choices, and - if you cast - the plaster positive plus a short note on what the cast revealed (bubbles, tool marks, release quality) and what you would change.
Three altitudes on the same idea
Read the band that fits you — or all three.
Milled moulds and formwork are how sculpted concrete and repeating bespoke elements actually get built. GRC facade panels, board-formed and curved concrete, precast repeats - all trace back to a machined mould. Designing with draft, avoiding undercuts in the pull direction, and thinking in one-mould-many-casts lets you specify ambitious, affordable repetition - while structural formwork stays an engineer sign-off.
Casting puts bespoke solid elements within reach. A concrete basin, a plaster cornice run, resin decorative panels, a cast terrazzo top - mill one mould and produce a matched set for a project. Understanding draft, release and the finish-inheritance of the cavity lets you brief a fabricator well and predict how crisp - or how flawed - a cast surface will be before anything is poured.
Moldmaking is where subtractive and formative thinking finally connect. Mill a simple negative, learn to add draft, apply release, mix and pour plaster, and demould a clean positive - it is one of the most satisfying and portfolio-worthy exercises in the whole course. It also teaches humility: the cast reveals every tool mark and every trapped bubble, so it makes you a more careful maker.
“If a CNC machine can mill the part directly, milling a mould to cast it is a pointless extra step.”
Do it yourself
No machine needed - reason it through.
- 1In one sentence, why is milling a mould a formative use of a subtractive machine?
- 2What is a draft angle, and what goes wrong without it?
- 3Why must a mould have no undercuts in the pull direction?
- 4Name three materials you might cast into a milled mould and one job each suits.
- 5Explain the one-mould-many-casts economics in your own words.
The one line to carry out
Peer-reviewed journals & authoritative standards
- 01Molding (process) — Wikipedia, 2026.
- 02Milling (machining) — Wikipedia, 2026.
- 03CNC router — Wikipedia, 2026.
- 04Iwamoto, L. — Digital Fabrications: Architectural and Material Techniques — Princeton Architectural Press, 2009.
That completes CNC: the 3-axis machine, more axes, feeds and speeds, and moulds. Next the course leaves subtractive behind and turns to building material up in layers - 3D printing and additive fabrication.
The author
Amogh N P
Architect, interior designer, and creative polymath. Studio Matrx began in his notebooks — his vision of design made honest, useful, and open to everyone. Its Academy is written and taught in his memory, and free, forever.
More about Amogh →