
 Lesson 4.1
Lesson 4.1 · 3D Printing & Additive
Additive Manufacturing Basics
The additive idea - slicing a model into layers and the process families that build them
Subtractive making starts with a block and finds the shape by removing. Additive making starts with nothing and grows the shape one thin layer at a time.
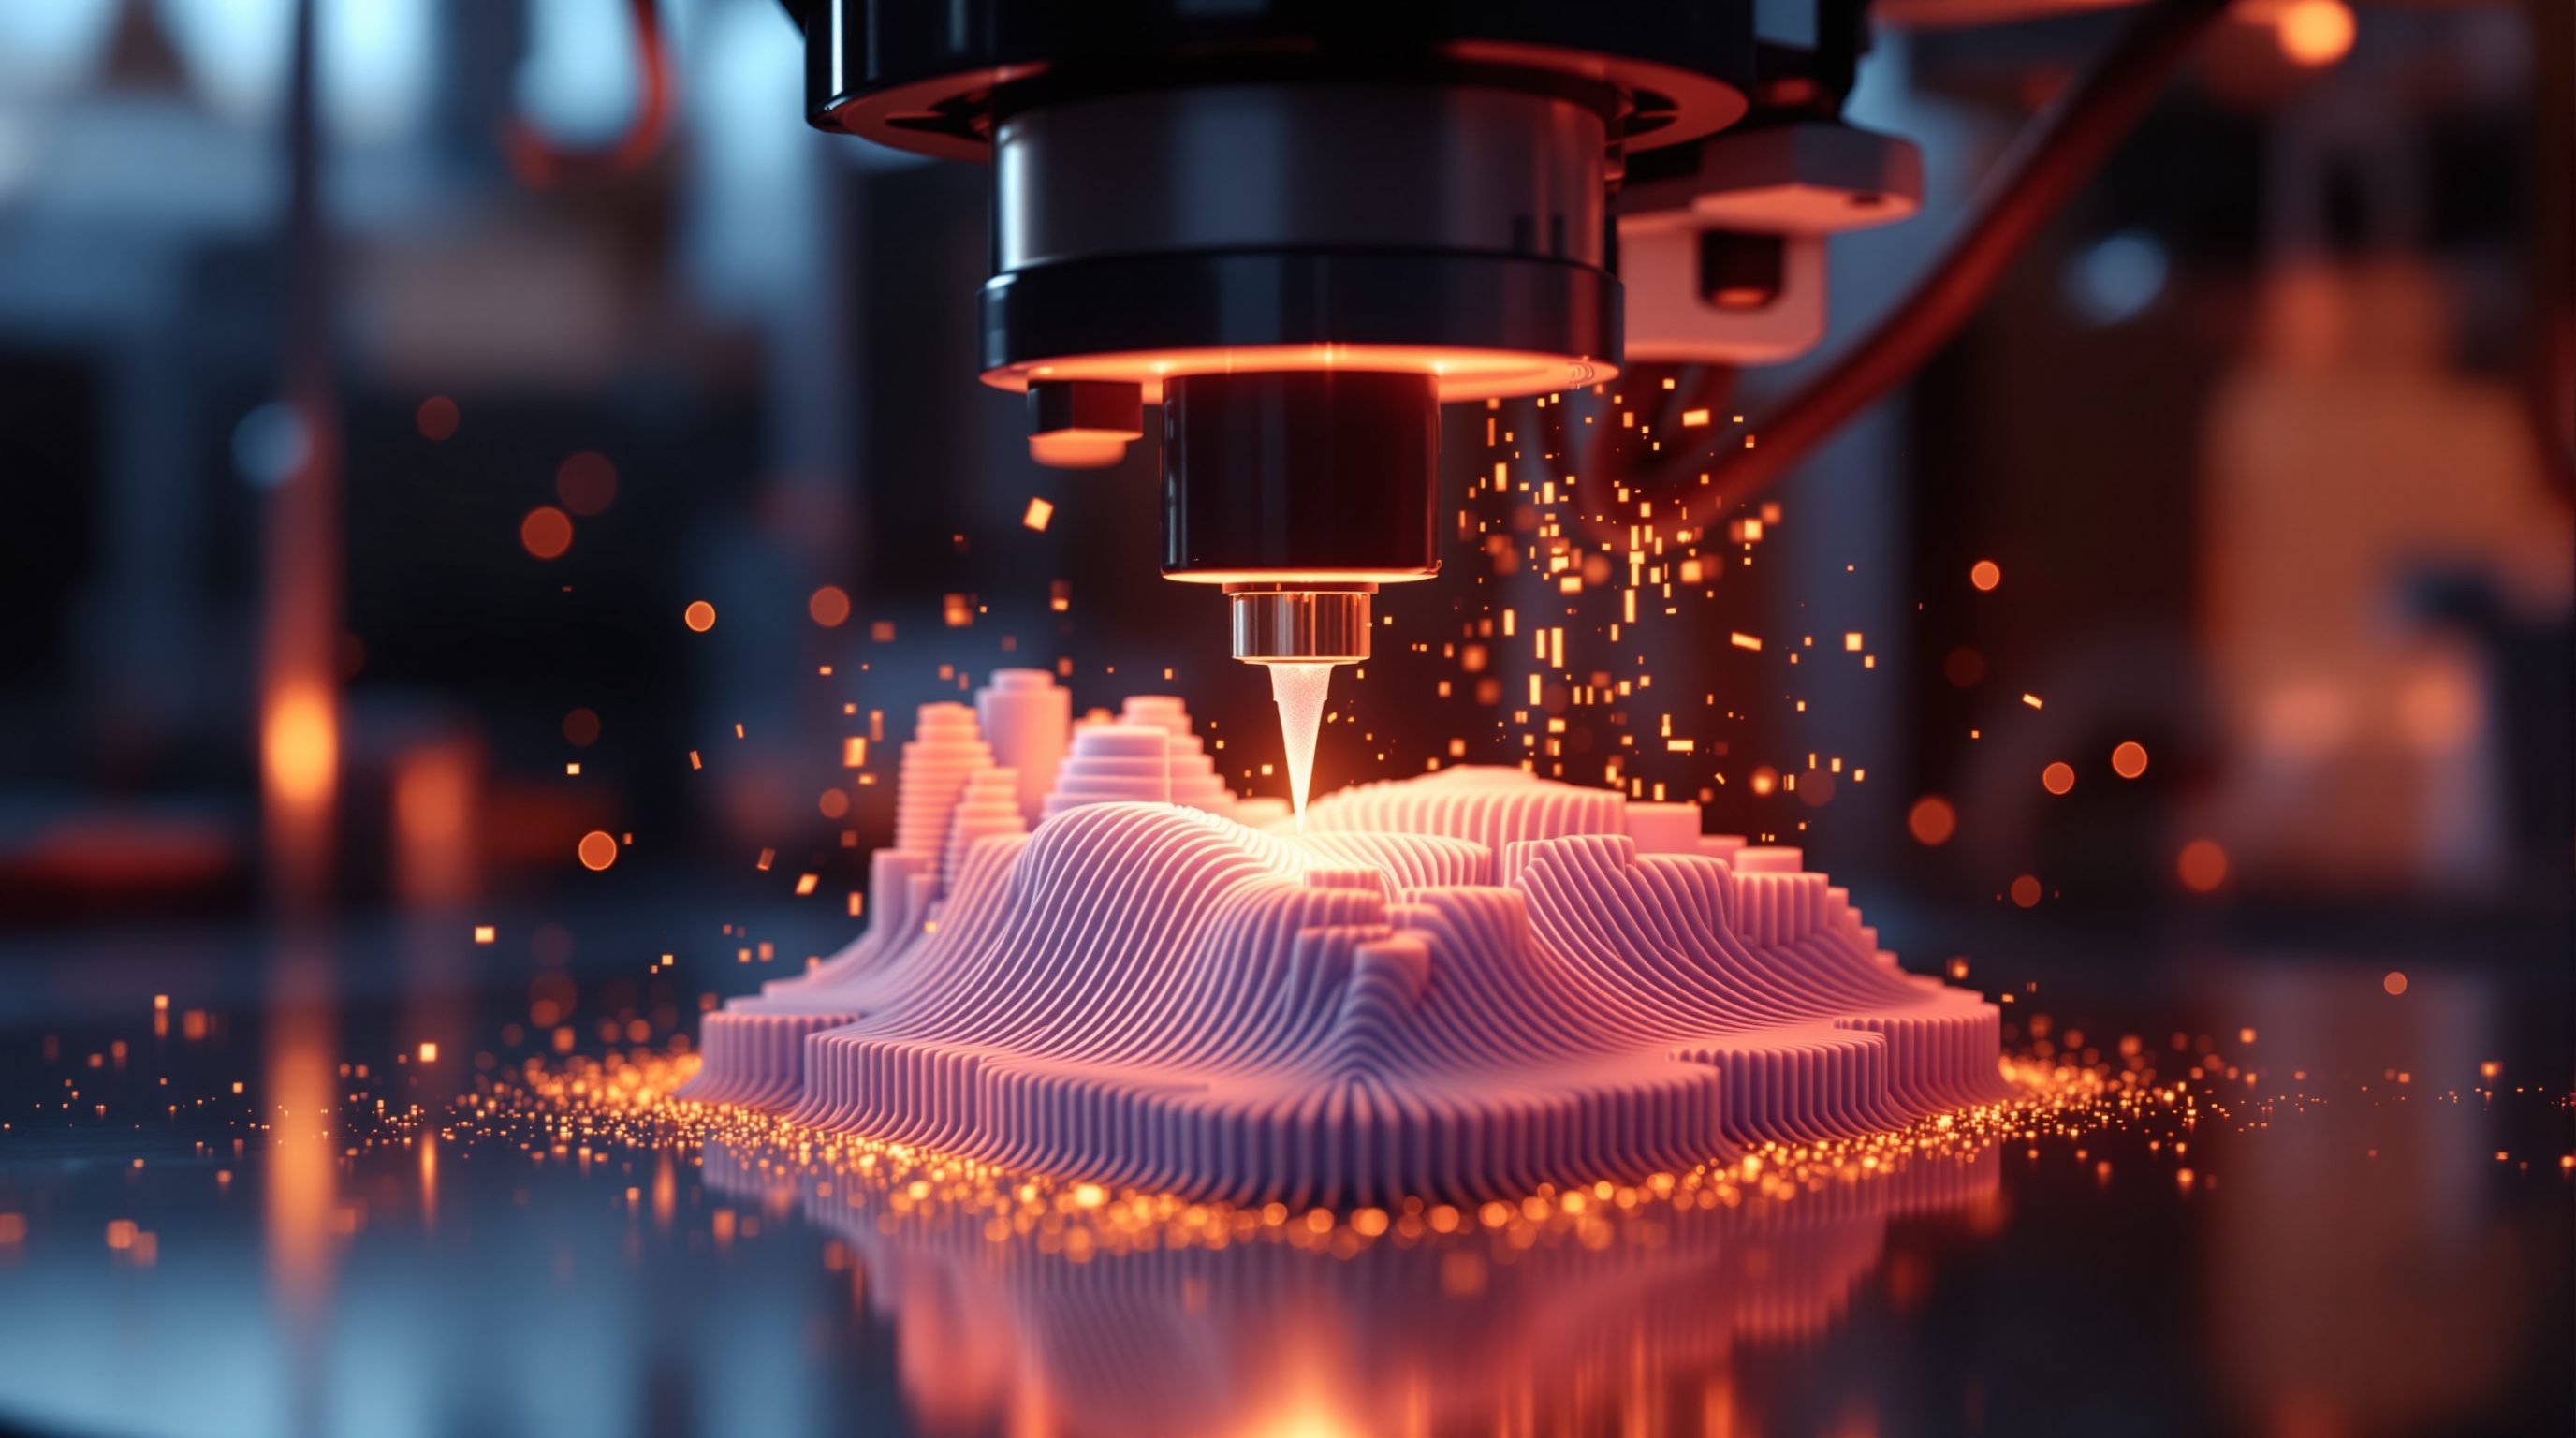
A 3D printer never carves. It builds up an object from the bottom, adding a wafer-thin cross-section, then the next, then the next, until a solid form has accumulated out of hundreds or thousands of layers. The whole family runs on that single idea - add, do not remove.
Everything else in this module is a variation on it: what material you add, and how you fuse each layer to the one below. Get the additive mindset clear first - the slice, the layer, the stack - and FDM, resin and powder all become the same story told with different tools.
Slice, layer, stack. Extrusion, resin, powder. Print for complexity, not out of habit.
The additive idea, and why the slice matters
In Module 0 you met the three families of making. Additive is the one where the machine adds material - almost always in thin, stacked layers - rather than cutting it away or reshaping it. Nothing is wasted into chips or off-cuts; the part simply accretes where the file says material should be.
The key mental move is that a printer cannot see your 3D model the way you do. It builds in two-and-a-half dimensions: it can move freely in X and Y across a flat plane, then step up a fixed amount in Z and do another flat plane. So before anything prints, the model has to be sliced - cut by a stack of evenly spaced horizontal planes into a sequence of 2D layers. Each layer is a flat outline (a perimeter) with some pattern filling it, and the machine draws that outline in material before rising to the next.
That is why a printer is happiest with flat-ish, gently changing geometry and struggles with steep overhangs: every layer needs something beneath it to land on. The slice is not a detail of the software - it is the deep logic of the whole family. Once you see an object as a stack of pancakes rather than a solid lump, additive fabrication stops being mysterious.
This layered logic also explains additive's signature look and its signature weakness in one stroke. The faint horizontal ridges you can feel on a printed part are the layers themselves, and the thinner you slice, the less you see them. The weakness is that the joins between layers are never quite as strong as the material within a layer - so a printed part has a grain, like timber, and behaves differently along it than across it. Almost everything else in this module is really a consequence of building in stacked layers, so it is worth fixing that single picture firmly in mind before any machine appears.
A printer thinks in pancakes, not lumps. Flat layer, step up, flat layer, step up.
The slicer: from model to G-code
Between your model and the machine sits a piece of software called the slicer - the additive world's version of CAM. You feed it a mesh, usually an STL or 3MF file (a surface described as thousands of tiny triangles), tell it your machine and material, and it computes the whole print for you.
A slicer does far more than cut planes. It decides the layer height (how thick each slice is - typically 0.1 to 0.3 mm for desktop FDM), how many solid walls or perimeters trace each outline, how dense the internal infill lattice is, where supports are needed under overhangs, and how fast and hot to run. It then writes all of this as G-code - the same move-by-move instruction language you met in Module 1 - which the printer executes blindly. Popular slicers include Cura, PrusaSlicer, Bambu Studio and, for resin, Lychee or Chitubox.
The honest truth is that most print quality is won or lost here, not at the machine. A good model sliced badly prints badly; a modest printer with well-chosen settings can produce beautiful parts. Learning additive manufacturing is, to a large degree, learning to drive a slicer thoughtfully.
Slicer = CAM for printers. STL in, G-code out. Most quality is decided right here.
Three ways to add: the process families
Additive is not one technology but a cluster of them, grouped by how each layer is formed. Three families cover almost everything you will meet.
Material extrusion melts a thermoplastic and squeezes it out of a moving nozzle, drawing each layer as a bead of molten plastic that cools and sticks. This is FDM (or FFF) - the cheap, ubiquitous desktop workhorse of the next lesson.
Vat photopolymer starts with a tank of liquid resin that hardens when hit by UV light. A light source - a laser in SLA, a whole-layer projector or LCD in DLP - cures one layer at a time against a build plate that lifts out of the vat. It gives the finest detail of any accessible process.
Powder bed fusion spreads a thin layer of fine powder and uses a laser or heat to fuse the grains where the part should be (SLS in nylon, MJF, or metal variants like DMLS). The surrounding loose powder holds the part up, so no supports are needed and complex, strong parts come out in one go.
There are others - material jetting, binder jetting, directed energy deposition - but if you understand these three, you understand the landscape. Lessons 4.2 and 4.3 take them one at a time.
When additive beats subtractive
Additive is not automatically better than cutting - it is a different tool with a different sweet spot. It wins clearly in four situations. Internal complexity: hollow parts, internal channels, lattices and shapes trapped inside other shapes are trivial to print and often impossible to mill, because no tool has to reach in. Organic, freeform geometry: a doubly-curved or branching form that would need five-axis machining prints without fuss. One-offs and low volumes: with no mould and no fixturing, the first part costs the same as the hundredth, so bespoke and prototype work is cheap. Consolidation: several machined-and-assembled components can sometimes be redesigned as a single printed part.
Subtractive still wins where additive struggles: large parts (printing is slow - a big FDM piece can take many hours), fine tolerances and smooth finishes straight off the machine, and the strength and material range of solid stock. Layered parts are also anisotropic - weaker along the layer-to-layer bond than across it - which matters for load-bearing pieces. A useful worked comparison: a small, boxy aluminium bracket might mill in twenty minutes on a CNC and come off flat and precise, while the same part printed in plastic could take three hours and still be weaker in one direction - but a branching, hollow, lattice-cored version of that bracket may be impossible to mill at all and print in the same three hours. The geometry, not habit, decides. The maker's skill, as ever, is choosing: reach for additive when geometry or one-off freedom is the prize, not because a printer is in the room.
Print for complexity and one-offs; mill for size, finish and raw strength.
The honest limits: resolution, tolerance and finish
Before you fall in love with additive, know what it does not give you for free. Resolution is bounded by the process: an FDM nozzle cannot draw a feature finer than its bead (around 0.4 mm), and the layer height leaves visible steps on gentle slopes - the classic ridged look of a cheap print. Resin resolves far finer, powder sits in between. If your model has crisp text or a razor edge, ask whether the process can even render it before you print.
Tolerance - how closely the finished dimension matches the drawing - is looser than machining on most desktop processes. A hole modelled at 5 mm may print at 4.7 or 5.2 mm depending on the machine, material shrinkage and how the layers stack, so parts that must mate precisely need test prints and often a deliberate clearance designed in. Finish off the machine is rarely presentation-ready: FDM shows layer lines, powder is grainy and matte, resin is smooth but needs the supports cleaned off. Nearly every serious print gets some post-processing - sanding, priming, painting, vapour-smoothing, dyeing - and that labour is part of the true cost. None of this makes additive worse; it makes it a real process with a real envelope. Designing inside that envelope, rather than being surprised by it, is what the rest of this module builds.
Resolution, tolerance, finish - additive has an envelope. Design inside it; budget the post-processing.
Slicer
Software that turns a mesh into layers and G-code
The additive world's CAM. Cura, PrusaSlicer, Bambu Studio, Chitubox. Where most print quality is actually decided.
STL / 3MF
The mesh file formats a slicer reads
A surface described as many triangles. STL is universal but dumb; 3MF also carries units, colour and settings.
Layer height
The thickness of each printed slice
Typically 0.1-0.3 mm on desktop FDM. Smaller means smoother and slower; it is the master trade-off of additive.
Material extrusion / vat photopolymer / powder bed fusion
The three main additive process families
Melt-and-deposit, light-cured resin, laser-fused powder. Most of 3D printing is one of these three.
Workshop - slice a model and read the recipe
You do not need to print anything to learn the most important skill: reading what a slicer decides. Free slicers run on any laptop and show you the whole print before a gram of material moves.
A laptop and a free slicer (Cura, PrusaSlicer or Bambu Studio). No printer required. If a fablab printer is available, print your favourite slice to feel the layers in your hand.
Goal: see a solid model become a stack of layers and G-code
Inputs: a laptop, a free slicer (Cura or PrusaSlicer), any small STL
Time: ~35 minutes
- 1Install a free slicer and download a simple STL - a small vase, bracket or figurine from a model site. Import it and pick a generic FDM printer profile.
- 2Slice it at a 0.2 mm layer height, then use the preview slider to scrub up through the layers. Watch the object build from the bottom: this is exactly what the machine will do.
- 3Now change one thing at a time and re-slice: set layer height to 0.1 mm, then 0.3 mm, and note how the estimated print time and layer count change. Toggle infill from 15 to 60 percent and watch the material estimate move.
- 4Rotate the model so a flat face is no longer on the bed. See where the slicer adds supports under the new overhangs - proof that orientation drives supports.
- 5Open the generated G-code in a text viewer and scroll it. You will not read it fluently, but recognise the move commands and the layer-change comments - the same instruction language from Module 1, now driving a printer.
You’ll walk away with
A one-page note comparing your slices: layer count, print time and material for two layer heights and two infill settings, plus a screenshot of where supports appeared when you reoriented the part. This is the additive recipe, made visible.
Three altitudes on the same idea
Read the band that fits you — or all three.
For you, additive manufacturing is the fastest route from a complex model to a physical study. Massing models, doubly-curved facade panels, intricate node connectors, terrain and context models - all print directly from the geometry you already have. Understanding slicing and the process families lets you specify prints credibly and know when a printed node should become a cast or machined one for real loads.
Additive puts bespoke, sculptural objects within reach - a one-off light shade, a decorative screen module, custom handles, sampling a form before you commit to a maker. Resin gives you jewellery-fine detail for small pieces; FDM gives you cheap, quick, larger studies. Knowing the families keeps your expectations honest about finish, size and cost.
This is the lesson that makes every printer legible. Learn the slice, the layer and the three families as ideas, and any machine you meet - the FDM printer in the studio, the resin printer in the fablab - is a variation you already understand. A cleanly printed, well-finished part in your portfolio shows you can take geometry all the way to matter.
“A 3D printer just reads your model and prints the object - you press go and it happens.”
Do it yourself
No printer - reason it through.
- 1In one sentence, how does additive making differ from subtractive?
- 2Why must a model be sliced before it can print?
- 3What does a slicer do beyond cutting the model into layers - name three decisions.
- 4Name the three additive process families and how each forms a layer.
- 5Give two situations where additive clearly beats subtractive, and one where it does not.
The one line to carry out
Peer-reviewed journals & authoritative standards
- 013D printing / additive manufacturing — Wikipedia, 2026.
- 02Fused filament fabrication (FDM) — Wikipedia, 2026.
- 03The Fab Foundation - the global Fab Lab network — Fab Foundation, 2026.
- 04Iwamoto, L. - Digital Fabrications: Architectural and Material Techniques — Princeton Architectural Press, 2009.
The cheapest, most common way to add material is to melt plastic and squeeze it through a nozzle. Next we open up FDM - the accessible workhorse of 3D printing - and the settings that make or break it.
The author
Amogh N P
Architect, interior designer, and creative polymath. Studio Matrx began in his notebooks — his vision of design made honest, useful, and open to everyone. Its Academy is written and taught in his memory, and free, forever.
More about Amogh →