
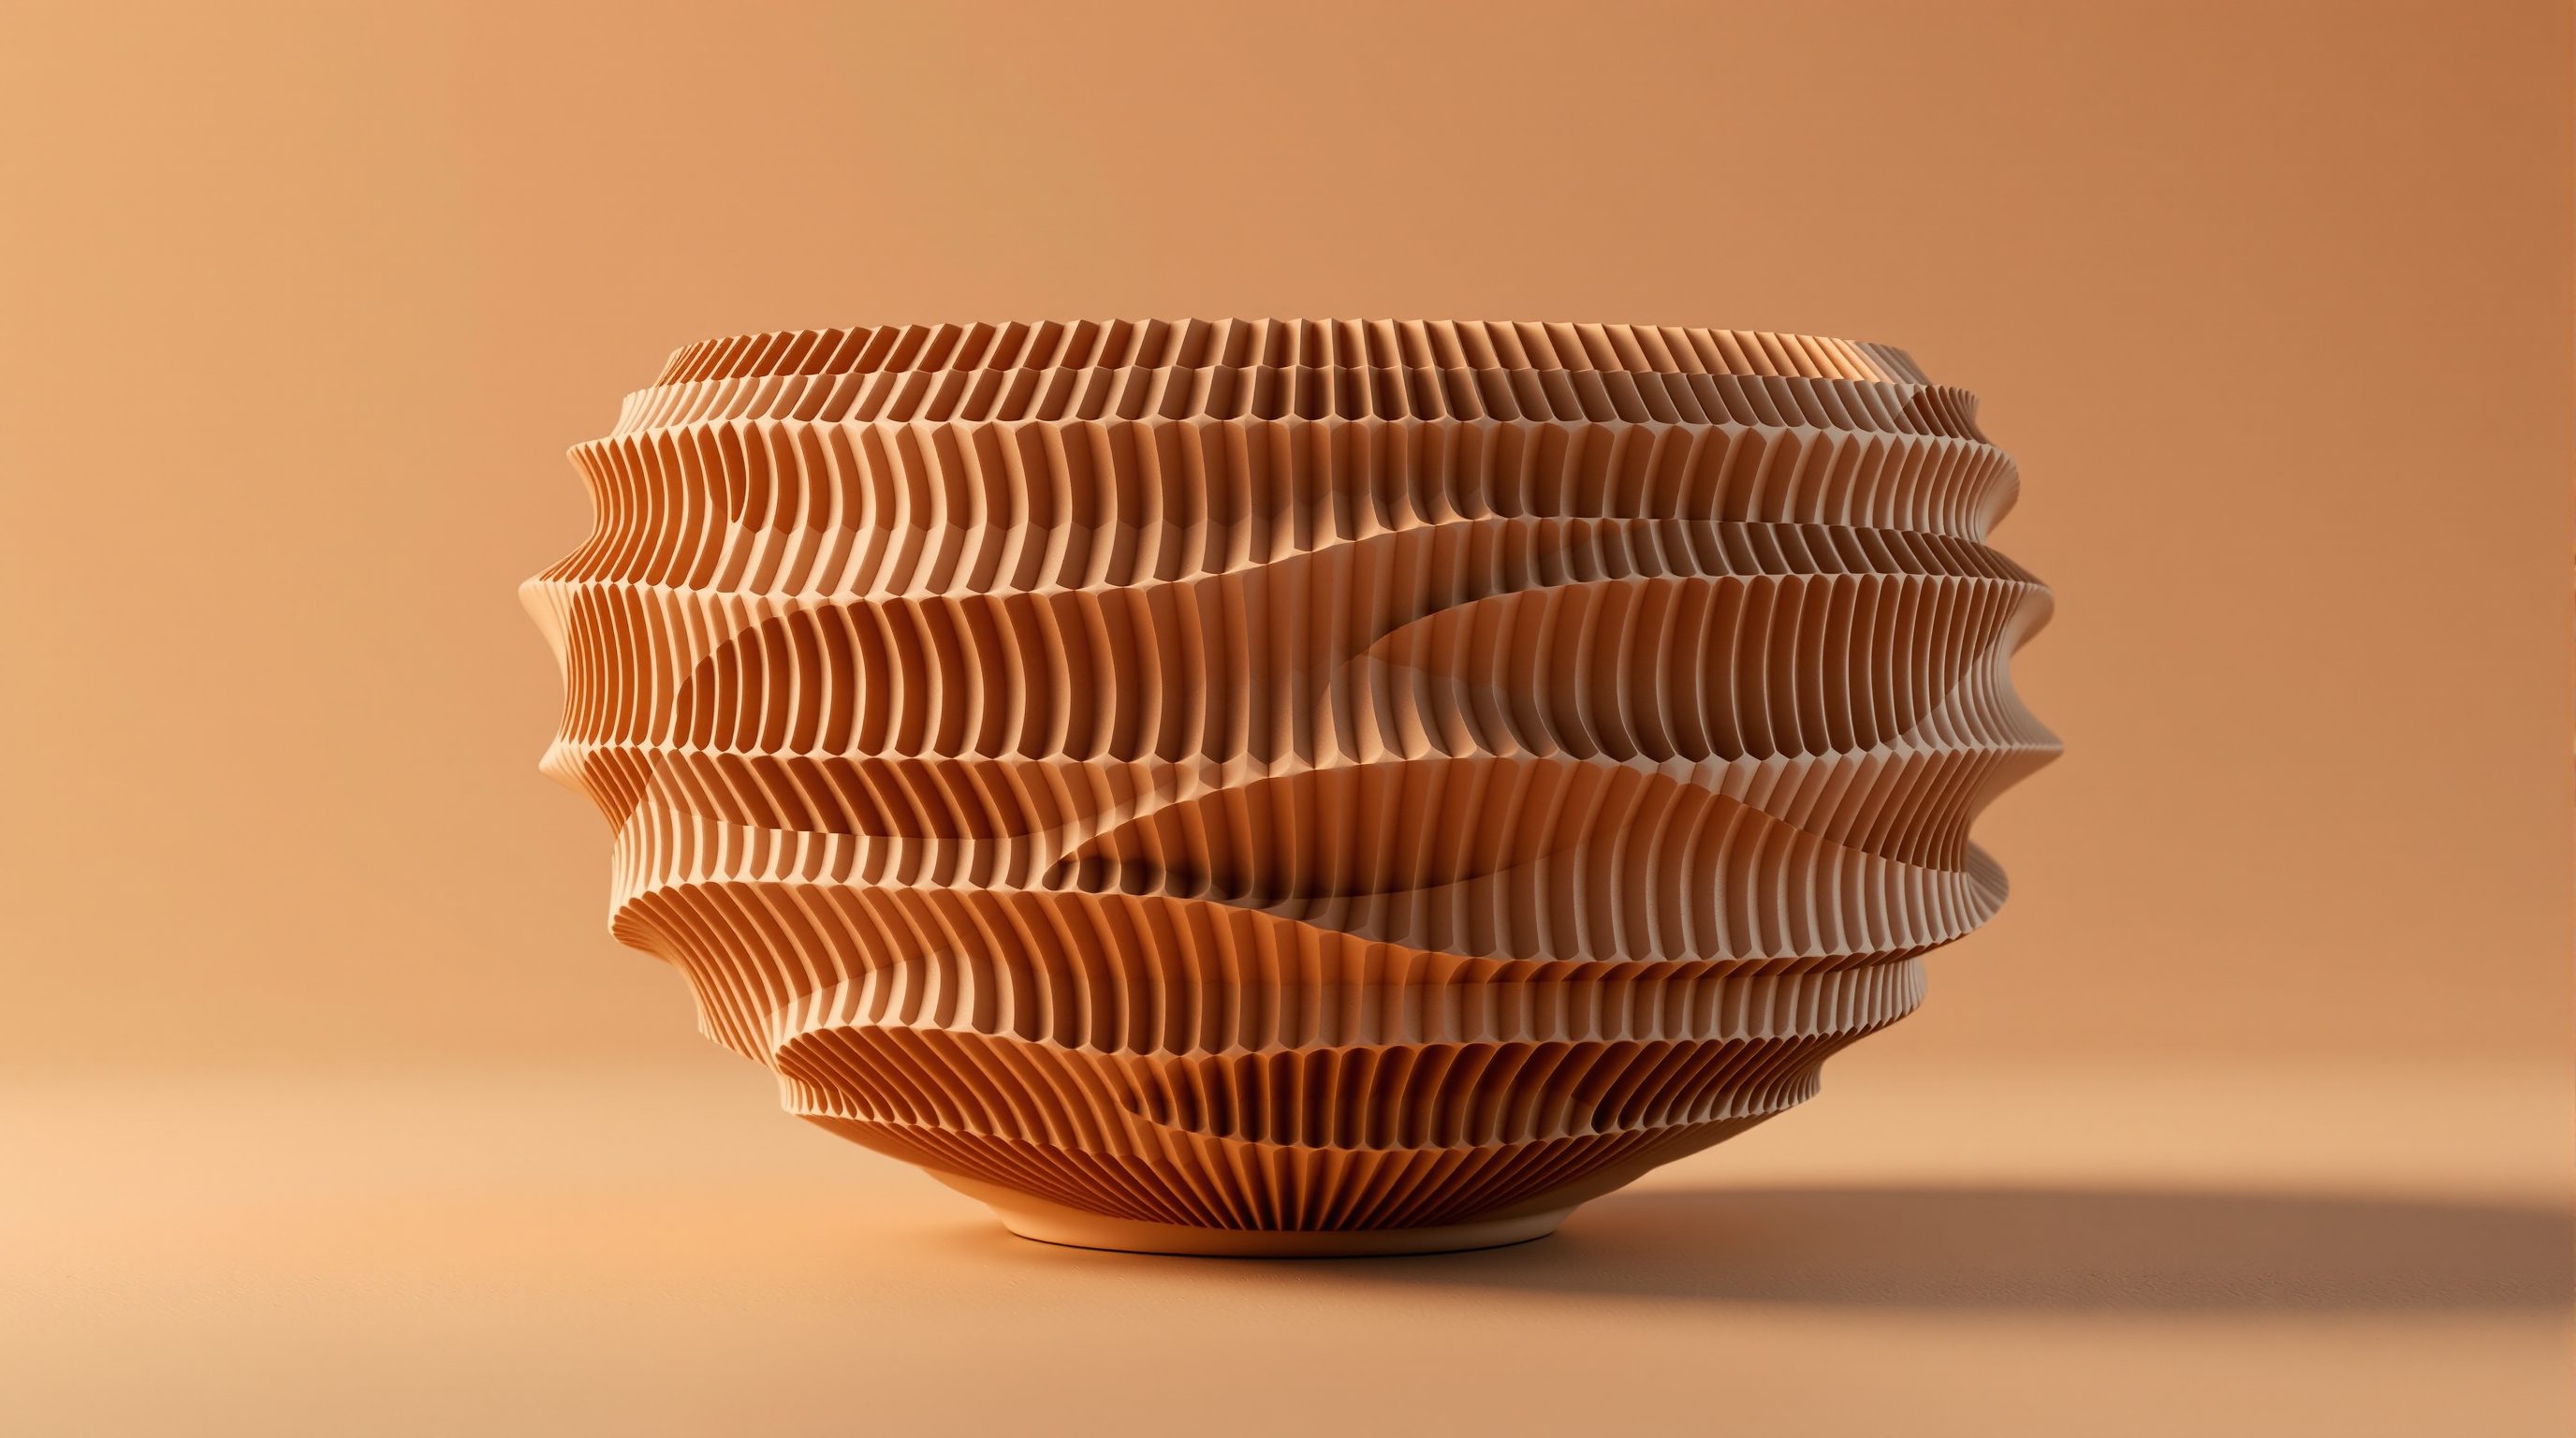
 Lesson 5.2
Lesson 5.2 · Large-Scale Additive
Clay & Ceramic Printing
Extruding soft clay in layers, then drying and firing it - shrinkage, overhangs, and earth as an architectural material
Print in mud, then set it in fire - and watch the whole thing shrink as it goes.
Swap the concrete mortar for soft clay and the same layered extrusion becomes something older and stranger: a way to make ceramics - tiles, screens, vessels, bricks, even whole earthen walls - directly from a digital model. A pressurised extruder pushes a clay body through a nozzle, and it stacks bead on bead exactly like every other extrusion process.
But clay does something concrete does not: it shrinks. As the water leaves during drying and firing, the piece pulls in on itself - often by a tenth or more. Design for the size you print, and you will fire a piece that is wrong. Clay printing is where digital fabrication meets one of the oldest crafts, and the craft sets the rules.
Print in mud, set in fire, watch it shrink. Corbel gently, never bridge. Unfired earth is the green story.
Extruding clay: the LDM machine
Clay printing is usually called LDM - Liquid Deposition Modeling - and the pioneer most people meet first is WASP, whose Delta and arm-mounted clay extruders are a fablab and studio-ceramics staple. The idea is simple: a soft, plastic clay body (roughly the consistency of stiff toothpaste) is forced through a nozzle and deposited in beads, layer on layer, on a build plate.
Two extruder types dominate. A ram extruder loads clay into a cylinder and a piston pushes it out - clean and consistent, but you must stop and reload when the cylinder empties. An auger (screw) extruder fed from a pressurised tank turns continuously, so it can print for as long as the tank holds out, which suits larger pieces. Nozzle diameters run from around 1-2 mm for fine ceramics up to 8 mm or more for architectural work, and the nozzle size sets both the bead width - which is your wall thickness - and the resolution. Clay is forgiving in one way the harder materials are not: a failed print is just wet clay. Wedge it back into the batch and print again. That cheap, reversible failure makes clay the best material to learn extrusion printing on. The clay body itself is tuned like any print material: too wet and it slumps and will not hold a bead; too dry and it clogs the nozzle or tears between layers. Studios add water and sometimes a little grog or fibre and knead (wedge) the batch to a consistent, air-free plasticity before loading - because an air bubble in the cylinder becomes a burst or a gap in the print. Print speed, nozzle height and extrusion rate are then dialled in together, exactly as on a plastic printer, until the bead lays down clean and even.
LDM: soft clay, ram or auger, nozzle sets the bead. A failed print is just clay again - reuse it.
The twist: drying and firing shrinkage
This is the property that changes how you design. A freshly printed clay piece is full of water - between the clay platelets and within the body - and that water leaves in two stages. Drying shrinkage happens first, as the piece air-dries and the platelets pull together; firing shrinkage follows in the kiln, as the clay sinters and vitrifies at temperature. Together they typically remove around 8-15% of every linear dimension, depending on the clay body, the water content and the firing temperature - stonewares and porcelains at the higher end.
So you must print oversize by the shrink rate: if a clay body shrinks 12% and you need a 100 mm finished dimension, you print it at roughly 114 mm. Worse, shrinkage is not always even - thicker sections, uneven drying and asymmetric geometry cause warping and cracking as one part shrinks faster than another. The defences are craft-old: dry slowly and evenly (often under plastic), keep wall thicknesses consistent, avoid abrupt changes in section, and test-fire the specific clay to measure its true shrink rate before committing a real piece. The digital model is only the start; the kiln finishes the making, and it has opinions.
Print at ~114 to fire at 100. Uneven drying = warp and crack. Measure your clay's shrink rate.
Wall thickness and overhang limits
Wet clay is soft, so the same buildability logic from concrete applies, tightened by clay's floppiness. Each layer must carry the next, and there is a limit to how far a layer can corbel - step outward beyond the one below - before the wall leans past its balance point and folds. Gentle, continuous corbelling is fine and is how printed clay achieves domes and inward-leaning forms; abrupt overhangs and true horizontal bridging are impossible - there is nothing under the span to hold the wet bead, so it sags and drops.
Wall thickness is set by the bead, and single-bead walls are quick but fragile until fired; doubling the wall or adding internal ribs and corrugations buys stiffness both while printing and in the final ceramic - the same rib logic you will meet again in the layer-logic lesson. Height is limited too: a tall, thin wet-clay wall can slump under its own weight before it firms, so architectural clay printing paces itself and sometimes prints in sections that are dried, then assembled or fired separately. Design within these limits and clay is remarkably expressive; fight them and you spend the day cleaning collapsed prints off the plate.
Corbel gently: yes. Bridge a gap: no. Rib or double the wall for stiffness. Tall+thin+wet = slump.
Ceramic as an architectural and craft material
Fired ceramic is one of the most durable, weatherproof and beautiful materials we have - terracotta facades and glazed tiles have lasted centuries - and printing lets each piece be geometrically unique at no mould cost. That reopens a rich architectural vocabulary: breeze-block-style screens (jali) with a different perforation in every unit, self-shading facade tiles tuned to their orientation, acoustic panels with printed relief, custom bricks, planters and cladding. At the craft end, studio ceramicists print vessels, lampshades and sculpture whose layered ribbing is celebrated as the signature of the process rather than sanded away.
Glaze and finish still belong to the potter: printed greenware can be burnished, slipped, glazed and fired exactly like thrown or slab-built work, so the digital and the handmade blend. For architecture, the appeal is mass-customised terracotta - the enduring, self-finishing material of hot climates, now individually varied - though anything structural or rain-screening still needs an engineer, a fixing system and a facade specialist. Printing makes the component; the building system around it is still designed the ordinary way. There is a deeper appeal too: printed ceramic lets ornament return without hand-carving cost. The perforation, relief and profile of every tile can respond to its exact position - denser shading where the sun is harshest, a wider aperture where a view or breeze is wanted - so a facade can be tuned unit by unit and still be one continuous fired material. It is a genuinely new licence for an ancient material, and one that suits hot climates where terracotta screening has always earned its place.
Every jali unit different, no mould. Glaze it like any pot. Terracotta, individually varied.
The sustainability of earth
Clay's quiet advantage is the material itself. Raw earth is abundant, cheap, local and low-carbon, and unfired earthen construction (cob, adobe, rammed earth) has near-zero embodied energy. WASP's TECLA house showed the ambition: printed almost entirely from site-dug earth mixed with fibres, a dwelling you could in principle return to the ground. Printing earth on site could mean building with what is under your feet, with little transport and little waste - and failed prints simply go back in the mix.
The honest caveats matter. Firing clay into durable ceramic is energy-intensive - kilns are hot and hungry - so the low-carbon story is strongest for unfired earth and weakest for high-fired stoneware. Unfired earthen walls need protection from rain and are not structural without careful design and, usually, stabilisers or reinforcement. And earth building, printed or not, sits inside local codes and seismic requirements that a qualified engineer must satisfy. So earth printing is genuinely promising for sustainability - especially unfired, on-site and low-rise - but it is a maturing technique, not a solved one, and the environmental win depends entirely on whether you fire it and how far the material travelled. A fair way to hold both truths: fired architectural ceramic buys extreme durability and weather-resistance at a real energy cost, while printed unfired earth buys very low carbon at the price of needing shelter, stabilisation and careful detailing. Neither is automatically 'green'; the honest designer weighs longevity against embodied energy for the specific building.
Unfired earth: near-zero carbon, reusable. Firing costs energy. TECLA = built from the ground it stands on.
LDM (Liquid Deposition Modeling)
Extrusion printing of soft pastes like clay
The clay-printing process; WASP popularised it. Same layered logic as FDM, but the material stays wet and workable.
Ram vs auger extruder
Piston-fed vs screw-fed clay delivery
Ram is clean but must reload; auger from a pressurised tank prints continuously for larger pieces.
Drying + firing shrinkage
Loss of size as water leaves
Typically 8-15% linear. You print oversize by the measured rate; uneven shrinkage warps and cracks.
Corbelling
Each layer stepping outward over the last
Gentle corbels make domes and leaning forms; abrupt overhangs and horizontal bridges collapse.
Greenware
The unfired, dried printed piece
Can be burnished, slipped and glazed like any pottery before the kiln makes it permanent.
Workshop - print, dry and measure the shrink
The whole point of clay printing is that the kiln changes the geometry. This exercise makes you measure that change yourself, so you learn to design for it. A clay printer is ideal, but hand-coiling a test tile teaches the same lesson if you have no machine.
Clay and a ruler at minimum; a clay/LDM printer and kiln ideally (fablab or ceramics studio, under supervision). Hand-coiling substitutes for the printer to learn the shrinkage lesson.
Goal: measure a clay body's real shrink rate and see uneven drying at work
Inputs: a clay body, a clay printer or hand-coiling, a ruler, plastic sheet, kiln access (or air-dry only)
Time: ~30 minutes active, plus days to dry and fire
- 1Print (or hand-build) two identical test tiles with a clearly marked 100 mm reference line scored into each - one thin and even, one deliberately thick on one side.
- 2Measure and record the exact wet length of each reference line straight after making. This is your 100% baseline.
- 3Dry both slowly under loose plastic. Re-measure the reference lines when bone-dry and calculate the drying shrinkage as a percentage.
- 4If you have kiln access, fire both, then measure again and calculate total (drying plus firing) shrinkage. Compare the even tile with the thick-sided one - note any warping or cracking on the uneven piece.
- 5Work out the scale factor you would apply to a model to fire a 100 mm finished dimension, and write one line on why the uneven tile deformed more.
You’ll walk away with
A one-page record: wet, dry and fired measurements, the calculated drying and total shrink percentages, the model scale factor they imply, and a photo comparing the even and uneven tiles with a note on warping.
Three altitudes on the same idea
Read the band that fits you — or all three.
Clay printing puts mass-customised terracotta back in your palette - screens, self-shading facade tiles, custom bricks and cladding, each unit unique at no mould cost, in a material that weathers for centuries. Design for shrinkage (the fired piece is ~10% smaller than the file), keep to gentle corbels and no bridging, and remember firing is energy-hungry while unfired earth is not. Structure, fixings and rain-screening still need an engineer and a facade specialist.
This is bespoke ceramics on demand - lampshades, vessels, planters, tiles, relief panels and sculptural partitions whose ribbed layer lines are a feature, not a flaw. Printed greenware glazes and fires like any studio pottery, so you can specify a one-off form and have it finished by hand. Budget for the shrink rate and for kiln access, and prototype in cheap clay first - a failed print just goes back in the bucket.
Clay is the best material to learn extrusion printing on, precisely because failure is free - a collapsed print is just wet clay you wedge and reuse. You will feel buildability, corbelling limits and layer bonding directly, and shrinkage teaches you to design for a process with a life of its own. Print, dry, fire, measure the real shrink rate, and document it: an honest ceramics test reads beautifully in a portfolio.
“You just print the clay object at the size you want and fire it - same as printing in plastic.”
Do it yourself
Reason it through - and reach for a ruler if you can.
- 1Why must you scale a clay model up before printing, and by roughly how much?
- 2What is the difference between a ram and an auger clay extruder?
- 3Why do thick or uneven sections warp and crack, and how do you defend against it?
- 4Why can printed clay corbel into a dome but not bridge a horizontal gap?
- 5When is earth printing genuinely low-carbon, and when is that claim weakest?
The one line to carry out
Peer-reviewed journals & authoritative standards
- 01WASP - clay and large-format 3D printing — WASP, 2026.
- 023D printing / additive manufacturing — Wikipedia, 2026.
- 03Circular economy — Wikipedia, 2026.
- 04Gramazio Kohler Research - Digital fabrication in architecture — ETH Zurich, 2026.
Concrete and clay are wet, on-site materials. Next we scale up a dry one: large-format additive in polymers and composites, where pellet extruders print moulds and formwork by the metre - and often get milled smooth afterward.
The author
Amogh N P
Architect, interior designer, and creative polymath. Studio Matrx began in his notebooks — his vision of design made honest, useful, and open to everyone. Its Academy is written and taught in his memory, and free, forever.
More about Amogh →