
 Lesson 5.1
Lesson 5.1 · Large-Scale Additive
Concrete 3D Printing
Extruding printable mortar in layers - gantry and robot systems, and the buildability rule that governs it all
No formwork, no bricklayer - a nozzle draws the wall in the air, one soft ribbon of mortar on top of the last.
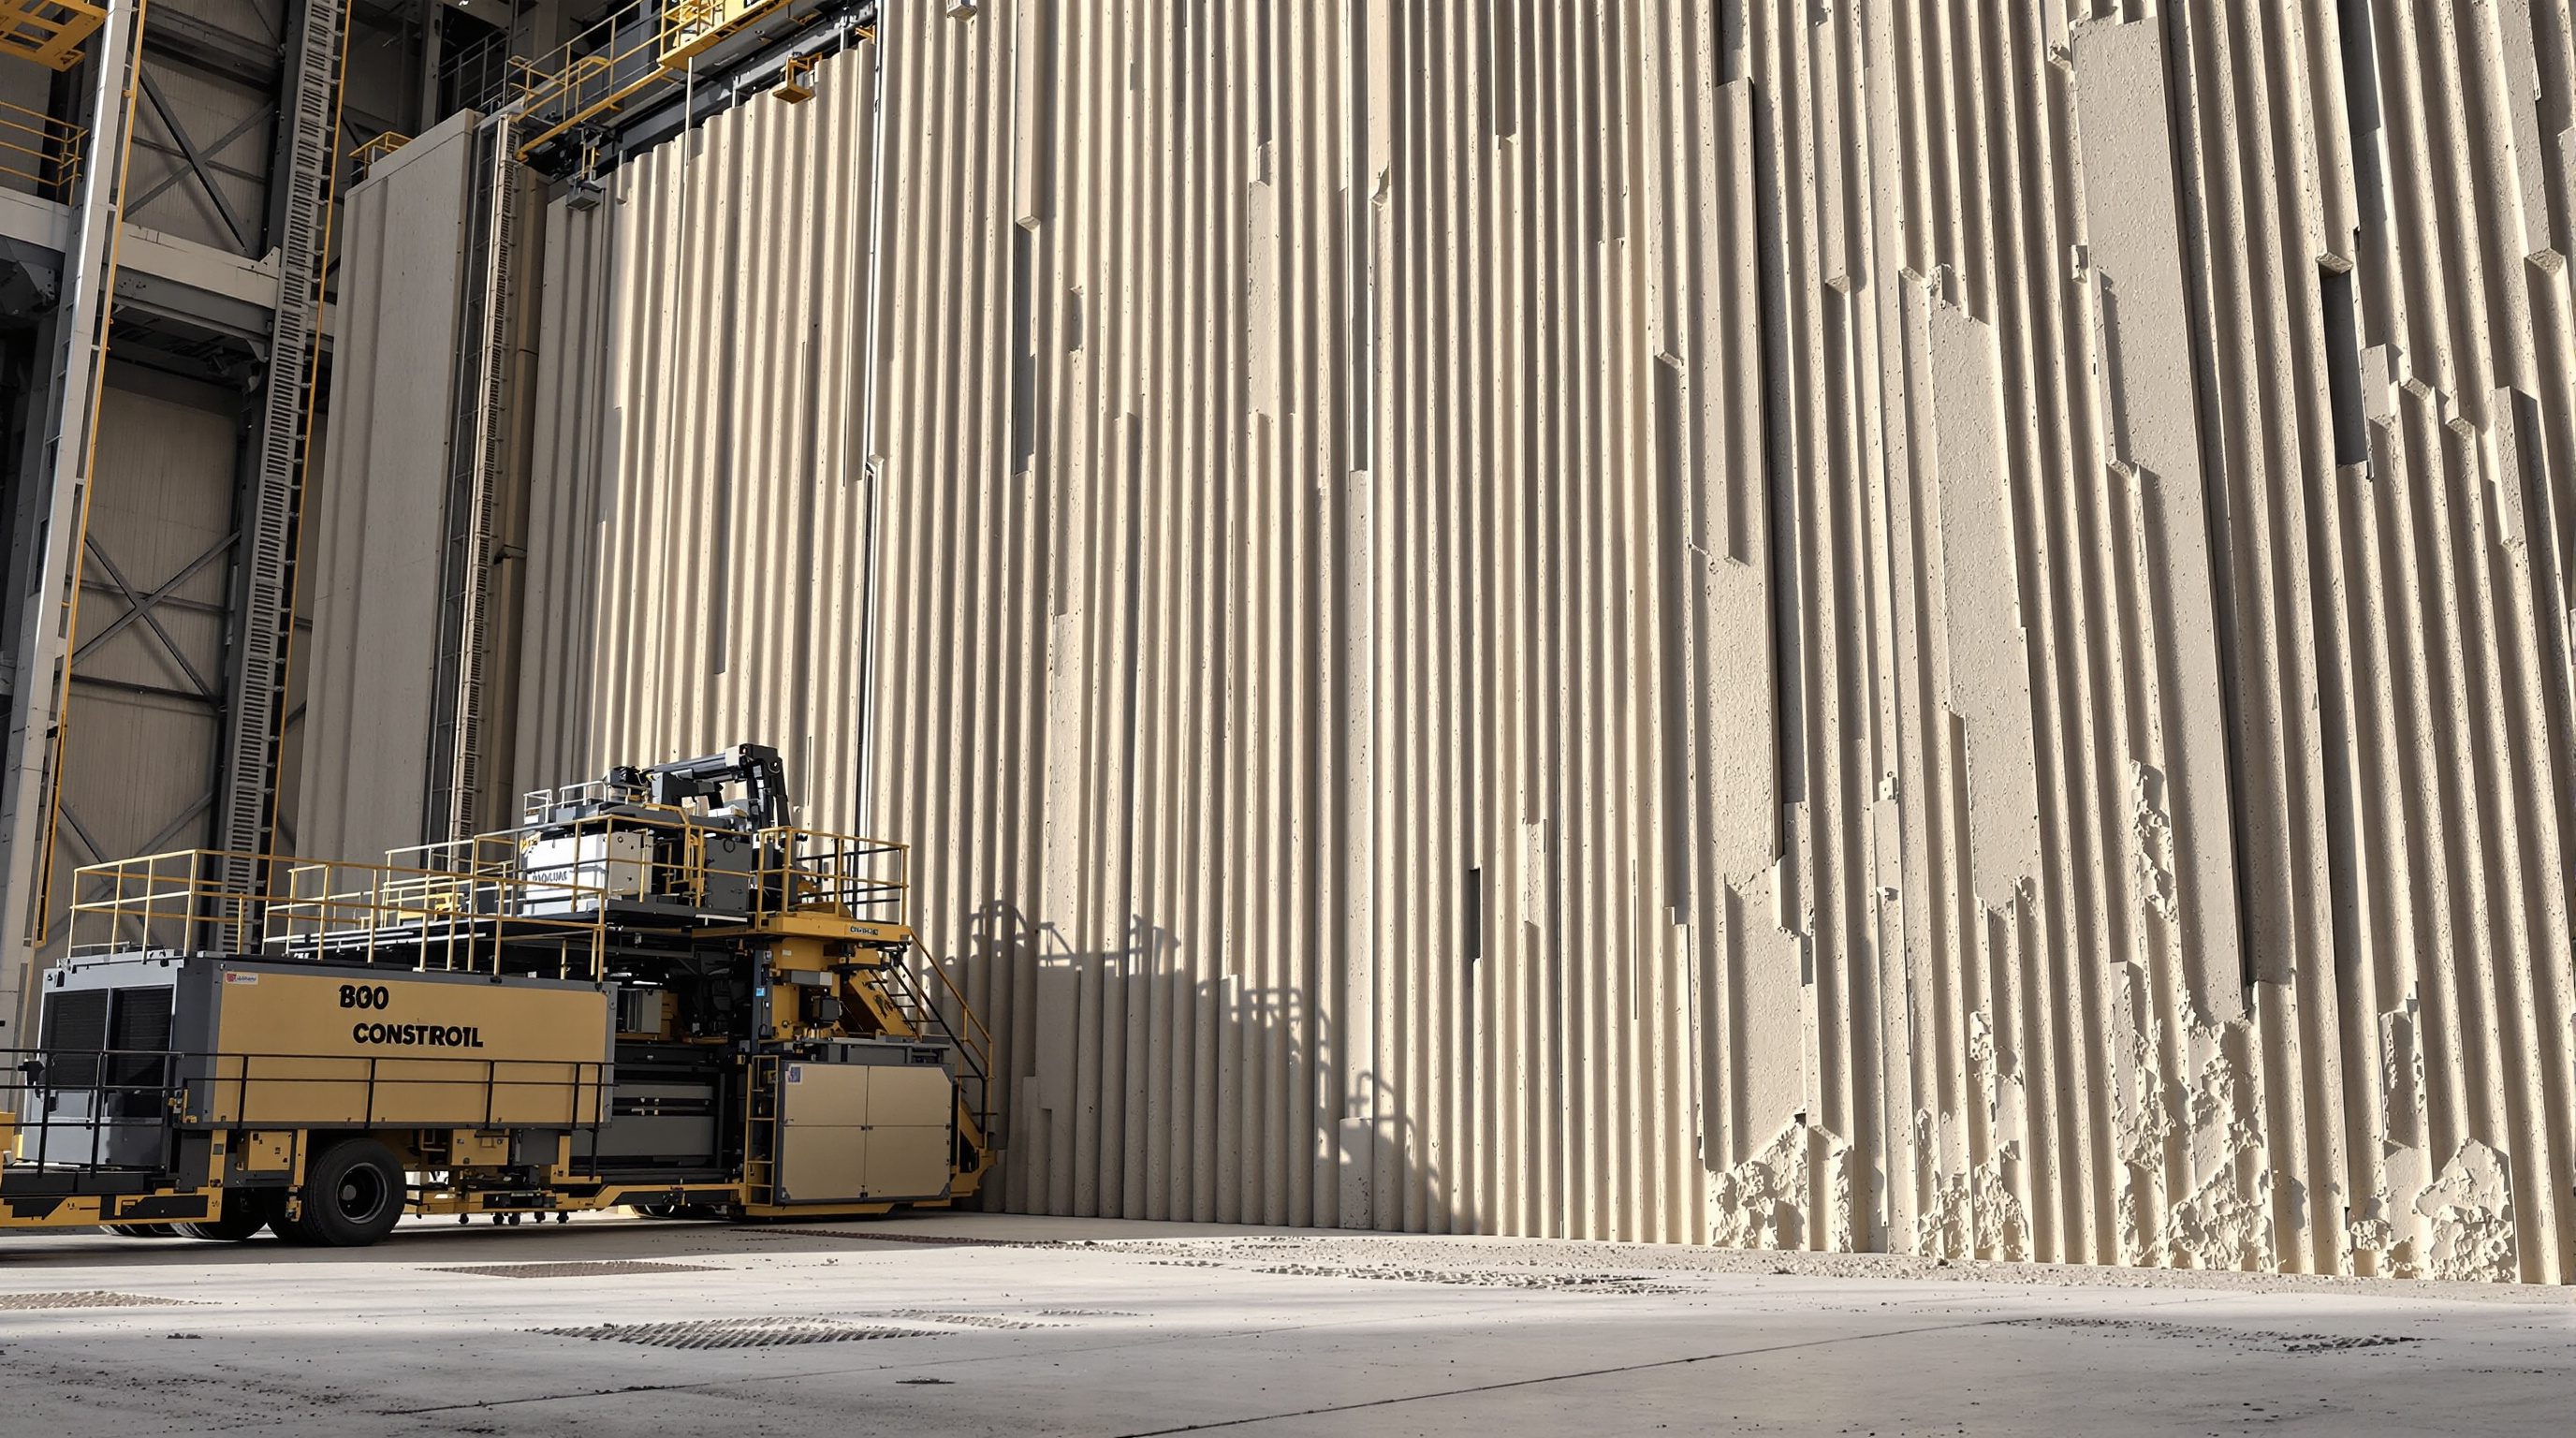
A concrete 3D printer works like a giant piping bag. A pump pushes a stiff, fast-setting mortar through a hose to a moving nozzle, and the nozzle lays it down as a continuous bead, tracing the plan of a wall and climbing one layer at a time. There is no mould, no shuttering, no one troweling - the geometry comes straight from the file.
It is the most spectacular thing digital fabrication does, and the most oversold. Printed walls are real and built; printed buildings, in the sense the headlines imply, are not. The material that makes a wall stand up unaided is the whole challenge - and understanding why is the point of this lesson.
A nozzle drawing a wall in soft mortar. Buildability is the whole game. It prints walls, not houses.
How a concrete printer actually works
Strip away the spectacle and it is a very controlled extrusion. A printable mortar - a fine-aggregate mix with no large stones, dosed with admixtures so it flows under pressure but stiffens the instant it stops - is pumped through a hose to a nozzle. The nozzle traces the wall outline and lays a bead typically 20-50 mm wide and 10-25 mm tall, then indexes up by one layer height and traces again. Walls are usually printed hollow: two or three thin beads forming the faces with a zig-zag or truss infill between them, which is lighter, faster, and leaves voids for insulation and services.
The mix is everything. It must be pumpable (fluid enough to travel the hose without blocking), extrudable (hold a clean bead at the nozzle), and buildable (stiffen fast enough to carry the layers above) - three demands that pull against each other. The trick is thixotropy: the mortar is fluid while it is being sheared in the pump and hose, and rebuilds its stiffness within seconds of being deposited at rest. Get the chemistry wrong and you either block the hose or watch the wall bulge and slump. Accelerators, retarders, superplasticisers and viscosity modifiers are tuned to the machine, the ambient temperature and the wall geometry - which is why concrete printing is a materials-science problem as much as a robotics one. A useful mental model: it is not really 'printing concrete' but printing a mortar (fine sand, cement, water and admixtures) whose whole design brief is to be temporarily fluid and then rapidly stubborn. Change the weather and the recipe changes; a mix tuned for a cool morning will behave differently by afternoon, so real print sessions carry test cubes and a technician watching the beads.
Pumpable + extrudable + buildable - three demands that fight each other. The admixtures referee.
Gantry versus robot systems
Two machine architectures dominate. A gantry (or crane) printer is a large portal frame carrying the nozzle on X-Y-Z rails, like a CNC router scaled to a house. It is stiff, its work envelope is simply the size of the frame, and it prints predictably - which is why most printed-house companies use one. The catch is transport and setup: the frame has to be bigger than the building and craned into position before a single bead is laid.
A 6-axis robot arm on a plinth or a track carries the nozzle instead. It is far more agile - it can tilt the nozzle, reach over and around a form, and print non-planar and inclined beads a gantry cannot - but its reach is limited to the arm span, usually a few metres, so it either prints smaller prefabricated components or rides a mobile base to cover a whole building. Research groups such as ETH Zurich, and many university labs, favour robots precisely for that dexterity and for the freedom to explore non-standard geometry. Rule of thumb: gantries for straightforward walls at building scale; robot arms for geometric ambition, prefabricated pieces and research. Both read essentially the same layered toolpath - the difference is reach versus freedom, and predictability versus expressive range.
Gantry = reach, predictability. Robot = dexterity, freedom. Same bead either way.
The buildability rule: speed against cure
Here is the constraint that governs everything. Each fresh layer must be firm enough to carry the weight of the layers landing on top of it, yet still soft enough to bond to the next bead. That is a race between how fast you print and how fast the mortar gains early strength - and it sets the pace of the whole machine.
Print too fast (or mix too fluid) and the lower layers have not stiffened before the load arrives - the wall bulges outward, then slumps, then collapses. Print too slow and the last layer skins over and partly cures before the next lands, so the two do not fuse: you get a cold joint, a plane of weakness running horizontally through the wall. Printers manage this through layer time - the seconds between one pass over a given point and the next - and by pacing the machine to the mix. A worked feel for it: a small wall footprint reprints a given point quickly, so a fast, fluid mix will slump before it firms; a long wall gives each layer minutes to stiffen, which risks cold joints unless the mix stays open longer. This is why concrete printing looks slow and rhythmic rather than fast - much of the time the machine is deliberately waiting for chemistry, and pushing the pace in either direction is what breaks prints. In practice printers often add a controlled dose of accelerator right at the nozzle, so the mix can stay fluid in the hose yet stiffen the moment it lands - a neat way of buying buildability without risking a blockage upstream.
Too fast: slump. Too slow: cold joint. The mix and the pace have to agree.
The reinforcement problem
Ordinary concrete is weak in tension and only works structurally because steel rebar carries that tension. But you cannot easily print a horizontal steel bar into a climbing bead - the nozzle is laying a continuous soft ribbon, and there is nowhere for conventional reinforcement to sit. This is the single hardest, least-solved problem in the field, and the honest reason printed structures are mostly non-structural or low-rise.
The workarounds are all partial. Print the walls as permanent formwork and reinforce and fill the cavity conventionally with rebar and cast concrete - common, and arguably the most sensible use of the technology today. Lay cables or mesh between layers, or comb short fibres (steel, glass or polymer) into the mix for distributed tensile capacity. Post-tension with ducts and strands threaded and stressed after printing. Place lintels and bond beams by hand where openings and loads demand. Each of these means the print is one component of a hybrid system, not a stand-alone structure - and structural design and code sign-off always stay with a qualified engineer working to local standards. There is no printed equivalent of a fully reinforced concrete frame yet, and pretending otherwise is how printed buildings get oversold.
You cannot print a horizontal rebar. Everything else is a workaround. Engineer signs off.
Real projects, and honest limits
Real work exists and is worth knowing. ICON has printed permitted homes and a small neighbourhood in Texas with its gantry system; WASP in Italy printed TECLA, a domed house made from local raw earth; Project Milestone in the Netherlands delivered occupied printed dwellings. These are genuine, inhabited, code-approved buildings - not renders and not press stunts.
But read the limits honestly. Printers make walls, usually single-storey and low-rise; floors and roofs are still cast, cut or craned in conventionally, because printing a flat horizontal span is exactly the bridging problem the layer cannot solve. Surfaces show corduroy layer lines that many owners render or plaster over. The speed advantage is real for the walls but shrinks once foundations, openings, MEP, reinforcement and finishing - all still manual - are counted into the schedule. The genuine wins are specific and worth naming: freeform, curved and tapering geometry at no formwork cost, reduced wall labour, less material in optimised hollow walls, and the ability to build where skilled trades are scarce or where the raw material is local earth. There are also live safety and site realities: a pump under pressure, a heavy moving gantry or robot, wet cementitious material and, on site, the usual construction hazards - so printing is a supervised, trained operation, never a press-a-button novelty. Treat concrete printing as a promising, still-maturing technique for a slice of a building - not a machine that prints houses on its own.
Real, inhabited, code-approved - and still just the walls. Roofs and floors stay conventional.
Printable mortar
Fine-aggregate concrete dosed for extrusion
No coarse stones; admixtures make it pumpable then rapidly buildable. The mix, not the machine, is the hard part.
Thixotropy
Fluid under shear, stiff at rest
The property that lets mortar flow through the hose yet hold its shape the instant it is deposited.
Buildability
A layer carrying the layers above it
The governing rule of concrete printing: firm enough to bear load, soft enough to bond to the next bead.
Gantry vs 6-axis robot
The two printer architectures
Portal frame (reach, predictability) versus arm (dexterity, freedom). Both trace essentially the same toolpath.
Cold joint
A weak, unbonded plane between layers
Forms when a layer cures before the next lands - the failure mode of printing too slowly.
Workshop - find the buildability limit with a piping bag
You do not need a concrete printer to feel the core constraint. A hand-piped material - toothpaste-thick icing, a stiff plaster, a clay slip, even thick mud - obeys the same buildability rule. You are going to hunt for the point where a stacked bead stops standing up.
A piping bag or squeeze bottle and a stiff paste - no machine needed. (A clay or mortar extruder in a fablab makes the same point at scale, under supervision.)
Goal: feel the print-speed-versus-stiffness race by hand
Inputs: a piping bag or squeeze bottle, a stiff paste (icing, plaster, clay slip or mud), a board, a timer
Time: ~40 minutes
- 1Mix or load a paste stiff enough to hold a bead but soft enough to squeeze. Pipe a single closed loop (a circle or square) about a hand-span across onto the board - this is your wall footprint.
- 2Immediately pipe a second loop directly on top, then a third, and keep going as fast as you can. Watch where and how it fails - does the base bulge and slump? Note the number of layers it reached.
- 3Reset. This time wait a fixed pause (say 30-60 seconds) between loops so each firms up before the next lands. Count how many more layers you reach - you have just traded speed for buildability.
- 4Now push the pause too far: leave several minutes, then pipe on top. Afterward, try to peel that joint apart - you have made a cold joint, and you can feel how weakly the layers bonded.
- 5Try a small footprint versus a long thin one at the same pace and note which slumps first. Write down the pace-and-stiffness combination that stacked highest, and explain why in terms of buildability.
You’ll walk away with
A short photo log of at least three stacks - one that slumped (too fast), one that cold-jointed (too slow), and your best build - with a paragraph relating each outcome to print speed, mix stiffness and layer time in real concrete printing.
Three altitudes on the same idea
Read the band that fits you — or all three.
Concrete printing gives you formwork-free freeform walls - and a stack of coordination problems. Curved, tapering, ornamented walls that would need costly bespoke shuttering become buildable straight from the model. But you must design around the reinforcement gap (print-as-permanent-formwork is often the honest answer), keep floors and roofs conventional, plan for layer-line finishes, and bring a structural engineer in from the first sketch. Specify it where geometry or labour scarcity genuinely justifies it, not for the spectacle.
At your scale the printer is a maker of monolithic, seamless, sculptural elements - a reception counter, a bench, a planter, a feature wall, a bespoke basin surround - cast-looking yet bespoke and jointless. Printed mortar takes pigment and can be ground and polished to a terrazzo-like finish, or left with its honest ribbed texture. Think of it as one-off cast concrete without the mould cost, ideal where a flowing, hand-of-the-machine form is the whole point of the piece.
This is the headline that pulls people into digital fabrication - so learn to separate the hype from the mechanism. If you can explain thixotropy, the buildability race between print speed and cure, and why you cannot print rebar, you understand the field better than most of the press coverage does. A small mortar-extrusion test - even a clay or icing proxy - plus a clear written account of these constraints makes a standout portfolio and interview piece.
“3D printers can print a whole house now - walls, floor, roof and all - faster and cheaper than building it.”
Do it yourself
No printer - reason it through.
- 1Name the three competing demands a printable mortar must satisfy at once.
- 2In one sentence, what is the buildability rule?
- 3What causes a cold joint, and what causes a slump - and which one comes from printing too slowly?
- 4Why can you not simply print steel rebar into a rising wall, and name two workarounds.
- 5Give one honest reason a '3D-printed house' is really a 3D-printed set of walls.
The one line to carry out
Peer-reviewed journals & authoritative standards
- 01Construction 3D printing — Wikipedia, 2026.
- 02ICON - 3D-printed homes — ICON, 2026.
- 03Contour crafting — Wikipedia, 2026.
- 04WASP - clay and large-format 3D printing — WASP, 2026.
Concrete is not the only thing worth extruding at scale. Swap the mortar for clay and the same layered logic becomes a craft and earth-building tool - with its own twist: the piece shrinks as it dries and fires. That is the next lesson.
The author
Amogh N P
Architect, interior designer, and creative polymath. Studio Matrx began in his notebooks — his vision of design made honest, useful, and open to everyone. Its Academy is written and taught in his memory, and free, forever.
More about Amogh →