
 Lesson 3.4
Lesson 3.4 · The Camera & Composition
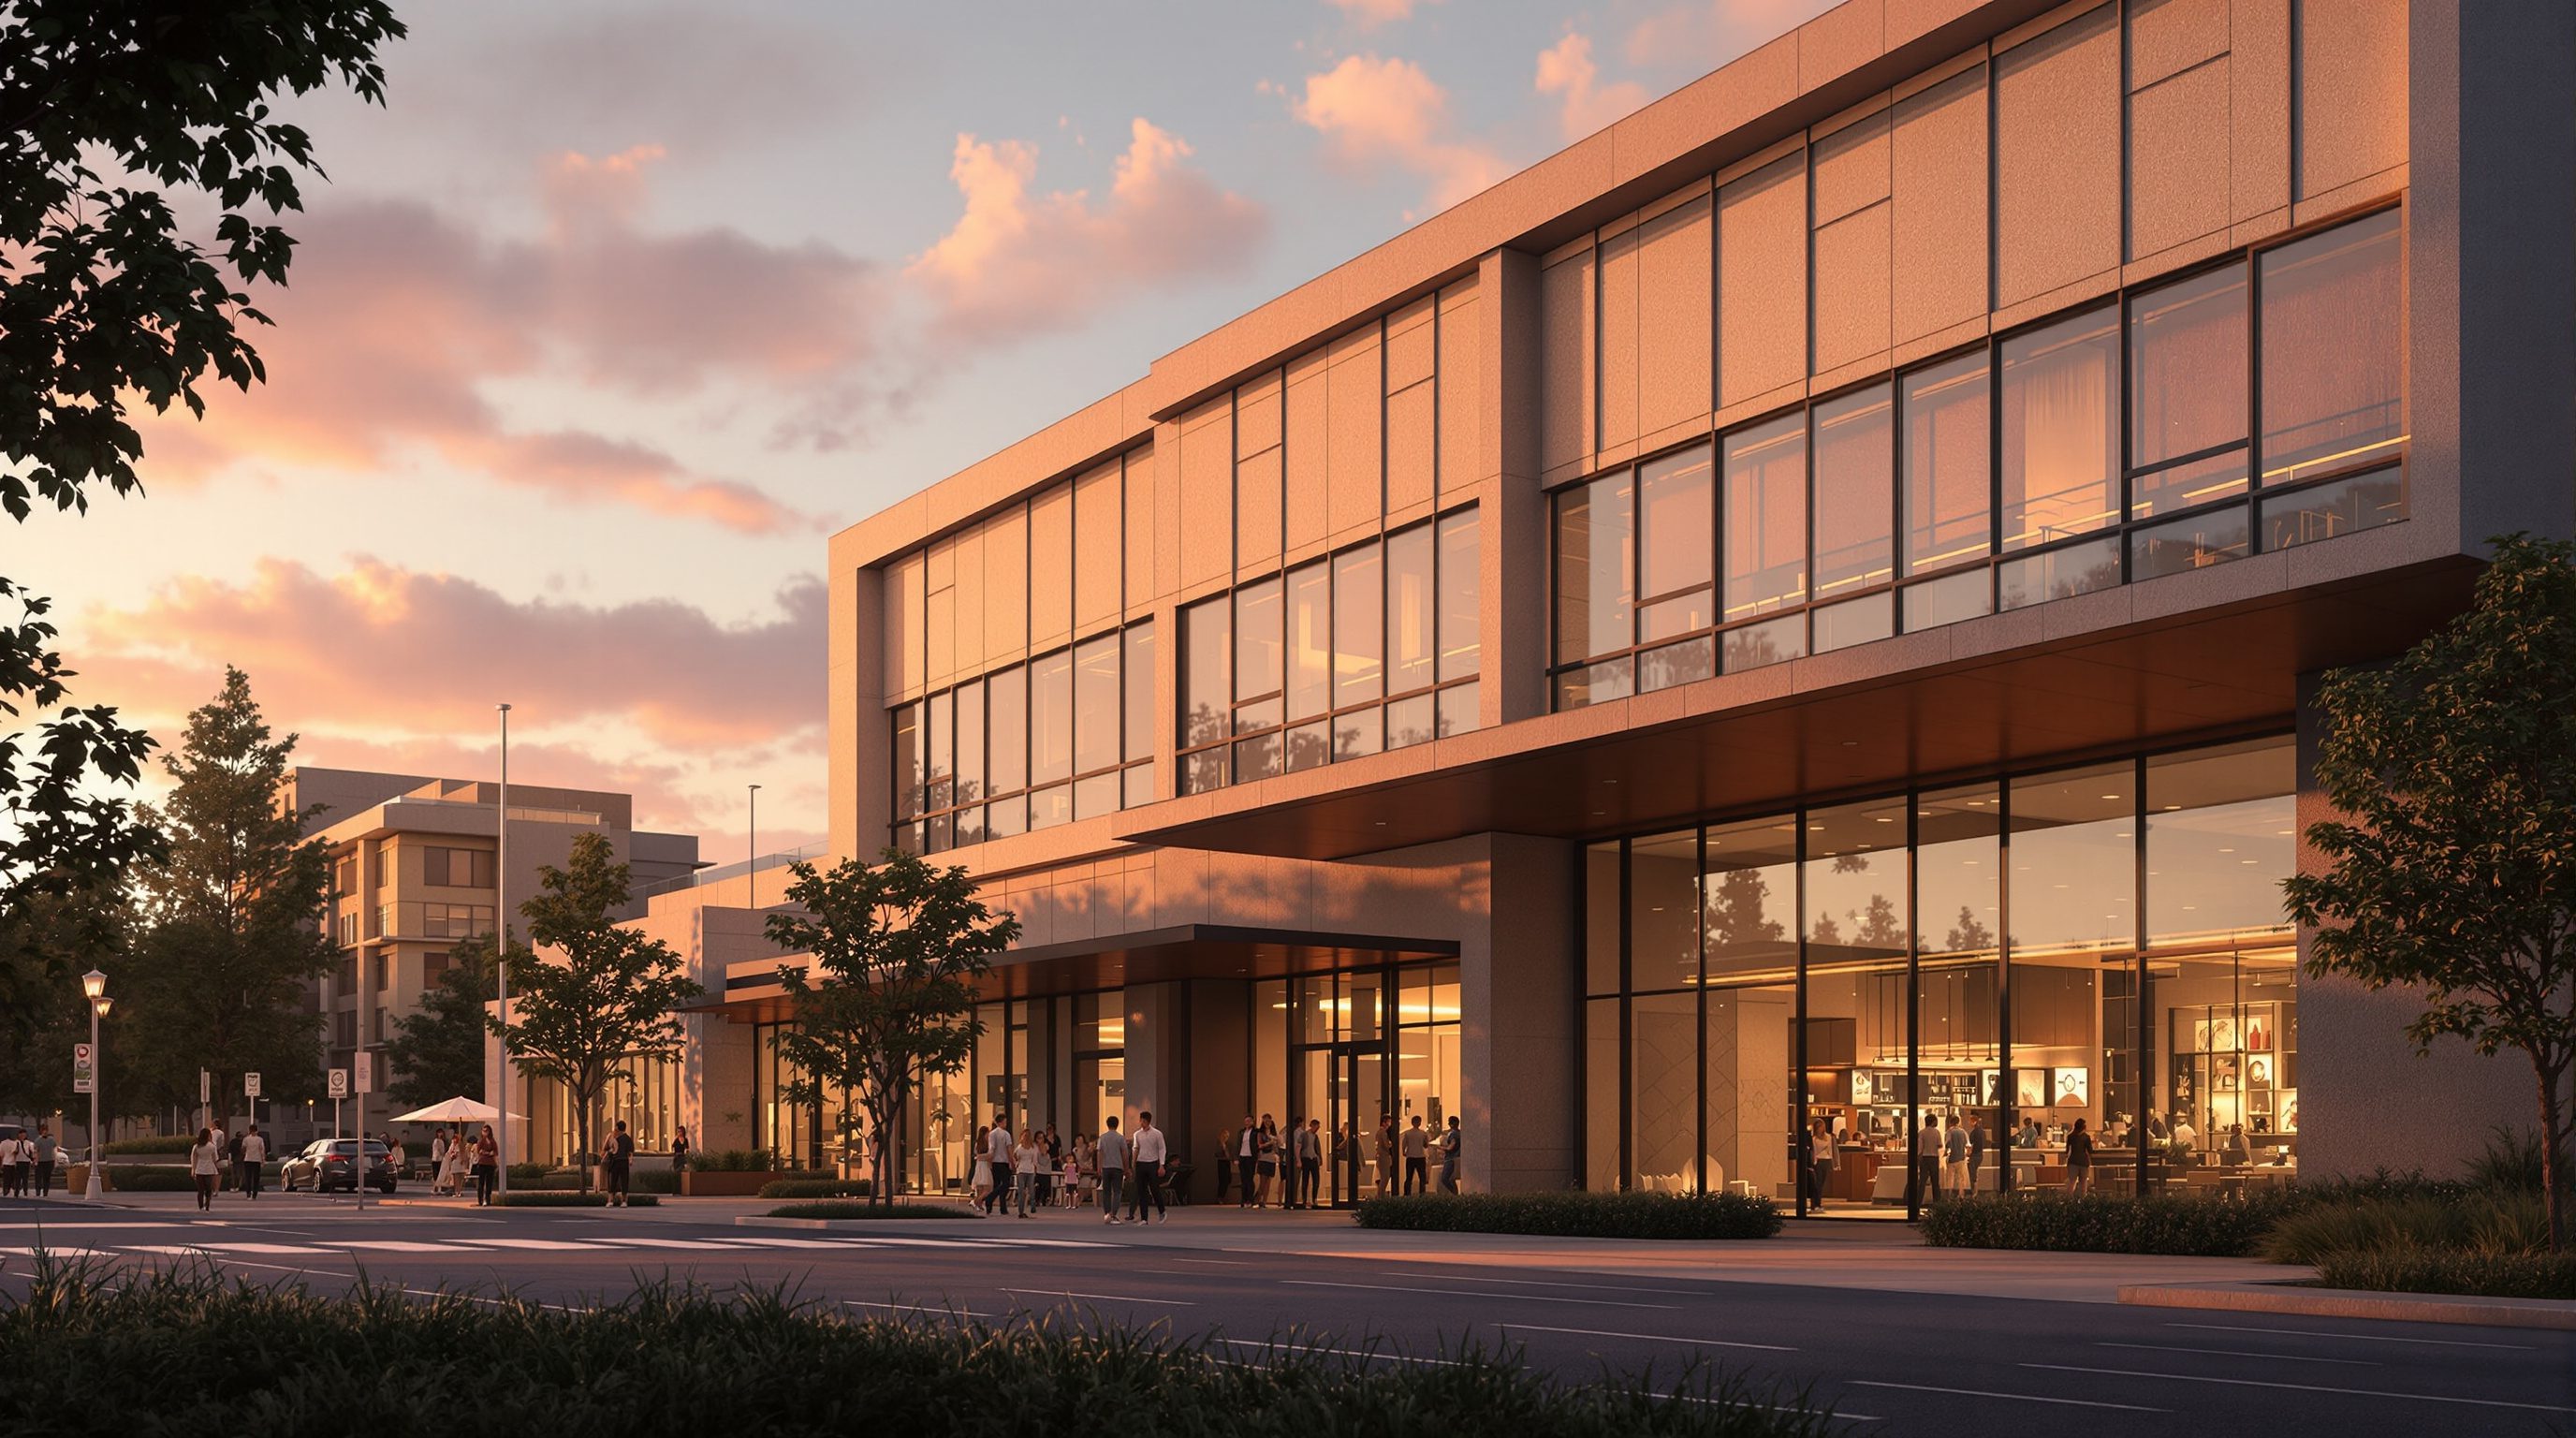
The Storytelling Shot
Pointing every camera control at a purpose - the hero view, the human eye-level shot, and the shot list
The best render in a project isn't the prettiest one - it's the one that makes people understand the idea.
Everything so far - lens, composition, focus, exposure - has been in service of one thing this lesson finally names: the image has to say something. A storytelling shot is a render made on purpose, to communicate a specific idea to a specific viewer - not a pretty picture that happens to exist.
This is the judgement that ties the whole module together. We will work through how to choose the single hero view that captures a design's big idea, why the humble eye-level human shot is so persuasive, how to decide what each image should say, and how to plan a shot list so a handful of images tells the whole story of a project rather than a random pile of views.
One hero view. At eye level. Saying one clear thing. Backed by a short shot list. That is the whole module in a frame.
Choosing the hero view
Every project has a hero view - the single image that, more than any other, captures what the design is about. It might be the double-height living space that is the heart of the house, the way a cantilever meets the landscape, the moment a stair spirals through light, or the material and proportion of a single perfect room. Before you render anything, the most important decision is identifying this shot, because it will carry the project in a client meeting, on a website, in a competition board.
Finding it is a design question, not a camera question. Ask: what is the one idea this building is trying to express? Then ask which single viewpoint shows that idea most completely. Often it is the view the design was conceived around - the reason the plan is shaped the way it is. Walk the model (in a real-time renderer you can literally fly through), and watch for the position where the concept suddenly reads clearly and you feel 'yes, that is the building'. That position is your hero view.
The hero view earns the most effort: your best light, your most careful composition, your longest render. Everything you learned this module now converges on it - a sane focal length so the space is honest, verticals locked, the subject on a power point or an axis, leading lines routing toward it, layered depth, deep focus so the whole idea reads, and exposure judged on the histogram. The hero is where you spend that care because it is the image people will remember. A common professional habit is to design the whole presentation around this one frame and let the other images support it. Choose it consciously, and the rest of the shot list falls into place around the story it begins to tell.
What is the one idea? Which single view shows it best? That is the hero. Spend your best effort there.
The eye-level human shot
The most persuasive architectural image is usually the simplest: a view from human eye level, standing where a person would actually stand, seeing the space as a visitor would experience it. This connects directly to the camera-height discipline from lesson 3.1, but here the point is narrative, not just technical. When the camera sits at roughly 1.6 metres and looks out level, the viewer's body understands the space - they feel how tall the ceiling is over their head, how the room opens in front of them, how far the window is. The image becomes relatable in a way no bird's-eye or floating view can match.
This is why the eye-level shot is the backbone of client presentations. Clients rarely read plans or sections, but everyone knows what it feels like to stand in a room, and an eye-level render meets them exactly there. It answers the real question in their mind - what will it be like to be here? - by showing the space at the scale of their own body. Aerial and axonometric views have their place for explaining layout, but they keep the viewer outside, looking down like a planner; the eye-level view puts them inside, looking around like an occupant.
Adding a human figure, tastefully, strengthens this further - a person in the frame gives instant scale and a sense of life, and a viewer projects themselves into the figure's place. The technique is to compose the eye-level shot as a moment of experience: standing at the threshold looking into the main space, or seated where one would sit, at the time of day the room is best. This is also where composition and story fuse - the eye-level hero view, with the concept revealed at human scale, is often the single most valuable image in the whole set. Make relatability a deliberate goal, and your renders stop being pictures of a building and start being invitations to inhabit it.
Deciding what the image should say
Before you finalise any shot, answer one question: what is this image trying to say, and to whom? This was the opening idea of the whole course - a render is an argument, not an ornament - and it reaches full force here. Different images have different jobs, and the job should shape every camera decision. A competition board wants a bold, atmospheric hero that sells a concept in three seconds. A client presentation wants warm, relatable eye-level views that answer 'what will it feel like to live here?'. A construction or approval document wants a clear, evenly-lit, undistorted record. A marketing brochure wants aspirational lifestyle. Same building, four different briefs, four different images.
So treat every render as answering a brief, even if you write that brief for yourself. Name the audience, name the single message, and let those choices flow down into the concrete controls: the message decides the mood, which decides the light; the audience decides the framing and the finish; the story decides where the camera stands and what is sharp. An image that tries to say everything says nothing - so give each frame one clear job. If you cannot state in a sentence what a shot is for, that is a sign to rethink it before you spend an hour rendering.
This discipline also protects you from the beginner trap of making 'nice' images with no purpose. A technically polished render that communicates nothing specific is a wasted image; a slightly rougher one that lands a clear idea is a success. When you review your own work, judge it against its intended message: did this frame make the viewer understand or feel the thing I meant? If yes, it is a good shot regardless of how it scores on gloss. That single test - did it say what it needed to say? - is the professional standard the entire module has been building toward.
Name the audience. Name the one message. If you can't say it in a sentence, don't render it yet.
The shot list: covering the project deliberately
One image rarely tells a whole project; a considered set does. A shot list is the plan for that set - the specific views you will render so the collection covers the design completely, decided before you start rather than discovered by wandering the model. It turns rendering from an aimless activity into a deliberate one, and it is exactly how professional visualizers and photographers work.
A reliable structure for a small project is three kinds of shot. The hero carries the big idea - the one view discussed above, given the most care. Context shots situate the design: the approach, the exterior in its setting, how the building sits in the street or landscape, so the viewer understands where the hero moment lives. Detail shots capture the loved moments up close - a joinery detail, a material meeting, a fixture, the quality of a particular light - the intimate frames that reward a second look and show craft. A house might resolve into a hero of the main living space, a context shot of the exterior at dusk, and two or three details; a larger project simply scales the same logic up, perhaps one hero and a supporting set per key space.
Planning this in advance has real payoffs. It ensures you do not finish a long render session only to realise you never captured the entrance or the best material detail. It lets you set up light and time of day efficiently, grouping shots that share conditions. And it forces the storytelling question early - what does this project need to communicate, and which frames, together, will do it? Use your renderer's camera bookmarks or saved views to lock each planned shot so you can return to it consistently. Walk the model once with a notebook, list the hero, the context and the details you need, and then render against that list. A deliberate handful of images that together tell the story will always outperform a large pile of pretty but purposeless views - and delivering that coherent set is what marks a visualizer as a professional.
Shot list (hero / context / detail)
A planned set of views that covers the project
Decided before rendering, not discovered by wandering. Ensures the collection tells the whole story and no key view is missed.
Camera bookmarks / saved views
Locking each planned shot so you can return to it
Enscape, Twinmotion and D5 all save named camera views; use them to render your shot list consistently and revisit after tweaks.
Eye-level camera (~1.6m) with a figure
The relatable, human-scale narrative view
The backbone of client presentation - it answers 'what will it feel like to be here?'. A tasteful human figure adds scale and life.
Workshop - plan and shoot a three-shot story
You will turn one project into a deliberate set of images that tells its story, applying everything from the module. Use any real-time renderer with camera bookmarks (Enscape, Twinmotion, D5).
Any real-time renderer with camera bookmarks - Enscape, Twinmotion or D5. This ties together the lens, composition, focus and exposure skills from the whole module.
Goal: deliver a coherent story set, not a pile of views
Inputs: any project model you know reasonably well - a room, a house, a small building
Time: ~45 minutes
- 1Write the brief in one line: who is this set for, and what single idea must it communicate? Everything below serves that sentence.
- 2Walk the model and choose the HERO view - the one frame that best captures the idea. Compose it fully: sane lens, verticals locked, eye level, subject on a third or axis, deep focus. Save it as a camera bookmark.
- 3Add a CONTEXT shot that situates the design (the approach, exterior, or how the space connects) and one or two DETAIL shots of loved moments (a material meeting, a fixture, a quality of light). Bookmark each.
- 4Render the set at consistent light and time of day. For each image, write the one sentence stating what it says - if you cannot, reshoot it.
- 5Lay the set out together and check it tells the whole story with no gap and no filler. Cut any image that does not earn its place.
You’ll walk away with
A three-to-four image story set (hero, context, one or two details) with a one-line brief and a one-sentence purpose for each frame - a portfolio-ready, deliberately composed project story.
Three altitudes on the same idea
Read the band that fits you — or all three.
The hero shot is where your parti meets the public. Identify the one view that reveals why the building is shaped the way it is, and design the whole presentation around it. Then use a shot list - hero, context, detail - so the set argues your concept completely, from the idea down to the craft, rather than leaving the story to whichever views happened to look nice.
Your clients buy an experience, so sell it at eye level. The most persuasive image you can deliver is a warm, relatable view from where a person would sit or stand, at the time of day the room is loveliest. Build a small shot list per scheme - the hero room, the way spaces connect, and the material details clients fall for - and you present a complete, confident story instead of scattered pretty pictures.
A shot list is what makes a portfolio project look complete. Rather than ten random renders of one studio project, deliver a hero, a context and two details that together tell its story - it reads as far more mature and considered. And always be able to say, in one sentence, what each image is for. That single habit - purpose before prettiness - is what reviewers and employers notice.
“More renders are better - the more images of a project I produce, the stronger the presentation.”
Do it yourself
No render needed - reason it through.
- 1In one sentence, what makes a render a storytelling shot rather than just a pretty picture?
- 2How do you find a project's hero view - is it a camera question or a design question?
- 3Why is an eye-level human shot more persuasive to a client than a floating aerial view?
- 4Name the three kinds of shot in a basic architectural shot list.
- 5What single question should you be able to answer about every image before you render it?
The one line to carry out
Peer-reviewed journals & authoritative standards
- 01Architectural photography - overview — Wikipedia, 2026.
- 02Rule of thirds - overview — Wikipedia, 2026.
- 03Enscape - Documentation & Knowledge Base — Enscape (Chaos), 2026.
- 04D5 Render - real-time ray tracing renderer — D5 Render, 2026.
You can now make a camera tell the truth and tell a story. That completes the craft of the frame - the module mastery check follows. Beyond it, we turn to the tools that render these shots in real time: Twinmotion and Enscape, live-linked to your model.
The author
Amogh N P
Architect, interior designer, and creative polymath. Studio Matrx began in his notebooks — his vision of design made honest, useful, and open to everyone. Its Academy is written and taught in his memory, and free, forever.
More about Amogh →