
 Lesson 5.1
Lesson 5.1 · Environment & Context
Landscape & Terrain
Set the building on real ground - sculpt, layer and site it in the land it will actually stand on
A model floating on a flat grey plane reads as a model. Ground it in real terrain and it reads as a place.
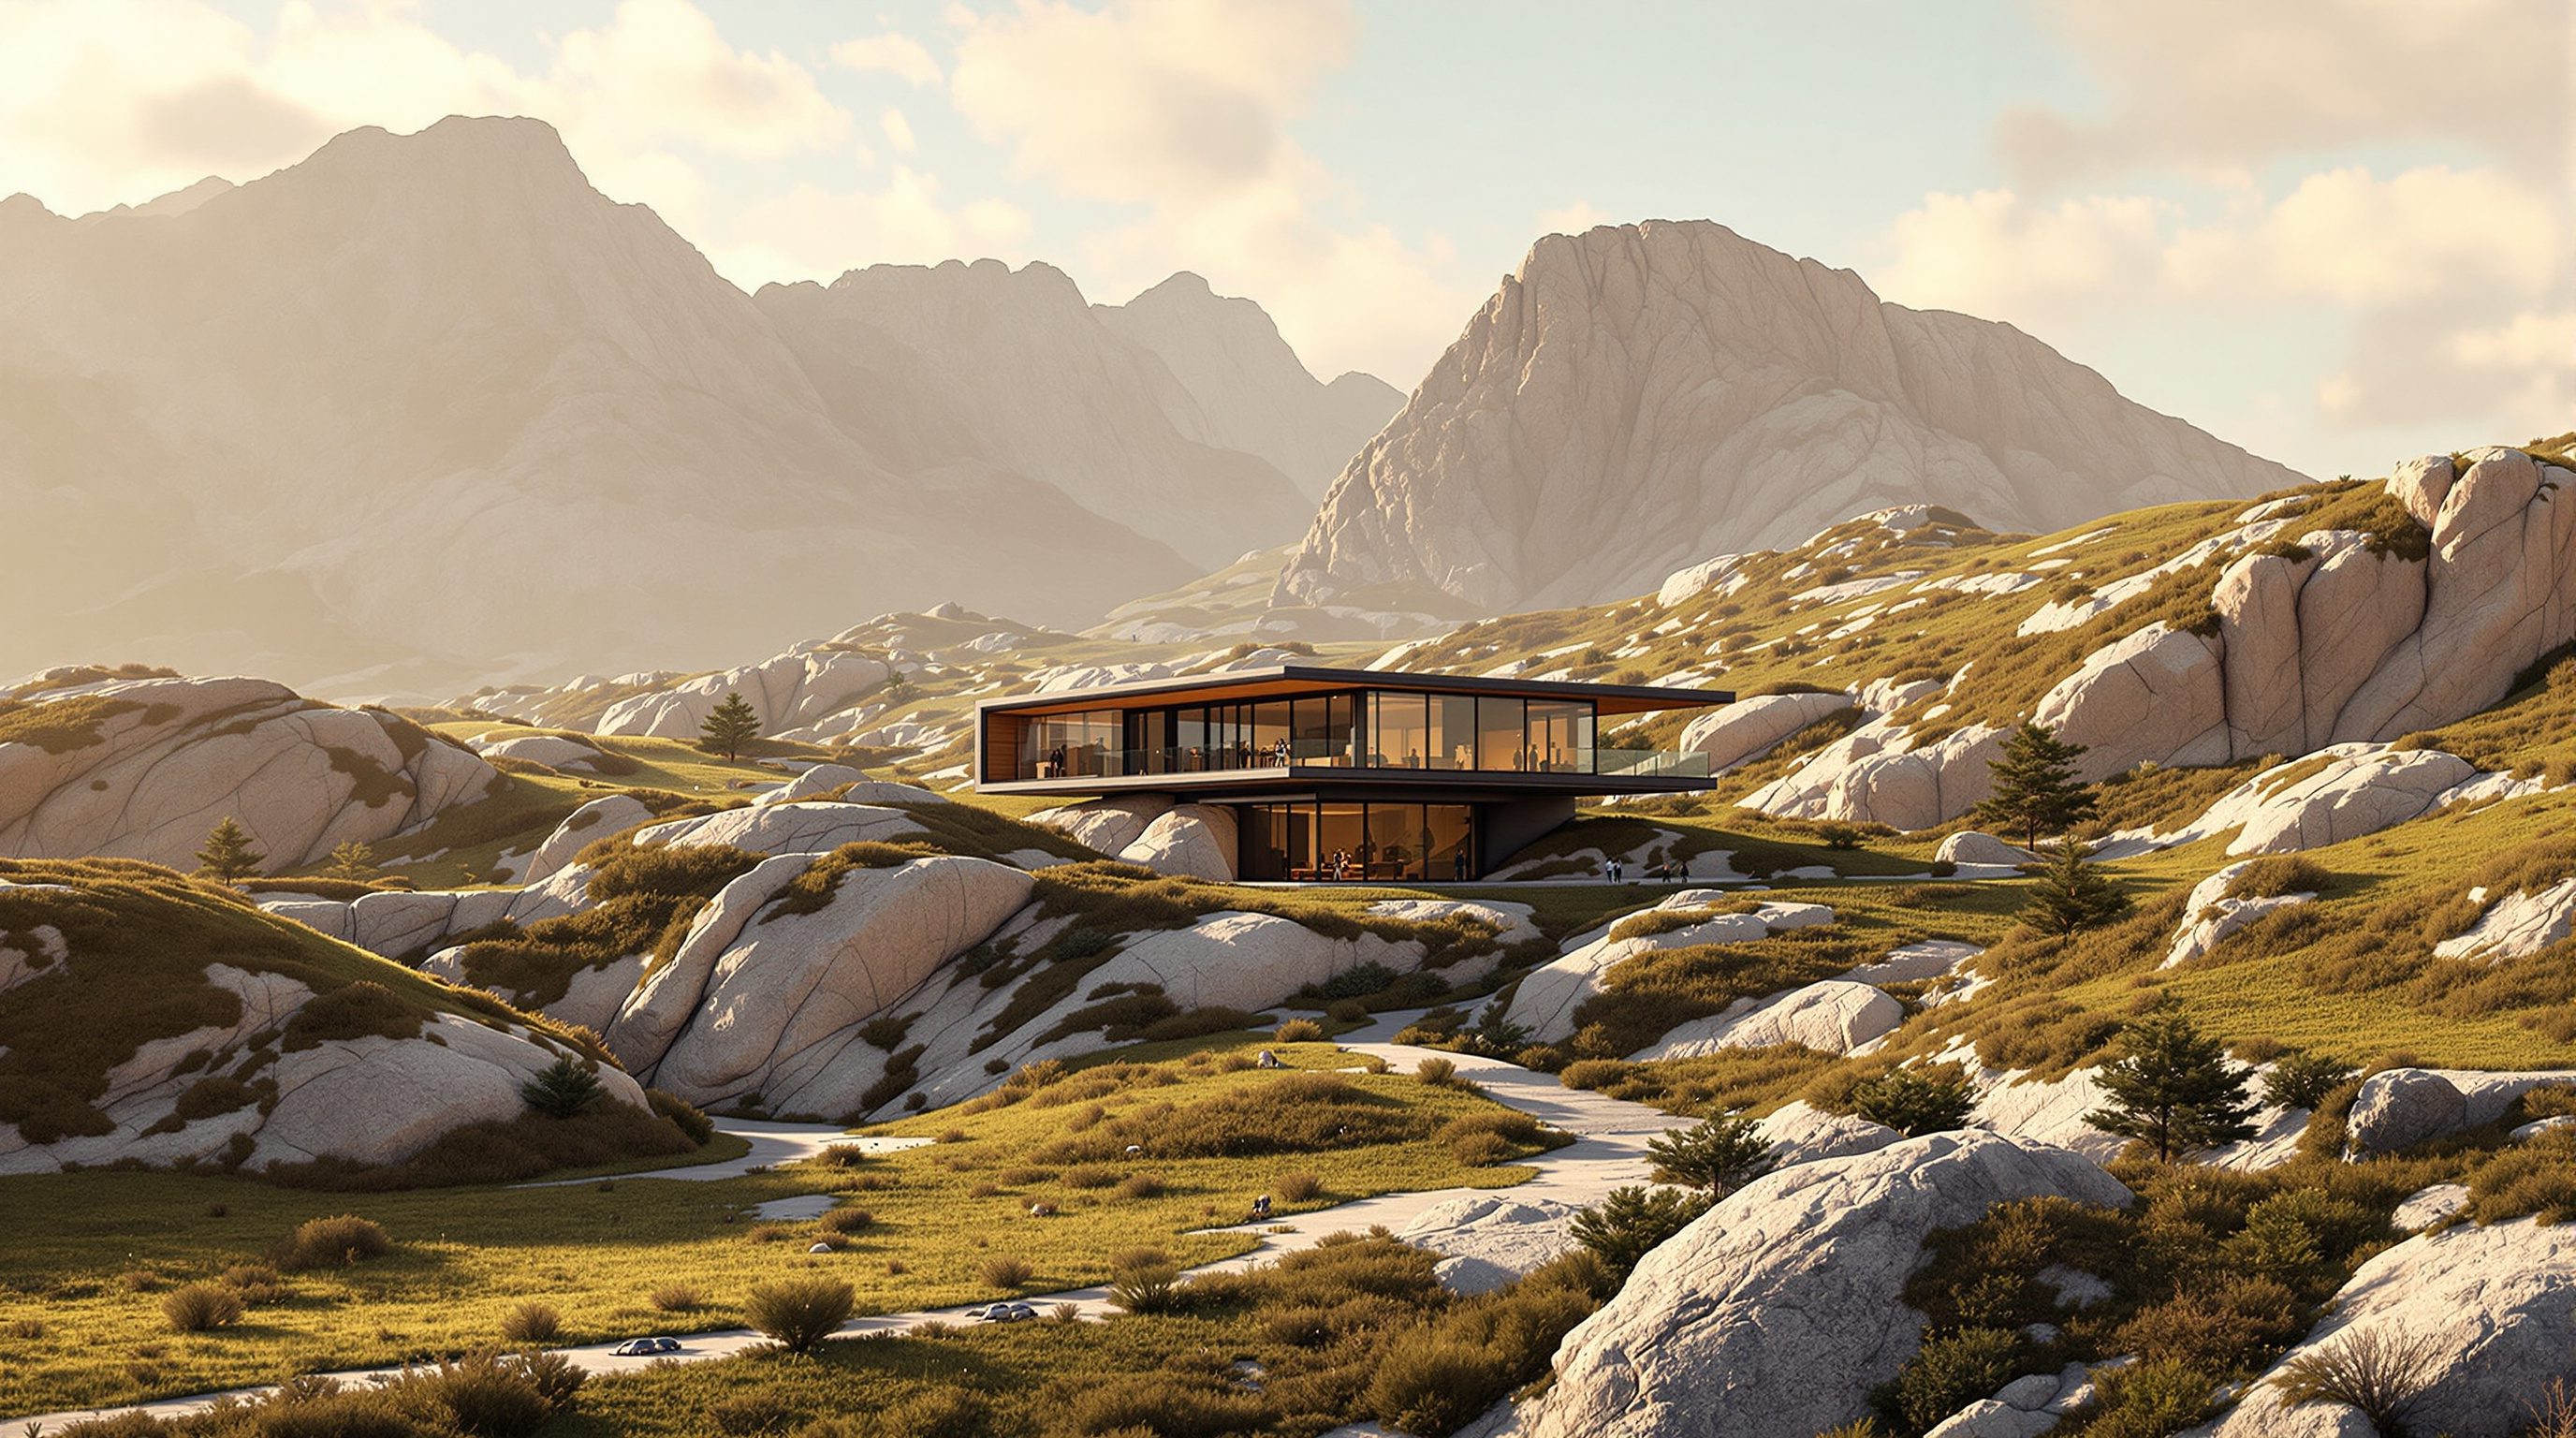
The fastest way to make a beautiful building look fake is to leave it hovering on Unreal's default flat floor. Real sites slope, dip, rise to a ridge and fall to a road. The land is not a backdrop - it is half the design, and clients feel the difference the moment the ground under the model is real.
Unreal Engine 5 ships a full Landscape system for exactly this: a sculptable, paintable, layered terrain that can be shaped by hand or driven by real survey and GIS data. In this lesson you learn to build ground that belongs to your project - and to put your building on the actual contours of its actual site.
Ground is half the design. Real site = real DEM at 1:1. Fake-flat floor is the #1 tell that a render is a model.
What the Landscape system actually is
Unreal's Landscape is not just a big mesh - it is a specialised terrain system built to stay cheap even when it covers kilometres. Under the hood it is a regular grid of vertices whose heights you push and pull; the engine divides that grid into components and sections so it can draw only the parts near the camera at full detail and simplify the rest automatically. That is why a Landscape can span a whole neighbourhood and still run in real time, where a hand-modelled mesh of the same size would crawl.
You create one from the Landscape mode in the editor (the mountain icon in the mode dropdown). Before you click Create you choose a section size and number of components, which together set the resolution and extent. The defaults are sensible for a first terrain; the key idea is that a Landscape has a fixed grid resolution - so if you need fine sculpted detail, you plan for enough vertices up front rather than expecting infinite subdivision later.
Terrain height is stored as a heightmap: a greyscale image where white is high and black is low, at 16-bit precision so elevation steps are smooth rather than terraced. Everything the sculpt tools do is really just editing that heightmap. Understanding this one fact - the terrain is an image of heights - unlocks the whole workflow, because it means you can paint height by hand, import it from a photo of real elevation, or generate it procedurally, and it is all the same data.
Terrain = an image of heights. White high, black low. Sculpting just paints that image.
Sculpting: shaping the ground by hand
In Landscape Sculpt mode you get a brush and a family of tools that feel like digital earthmoving. Sculpt raises and lowers ground under the brush; hold Shift to invert and dig. Smooth softens harsh transitions. Flatten levels an area to a target height - invaluable for carving a building pad or a level terrace into a slope. Ramp draws a graded path or driveway between two points. Erosion and Noise add believable natural weathering and break up the tell-tale smoothness of computer-made ground.
Brush size, falloff and strength are your main controls, and the discipline is the same as sketching: build the big landforms first with a large soft brush, then refine. A common archviz task is siting - you have a real building pad and need the ground to meet it correctly. Flatten the pad to the finished floor level, ramp the approach, then use Smooth so the cut and fill read like graded earth rather than a cookie-cutter hole.
Remember the resolution ceiling from the previous section. Sculpting cannot invent vertices that are not there, so extremely fine detail - a crisp kerb edge, a sharp step - is often better as separate placed geometry sitting on the Landscape, while the Landscape carries the broad topography. Knowing where terrain ends and modelled hard-landscape begins is a judgement you will make on every project.
Big landforms first with a huge soft brush, then Flatten the pad, then Smooth the cut. Never start detailed.
Landscape materials: painting the surface in layers
A shaped terrain is still grey until you give it a Landscape Material. This is a special material built around Landscape Layer Blend nodes: instead of one surface, it holds several - say grass, soil, rock and gravel - each with its own PBR textures (albedo, normal, roughness), and it blends between them according to a weightmap you paint.
In Paint mode you pick a layer and brush it onto the terrain: grass on the flats, worn dirt on the paths, rock on the steep faces. Because each layer carries its own tiling textures at real-world scale, the ground reads believably close up as well as from the air. You can drive some of the blend automatically - a common trick is a slope-based blend so rock appears wherever the terrain steepens past an angle, without hand-painting every cliff. This is the same physically based material thinking from Module 3, applied to a surface that stretches to the horizon.
Two cautions. First, keep texture tiling honest - obvious repetition across a large field is a classic giveaway, so break it up with macro variation or a second UV scale. Second, layers cost performance: every additional layer is more texture samples per pixel of terrain on screen. Three or four well-chosen layers usually beat eight, and your frame budget (Module 9) will thank you.
Real sites: importing survey and GIS terrain
For architecture, the most valuable terrain is often not sculpted at all - it is the real ground of the real site. Because Landscape is driven by a heightmap image, you can bring in real elevation data from a survey or from public GIS sources. A topographic survey delivers contours or a point cloud; national and open datasets (SRTM, ASTER, or a local municipal DEM) provide a Digital Elevation Model - effectively a heightmap of the earth. Exported to a 16-bit greyscale (or the RAW/PNG16 Unreal expects) at the correct extent, that DEM imports straight onto a Landscape as true topography.
The workflow, in outline: obtain the DEM for your site, crop it to your plot in a GIS tool (QGIS is free and common), export a 16-bit heightmap sized to a Landscape-friendly resolution, then Import from File when creating the Landscape and set the Z scale so the vertical exaggeration is 1:1 with reality. Get the scale right and your building sits on ground that matches the survey - the ridge is where the ridge is, the fall to the street is the real fall. That accuracy is what turns a pretty render into a genuine siting study a planning officer or client can trust.
A subtlety worth planning for is resolution matching. Open datasets like SRTM sample the earth roughly every thirty metres, which captures the shape of a hill but not the detail of a small urban plot. If your site is a quarter-acre garden, a coarse DEM will read as a smooth, featureless ramp - so for tight sites lean on the project survey, which resolves the ground far more finely, and reserve open GIS data for the broad landform and distant context beyond the plot. Combining the two is common: a large, low-resolution Landscape for the surrounding valley and a smaller, high-resolution one for the plot itself.
Where hyper-accuracy is not needed - a conceptual scheme, a stylised context - hand-sculpting or a quick procedural heightmap is faster and perfectly honest, as long as you say so. The skill is matching the terrain's truthfulness to the decision it must support: a competition mood image can invent its hillside, but a planning siting study cannot.
Real site? DEM -> crop in QGIS -> 16-bit heightmap -> Import from File -> set Z scale 1:1. Now it is the true site.
Keeping a big terrain manageable: World Partition and streaming
A serious site is large, and loading all of it at full detail at once would strain memory and the editor alike. UE5's answer is World Partition, which divides a big world into a grid of cells and streams them in and out based on where the camera is - so only the ground near you is fully loaded, and the far context is loaded at lower cost or not at all. For a walkable or driveable site this is what keeps a kilometre of terrain from overwhelming the machine, and it works hand-in-hand with the Landscape's own LOD.
This matters for how you organise a project as much as for performance. Because the world is cellular, several people can work on different regions without stepping on each other, and you decide what is always loaded (the building, key context) versus what streams in as needed (distant hills, far planting). For VR especially - where you have almost no frame-time headroom (Module 8) - streaming and LOD together are the difference between a smooth walkthrough and a stuttering one.
The practical takeaway is to think about scale early. Decide how much land the camera will ever actually reach, build the plot and its immediate surroundings at the resolution the design needs, and let streaming and lower-detail distant terrain carry the rest of the view. A well-planned large site feels effortless to move through; an unplanned one bogs down long before it looks good. This is the same budget-minded thinking the whole course returns to, applied to the ground itself.
Landscape system
Unreal's terrain: a component-based, LOD-aware height grid
Stays cheap over huge extents by simplifying distant components. Fixed grid resolution set at creation - plan it up front.
Heightmap
16-bit greyscale image where white is high, black is low
The data behind every terrain. Lets you sculpt, import real DEMs or generate height procedurally - all the same thing.
Landscape Layer Blend
A material that holds several surfaces blended by a weightmap
Paint grass, soil and rock onto one terrain. More layers = more texture samples per pixel - keep to three or four.
DEM / GIS import
Digital Elevation Model from survey or open data
Crop in QGIS, export 16-bit heightmap, Import from File, set Z scale 1:1. Turns a render into a real siting study.
Workshop - build and site a terrain on a real plot
You will create a Landscape, sculpt a building pad, give it a two-layer material, and - if you can get elevation data - import a real DEM so the ground matches an actual site.
Unreal Engine 5 (Landscape mode). Optional: QGIS (free) and an open DEM such as SRTM or a local survey for real-site import.
Goal: put a building on real, layered ground
Inputs: Unreal Engine 5; optionally a DEM for a site you know (QGIS is free)
Time: ~60 minutes
- 1In a new level, switch to Landscape mode and Create a default Landscape. Note the section size and component count - this is your fixed resolution. Drop a simple box where your building will sit.
- 2In Sculpt mode, use a large soft brush to raise a gentle slope, then Flatten a level pad under your box to its floor level, and Ramp an approach up to it. Smooth the cut so it reads as graded earth.
- 3Build a minimal Landscape Material with two layers (grass and rock) using a Landscape Layer Blend. In Paint mode, brush grass on the flats and rock on the steep faces. Optionally add a slope-based auto-blend for the rock.
- 4If you have a site: download a DEM, crop it to your plot in QGIS, export a 16-bit heightmap, and create a second Landscape with Import from File. Set the Z scale so vertical matches reality, and place your box on the true contours.
- 5Walk the scene in the viewport (and VR if you can). Check the entrance level change, the approach gradient and the sightlines. Note one design issue the real terrain revealed that the flat plane had hidden.
You’ll walk away with
A level with a sculpted, two-layer-painted Landscape and a building pad correctly cut into it - plus, if data allowed, a second Landscape imported from a real DEM at 1:1 scale with your building sited on it, and a one-line note on what the terrain revealed.
Three altitudes on the same idea
Read the band that fits you — or all three.
Siting is a design act, and real terrain lets you test it live. Importing the survey DEM means you are judging the scheme against the actual contours - the cut and fill, the approach gradient, how the massing meets the ridge. Walk it in real time and problems that a flat model hides (an awkward level change at the entrance, a retaining wall you had not budgeted) surface while they are still cheap to fix.
Even interiors benefit from honest ground outside the glass. The view from a living room, the way light rakes across a sloping garden, the sightline from a terrace - all depend on the land beyond the wall. A quick, correctly-scaled Landscape outside your windows makes interior renders and VR walkthroughs feel located rather than staged, and stops that dead flat-grey horizon from betraying the illusion.
Terrain is where many student scenes fall down - literally, onto a flat plane. Learning to sculpt a believable site, layer its materials and, best of all, import a real DEM instantly lifts a portfolio piece above the crowd. It also teaches transferable GIS-to-engine skills that studios and the sister digital-twin field actively value. Build one real site properly and you will never leave a building floating again.
“A Landscape can be sculpted to any level of detail I want - it is just infinitely subdividable terrain.”
Do it yourself
Reason these through - or test them in the editor.
- 1What kind of data actually stores a Landscape's shape, and what do white and black mean in it?
- 2Which sculpt tool would you use to carve a level building pad into a slope, and which to grade the driveway up to it?
- 3In a Landscape Material, what decides whether a given spot shows grass or rock?
- 4Outline the steps to bring a real site's survey elevation into Unreal as terrain.
- 5Name one feature you should model as separate geometry rather than sculpt into the Landscape, and say why.
The one line to carry out
Peer-reviewed journals & authoritative standards
- 01Heightmap — Wikipedia, 2026.
- 02Unreal Engine — Wikipedia, 2026.
- 033D modeling — Wikipedia, 2026.
- 04Architectural visualization — Wikipedia, 2026.
Ground alone still looks bare. Next we clothe it: the Foliage tool and instanced vegetation that fill a site with trees, grass and planting without collapsing your frame rate.
The author
Amogh N P
Architect, interior designer, and creative polymath. Studio Matrx began in his notebooks — his vision of design made honest, useful, and open to everyone. Its Academy is written and taught in his memory, and free, forever.
More about Amogh →