
 Lesson 7.3
Lesson 7.3 · Post-Production
Photoshop for Architects
Adding people and plants, sky replacement, cleanup, glow - the essential toolkit
You will never use most of Photoshop. You will use the same ten moves on every render - so learn those cold.
Photoshop is vast, and that vastness scares people away. But an architect finishing a render does not need the whole program - they need a small, repeatable toolkit of maybe ten moves, applied to almost every image: add some life, fix the sky, clean up the glitches, and add a little glow.
Think of it as the darkroom stage of your image. The render is the negative; Photoshop is where you populate it with people and plants, swap a flat sky for a beautiful one, paint out the small errors the engine left behind, and add the soft light that makes it feel real. Learn these few moves well and you can finish any render - without ever learning the ninety percent of Photoshop you will never touch.
People, plants, sky, cleanup, glow. Five moves, every render. Match the light, keep it subtle, stay non-destructive.
The architect's Photoshop is a small, sharp toolkit
The single most freeing realisation about Photoshop, for an architect, is that you can ignore almost all of it. The program was built for photographers, retouchers, designers and digital painters, and it carries decades of features for all of them. Your finishing work touches a tiny, stable subset - and once you know that subset, the intimidation evaporates and Photoshop becomes just another quick, reliable stage in your pipeline.
That toolkit is built on one foundation - layers and masks - and a handful of tools that sit on top of it. Layers let you keep every addition (a person, a tree, a new sky, a glow) on its own separate sheet, stacked over the render, so nothing you add is fused to the pixels beneath. Layer masks let you paint any layer's visibility in and out with a soft brush, which is how you blend an added element cleanly into the scene instead of leaving a hard, obvious cutout. If you understand only layers and masks, you already understand the spine of every finishing technique in this lesson.
The rest of the essential kit is short. The clone stamp and healing / spot-healing tools copy clean pixels over glitches and unwanted objects. The selection tools (and the object and sky selections modern Photoshop can make almost automatically) let you isolate an area to work on. Adjustment layers - the same curves and colour balance from the grading lesson - handle local tonal fixes. Add transform for scaling and placing elements, and a soft brush for painting light, and you have essentially the whole finishing toolkit. Everything in the sections that follow is just these few tools in combination. The professional discipline, carried straight over from compositing, is that all of it stays non-destructive: new layers, masks and adjustment layers, never painting directly on the render, so any move can be undone or re-tuned. A tidy, reversible Photoshop file is the sign of someone who has done this before.
Ignore 90% of Photoshop. Learn layers, masks, clone/heal, select, adjust - that's the whole architect's kit.
Populating the scene: people and plants
An empty building looks like a model; a populated one looks like a place. Adding entourage - people, plants, cars, birds, the incidental life of a real scene - is one of the highest-impact finishing moves, because it does three jobs at once. It establishes scale, giving the eye a human yardstick so the space reads at its true size. It signals use, showing the building lived in and loved rather than sterile and empty. And it adds narrative, a couple pausing on the terrace, a child crossing the courtyard, that invites the viewer to imagine themselves there. Some entourage is placed in the 3D scene before rendering; but adding cut-out people and plants in Photoshop is faster, more controllable, and the standard finishing move for stills.
Doing it convincingly comes down to a few rules that beginners routinely break. Scale must be right - a person's eye-line should sit at a believable height, and figures further back must be smaller in correct perspective; a giant or a dwarf figure destroys the image instantly. Ground contact matters - every person and plant needs a soft shadow anchoring it to the floor, or it floats like a sticker. Lighting must match - a figure lit by hard side-light dropped into a soft overcast render screams fake; choose cut-outs whose light direction and warmth agree with your scene, and grade them to fit. And restraint matters most of all: a few well-chosen, well-placed figures read as real life, while a crowd of obvious stock people reads as a collage. Blur distant entourage slightly to sit it into the depth, desaturate or grade every element to share the image's colour, and always place people to support the composition - leading the eye, not blocking the hero of the shot. Done with care, a handful of figures and a few plants transform a cold render into an inviting, inhabited place.
Sky replacement and cleanup
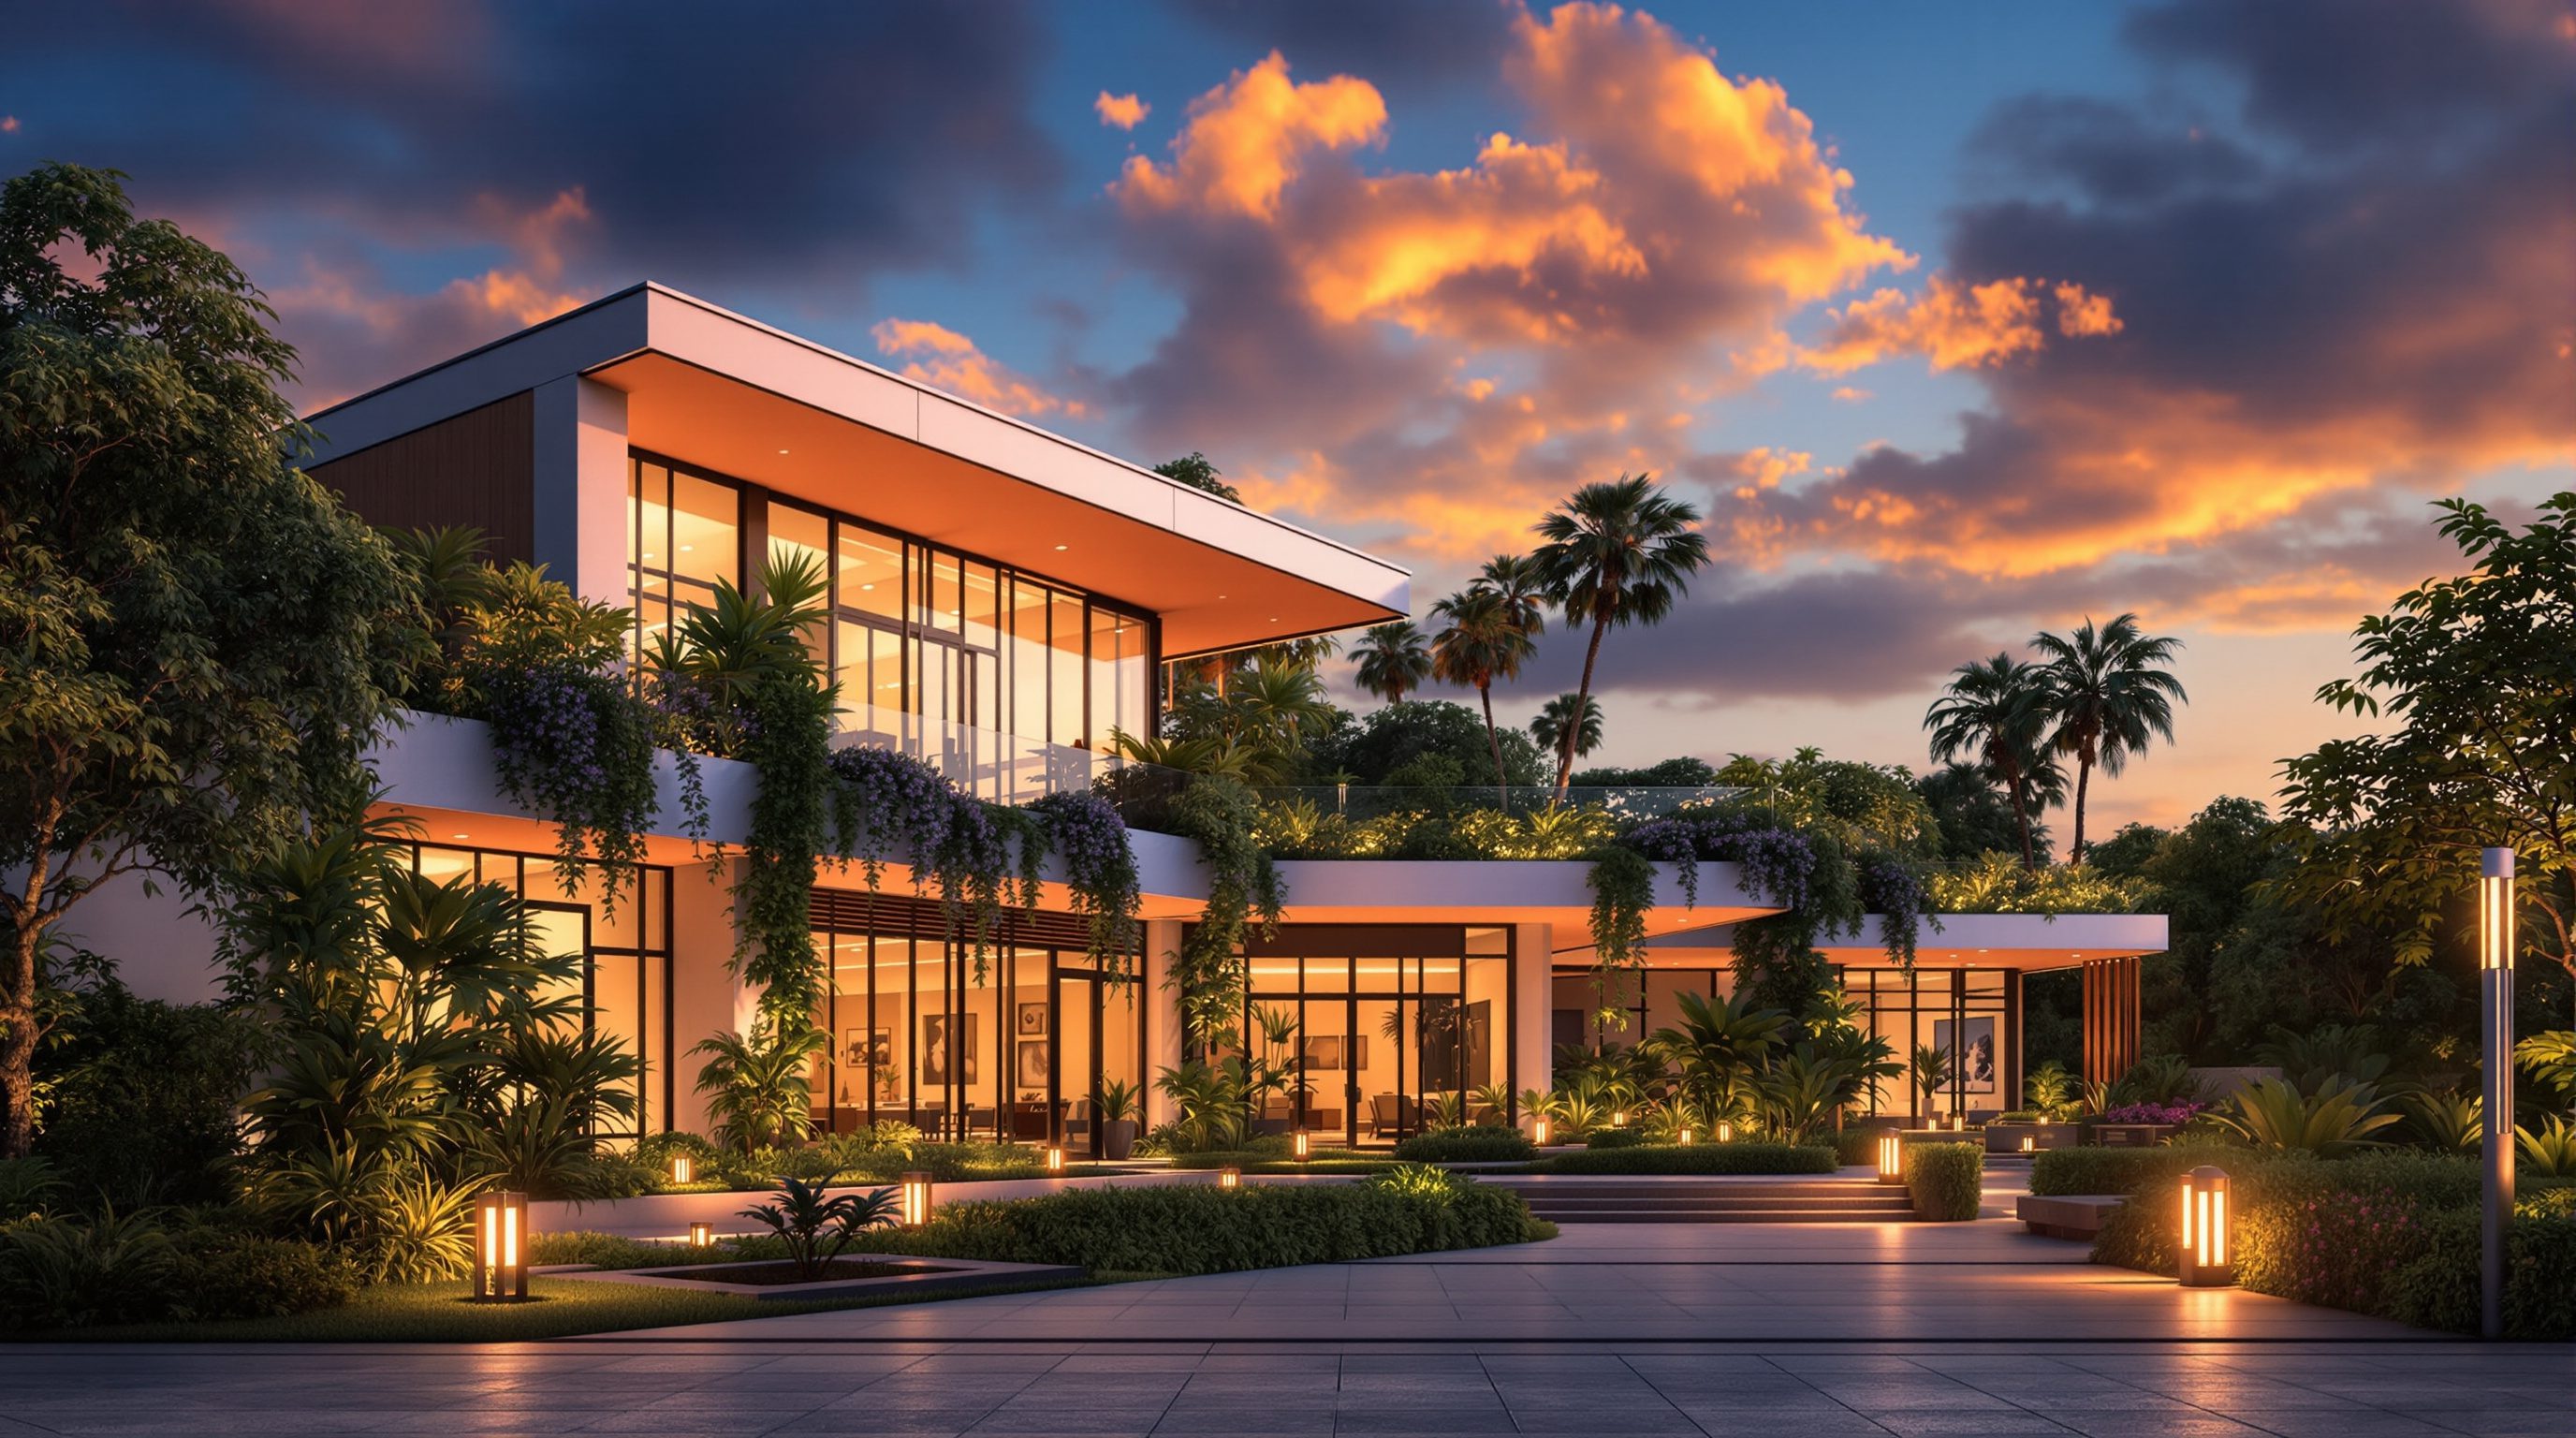
Two workhorse finishing jobs come up on nearly every exterior. The first is sky replacement. A rendered sky is often flat, blown to featureless white, or simply less beautiful than it could be - and because the sky can occupy half the frame and sets much of the mood, swapping it is one of the biggest single upgrades available. Modern Photoshop can select and replace a sky almost automatically, but the craft is in the matching. The new sky's light direction must agree with the scene's shadows - a sun blazing from the left in the sky while the building's shadows fall left is a jarring, subconscious wrongness. Its colour and warmth must match the grade. And its exposure must sit right: a sky far brighter than the building looks pasted on. Get those to agree - and add a whisper of the sky's colour spilling onto the building's top edges and glass - and a replaced sky is undetectable and transformative. A dramatic evening sky can turn a dull midday render into a hero image.
The second job is cleanup - the unglamorous but essential work of removing everything that shouldn't be there. Engines leave artefacts: stray bright pixels (fireflies) from difficult lighting, seams where textures meet, a light leak in a corner, geometry poking where it shouldn't, a piece of entourage half-hidden awkwardly. The clone stamp and healing tools are your erasers: sample clean nearby pixels and paint over the problem, or let the healing tool blend a patch in automatically. Cleanup also means removing real-world clutter you do not want in a concept image, or tidying an edge the render left ragged. It is quiet, patient work, but it is often what separates a render that looks finished from one that looks almost-finished - the eye may not consciously spot a single cleaned glitch, but it feels the difference between a sloppy image and a cared-for one. Zoom in, hunt the flaws, and heal them out before you call an image done.
New sky: match the light direction, warmth and exposure - or the fake shows. Then hunt every glitch and heal it out.
Glow, bloom and finishing touches
The final layer of the Photoshop toolkit is the addition of light effects - the soft glows and blooms that real cameras and eyes produce around bright sources, and that a clean render often lacks. In reality, very bright areas - a lamp, a bright window, the sun catching an edge, a glowing sign at dusk - do not stop crisply at their boundary; the light bleeds a little into the surrounding pixels, a soft halo that our eyes strongly associate with genuine brightness. A render without any of this can look subtly sterile, its lights merely bright rather than radiant. Adding a gentle glow or bloom around the brightest points reintroduces that photographic quality and makes light sources feel like they are actually emitting.
The technique is simple and, like everything here, non-destructive. Duplicate the image (or the bright areas), blur the copy, set its blend mode to something additive like Screen, mask it to the highlights, and pull its opacity down until the glow is just perceptible. The result is that windows breathe light, lamps feel warm, and a dusk scene gains that magical bloom around every glowing source. The same soft-light thinking gives you related touches: a faint light haze in a sunbeam, a warm rim on a sunlit edge, a gentle lift where the sun grazes a facade.
And here, as everywhere in post, the governing rule is restraint - which becomes the theme of the entire final lesson. Glow is intoxicating precisely because it looks 'cinematic', and the temptation is to pile it on until the image is a soft, hazy mush with every light screaming. A little makes an image glow; a lot makes it look like a cheap filter. The professional adds bloom until they can just see it, then backs off slightly. The same is true of every finishing move in this toolkit: people, plants, sky, glow. Each is a seasoning, added in measured amounts, in service of an image that should ultimately read as photographed rather than processed. Master these few moves, keep them subtle, and you can finish any architectural render to a professional standard.
Layers + layer masks
Stacked, independently editable image sheets
The foundation of all finishing; masks let you blend added elements in with a soft brush instead of hard cutouts.
Clone stamp / healing
Copying clean pixels over flaws
Removes fireflies, seams, light leaks and unwanted objects - the core cleanup tools.
Sky & subject selection
Near-automatic isolation of sky or objects
Modern Photoshop selects skies and subjects with one click, making sky replacement and local grading fast.
Screen / additive blend + blur (glow)
Soft light halos around bright areas
Blur a masked copy of the highlights on Screen at low opacity to make lamps and windows feel like they emit light.
Workshop - finish one render in five moves
You will take a raw exterior render and apply the whole finishing toolkit - people, plants, sky, cleanup, glow - keeping every step non-destructive. This is the exact sequence you will repeat on almost every image.
Photoshop (or an editor with layers, masks, clone/heal and blend modes), a few free cut-out people and plants, and a sky image such as one from Poly Haven or a matched photograph.
Goal: finish a render to a professional standard with the core toolkit
Inputs: one raw exterior render + Photoshop + a few free cut-out people/plants and a sky image (Poly Haven, or a matched photo)
Time: ~60 minutes
- 1Cleanup first: zoom in and use the clone stamp and healing tools to remove any fireflies, seams, light leaks or awkward geometry. Work on a new empty layer set to sample all layers.
- 2Replace the sky: select the sky and drop in a new one whose light direction matches your shadows and whose warmth matches the scene. Adjust its exposure so it does not look pasted on; add a faint colour spill onto the building's top edges.
- 3Add people and plants: bring in a few cut-outs at correct scale and eye-line, each on its own layer. Give every one a soft ground shadow, blur distant ones slightly, and grade them to share the image's colour and light.
- 4Add glow: duplicate the highlights, blur the copy, set it to Screen, mask it to the bright windows and lamps, and pull the opacity down until the glow is just perceptible.
- 5Finally, add a Curves adjustment layer to unify the whole image, then compare against the raw render. Confirm every step lives on its own layer - nothing painted onto the original. Write two lines on which move changed the image most.
You’ll walk away with
One raw render finished with the full toolkit - cleanup, matched sky, scaled entourage with shadows, subtle glow and a unifying grade - as a tidy, fully non-destructive PSD plus a flattened final, with a note on the highest-impact step.
Three altitudes on the same idea
Read the band that fits you — or all three.
A populated, sky-replaced, cleaned-up render is what makes a scheme feel real to a client. People give it scale and life, a considered sky sets the mood, and cleanup signals care. You do not need to master Photoshop - you need the ten finishing moves in this lesson, applied with restraint, to turn a correct render into a persuasive one that helps win the project.
For interiors, entourage and glow are your warmth. A book left on a chair, a plant by the window, a soft glow around the lamps - these small human touches are exactly what make a room feel lived-in and inviting rather than a showroom. Learn to add and blend them convincingly, match every element's light to the scene, and keep the glow subtle.
These are the finishing skills that make student renders look professional overnight. Cut-in people at the right scale with real ground shadows, a beautiful matched sky, a cleaned-up frame and a whisper of glow - each is quick, and together they lift an image a whole tier. Practise the non-destructive layer-and-mask habit until it is automatic; it shows immediately in a portfolio.
“I need to master all of Photoshop before I can finish my renders.”
Do it yourself
Reason it through before you open the file.
- 1Name the small set of Photoshop tools that make up the architect's finishing toolkit.
- 2Give three things that adding people and plants does for a render.
- 3What must match between a replaced sky and the render below it?
- 4What is the clone stamp / healing tool used for in cleanup?
- 5How is a glow or bloom effect created, and why keep it subtle?
The one line to carry out
Peer-reviewed journals & authoritative standards
- 01Adobe Photoshop - User Guide — Adobe, 2026.
- 02Architectural Photography - overview — Wikipedia, 2026.
- 03Adobe Lightroom - colour and tone reference — Adobe, 2026.
You can now populate, fix and light-finish an image. The last stage is the smallest of all - the tiny imperfections that make a render read as truly photographed, and the discipline of knowing when to stop. That is the final polish.
The author
Amogh N P
Architect, interior designer, and creative polymath. Studio Matrx began in his notebooks — his vision of design made honest, useful, and open to everyone. Its Academy is written and taught in his memory, and free, forever.
More about Amogh →