
 Lesson 2.1
Lesson 2.1 · Laser Cutting & 2D Fabrication
Laser Cutting Principles
How a laser cutter turns a vector file into a cut - beam, focus, settings and safety
A laser cutter is astonishingly simple: a dot of light so concentrated it burns a line, steered over a sheet by a file you drew.
Of all the machines in this course, the laser cutter is the one you will probably meet first and use most. It is fast, forgiving, and turns a flat drawing into a precise physical part in minutes - which is exactly why it became the workhorse of every fablab, model shop and design studio.
But behind that ease sits real physics and real danger. The beam that cuts your plywood will just as happily start a fire, fill the room with smoke, or blind you. This lesson takes the machine apart - the beam, the lens, the settings, the workflow - so you understand what is actually happening, and cut safely and well.
Light, focused to burn. CO2 for organics, fibre for metal. Fire, fumes, eyes - never casual.
The beam that cuts
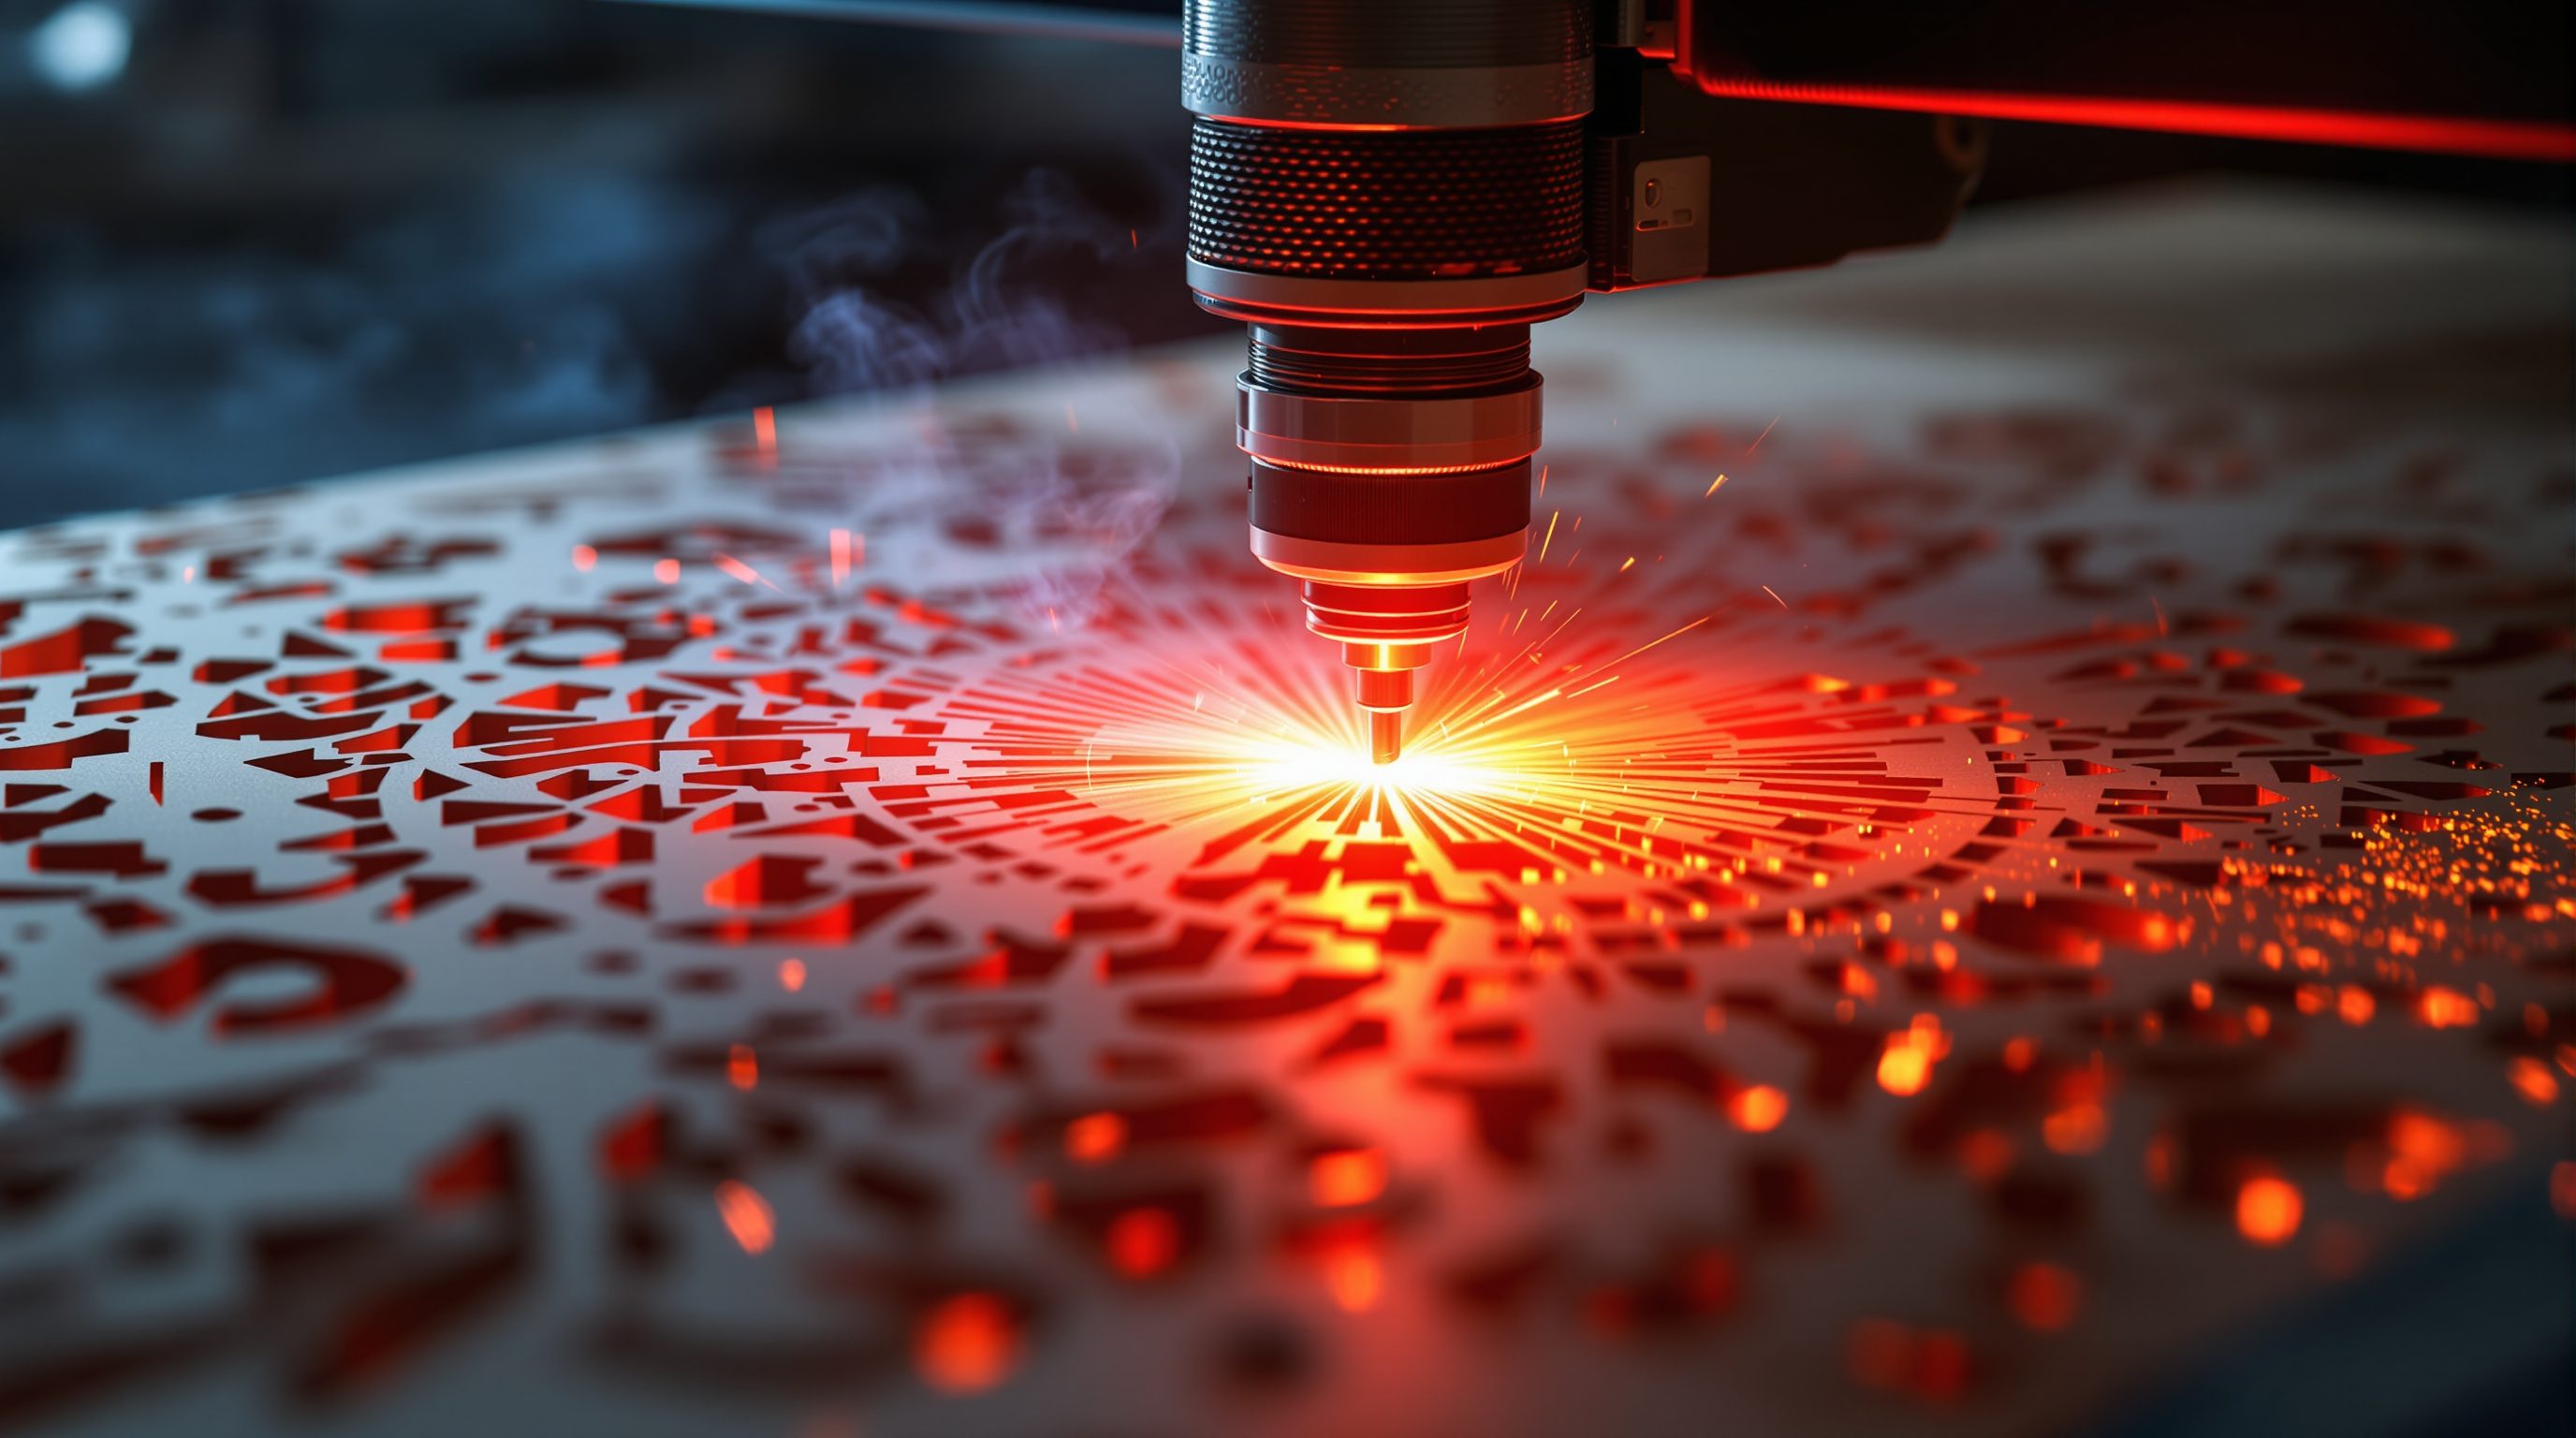
A laser cutter is, at heart, a flatbed machine that moves a focused beam of light across a stationary sheet. The material lies flat on a bed (often a honeycomb or slatted tray); a gantry carries the cutting head left-right and front-back on the X and Y axes, tracing the lines in your file. There is no spinning tool, no cutting force pushing the sheet around - just light landing where the file says.
The light starts as a wide, relatively gentle beam. Inside the head, a focusing lens squeezes it down to a tiny spot - a fraction of a millimetre across. Spread out, the beam would barely warm the surface; concentrated to that point, its energy density is high enough to instantly vaporise, melt or burn the material away. Where the focused spot travels, it leaves a narrow burned line: the kerf, typically around 0.1-0.3 mm wide. An assist gas (usually just compressed air, sometimes nitrogen or oxygen) blows through a nozzle around the beam to clear debris, cool the edge and reduce flaming.
Focus is everything. The lens has one sharp focal point, and that point must sit at - or just below - the material surface for a clean, full-depth cut. Too high or too low and the spot on the surface is fat and weak: the cut widens, chars, or fails to go through. This is why every job starts by setting the focus, and why thicker material (whose bottom is far from the focal point) cuts with a more tapered, rougher edge.
No cutting force, no tool wear - just a dot of light where the file says. Focus first, every time.
CO2 versus fibre
Two laser types dominate, and they differ in the wavelength of light they make - which decides what they can cut. A CO2 laser produces infrared light at about 10.6 microns, a wavelength that organic and non-metallic materials absorb beautifully. That makes CO2 the standard machine for architecture and interiors: it cuts and engraves plywood, MDF, acrylic, card, paper, leather, cork, fabric and rubber cleanly. The vast majority of fablab and studio lasers you will meet are CO2, in roughly the 40 W (desktop) to 150 W (professional) range, with industrial machines going far higher.
A fibre laser produces light near 1.06 microns - a wavelength that metals absorb well but many organics and clear acrylics do not. Fibre lasers cut and mark sheet metal (steel, aluminium, brass) and are the metal-cutting workhorse of industry, but they are poor at clear acrylic and less common in a design fablab. A rough rule: CO2 for the organic and plastic sheet you will mostly work in; fibre when the job is metal. Some machines are hybrids, but do not assume a wood-and-acrylic laser will touch metal, or vice versa.
Power matters too, but not linearly. More watts lets you cut thicker material or cut a given thickness faster, but a 60 W CO2 laser already handles most model-making and interior sheet goods. Beyond a point, extra power mostly buys speed and thickness capacity, not magic - a thick, awkward material is still thick and awkward.
CO2 ~10.6um = organics + acrylic. Fibre ~1.06um = metals. Match the laser to the material.
Cut, score, engrave - power, speed, frequency
One machine does three jobs, and the only thing that changes is how much energy you deposit and where. Vector cutting drives the focused beam along a line with enough energy - high power, low speed - to burn all the way through the sheet. Vector scoring (or marking) runs the same line but with far less energy - low power, high speed - so the beam only scratches a shallow line into the surface: fold lines, etch marks, register marks. Raster engraving ignores lines entirely and sweeps the beam back and forth like an inkjet head, firing in a grid to shave away a shaded area - text, logos, images, textured surfaces.
The three controls form a triangle you learn to feel. Power and speed together set how much energy lands per millimetre: more power or slower travel means a deeper, more aggressive cut; less power or faster travel means a lighter touch. Frequency (often shown as PPI, pulses per inch, or in Hz) controls how the beam is pulsed - high frequency gives an almost continuous beam for smooth cuts in wood, while lower frequency spaces the pulses out to avoid melting delicate materials like thin acrylic or paper.
Because the right numbers depend on the exact material, its thickness, its moisture, even the batch, nobody trusts settings blindly. The universal habit is a test cut: a small grid of little squares run at stepped power and speed on an offcut of the actual sheet, so you dial in a clean through-cut before committing the real job. A worked feel: a 3 mm birch ply might cut in a single pass on a 60 W machine at moderate speed, while 6 mm needs slower travel or two passes and shows more edge char - but always confirm with a test, never a number from the internet.
The vector workflow
A laser reads vector geometry - lines and curves, not pixels (except in raster engraving, which does take an image). You prepare artwork in a CAD or vector tool and export a DXF, SVG, AI or PDF; the laser software then maps what it sees to operations. The near-universal convention is colour-coded layers: one colour (say pure red) means cut, another (blue) means score, black-filled shapes mean raster engrave. The software assigns each colour a power/speed/operation, so a single file can engrave a label, score fold lines and cut the outline in one run.
A few details make or break the job. Cut lines must be true vectors at hairline width - a line given real thickness may be interpreted as an area to engrave, not a path to cut. Duplicate or overlapping lines cause the laser to cut the same edge twice (double kerf, scorching), so a clean, deduplicated file matters. And cut order is deliberate: you engrave first (before the part can shift), then cut inner features - holes, slots, windows - before the outer boundary, so the part stays anchored in the sheet until its very last cut. Cut the outline first and the freed part can drop or tilt while you are still trying to cut its holes.
At the machine you then set the origin/home, position the artwork over the material on the bed, set the focus for that thickness, confirm extraction and air assist are on, and run. It is a genuinely quick loop - which is exactly why it rewards a tidy file and punishes a sloppy one.
Colour = operation. Engrave, then inner cuts, then the outline last - so the part never drops early.
Safety - fumes, fire and eyes
A laser cutter concentrates enough energy to set material alight, and treating it casually is how workshops burn down. Fire is the number-one hazard. The beam is literally burning material, and thin wood, paper, card and acrylic can flare - especially on slow cuts, multiple passes, or when the extraction is weak. Never run a laser unattended. Watch the cut, keep the lid closed, keep a suitable extinguisher (and often a damp cloth) within reach, and stop immediately if a flame persists rather than flickers.
Fumes are the second. Every cut vaporises material into smoke and fine particulate that must be pulled away by an exhaust or filtration system - never breathe it. And some materials are outright dangerous: PVC and vinyl release chlorine and hydrochloric acid gas when lasered, which is toxic to your lungs and corrodes the machine from the inside. Never cut PVC, and never cut any plastic you cannot positively identify - the next lesson covers the safe-and-unsafe list in full. If you are unsure what a material is, do not put it in the machine.
Your eyes are the third. A CO2 beam is invisible and can cause permanent damage; that is why the machine runs in an interlocked enclosure with laser-safe viewing panels. Never bypass the safety interlocks or run an open-lid machine, and never look at the cutting point without the proper protection the machine provides. Laser cutting is safe when the enclosure, extraction and attention are all in place - and only then. Always learn on a specific machine under proper supervision before running it alone; the induction a fablab gives you is not a formality.
Fire, fumes, eyes. Never leave it running. Never cut PVC or an unknown plastic. Never bypass the lid.
CO2 laser
10.6-micron infrared gas laser
The standard fablab and studio machine; cuts and engraves plywood, MDF, acrylic, card, leather and cloth. Poor on metals.
Fibre laser
~1.06-micron solid-state laser
Absorbed well by metals; the industrial sheet-metal cutter. Not the machine for clear acrylic or thick organics.
Kerf
Width of material the beam removes
Typically 0.1-0.3 mm; splits half to each side of the cut line. It quietly changes every fit - the next lesson is built on it.
Assist gas
Air, nitrogen or oxygen through the nozzle
Clears debris, cools the edge and limits flaming; must be on for a clean cut and to control fire.
Vector vs raster
Line-following cut/score vs area engraving
Vector cuts and scores follow paths; raster engraving sweeps a grid to shade an area. One machine, both jobs.
Workshop - dial in a material with a test-cut grid
The single habit that separates a clean laser job from a charred, half-cut mess is the test cut. Before running a real job on any new material or batch, you prove your settings on an offcut. This exercise builds that reflex - do it under supervision on a machine you have been inducted on.
An inducted, extracted CO2 laser cutter; a laser-safe offcut (birch ply or cast acrylic); vector software (Illustrator, Inkscape, Rhino or the laser's own app). Proper supervision - do not run a laser you have not been trained on.
Goal: find clean cut/score/engrave settings for one material
Inputs: an offcut of a known-safe sheet (3 mm birch ply or cast acrylic), an inducted CO2 laser with working extraction
Time: ~40 minutes
- 1Confirm the material. Positively identify the sheet as laser-safe (birch ply or cast acrylic - NOT PVC or an unknown plastic). If you cannot identify it, stop and pick something you can.
- 2Build a test file: a small grid of ~10 mm squares, each on a 'cut' colour layer, plus one row of short 'score' lines and one small filled shape to raster-engrave.
- 3In the laser software, step the power and speed across the grid (e.g. power fixed, speed increasing along the row; or speed fixed, power decreasing). Label each cell with its settings as engraved text.
- 4Set the focus for the sheet thickness, confirm extraction and air assist are ON, close the lid, and run - watching the whole time for flare-up.
- 5Read the result: find the fastest/lowest-power square that still cut fully through cleanly (lift the sheet - do the squares drop out?). Note the char, taper and edge quality. Record the winning cut, score and engrave settings for that material and thickness.
You’ll walk away with
A labelled test tile plus a written note of the best cut, score and engrave settings for that exact material and thickness - your first entry in a settings library you will keep building.
Three altitudes on the same idea
Read the band that fits you — or all three.
For you, the laser is the fastest route from drawing to physical model and component. Site and massing models, sectional models, facade study screens, jigs and templates all come straight off a vector file you already work in. Understanding beam, focus and kerf lets you specify laser-cut parts - screens, perforated panels, signage - with tolerances a fabricator can actually hit.
This is how bespoke detail gets made at 1:1. Decorative screens and room dividers, perforated metal or acrylic panels, custom signage, inlays, lampshades and light-diffusing patterns are all laser work. Knowing what CO2 versus fibre can cut, and how cut-score-engrave differ, lets you brief a maker precisely and choose materials that will actually cut clean.
The laser cutter is the single most useful machine you will learn, and the one every fablab inducts you on first. Master the vector workflow - clean lines, colour-coded operations, sensible cut order - and you can produce crisp models and prototypes fast. Safe, confident laser operation is a baseline skill employers assume; the char marks on a bad cut are visible from across a room.
“A laser cutter can cut basically any thin sheet material - just turn the power up if it is tough.”
Do it yourself
Reason it through before you touch a machine.
- 1In one sentence, what does the focusing lens actually do to the beam, and why does focus height matter?
- 2Which laser type - CO2 or fibre - would you reach for to cut 3 mm plywood, and why?
- 3How do the settings differ between cutting through a sheet and merely scoring a fold line?
- 4Why do you cut a part's inner holes before its outer outline?
- 5Name three reasons PVC must never go in a laser cutter.
The one line to carry out
Peer-reviewed journals & authoritative standards
- 01Laser cutting - process, machine types and applications — Wikipedia, 2026.
- 02The Fab Foundation - the global Fab Lab network — Fab Foundation, 2026.
- 03Design for manufacturability — Wikipedia, 2026.
You now know the beam leaves a kerf of real width - and that quietly changes the size of everything you cut. Next we make kerf work for you: how it affects fit, which materials cut well, and which you must never touch.
The author
Amogh N P
Architect, interior designer, and creative polymath. Studio Matrx began in his notebooks — his vision of design made honest, useful, and open to everyone. Its Academy is written and taught in his memory, and free, forever.
More about Amogh →