
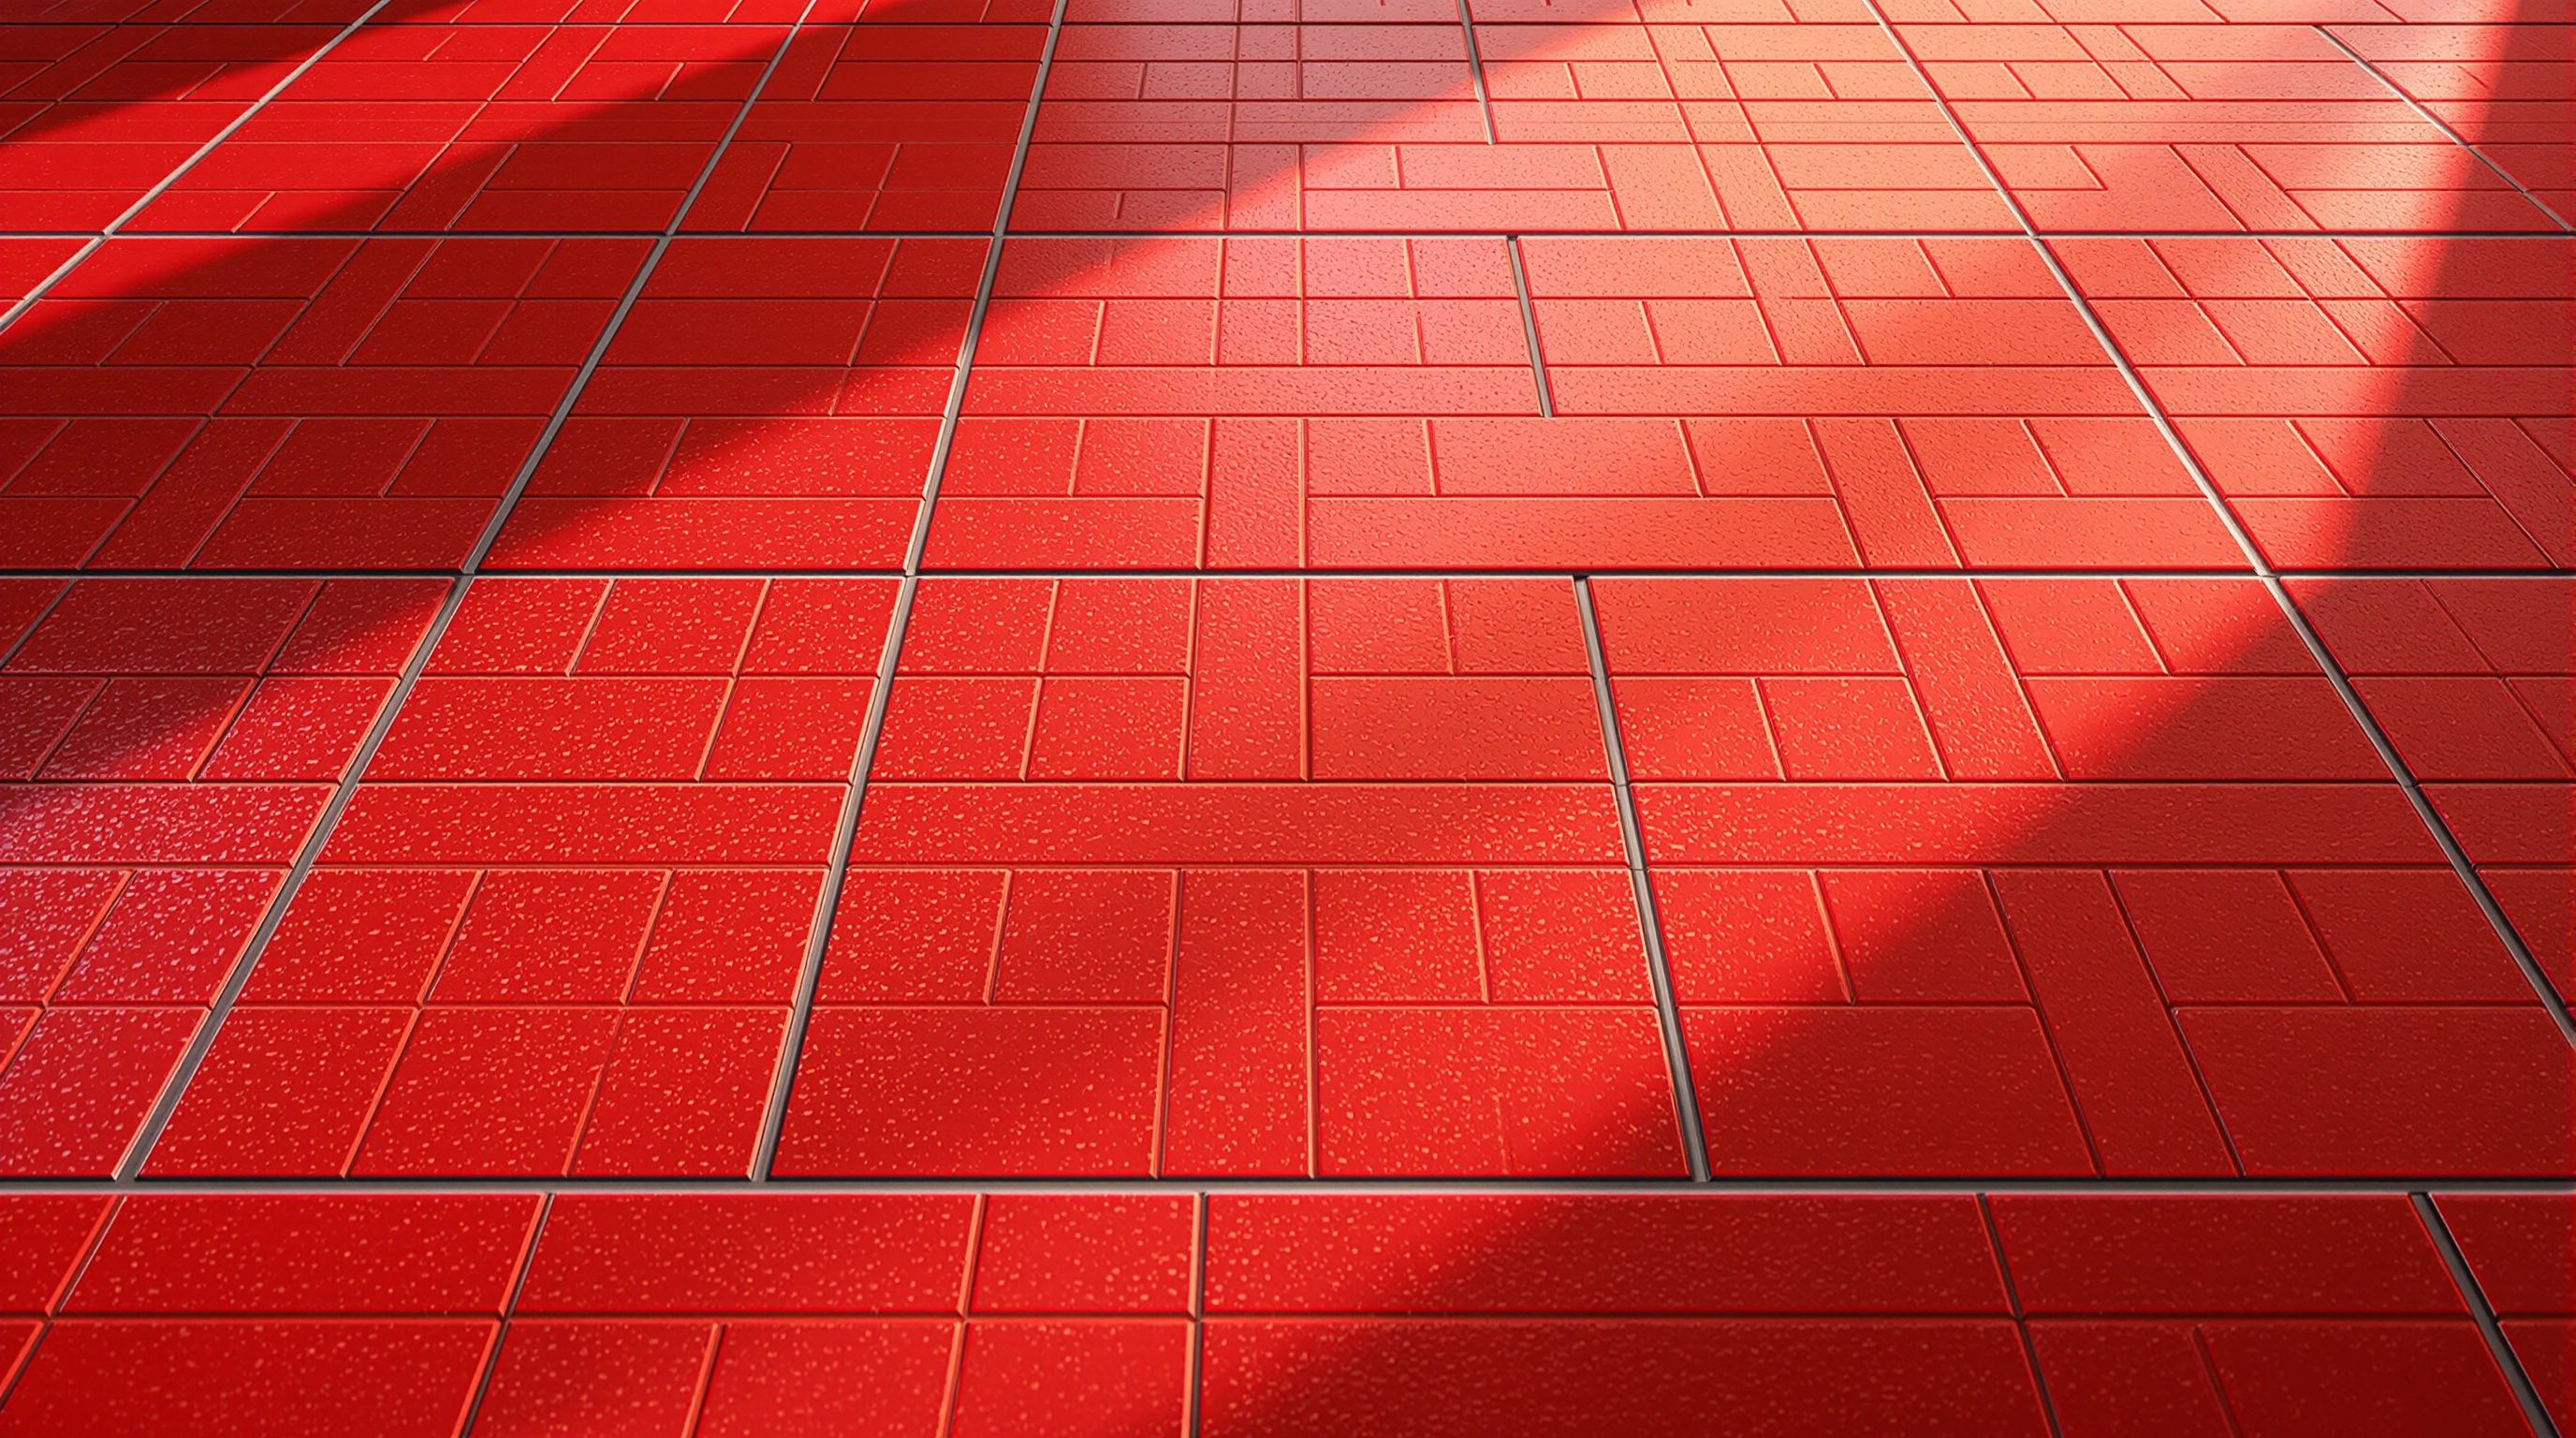
 Lesson 2.3
Lesson 2.3 · Materials & Texturing
Texturing & UV Mapping
Texture scale, tiling, projection and UV basics - putting a texture on a surface at real-world size
The right material at the wrong scale looks fake instantly. Where a texture sits matters as much as what it is.
You can have a flawless PBR material - correct roughness, beautiful maps - and still produce an obviously fake surface, because a material is only half the story. The other half is how that texture lies on the geometry: its size, its angle, its tiling, and whether it stretches or repeats visibly.
This is the domain of texturing and UV mapping. It sounds technical, but for architecture the core ideas are simple and enormously high-leverage: get a texture to real-world scale, projected sensibly, without obvious repetition, and materials that were falling flat suddenly read as real.
Real-world scale + break the repeat. Two moves that fix most architectural texturing. UVs are for curves.
Real-world scale: the fix that matters most
If you learn one thing about texturing, learn this: a texture must be sized to its real-world dimensions. A brick is roughly 230 millimetres long. A floorboard might be 150 millimetres wide. A ceramic tile is 300 or 600 millimetres square. When you apply a texture, you are telling the engine how big one repeat of that image is in the actual scene - and if you get that number wrong, the material fails no matter how good its maps are.
The failure is brutal because human vision judges scale against familiar references without any conscious effort. We know how big a brick, a plank, a door and a step are, so when a wall's bricks are rendered the size of books, or its blocks the size of paving slabs, the eye rejects it instantly - it reads as a toy or a cartoon even if every other property is perfect. This is the 'wrong scale' tell from the last lesson, and it is one of the single commonest reasons a beginner's render looks off. The good news is that it is one of the easiest things to fix: most engines let you set a texture's real-world size directly - 'this image is two metres wide' - so you can dial it until the bricks, planks or tiles measure up against a door or a person in the scene.
The professional habit is to check scale against a human reference every time you apply a texture. Drop a figure, a door or a one-metre cube into the scene and compare: do the floorboards look like real floorboards next to it? Are the bricks a believable brick size? Getting scale right is unglamorous, but it does more for believability per minute of effort than almost anything else in texturing.
Size every texture to real life. Bricks the size of books is the fastest way to look fake - check against a door.
Tiling and the repetition problem
Textures are almost always tiled - a single modest image repeated across a large surface, because storing one unique image for an entire facade would be impossibly heavy. A good texture is tileable (or 'seamless'): its edges are made to match, so when it repeats, the joins between tiles are invisible and you see a continuous brick wall rather than a grid of stamps. Free libraries like ambientCG and Poly Haven provide tileable materials precisely so they repeat cleanly.
But even a perfectly seamless texture creates a subtler problem at scale: visible repetition of features. If the texture contains any distinctive mark - a darker brick, a knot in the wood, a stain - that mark repeats at exactly the same spot in every single tile, and across a big surface the eye picks up the regular grid immediately. The wall stops looking like a real wall and starts looking like wallpaper. This is one of the most persistent tells of a rendered surface, and the more area you cover, the worse it gets.
There are several standard cures, and professionals reach for them constantly. You can use a larger, higher-resolution texture so the repeat is spread over more area and is less obvious in frame. You can add variation - a second map that randomly tints or breaks up the tiles, which many engines support directly. You can rotate or offset the texture on different parts of a surface so the pattern does not line up. Or, for the most demanding hero surfaces, you use a genuinely large unique texture with no repeat at all. The judgement is proportionate: a distant background wall can tolerate obvious tiling that a foreground hero surface cannot, so spend your effort where the camera is looking.
Projection: how the texture gets onto the surface
For a texture to appear on a surface, the engine needs to know how to wrap the flat 2D image onto the 3D geometry - and there are a few ways it can do that. The simplest, and the one most real-time archviz relies on, is box or planar projection (often called world-space or triplanar mapping). Here the engine effectively projects the texture straight onto the geometry from a flat plane or from all three axes of a box, as if shining a slide projector at it. For the boxy, mostly-flat surfaces of architecture - walls, floors, slabs - this works remarkably well and requires almost no manual setup: assign the material, set the real-world scale, and it lies down correctly on every flat face.
This is why architects and interior designers can often skip the deepest technicalities of texturing that a games or film artist must master. Buildings are largely composed of flat and simple surfaces, and box/planar projection handles them cleanly. Twinmotion, Enscape, Lumion and D5 all lean on this, which is a big part of why applying materials in them feels so immediate. The main thing to watch is that the projection is aligned sensibly - that a wood floor's planks run the right direction, that a brick course is horizontal - and most engines expose a simple rotation control for exactly that.
Projection does have limits. On a curved or organically-shaped surface - a twisting balustrade, a moulded chair, a sculptural form - simple planar projection stretches and smears the texture, because a flat projection cannot cleanly wrap a complex 3D shape. That is precisely where the next idea, proper UV mapping, becomes necessary. But for the majority of straightforward architectural surfaces, sensible projection plus correct scale gets you most of the way, and it is worth knowing that you do not always need the full UV workflow.
Flat, boxy architecture? Box/planar projection + real scale usually just works. Save UV effort for curved shapes.
UV mapping: unwrapping a shape so a texture fits it
When projection is not enough - on curved, moulded or complex objects - the surface needs proper UV mapping. The idea is best pictured as unwrapping: imagine taking a 3D object, cutting it along chosen seams, and flattening its surface out into a single flat 2D sheet, the way you might unfold a cardboard box into a flat cross. That flattened layout is the object's UV map, and it lives in a 2D coordinate space labelled U and V (just X and Y by another name, reserved for texture space). Once the surface is unwrapped flat, a 2D texture can be laid over that layout, and the engine knows exactly where each part of the image belongs on the 3D form.
Good UVs have two qualities. They are not stretched - each face gets an area on the UV sheet proportional to its real size, so the texture appears at a consistent scale everywhere rather than smeared thin on some faces and bunched on others. And their seams are hidden - the cuts needed to flatten the shape are placed where they will not be seen, in corners or on the underside, rather than running across a visible surface. When a downloaded model shows a texture that stretches, warps or repeats strangely on a curved part, the cause is almost always bad or missing UVs, not a bad material.
For most architectural work you will rely on models that already carry decent UVs - furniture, fittings and entourage from asset libraries are unwrapped for you - and on box/planar projection for the building itself. You rarely need to unwrap by hand. But understanding what UVs are means that when a texture misbehaves on a complex object, you can correctly diagnose it as a UV problem and either fix the projection, re-import with better UVs, or choose a different asset - rather than fruitlessly editing a material that was never the issue. That diagnostic clarity is the real reason the concept is worth holding.
Real-world scale
Sizing a texture to its true dimensions
Set one repeat to the real size (a brick ~230mm, a tile 600mm). The single highest-leverage texturing fix.
Tiling / seamless texture
Repeating a tileable image across a surface
Seamless edges hide the joins; but distinctive features still repeat on a grid - break them up on large areas.
Box / planar projection
Projecting a texture onto flat geometry
World-space or triplanar mapping handles most flat architectural surfaces with no manual UVs. What real-time engines lean on.
UV mapping / unwrap
Flattening a 3D surface into 2D texture space
Needed for curved and complex objects. Good UVs have no stretch and hidden seams; asset-library models usually carry them.
Workshop - scale, tile and de-repeat one wall
You will take a single large surface and take texturing from obviously-fake to believable using only scale and repetition control - the two moves that matter most in architecture.
A real-time renderer with real-world texture scaling (Twinmotion, Enscape, Lumion or D5) and one tileable texture from ambientCG or Poly Haven.
Goal: fix scale and repetition on a real surface
Inputs: any renderer + a large wall or floor plane + a tileable brick, stone or wood texture from ambientCG or Poly Haven
Time: ~40 minutes
- 1Apply the texture to a large wall or floor at whatever default scale the engine gives, and drop a door or a human figure into the scene as a reference. Screenshot it - the scale is probably wrong.
- 2Set the texture's real-world scale so one repeat matches the true dimension (bricks ~230mm long, planks ~150mm wide, tiles 600mm). Compare against your reference until it reads right. Screenshot the corrected scale.
- 3Now step back and look for the repeat - the same distinctive mark appearing on a regular grid. Try three cures: use a larger/higher-res version, add the engine's variation or randomisation if it has one, or rotate/offset the texture on parts of the surface.
- 4If your scene has a curved or moulded object, apply the same texture to it and observe the stretching - proof that projection is not enough there and UVs matter. Note where it smears.
- 5Line up your before/after and write two or three lines: what did fixing scale do, and which cure broke the repetition best?
You’ll walk away with
Before/after images of one large surface - default scale versus corrected real-world scale with repetition broken up - and a short note on which de-repeat cure worked best.
Three altitudes on the same idea
Read the band that fits you — or all three.
Correct texture scale is what keeps a render honest to the real material. A brick coursed at true 230mm reads as the brick you specified; the same map at the wrong size turns your facade into a cartoon. For the mostly-flat surfaces of a building, box projection plus real-world scale does the job - reserve deeper UV concerns for sculptural or curved elements.
Interiors are seen close up, where scale and repetition are unforgiving. A floorboard at the wrong width, a tile grid that is subtly too big, a fabric whose weave repeats visibly on a sofa - all read instantly at close range. Set real-world scale against a known dimension, break up repetition on large surfaces, and your interiors gain a lot of believability for little effort.
You do not need to master professional UV unwrapping - you need to master scale and repetition. Getting textures to real-world size and breaking up obvious tiling will fix most of what makes student renders look fake, and box projection handles the rest for architecture. Understand what UVs are so you can diagnose a stretched texture, then move on.
“If a texture looks wrong, the material or its maps must be low quality.”
Do it yourself
Think it through before you texture.
- 1Why is real-world scale the highest-leverage texturing decision for architecture?
- 2What does it mean for a texture to be 'seamless' or tileable?
- 3Even with a seamless texture, what repetition problem remains on a large surface, and how do you cure it?
- 4For flat architectural surfaces, why can you often skip full UV unwrapping?
- 5What are the two qualities of a good UV map?
The one line to carry out
Peer-reviewed journals & authoritative standards
- 01Poly Haven - free HDRIs, textures and models — Poly Haven, 2026.
- 02ambientCG - free PBR materials and texture maps — ambientCG, 2026.
- 03PBR Theory - how light interacts with physically based surfaces — LearnOpenGL, 2026.
- 04Akenine-Moller, T., et al. - Real-Time Rendering (resources) — realtimerendering.com, 2026.
With PBR properties, library editing and correct scale in hand, you have everything you need to make specific real materials sing. Next we get concrete about the settings that make glass, metal, wood, concrete, fabric and water each read as unmistakably real.
The author
Amogh N P
Architect, interior designer, and creative polymath. Studio Matrx began in his notebooks — his vision of design made honest, useful, and open to everyone. Its Academy is written and taught in his memory, and free, forever.
More about Amogh →