
 Lesson 4.3
Lesson 4.3 · Lighting with Lumen
Artificial & Architectural Lighting
Point, spot and rect lights, IES profiles and emissive surfaces - lit in layers, for mood
Daylight is given. Everything after dark - and every deliberate pool of light - is designed. This is where a space gets its mood.
Turn the sun off and a space does not go dark so much as it goes designed. Every restaurant that feels warm, every gallery that makes you look, every hotel lobby that says expensive is the result of artificial light placed with intent - some to see by, some to work by, some purely to create feeling.
Unreal gives you a compact kit for this: point, spot and rect lights for real fixtures, IES profiles to make those lights throw the exact pattern a real luminaire does, and emissive materials for the glow of coves, screens and signage. Because Lumen is handling the bounce, every one of these lights also contributes indirect fill, just like the real thing. This lesson is about lighting a scheme in layers - ambient, task, accent - with real photometric units, so an interior reads with the mood you intend.
Ambient (move safely) + Task (work) + Accent (drama). Toggle each layer - if the room is fine without it, cut it.
The three lights, and what each is for
Unreal's placeable lights map neatly onto how real fixtures behave. A Point Light radiates in all directions from a single spot, like a bare bulb or a pendant - good for general fill and the glow of a lamp. A Spot Light emits a cone in one direction, with an inner and outer cone angle that let you feather the edge - this is your downlight, your track head, your accent on a painting or a feature wall. A Rect Light (rectangular area light) emits from a flat rectangle, which produces soft, realistic shadows and gradients because the source has real size - it is the truest match for a window, a light panel, a softbox, a backlit surface or an LED sheet, and it is often the secret to interiors that look photographed rather than gamed. As a rule of thumb: Rect for soft area sources and anything with visible size, Spot for directional accents and pools, Point for omnidirectional fill and small bulbs.
Each light has properties that matter for archviz. Intensity sets brightness (in real units - more below). Light color and Temperature (in kelvin) set warmth - roughly 2700K for cosy domestic warm-white, 4000K neutral, 5000-6500K for cool or daylight-matched - and mixing temperatures deliberately (warm interior against cool dusk outside) is a classic archviz move. Attenuation radius controls how far the light reaches, Source radius / size softens the shadows (a bigger source is a softer shadow), and cast shadows can be toggled per light to save performance where a shadow will not be seen. Every one of these lights feeds Lumen, so it also bounces - which is why a single well-placed lamp can lift a whole corner.
One more property decides whether a light even works with Lumen: its Mobility. A Static light bakes into a lightmap and never moves; a Stationary light bakes indirect but keeps dynamic direct light and shadows; a Movable light is fully dynamic and is what you want for a scene you are lighting live with Lumen. Rect lights also carry barn doors and a source width and height to shape and soften the throw, and every light has a Max Draw Distance so distant, unseen lights can switch off for performance. Because each shadow-casting light is a real cost, a practical discipline is to let only the lights that genuinely need shadows cast them - a hidden fill light behind a sofa rarely does - which Module 9 returns to when you are counting milliseconds.
Point = bulb (all directions). Spot = cone (accents, pools). Rect = panel (soft shadows, window/softbox). Rect is the archviz secret.
IES profiles: making a light throw like a real fixture
A bare Unreal spot light throws a smooth, even cone - but real luminaires do not. A real downlight might throw a tight central hotspot with a soft falloff; a wall-washer spreads a broad even sheet; a decorative fitting scatters scallops and petals of light. Manufacturers measure exactly how their fixtures distribute light and publish it as an IES profile - a small photometric data file (an IES file) describing the luminaire's intensity in every direction. Drop an IES profile onto a light in Unreal (via the IES Texture slot) and the light throws that real pattern: the hotspots, the falloff, the characteristic shape of that specific fitting.
For architectural work this is a genuine bridge between the lighting design and the visualization. If a project specifies particular luminaires, their manufacturers almost always offer downloadable IES files, so you can visualize the actual specified lighting rather than a generic approximation - the scallops on a wall from real wall-washers, the precise beam of a chosen spotlight. It is the difference between a render that looks lit and one that shows how the scheme will actually perform. A caution worth knowing: IES profiles control the shape of the distribution; you still set overall intensity and the file interacts with Unreal's units, so expect to tune brightness after applying one. Used well, IES profiles are what let a real-time model double as a lighting-design tool an engineer or client can trust.
Emissive materials, coves and the layered scheme
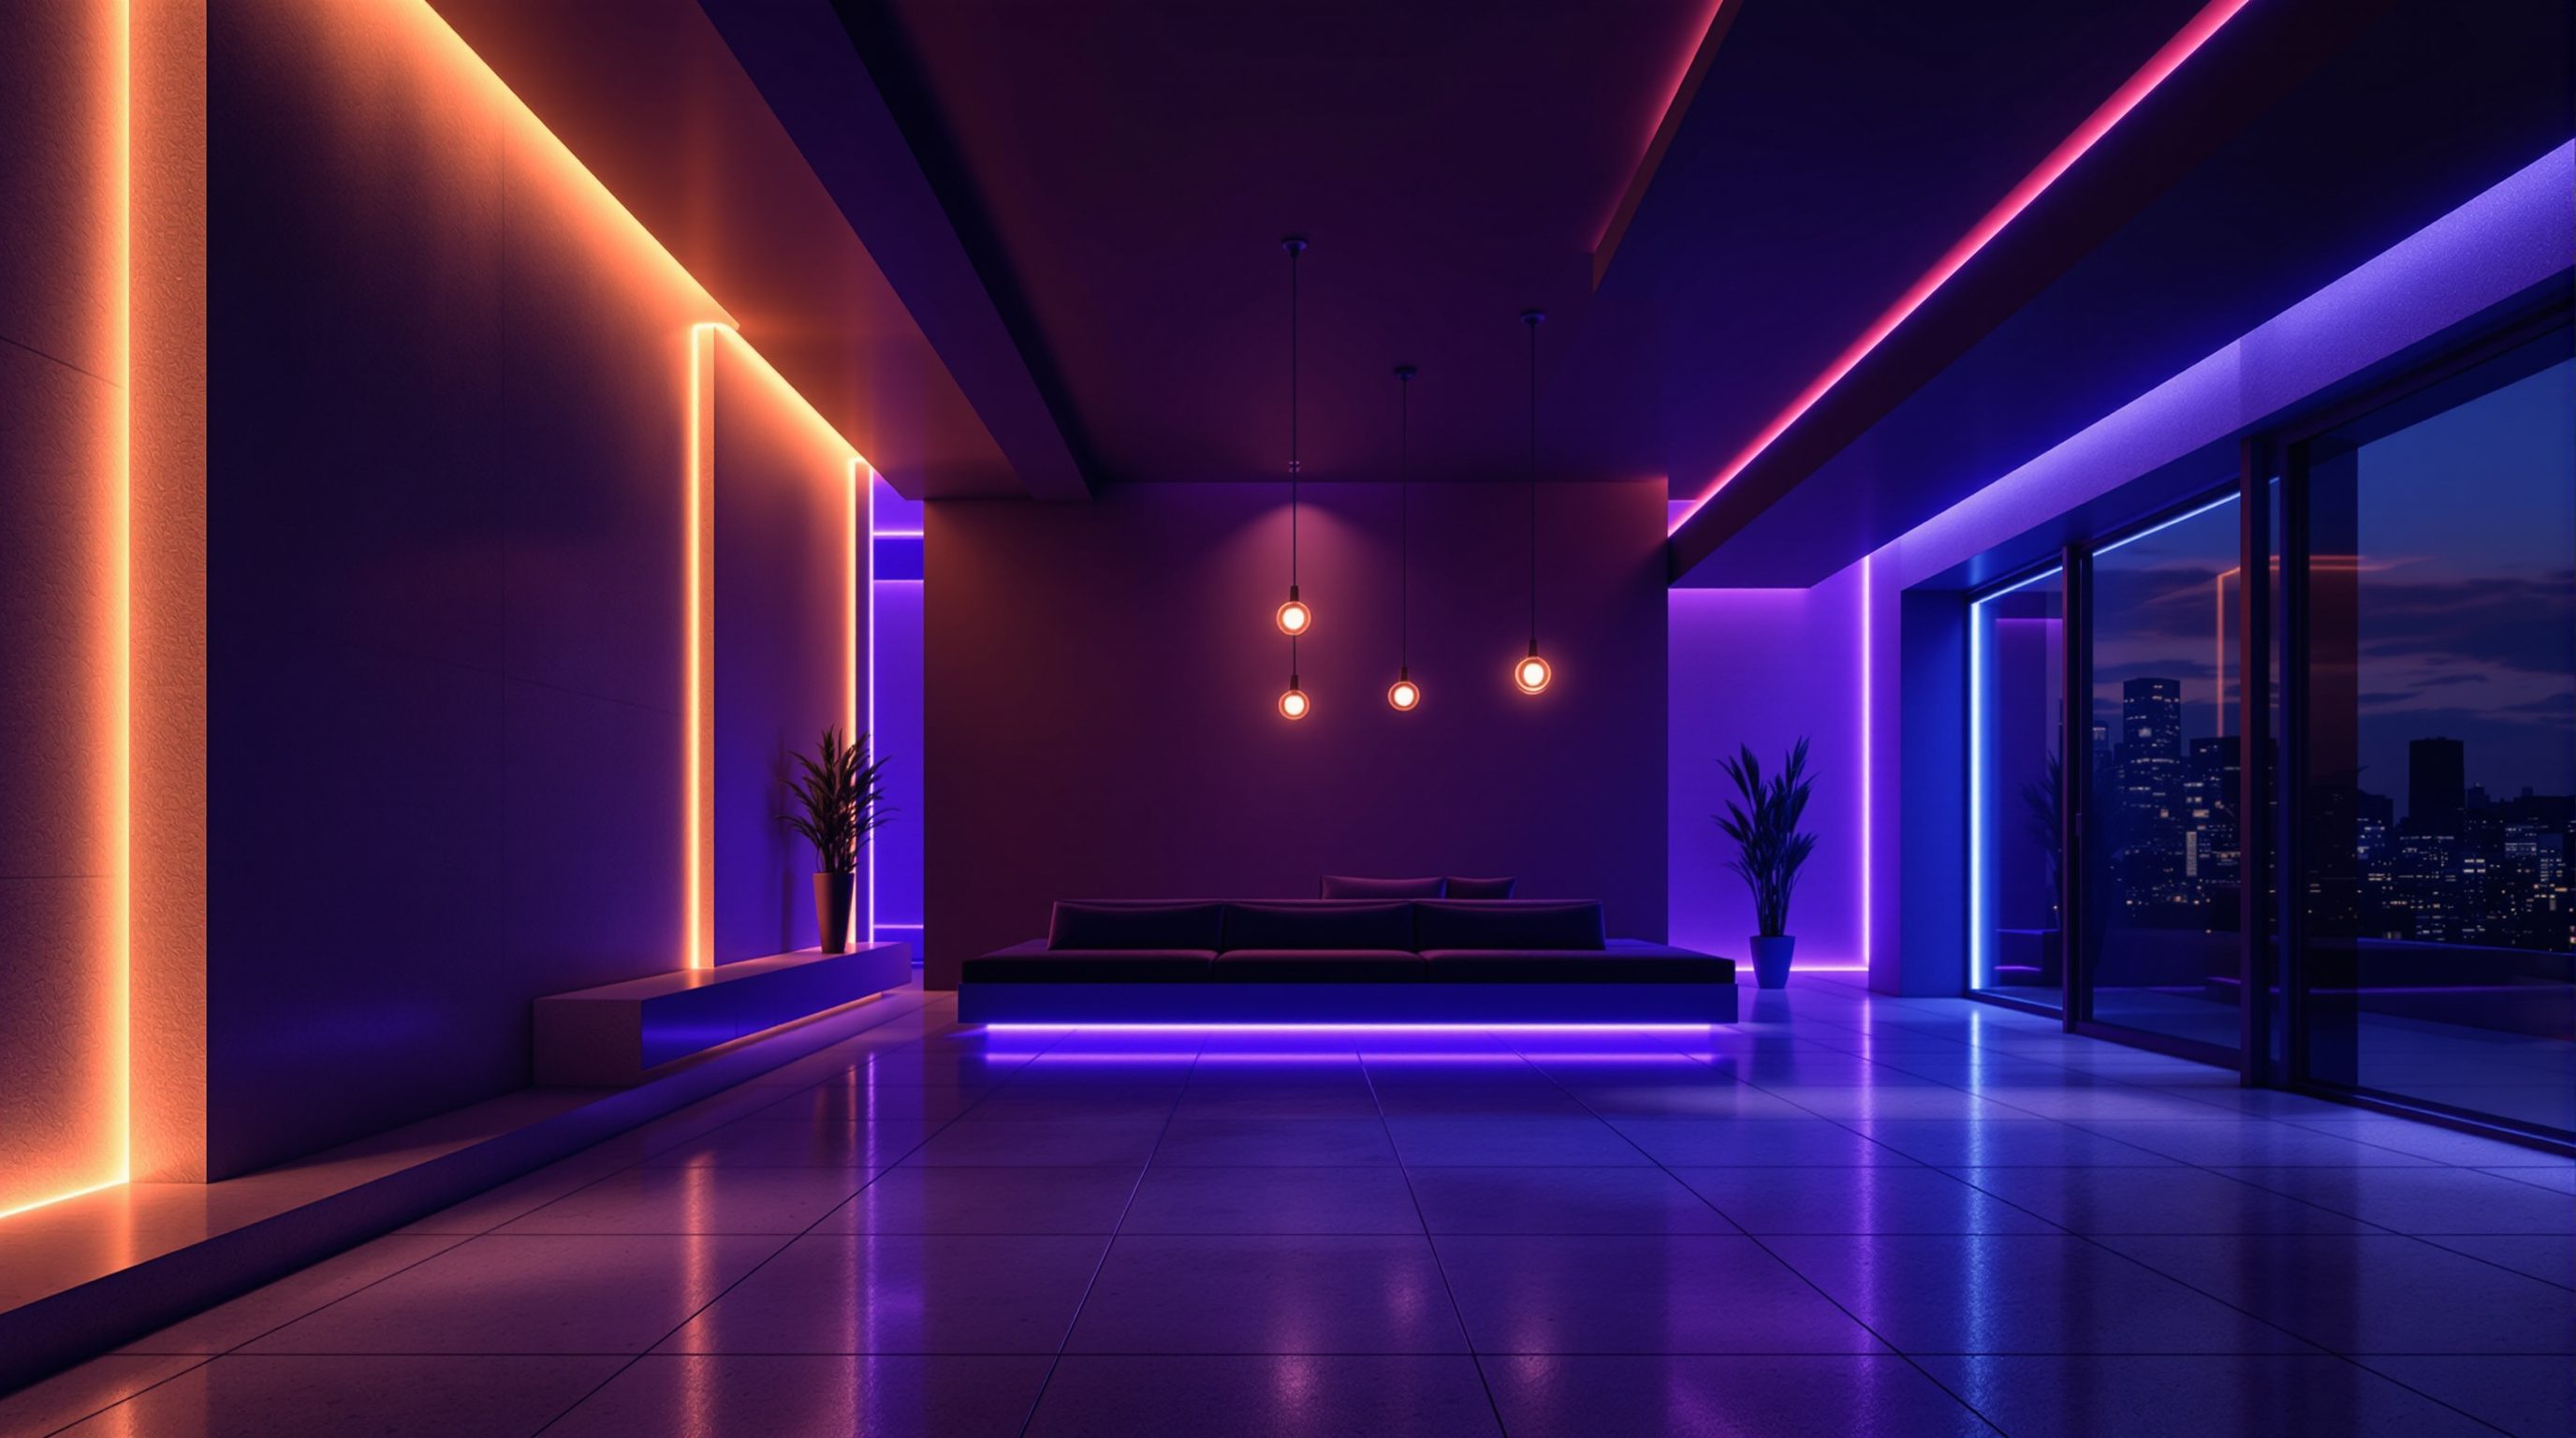
Not all light in a space comes from a fixture you can point at - much of the best architectural lighting is hidden. A cove hides an LED strip so light washes up a wall or across a ceiling from an unseen source; backlit onyx, illuminated shelving, signage and screens all glow as surfaces. In Unreal you make a surface glow by giving its material an emissive output - the material itself emits light. Emissive is perfect for the visible source (the bright strip, the glowing sign, the screen) and, with Lumen, an emissive surface also casts soft real bounce into the room, so a cove genuinely washes the ceiling. The honest limit from Lesson 4.1 returns here: very small or very bright emissive shapes are a Lumen weak spot, so for a cove that must actually illuminate strongly, pair the emissive strip (for the look) with a hidden Rect or Spot light (for the punch). That belt-and-braces trick - emissive you see plus a real light you do not - is standard practice.
All of this comes together through the idea architects and lighting designers already use: layers. A good scheme is not one bright light but several deliberate layers - ambient (the general fill that lets you move safely and sets the base level), task (focused light where you work: the kitchen counter, the desk, the reading chair), and accent (the drama: a spot on art, a grazing wash on stone, the glow of a cove). Light a scene layer by layer - block the ambient, add task where function needs it, then place accent for mood - and turn each layer on and off to check it earns its place. This layered, intentional approach is the whole craft; the point lights and rect lights are just how you build each layer. Combine warm and cool temperatures across the layers, let Lumen carry the bounce, and an interior stops looking evenly flooded and starts looking designed.
Real units: lumens, candela and getting brightness right
One thing that trips people moving from games to archviz is light intensity units. Unreal supports photometric units - the same units the lighting industry uses - so you can light with real-world numbers instead of arbitrary sliders. Point and Spot lights can be set in lumens (the total light output a bulb is rated in - a domestic LED bulb might be 800-1600 lumens) or candela (intensity in a particular direction, used for directional sources). Rect lights are often set in nits (luminance - brightness per unit area, how bright the panel looks). Sky and sun brightness is described in lux (illuminance falling on a surface). You do not need to memorise the physics, but using real units means a fixture rated by a manufacturer can be entered faithfully, and a room lit to plausible real-world levels behaves plausibly.
The catch that confuses everyone: a light set to a physically correct value can still look wrong on screen, because what you finally see also depends on exposure. The real world spans a vast brightness range, and the camera chooses an exposure to map it to the screen (Lesson 4.4). So the professional workflow is to light with sane, real-ish values and set a sensible exposure, then judge the result - never crank a light to 100x just because the room looks dark, when the fix is exposure. Get in the habit of lighting to real levels and the whole scene stays balanced: daylight, artificial lights and emissive all sit in one consistent, physically grounded range, which is exactly what makes a real-time interior read as true. Module 6 then frames that lit space with a camera; Module 9 keeps all those shadow-casting lights inside your performance budget.
Unreal exposes these units cleanly once you enable Extended Luminance Range (the modern default), which lets sun, sky and interior fixtures coexist across a realistic brightness span measured in EV100. A rough real-world anchor for calibration: a bright overcast sky sits around EV 12-13, a well-lit interior around EV 6-8, so if your fixtures are entered at plausible lumen values and your exposure is set for the room, everything falls into place. This is also why you should resist the temptation to type huge round numbers into intensity: a domestic pendant is 800-1600 lumens, a bright downlight a few thousand candela, and a 100,000-lumen lamp in a living room will simply blow out the moment the camera exposes for it. Enter real values, set exposure for the space, and the whole scene stays in one honest, physically grounded range that reads as photographed.
Point / Spot / Rect Lights
Unreal's three placeable light types
Point radiates all ways (bulbs, fill); Spot throws a cone (accents, pools); Rect is a sized area light (soft shadows, windows, softboxes).
IES profiles
Real photometric distribution data for a fixture
Makes a light throw a real luminaire's pattern - hotspots, falloff, scallops. Controls shape, not overall intensity - tune brightness after.
Emissive materials
Surfaces that glow and, via Lumen, cast bounce
Ideal for visible sources - coves, signage, screens. Pair with a hidden real light for strong illumination, since tiny emissives are a Lumen weak spot.
Photometric units (lumens / candela / nits / lux)
Real-world light units Unreal supports
Enter manufacturer-rated values faithfully. But on-screen brightness also depends on exposure - light to real levels, then set exposure.
Color temperature (kelvin)
Warmth of a light source
About 2700K warm domestic, 4000K neutral, 5000-6500K cool/daylight. Mixing warm interior against cool dusk is a classic archviz move.
Workshop — light one room in three layers
Take a single interior and light it as a lighting designer would - not with one bright lamp, but in ambient, task and accent layers, using real light types and units. This is the exercise that teaches mood.
Unreal Engine 5, an interior scene, at least one downloaded IES profile, and a material with an emissive output for the cove or signage.
Goal: an interior lit in three deliberate layers, with real light types and plausible units
Inputs: Unreal Engine 5, one interior room, at least one IES profile, one emissive material
Time: ~45 minutes
- 1Start from an evening scene (daylight low or off). Block the AMBIENT layer: a couple of Rect or Point lights for general fill at a modest, plausible intensity so you can move without the room going black.
- 2Add the TASK layer: focused Spot lights where function needs them - a kitchen counter, a desk, a reading chair. Set warm temperatures (about 2700-3000K) for a domestic feel.
- 3Add the ACCENT layer: a Spot with a downloaded IES profile grazing a stone or art wall, and an emissive material for a cove or signage. For a cove that must truly illuminate, hide a Rect light behind it alongside the emissive strip.
- 4Set light intensities in photometric units (lumens/candela) to real-ish values rather than arbitrary numbers, and set a sane exposure so you are judging the light, not a bleached image.
- 5Toggle each layer on and off in turn. If the room looks fine without a layer, that layer is not earning its place - cut it or re-aim it. The scheme is done when every layer has a job.
You’ll walk away with
One evening interior lit in three layers, plus a short note listing each light (type, temperature, rough intensity, and which layer it serves) and one sentence on what the accent layer added to the mood.
Three altitudes on the same idea
Read the band that fits you — or all three.
Lighting is architecture continued after dark, and real units let you design it honestly. Enter the specified luminaires with their real IES profiles and lumen ratings and you are not decorating a render - you are testing whether the lighting scheme works: does the wall-wash graze evenly, does the stair get enough light, does the facade uplighting read from the street. A model an engineer or client can trust is worth far more than a pretty guess.
This is your medium - mood is mostly light. Rect lights for soft window-like sources, warm 2700K pools against a cool evening outside, a cove washing the ceiling, a spot lifting the art: build the scheme in layers exactly as you would specify it, and show the client the room at the ambience you intend. Being able to dim, warm and re-aim light live, in the actual space, is a conversation no moodboard can have.
Learn to light in layers - ambient, task, accent - and you have a skill that reads as professional immediately. Anyone can drop a bright light in a room; knowing why a Rect light softens shadows, what an IES profile does, and why you pair an emissive cove with a hidden real light is the vocabulary of someone who understands lighting. Practise on one small room until it looks photographed, and you will have a portfolio piece that speaks for itself.
“If a room looks too dark, just turn the lights way up until it looks right.”
Do it yourself
Name the tool for each job, then build it.
- 1Which light type gives the softest, most realistic shadows, and why?
- 2What does an IES profile change about a light - and what does it not change?
- 3Why pair an emissive cove strip with a hidden real light?
- 4Name the three layers of a good lighting scheme and one fixture for each.
- 5Why can a light set to a physically correct value still look wrong on screen?
The one line to carry out
Peer-reviewed journals & authoritative standards
- 01Physically based rendering — Wikipedia, 2026.
- 02Specular highlight — Wikipedia, 2026.
- 03Lumen Global Illumination and Reflections — Epic Games / Unreal Engine Documentation, 2026.
- 04Global illumination — Wikipedia, 2026.
You now have light - daylight and designed light - filling the scene. The last step is the camera and the final grade: how exposure, tone mapping and post decide what all that light actually looks like on screen. That is the post-process look.
The author
Amogh N P
Architect, interior designer, and creative polymath. Studio Matrx began in his notebooks — his vision of design made honest, useful, and open to everyone. Its Academy is written and taught in his memory, and free, forever.
More about Amogh →