
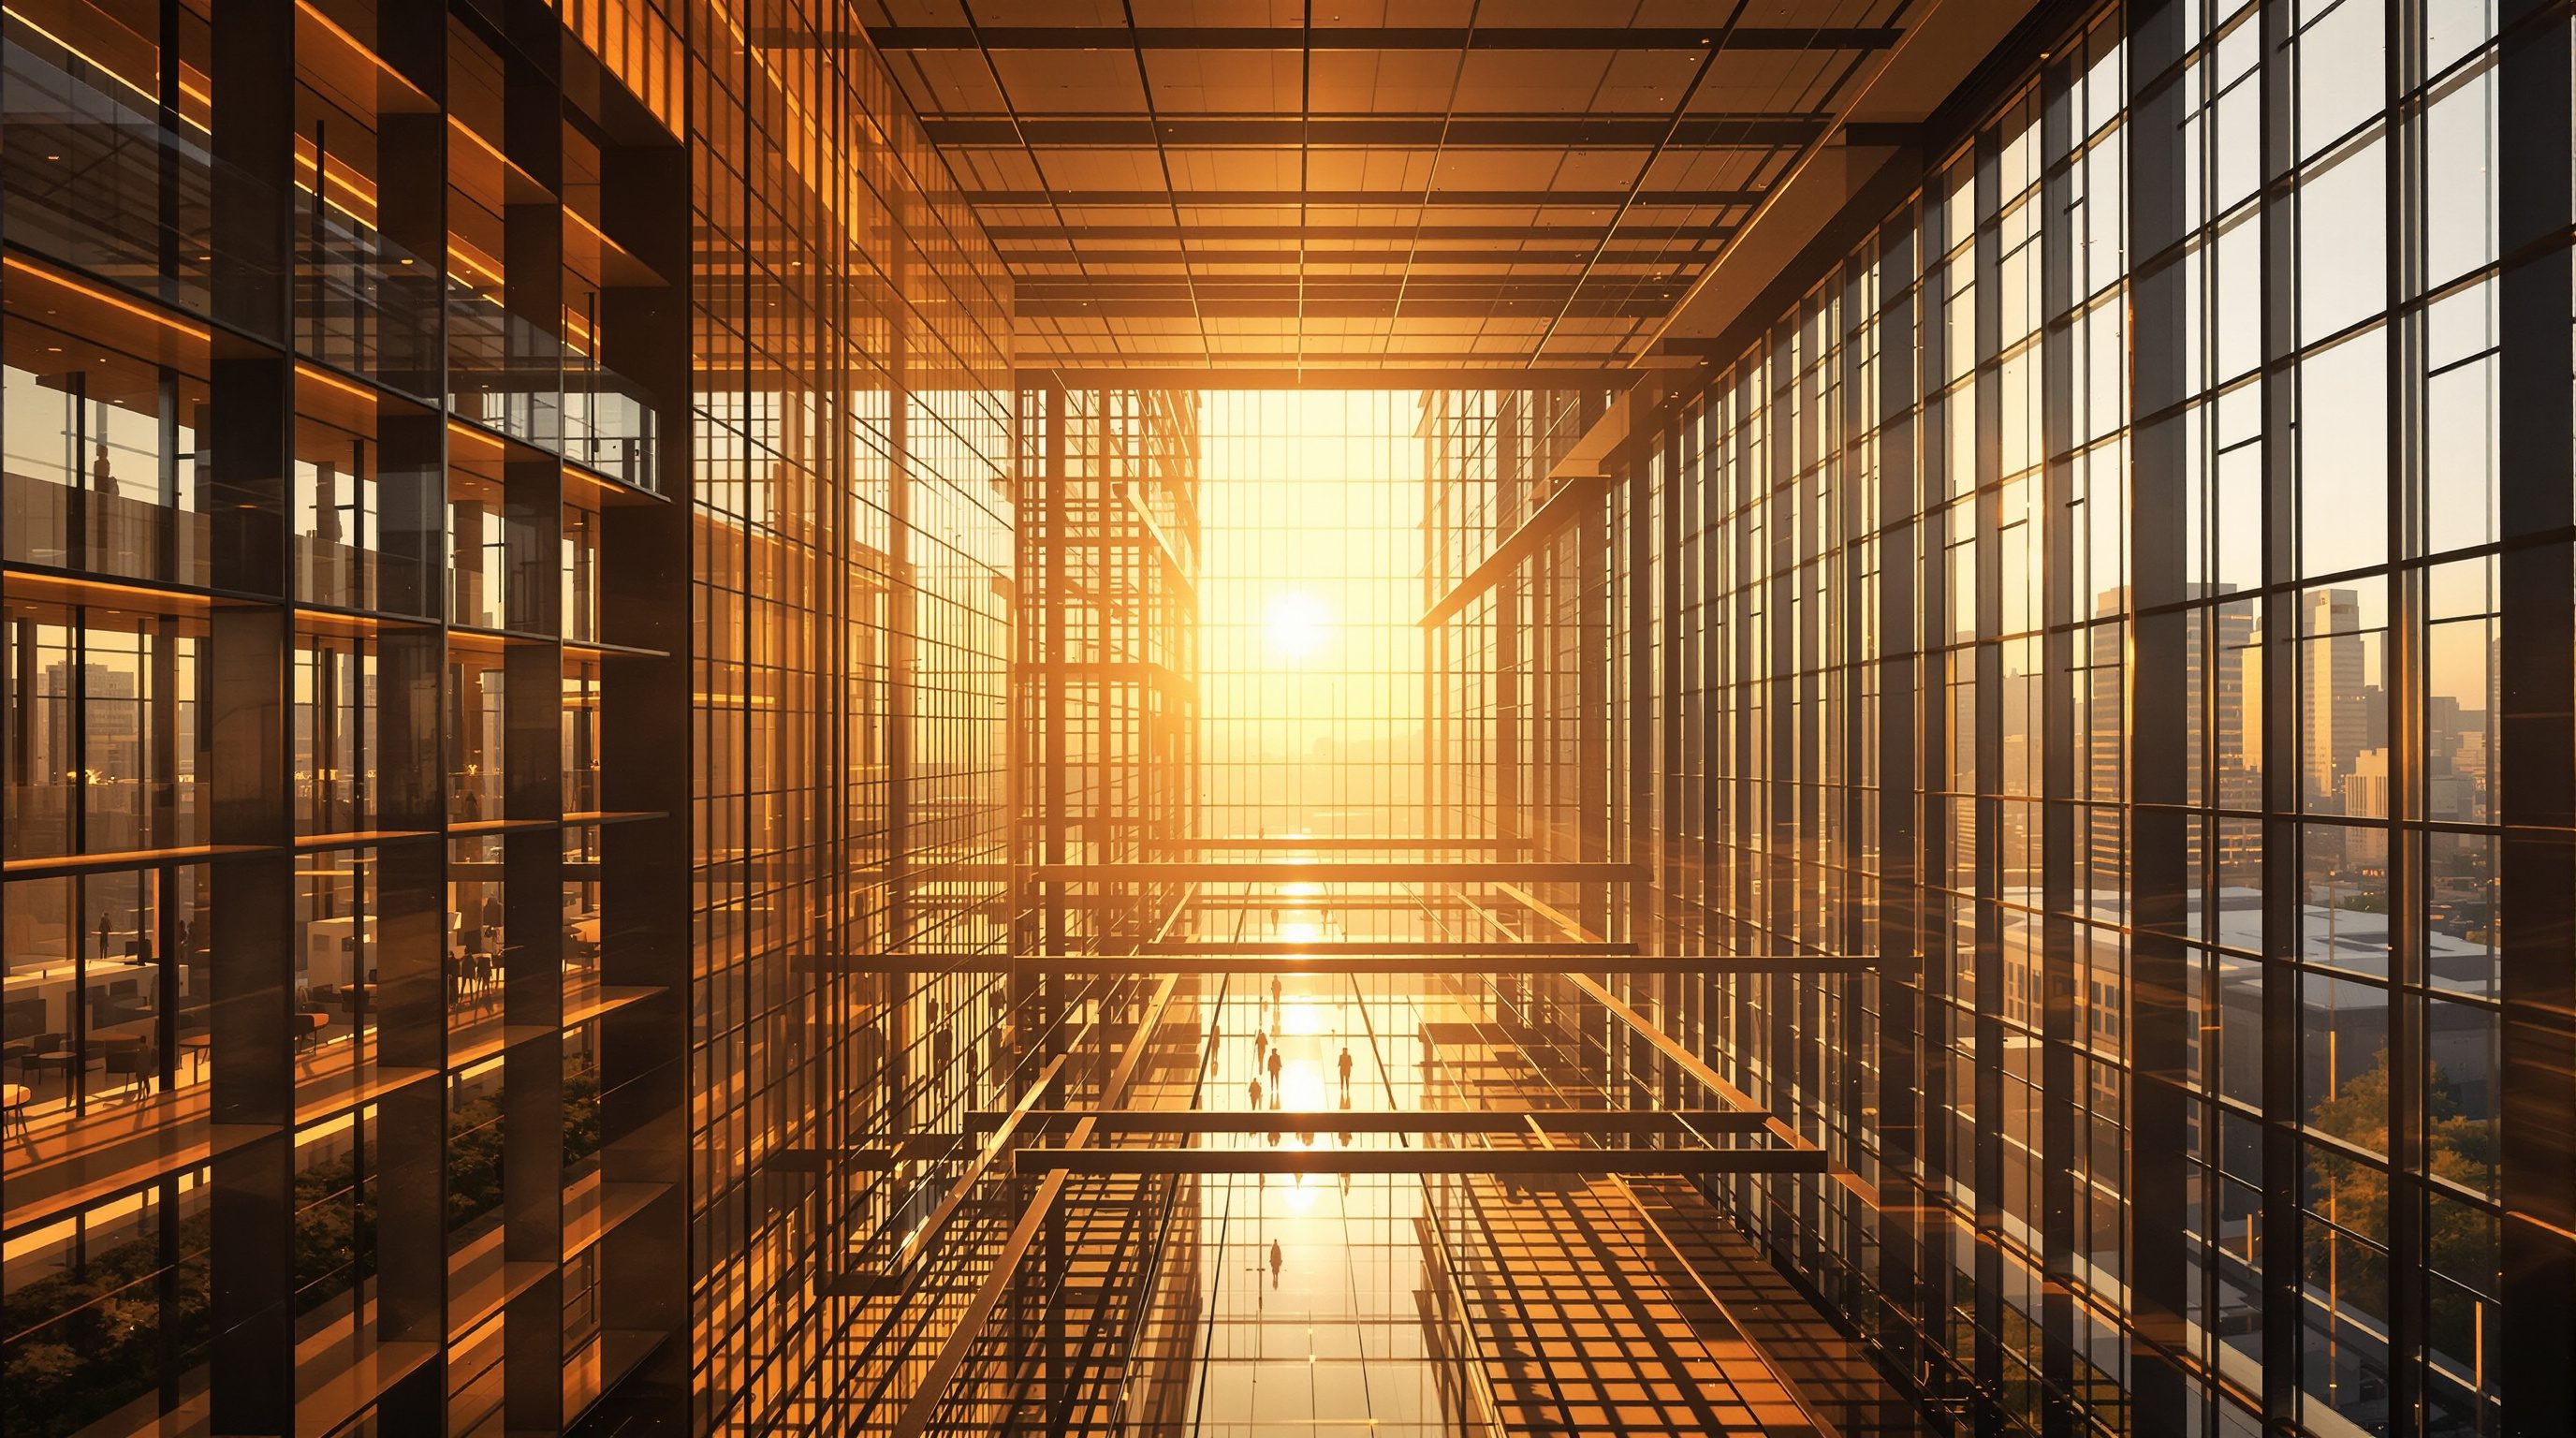
 Lesson 6.3
Lesson 6.3 · Cinematics & the Sequencer
Architectural Walkthroughs & Flythroughs
Planning and shooting the signature archviz deliverable - spline camera rigs, pacing, and the classic reveal that tells the story of a space
A bad walkthrough flies the camera through the model. A good one walks a person into the building - and reveals it the way the architect meant it to unfold.
The walkthrough is the signature real-time deliverable - the film a client remembers. And it is where most beginners go wrong, because they treat it as a task of moving the camera through the geometry rather than telling the story of a space.
A great walkthrough has a script before it has a camera: a plan of what to show, in what order, at what pace. Then it uses the right tools to execute cleanly - Camera Rig Rail splines for gliding paths, Camera Rig Crane for rises and reveals, and the Sequencer to time it all. This lesson is about both halves: the storytelling that makes a walkthrough worth watching, and the rigging that makes it smooth.
Storyboard on paper first. Rail for the glide, crane for the rise. Approach -> threshold -> reveal -> inhabit.
Walkthrough or flythrough - and plan before you rig
First, a distinction. A walkthrough keeps the camera at roughly human eye height and moves at roughly human speed - it is the experience of a person moving through the building, and it is what sells how a space feels. A flythrough frees the camera into the air - sweeping over a masterplan, orbiting a tower, rising past a facade - and it sells form, scale and context. Most presentations use both: a flythrough to establish the object in its world, walkthroughs to inhabit it. Choose per shot; a flythrough of an intimate interior feels wrong, and a ground-level walk cannot show a whole campus.
Either way, plan before you rig. Sketch a shot list - a handful of shots, each with a purpose: the approach, the entry threshold, the reveal of the main volume, a key interior, a signature detail. For each, note the camera type (walk or fly), the lens, and roughly how long it holds. This is storyboarding, and it takes twenty minutes on paper but saves hours of aimless camera-wrangling. The question for every shot is not can I get the camera there, but what is this shot for - what does the viewer understand after it that they did not before.
Think about the audience and the platform while you storyboard, because they change the shots. A film headed for a phone screen wants tighter, simpler compositions and slightly faster cuts than one for a boardroom projector; a piece that loops silently in a foyer must make sense without narration; and anything that might later become a VR or interactive experience should avoid moves that would feel sickening in a headset. Note, too, how each shot connects to the next - a cut is instant, but a continuous move from one space into another has to be physically possible, so a path that walks through a door reveals the plan behind your shot list. Twenty minutes of this planning is the cheapest quality you will ever buy: it turns a vague intention to 'make a walkthrough' into a concrete list of five or six shots you can rig, time and judge one by one.
Walkthrough = human eye, human speed, how it FEELS. Flythrough = airborne, form and context. Use both.
The Camera Rig Rail - putting the camera on a track
Hand-keyframing a long, smooth camera path is fiddly. Unreal gives you a purpose-built tool: the Camera Rig Rail, an actor that is a spline - a curved path you draw through the scene by placing and shaping control points. You attach your Cine Camera to the rail, and instead of keyframing the camera's position directly, you animate a single value - the camera's position along the rail (0 to 1, start to end) - in the Sequencer. The camera then glides along your drawn path, and because a spline is inherently smooth, the motion is smooth by construction.
This separates the two hard problems. The path is a spatial design you shape in the viewport - route it down the corridor, curve it around the column, hold it clear of walls - and can tweak endlessly without touching the timing. The timing and speed are the single rail-position track in the Sequencer, which you ease exactly as you learned in the last lesson - slow to start, glide, gentle stop. You can also independently animate where the camera looks (aim it along the path, or lock it onto a subject with a look-at target) so the camera tracks a facade while travelling past it. For rises and craning reveals, the sibling Camera Rig Crane actor mimics a real jib - arm length, height and rotation - giving that classic lifting-and-revealing move without hand-keying an arc.
A couple of practical rail tips save real grief. Keep the spline's control points few and evenly spaced - a path described by a handful of well-placed points is smoother than one crammed with them, which tends to introduce subtle speed changes and wobble as the camera negotiates each point. Watch the camera's height along the whole travel, not just at the ends: a rail that dips or rises unintentionally between points reads as a drift, so keep it level at about eye height unless a change is deliberate. And decide early how the camera should aim - locking a look-at target onto a facade or a focal object makes the camera track it like a real operator panning to hold a subject, far more compelling than a camera that stares straight down its direction of travel. For the airborne flythrough the same rail works, just routed through the air and often paired with a longer lens to compress and flatter the massing.
Pacing - move at the speed of experience
The most common walkthrough mistake is speed. Cameras fly too fast because the author, who knows the building intimately, is impatient - but the viewer is seeing it for the first time and needs time to read each space. A walkthrough should move at roughly walking pace or a touch slower, and hold on important moments. Rushing a space communicates nothing; the viewer arrives at the far wall before they have understood the room.
Build in holds and breaths. Let an establishing shot rest for four to six seconds before anything moves. Slow further at a threshold or a reveal so the moment lands. Ease every start and stop so the camera never lurches. And mind motion comfort: avoid fast pans, sudden direction changes and rapid vertical moves - they read as uneasy even on a flat screen and can be genuinely nauseating if the piece is ever shown in VR (Module 8 covers comfort in depth). A good rule is that the camera should move the way a thoughtful person with a Steadicam would move - deliberate, level, unhurried - not the way a drone or a first-person shooter does. Cut rather than whip: if you need to be somewhere else, a clean cut on the Camera Cut track is calmer than a fast fly-over.
Move at walking pace or slower. The viewer is seeing it for the first time - give the room time to be understood.
The classic reveal - structuring the story
Architecture is experienced as a sequence in time - the procession from outside to inside, from compression to release - and the best walkthroughs script exactly that. A reliable structure is: approach (establish the building in its context, often a flythrough or a low wide walk), arrival and threshold (slow at the entrance - the door, the porch, the compression of a narrow entry), the reveal (the camera crosses the threshold and the main volume opens up - this is the emotional peak, so pace it slowly and let the space breathe), then inhabitation (move through the key rooms at human pace, showing how the space is used), and finally details and closing (a signature material, a framed view, a last wide that leaves the viewer with the whole).
The reveal is the money shot, and it rewards deliberate craft: hold the compression a beat longer than feels comfortable, then release into the volume slowly, perhaps with a crane rise so the ceiling height lands. This mirrors how great buildings actually work on the body - Barragan, Kahn, a stepwell, a temple mandapa all play compression against release - and a walkthrough that honours that rhythm feels like architecture rather than a real-estate flythrough. Coordinate the other Sequencer tracks with the story: a door opening as you reach it, the light warming as you enter, furniture that reads as lived-in. The camera path is the sentence; the reveal is where it means something.
Getting the reveal to land is mostly about contrast and timing. The release feels bigger when the approach genuinely compresses first - a lower ceiling, a narrower frame, a darker or cooler light before the volume opens - so build the tension deliberately rather than starting wide. As the camera crosses the threshold, slow it further and, if the space is tall, add a gentle crane rise so the ceiling height is disclosed by the move itself; the eye reads height most powerfully when the camera lifts to reveal it. Give the volume a hold once it is open - a beat of near-stillness lets the space register before you move on - and consider letting a supporting beat coincide with the peak, a shaft of light reaching a wall or a door settling open, so several elements resolve together. That is the difference between a walkthrough that documents rooms and one that stages the experience the architecture was designed to give.
Camera Rig Rail
A spline path the camera glides along
Draw the route as a curve, then animate one value - position along the rail - in the Sequencer. Smooth motion by construction; path and timing stay separable.
Camera Rig Crane
A simulated jib for rises and reveals
Arm length, height and rotation mimic a real crane, giving the classic lifting reveal without hand-keying an arc.
Shot list / storyboard
Planning the film before rigging
A handful of purposeful shots - approach, threshold, reveal, interior, detail - decided on paper first. Saves hours of aimless camera work.
Pacing (walking speed)
How fast the camera moves
Roughly human walking pace or slower, with holds on key moments. Rushing communicates nothing and risks motion unease, especially in VR.
The reveal (compression to release)
The narrative peak of a walkthrough
Hold the compression, then open slowly into the main volume - mirroring how buildings work on the body. Pace it as the emotional high point.
Workshop — storyboard, rig and pace a reveal
You will plan a short walkthrough on paper, execute the path with a Camera Rig Rail, and pace the classic approach-threshold-reveal so a space unfolds deliberately.
Unreal Engine 5 with the Sequencer and the Camera Rig Rail / Camera Rig Crane actors (built in), plus a lit scene with an entrance and a main interior volume.
Goal: direct a paced, story-driven walkthrough, not a flythrough
Inputs: a lit Unreal building with an entrance and a main volume
Time: ~60 minutes
- 1On paper, storyboard four shots: (1) approach establishing the building in context, (2) arrival slowing at the threshold, (3) the reveal crossing into the main volume, (4) a closing detail or framed view. Note the lens and rough duration of each.
- 2Place a Camera Rig Rail and shape its spline for the approach-and-entry path: route it toward the door, through the threshold, and into the volume, keeping it clear of walls at about 1.55m height.
- 3Attach a Cine Camera to the rail. In the Sequencer, animate the camera's position-along-rail from 0 to 1, and ease the keys so it starts slow, glides, and slows again at the threshold and the reveal.
- 4Add a Camera Rig Crane (or a second rail) for the reveal if you want a rise as the volume opens - key the crane height to lift gently as the camera enters. Aim the camera along the path or lock a look-at onto the main space.
- 5Play it back and interrogate the pace: does the approach breathe? Does the compression hold before the release? Coordinate one supporting beat - a door opening, the light warming - with the reveal, then export a preview.
You’ll walk away with
A short walkthrough (~15-25 seconds) built on a Camera Rig Rail, storyboarded first, that executes a clear approach-threshold-reveal at human pace with eased motion and at least one coordinated supporting beat (a door, a light or a material).
Three altitudes on the same idea
Read the band that fits you — or all three.
A walkthrough is your chance to direct how the building is understood. You designed a procession - approach, threshold, reveal - so script the camera to honour it rather than flying a tourist through the model. Slow the compression, release into the main volume, hold on the views you composed the building to frame. Done well, the film argues the design's central idea more persuasively than any plan or elevation, because it lets the client feel the sequence you intended.
Interiors are about how a room is inhabited, so walk them at human pace and let materials and light register. Keep the camera at eye height on a Camera Rig Rail, glide slowly, and pause on the moments a client cares about - the kitchen island, the reading nook, the way evening light falls across a wall. Coordinate a lighting shift or a material option into the move and you are showing not just the room but the experience of living in it.
A polished walkthrough is the single strongest piece in a real-time portfolio. It proves you can model, light and - crucially - direct, which is rarer than technical skill. Study how architecture films you admire are paced and structured, storyboard before you rig, and practise the classic approach-threshold-reveal on a building you love. Reviewers notice restraint and storytelling far more than they notice another fast fly-around of a model.
“A walkthrough is just moving the camera through the model to show every room - faster is more efficient and covers more.”
Do it yourself
Direct it in your head first.
- 1What is the difference between a walkthrough and a flythrough, and what does each sell best?
- 2Why put a camera on a Camera Rig Rail instead of hand-keyframing its position?
- 3Name the stages of the classic architectural reveal in order.
- 4Why is moving too fast the most common walkthrough mistake?
- 5What is one supporting track you could coordinate with the reveal to strengthen the story?
The one line to carry out
Peer-reviewed journals & authoritative standards
- 01Architectural rendering — Wikipedia, 2026.
- 02Architectural visualization — Wikipedia, 2026.
- 03Cinematics and Sequencer in Unreal Engine — Epic Games Developer Documentation, 2026.
- 04Cinematography — Wikipedia, 2026.
You have directed and paced the film in the viewport. Now we render it at full quality: the Movie Render Queue, high-quality output settings, and delivering an image sequence or video worthy of the design.
The author
Amogh N P
Architect, interior designer, and creative polymath. Studio Matrx began in his notebooks — his vision of design made honest, useful, and open to everyone. Its Academy is written and taught in his memory, and free, forever.
More about Amogh →