
STP Commissioning Procedure: A Step-by-Step Guide to Starting a Plant
How a finished sewage treatment plant is brought to life — from clean-water leak tests and equipment run-checks to seeding the biological culture and loading it gradually until the treated water meets norms.
A sewage treatment plant is not finished when the last tank is cured and the last pump is bolted down. A built STP is only a collection of concrete, steel and wiring — inert until it is deliberately, carefully brought to life. That bringing-to-life is commissioning: the sequence of checks and controlled start-ups that takes a plant from "construction complete" to "producing treated water that meets norms." Skip it, or rush it, and you get a plant that leaks, trips, or simply never cleans the water — the most common reason a brand-new STP fails its first CPCB inspection.
This guide walks the commissioning procedure in the order it actually happens on site: clean-water trials first, then dry and wet equipment runs, then the slow and living work of growing a biological culture and feeding it until the plant stabilises.
Commissioning an STP is less like switching on a machine and more like starting a farm. You test the plumbing, then you plant a culture of billions of microbes and feed them gently until the colony is strong enough to do its job. That biology cannot be hurried.
Where commissioning sits in the project
Commissioning begins only after every prior discipline signs off. The civil construction is cured, the mechanical installation of pumps, blowers and diffusers is complete, and the electrical installation and instrumentation are terminated and tested. Only then does the plant hand over to the commissioning team.
It is useful to separate two terms people often blur. Commissioning is the one-time process of starting the plant and proving it works. The trial run and performance testing are the observation periods within and after commissioning where the plant runs on real sewage and its output is measured against norms before handover.
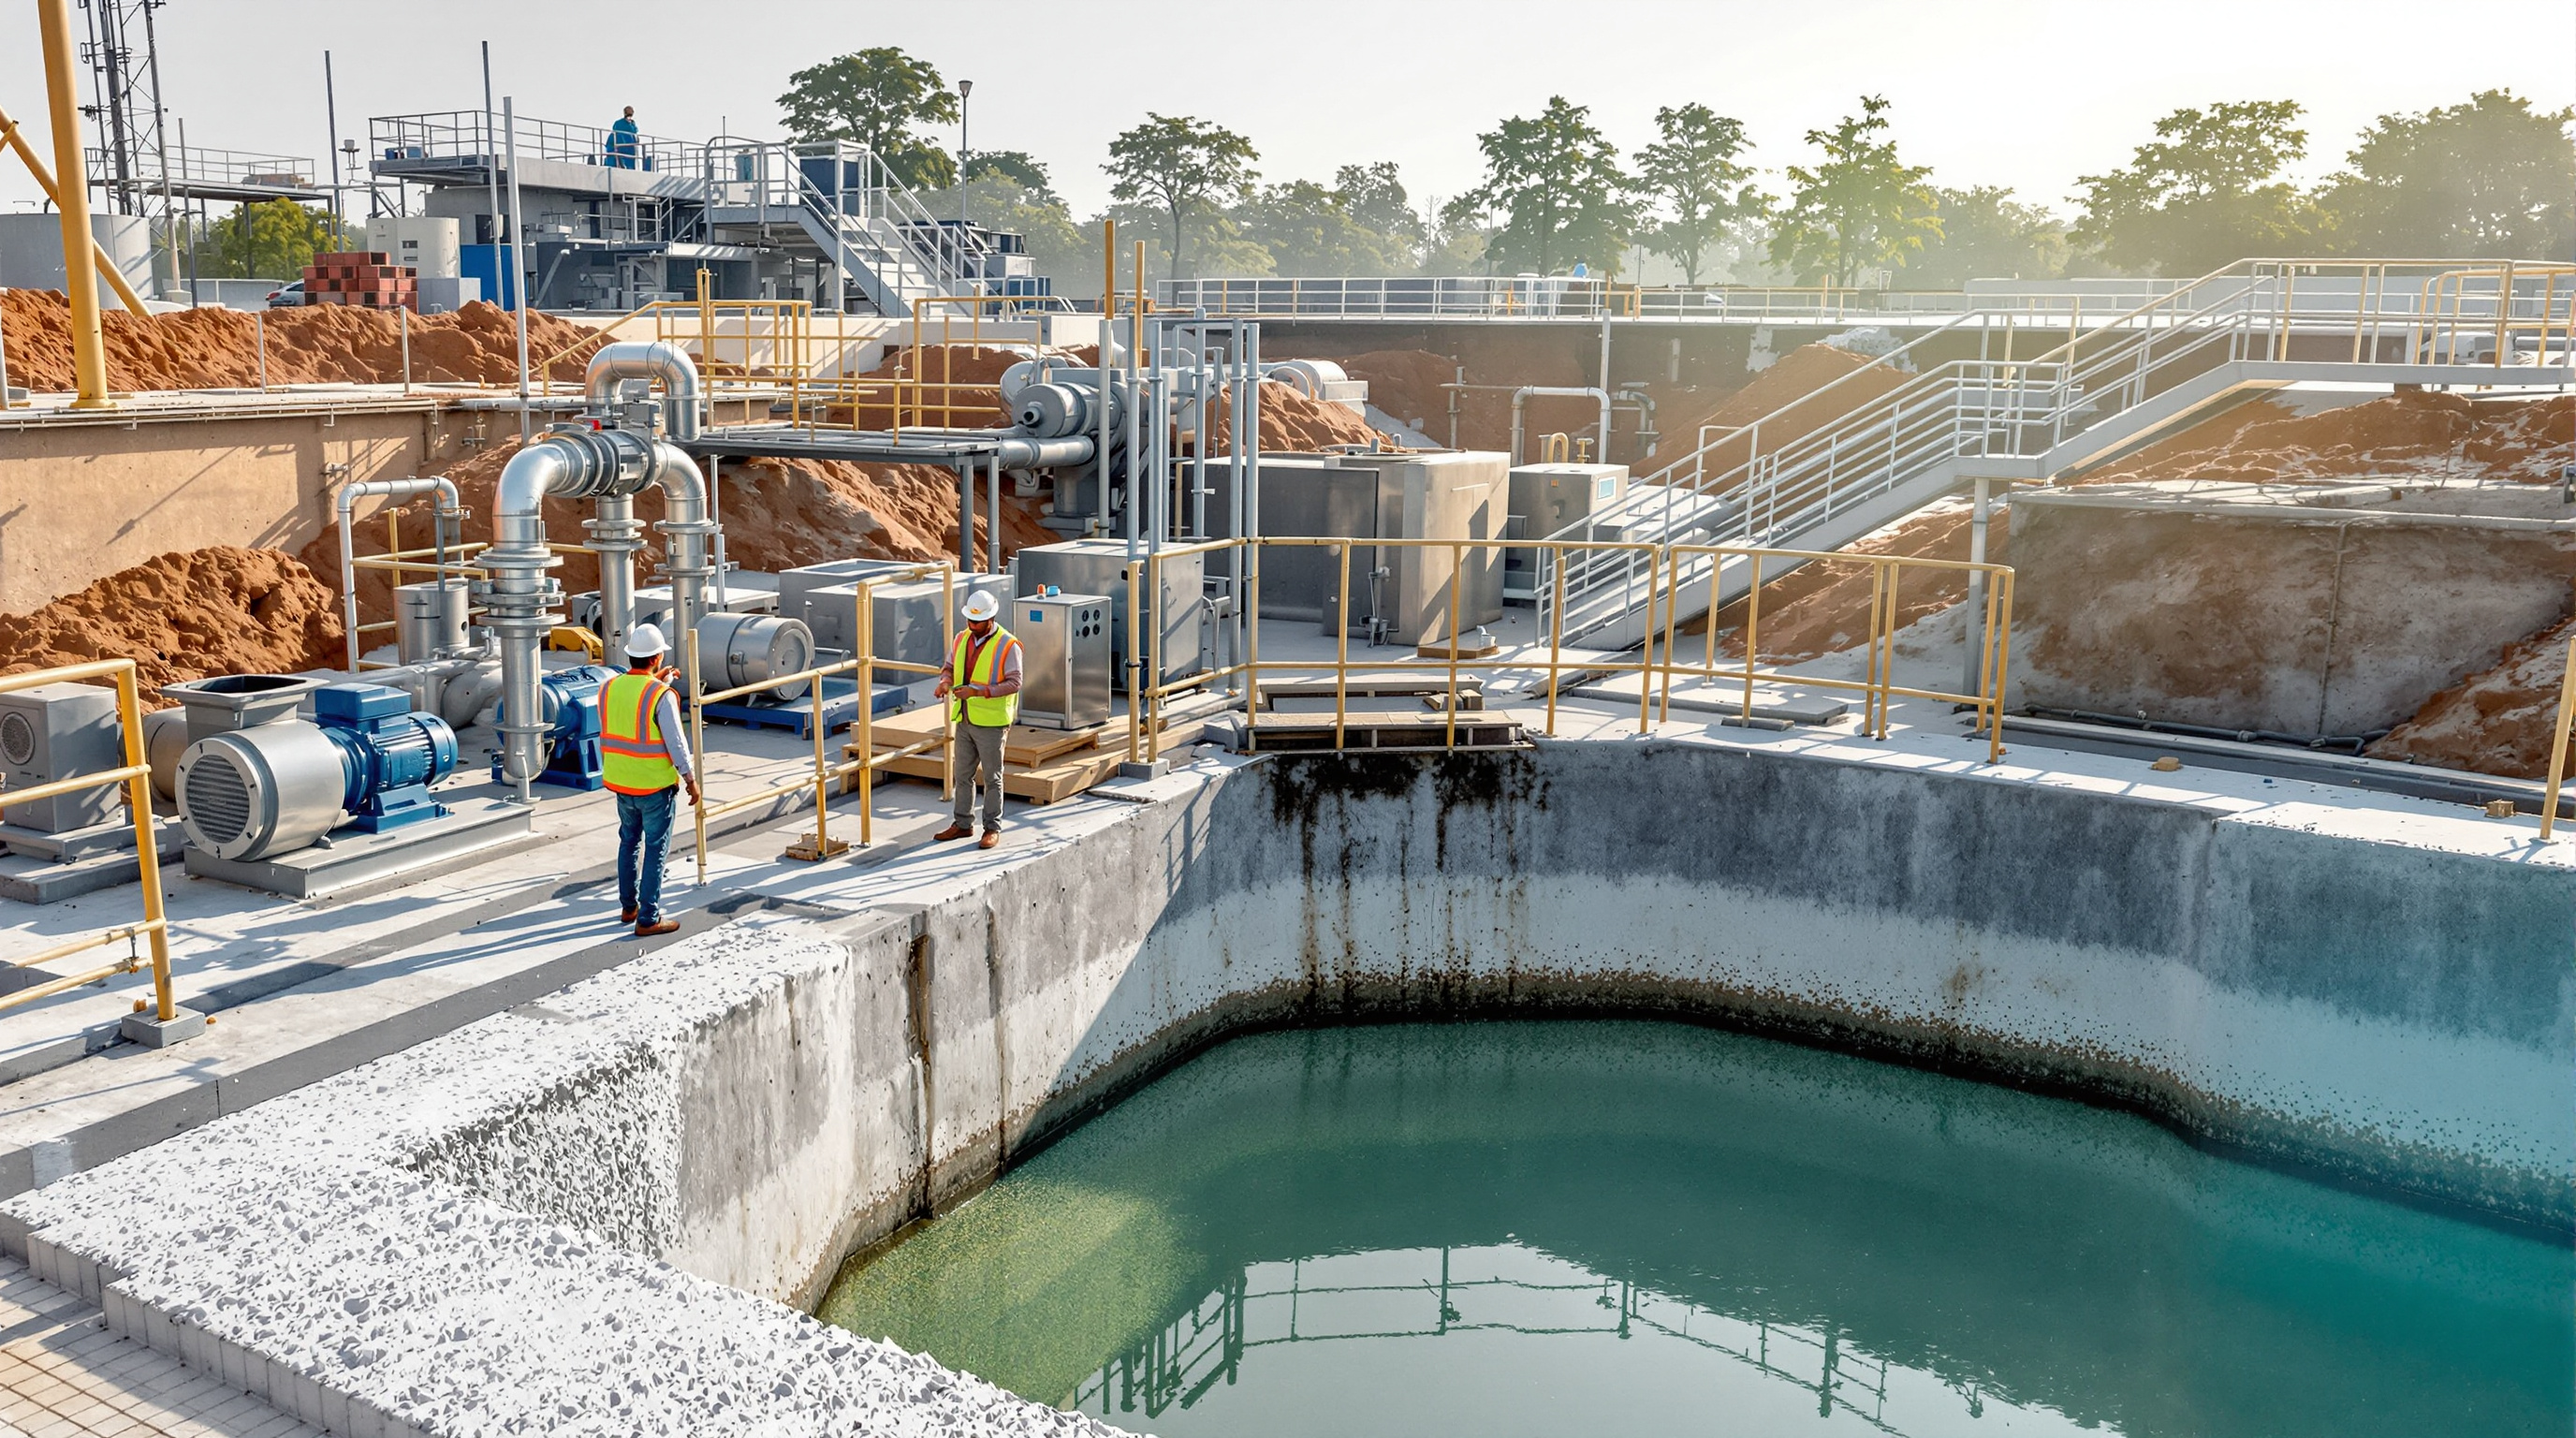
Step 1 — Clean-water trials (test the tanks and the plumbing)
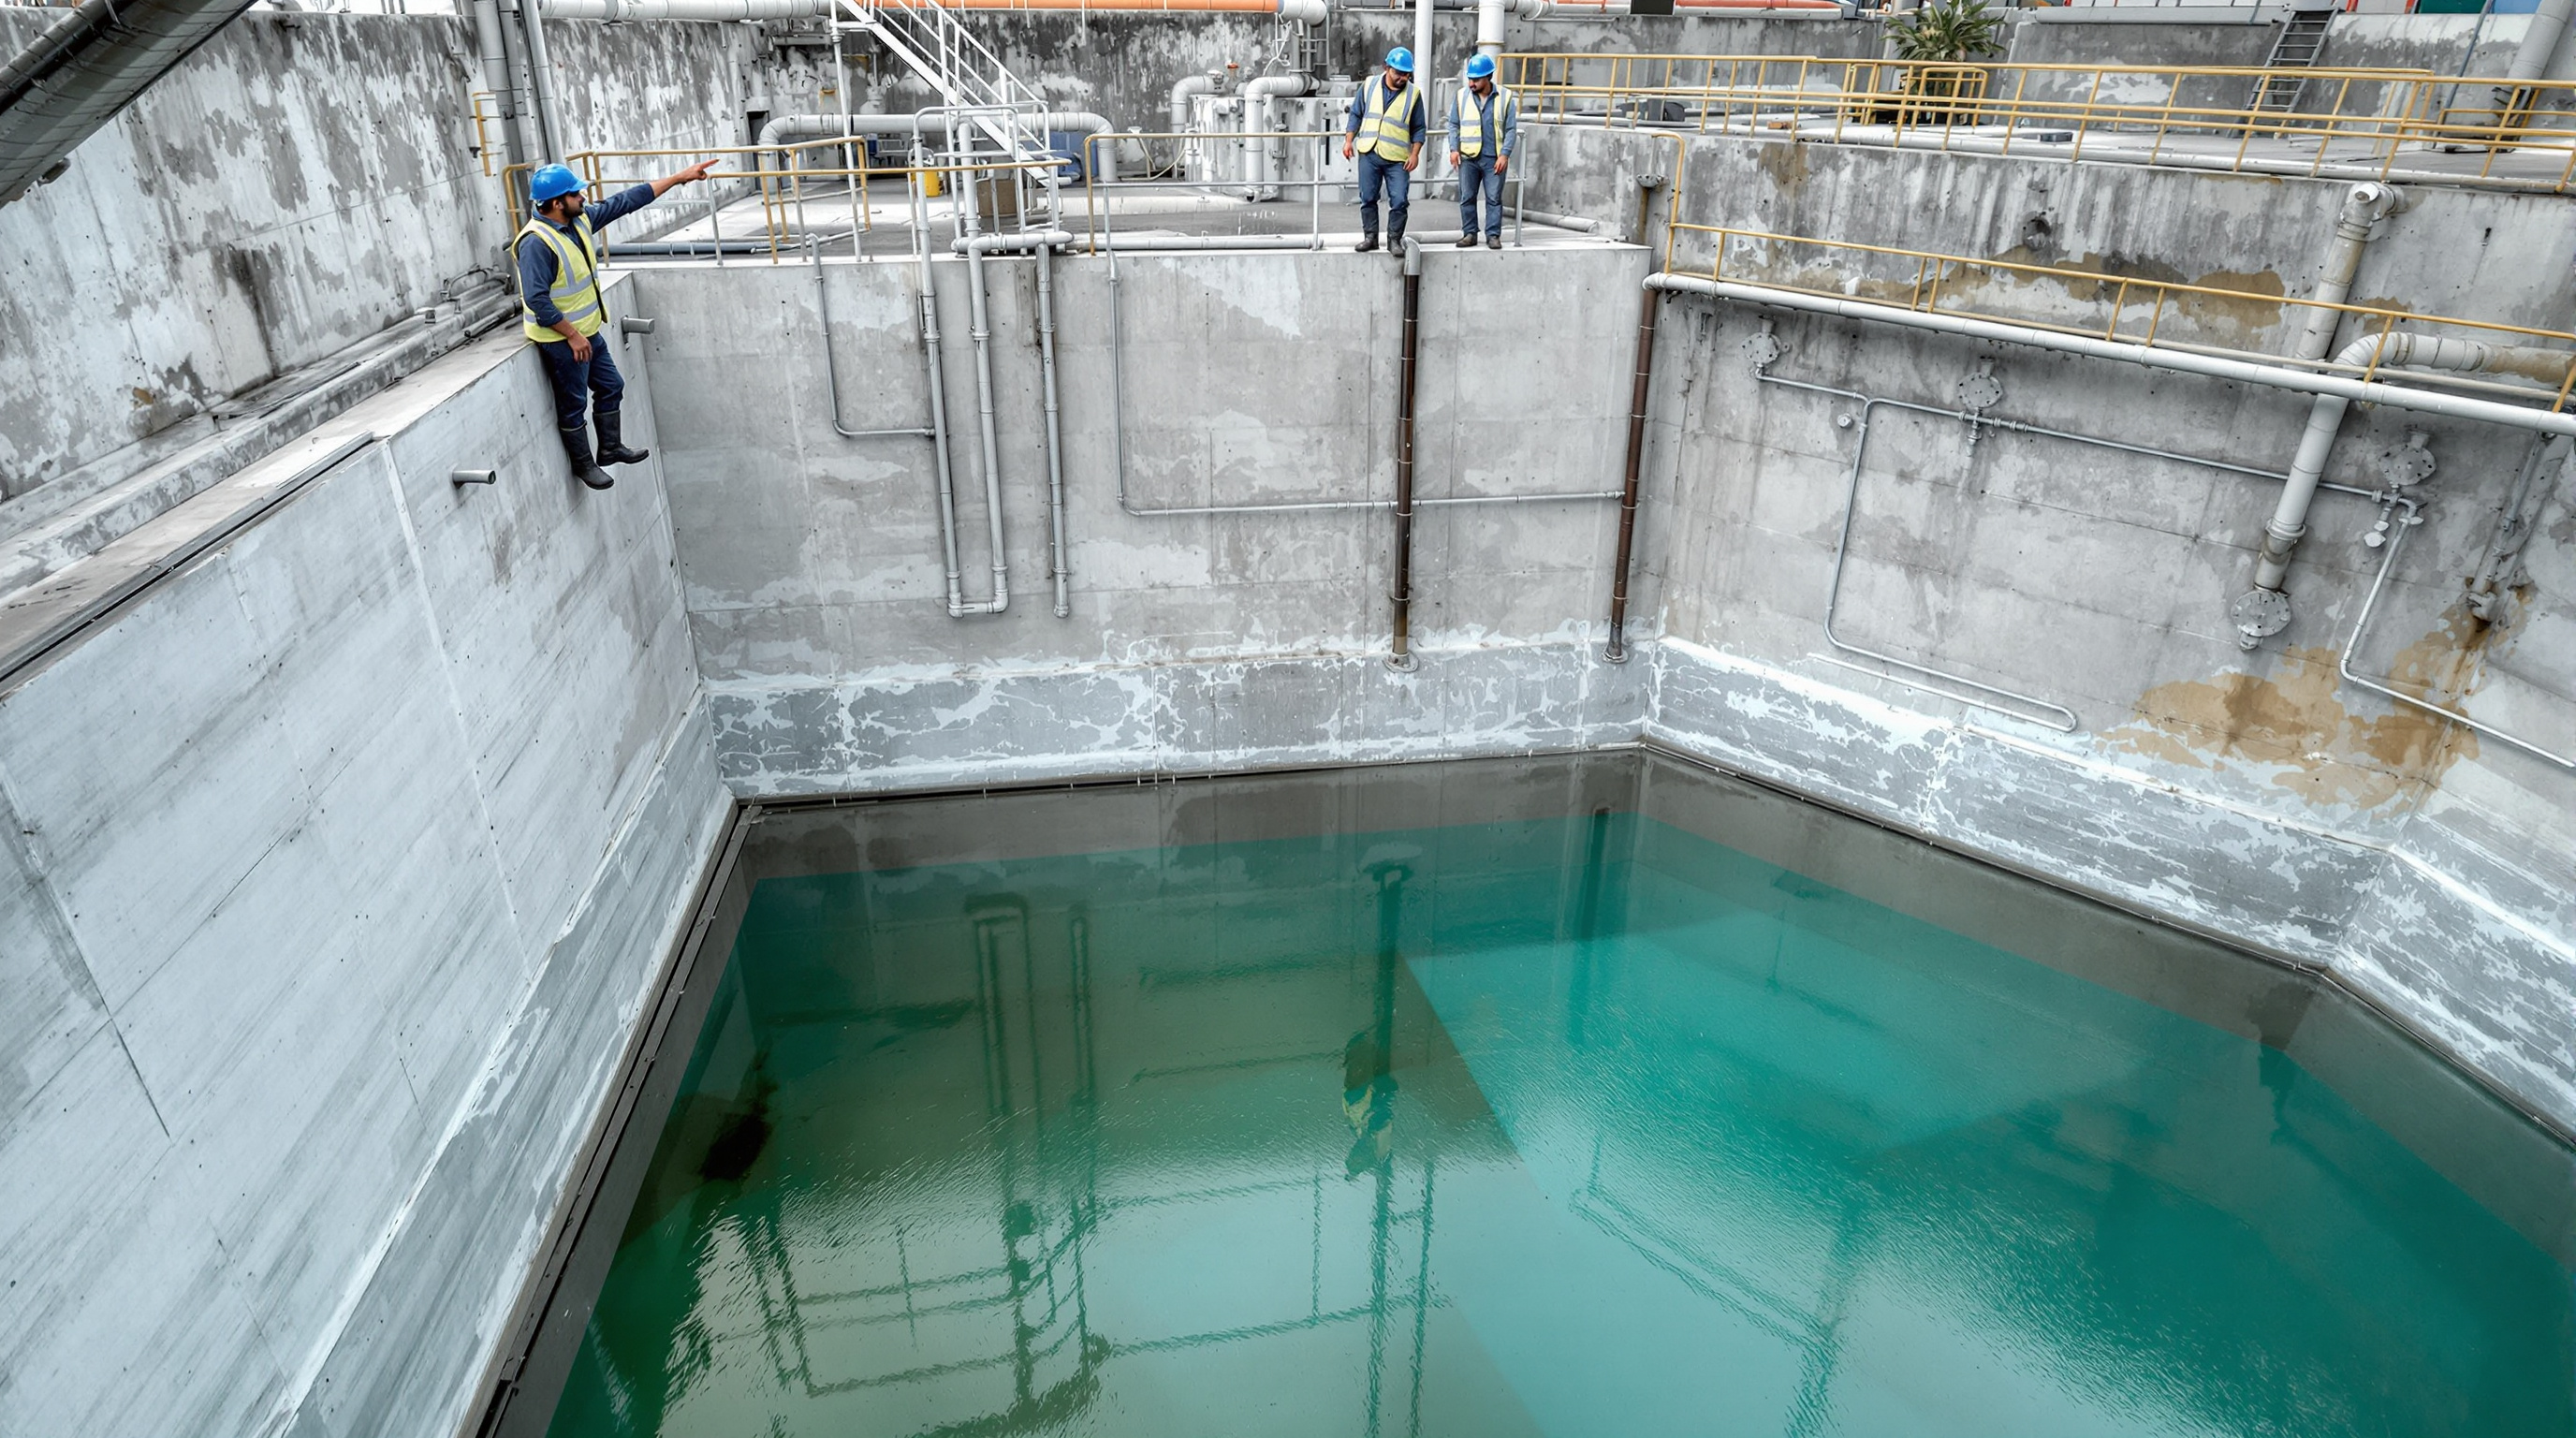
Nothing biological happens yet. The first job is to prove the civil and mechanical works are watertight and correctly connected, using clean water so any mistake is cheap and clean to fix.
- Fill each RCC tank with clean water to its working level and hold it, typically for 24–72 hours, watching for a drop in level and for damp patches on the outer walls. This is the practical proof of the waterproofing and tank design — a leak found now costs a day; a leak found after seeding costs the whole culture.
- Check levels and gradients so water flows by gravity where it should and the equalisation tank, aeration tank and clarifier overflow at the right elevations.
- Verify all interconnections — inlet, transfer, recirculation, sludge and drain lines — by moving clean water through the full path the sewage will eventually take.
Only when every tank holds water and the hydraulic path is proven does the plant move on.
Step 2 — Dry and wet runs of every equipment
With the tanks still on clean water, each piece of rotating and electrical equipment is checked — first without load, then with water.
Dry checks (no water on the process side):
- Motor direction of rotation for every pump and blower — a reversed blower or pump is the single most common wiring error.
- Insulation resistance, earthing and no-load current on each motor.
- Free rotation, alignment and lubrication of pumps and blowers.
- Operation of every valve, actuator and level switch.
Wet runs (clean water in the tanks):
- Run each pump and record flow, head and current against its rated duty.
- Run the air blowers and confirm the diffusers produce an even, rolling boil across the aeration tank with no dead corners — uneven aeration now means uneven treatment later.
- Cycle auto controls: level-based pump start/stop, blower sequencing, and every trip and interlock on the pumps and instrumentation.
The table below sums up the clean-water phase before any sewage or seed enters the plant.
| Check | What you are proving | Pass condition |
|---|---|---|
| Tank hold test | Structure + waterproofing are watertight | No measurable level drop; walls dry outside |
| Pump wet run | Correct duty and rotation | Flow and head within rated range |
| Blower + diffuser run | Even, effective aeration | Uniform boil, no dead zones, current in range |
| Level & flow instruments | Controls read reality | Displayed values match manual measurement |
| Interlocks & trips | Plant fails safe | Every trip stops the right equipment |
Step 3 — Seed the biological culture
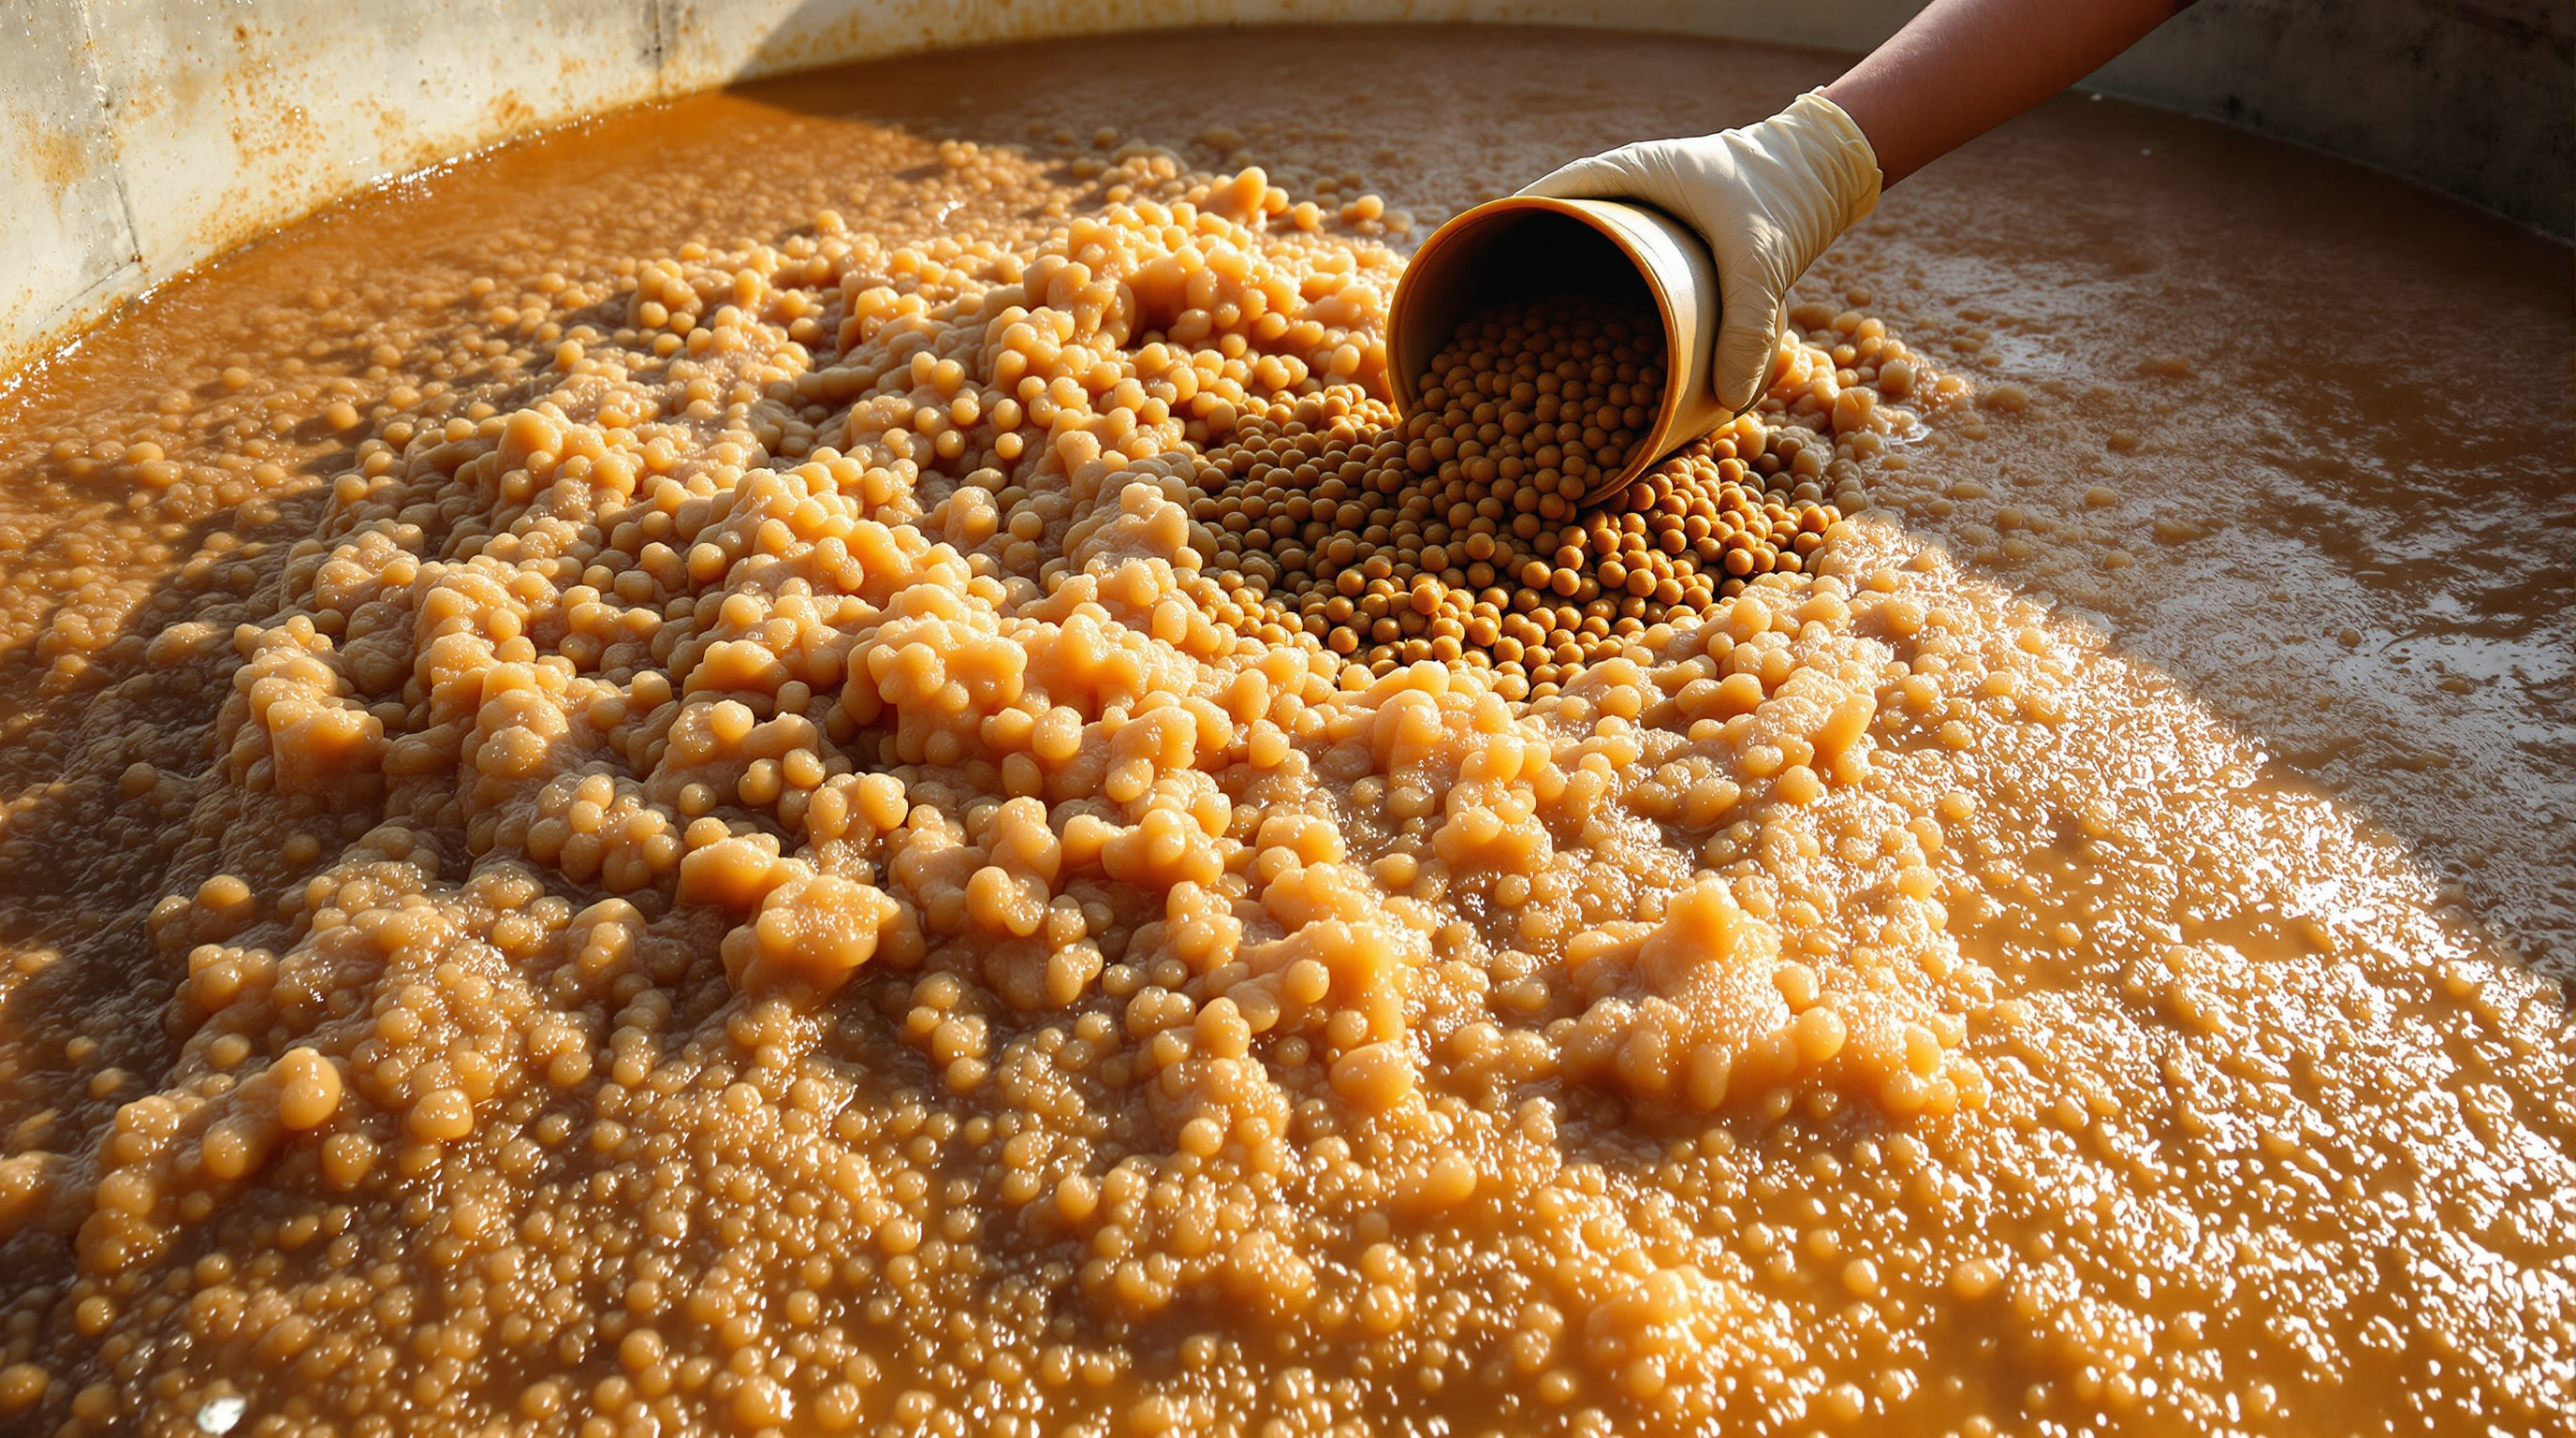
Now the plant comes alive. The heart of an STP is the biological culture — the dense population of bacteria in the aeration tank that eats the organic pollution. A new tank has none, so it must be seeded.
Seed is a starter colony of the right microbes. In practice it comes from one of a few sources:
- Sludge from a running STP nearby — the fastest and most reliable seed, ideally from a plant treating similar domestic sewage.
- Cow dung slurry, a traditional and effective seed rich in the bacteria domestic sewage needs.
- Commercial bio-culture — packaged bacterial cultures dosed per the supplier's instructions.
The seed is introduced into the aeration tank, which is then aerated continuously. From this point the blowers essentially do not stop — the microbes need dissolved oxygen around the clock to survive and multiply.
Step 4 — Gradual loading (grow the colony)
This is the step that most rewards patience. You cannot pour a full day's sewage onto a young culture — you would starve some microbes and shock others. Instead you load gradually, feeding the growing colony a rising fraction of the design flow.
A typical progression:
- Start low — introduce a small share of real sewage (often around a quarter of design flow), diluted by the clean water already in the tanks.
- Feed and wait. The bacteria consume the incoming organic load and multiply, and the aeration tank slowly turns from clear water to a healthy tea-brown, fluffy mixed liquor.
- Step the load up every few days — to half, then three-quarters, then full design flow — only as the culture proves it can handle each level.
Through this phase you are watching the culture grow, measured as MLSS (Mixed Liquor Suspended Solids) — the concentration of biomass in the tank. Loading continues until MLSS reaches the design band (commonly around 2,500–4,000 mg/l for a conventional activated-sludge or MBBR plant; MBR systems run higher). Reaching healthy, stable MLSS is the signal the biology is ready to carry the full load.
Step 5 — Stabilisation and the tertiary train
As the culture matures, the clarifier begins returning settled sludge to the aeration tank and wasting the surplus, and the tertiary and disinfection train is commissioned: filters are backwashed and put in service, and the chlorination or UV disinfection system is dosed and set. The plant is now running end to end, following the full treatment process flow.
Stabilisation means the outputs stop wandering and settle into a steady, compliant band. You confirm it by sampling the treated water daily and watching the key parameters converge on norms:
- BOD and COD falling to well within discharge limits (treated BOD typically below 10 mg/l).
- TSS low and steady as the clarifier settles cleanly.
- pH holding near neutral, and no smell or colour in the final water.
When these numbers hold steady across consecutive days at full design flow, the biology is stabilised and the plant is genuinely working.
Handover, records and reuse
Commissioning closes with the performance testing period — a sustained run at design load with lab-verified results — followed by handover: as-built drawings, equipment manuals, the commissioning log, and operator training on the daily routine. Only now is the treated water genuinely fit to route to toilet flushing and landscape irrigation.
Two tools help close the loop. Before commissioning, confirm the plant is sized for its real load with the STP Capacity Calculator; after it stabilises, the Water Reuse Savings Calculator turns those litres of treated water into rupees saved every month.
The bottom line
The STP commissioning procedure follows one unbreakable order: prove the tanks and plumbing with clean water, run every pump and blower, seed the biological culture, load it gradually while the colony grows, and stabilise the output until it meets norms. The civil and mechanical steps are fast; the biology is not — and a plant rushed through seeding and loading will limp for months. Give the microbes the days they need, and the plant will clean water reliably for decades. Continue through the Sewage Treatment Plants guide library for the construction and testing stages on either side of commissioning.
Export this guide
Related Guides — Deep-dive reading
STP Trial Runs & Bacterial Culture Development: Commissioning the Living Plant
Why a new STP cannot simply be switched on at full load — and how engineers grow the bacterial culture, watch MLSS, DO and settleability, and ramp sewage up over weeks of patient trial runs.
Sewage Treatment PlantsThe Sewage Treatment Process Flow, Explained: Every Stage From Inlet to Reuse
Follow a drop of sewage through a typical STP — inlet, screening, aeration, clarifier, filtration, disinfection and reuse — as one connected flow, with a block diagram and a unit-by-unit table, in plain language.
Sewage Treatment PlantsAeration Tank: The Biological Heart of an STP
The tank where blowers push oxygen into billions of microbes that eat the sewage's organic load — how it works, what DO, MLSS, F/M and HRT mean, and why it quietly runs up the biggest electricity bill in the plant.
Sewage Treatment PlantsRelated Tools — Try Free
Water Reuse Savings Calculator
Estimate the money you save by reusing STP-treated water instead of buying fresh supply, with daily, monthly and annual savings.
STP CalculatorSTP Commissioning Checklist
An interactive step-by-step checklist that takes a sewage treatment plant from installation readiness through wet commissioning, biological start-up and handover, tracking live completion toward Consent to Operate.
ChecklistElectrical Safety & Load Audit
Home electrical audit — 10 categories, 65+ checkpoints across earthing, RCCB, MCB, wiring, switchboards, appliance circuits, DG/inverter backup.
Safety Audit