
Waterproofing STP Tanks: Watertight Both Ways, Joints, Coatings and the Water-Fill Test
Why an STP tank has to hold water in and keep groundwater out, the waterproofing systems that actually work — crystalline, coatings and water bars at construction joints — and how the water-fill test proves the tank is sound before you ever commission it.
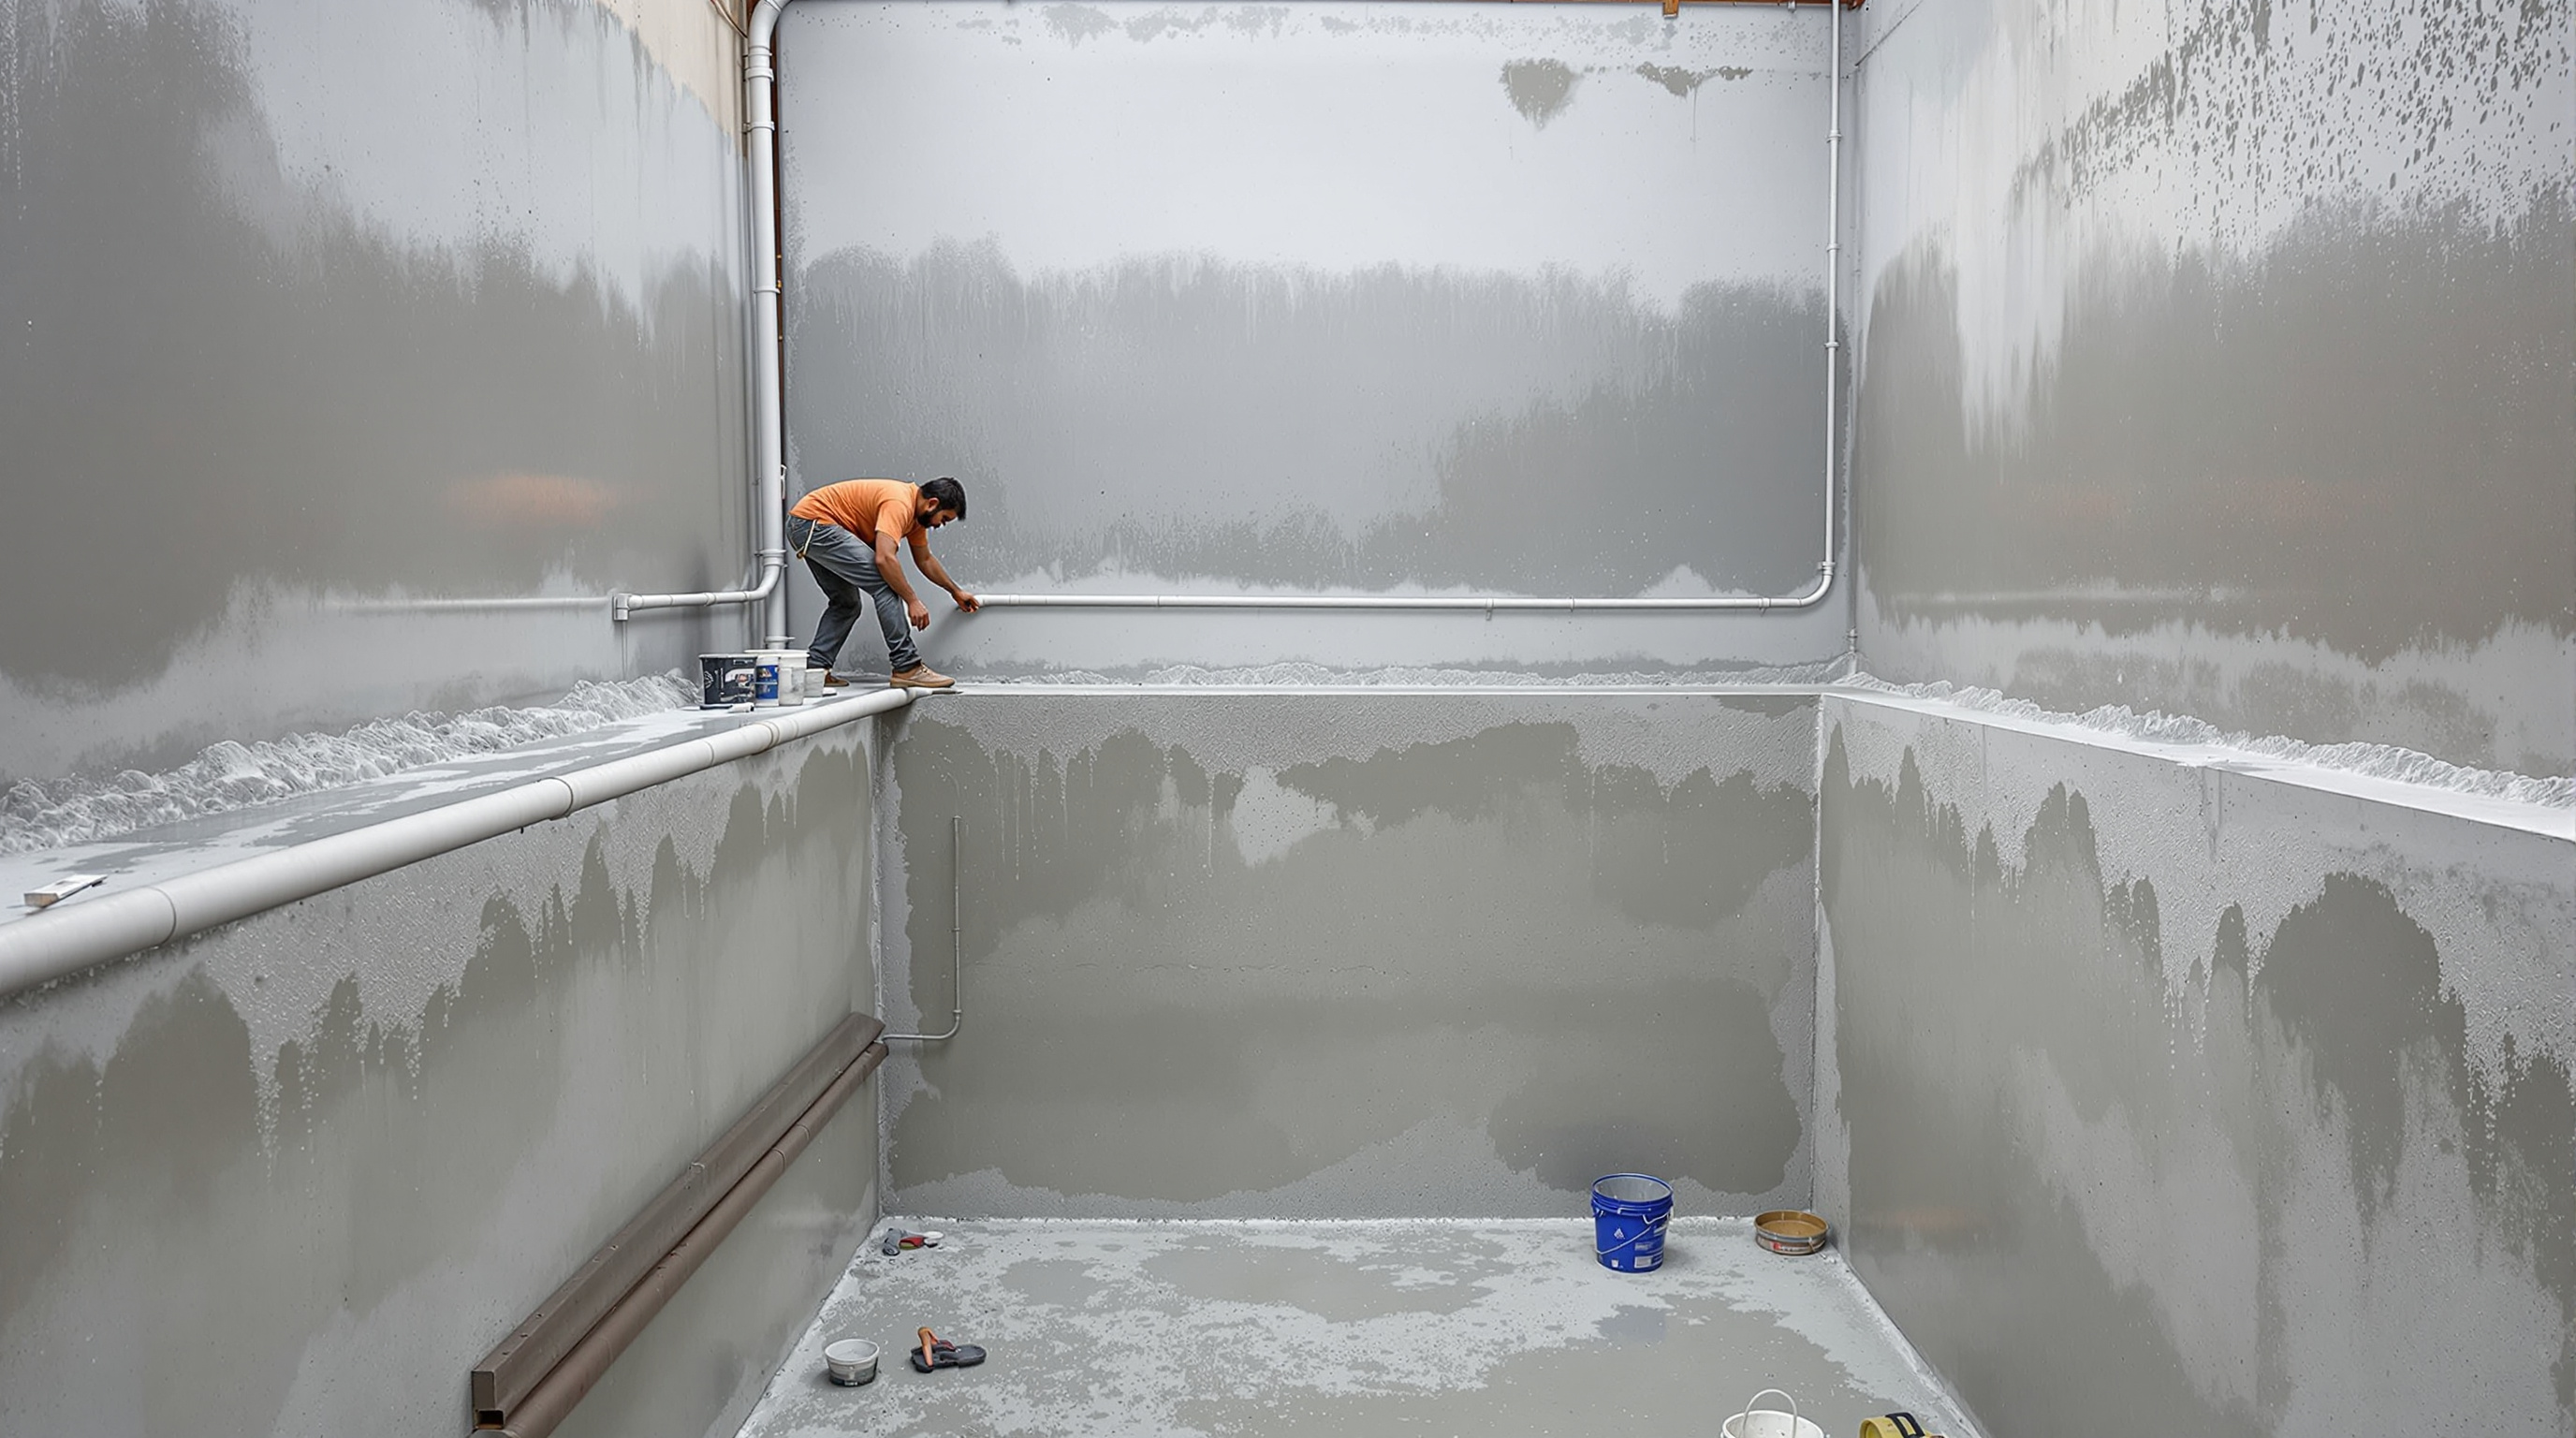
An STP is a set of tanks that hold water for a living. Aeration tanks, equalisation tanks, clarifiers, sludge sumps and the treated-water reservoir all do the same physical job before they do any chemistry: they contain liquid without losing it and without letting anything in. Get the waterproofing wrong and none of the biology matters — the tank leaks sewage into the soil, or groundwater seeps in and dilutes and destabilises the process. Waterproofing is not a finishing trade you bolt on at the end. It is designed into the concrete from the first pour.
This guide is the practical field reference for waterproofing STP tanks: why watertightness has to work in both directions, which systems actually earn their keep, where tanks reliably fail, and how the humble water-fill test proves the structure is sound before a single blower is switched on.
An STP tank is a water-retaining structure first and a treatment vessel second. If it does not pass a water-fill test empty, it will never pass a discharge-quality test full.
Why watertight both ways matters
Most people picture waterproofing as keeping water out. For an STP, the more urgent job is often keeping water in — and both directions carry real consequences.
- Leaking out (positive-side failure). Raw and partially treated sewage escaping through a wall or floor crack is an environmental and legal problem. It contaminates the soil and groundwater the plant was built to protect, undermines the tank's own foundation, and puts you straight into breach of CPCB and state pollution-board conditions. A basement STP that weeps sewage also corrodes rebar and rots the surrounding structure.
- Leaking in (negative-side failure). Most STP tanks sit partly or fully below ground, often below the water table. Groundwater pushing in through the walls dilutes the sewage, upsets the biomass, and can float an empty tank right out of the ground (uplift) during construction or a wash-out. Infiltration also silently inflates your hydraulic load — you are paying to treat groundwater you never metered.
Because the tank must resist pressure from both faces, the safest waterproofing is built into the concrete (integral and crystalline systems that make the whole section dense) rather than relying only on a surface skin that groundwater pressure can push off from behind. This is the single most important idea in tank waterproofing: negative-side pressure peels surface coatings; it cannot peel a waterproof concrete section.
It starts with the concrete, not the coating
No membrane rescues bad concrete. A watertight STP tank begins at the RCC tank design stage and is executed during civil construction. The fundamentals, broadly in line with the water-retaining-structure code philosophy (IS 3370) and good site practice:
- Dense, low-permeability mix. A low water-cement ratio, adequate cement content and good grading give concrete that barely wicks water. This is your first and best waterproofing layer.
- Crack-width control. Water-retaining design limits crack widths (typically to a fraction of a millimetre) through reinforcement detailing, not just strength. Hairline cracks self-heal in the presence of crystalline admixtures; wide cracks leak forever.
- Proper compaction and cover. Honeycombing and shallow cover are leak superhighways. Vibrate thoroughly; maintain cover blocks religiously.
- Continuous, unhurried pours. Every stoppage becomes a construction joint — the number-one leak location (see below). Plan pours to minimise them.
- Disciplined curing. Under-cured concrete cracks from shrinkage. For a water tank, 14 days of genuine wet curing is not optional.
Get these right and the coatings become a second line of defence rather than the only one.
The waterproofing systems that work
There is no single product; a good STP tank layers complementary systems. Here is how the common options compare in Indian practice.
| System | How it works | Best used for | Watch-outs |
|---|---|---|---|
| Integral admixture | Waterproofing compound dosed into the concrete at batching, reducing permeability | Every tank, as the baseline in the mix | Not a substitute for good mix design or joint detailing |
| Crystalline (slurry or admixture) | Reactive chemicals grow crystals in pores and hairline cracks, sealing the concrete from within; self-heals minor future cracks | Negative-side situations, below-water-table tanks | Needs a clean, saturated substrate; follow cure timing |
| Cementitious coating (polymer-modified) | Flexible slurry brushed on the water face | Interior of tanks, easy to apply and repair | Limited crack-bridging; surface skin only |
| Epoxy / polyurethane coating | Chemical-resistant film bonded to the concrete | Tanks with aggressive effluent, treated-water reservoirs | Bond fails under negative pressure; needs dry substrate |
| Water bars (PVC/bentonite) | Physical barrier cast across construction joints | Every construction and expansion joint | Useless if displaced or punctured during the pour |
For most STP tanks the reliable recipe is: a dense mix with an integral or crystalline admixture, crystalline slurry on the critical faces, water bars at every joint, and a chemical-resistant coating only where the effluent or the reuse duty demands it. Chasing a single premium coating while ignoring joints is the classic false economy.
Construction joints and the water bar
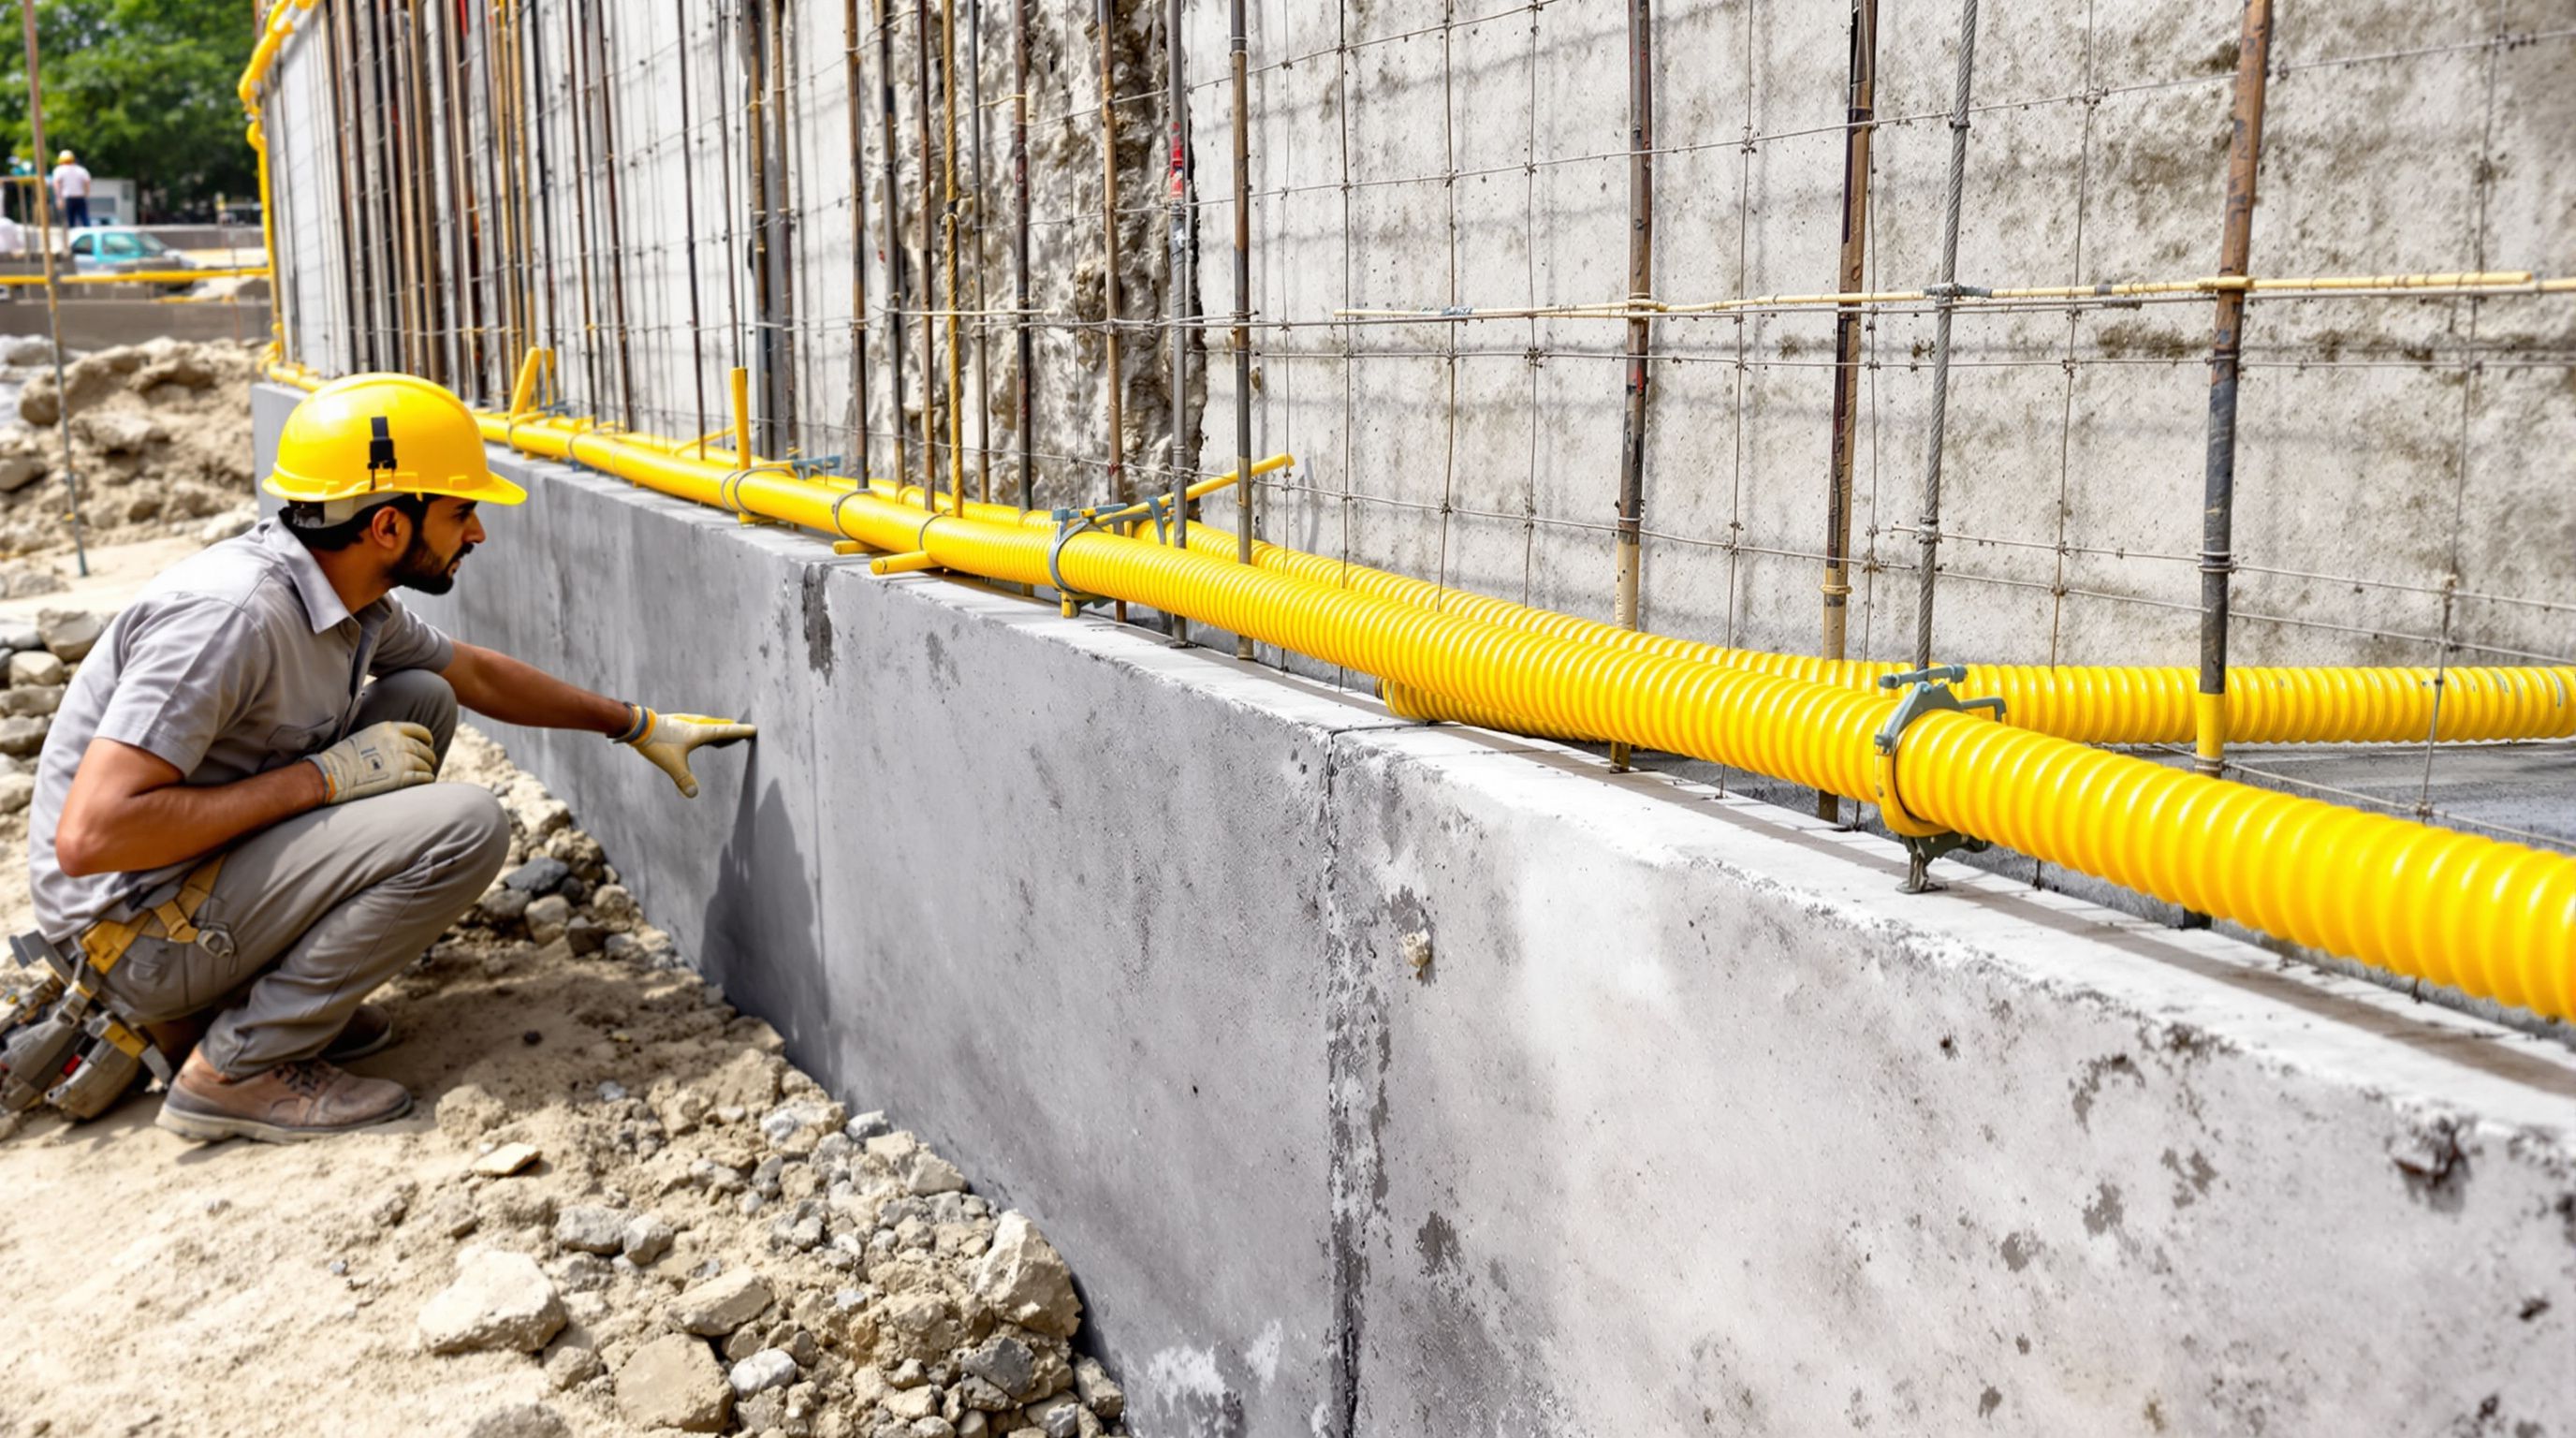
If an STP tank leaks, bet on a joint before you blame the wall. Wherever one pour meets the next — the wall-to-base kicker, a horizontal lift line, a corner — you have a construction joint, and joints leak unless they are detailed deliberately.
Good joint practice:
- Water bars (water stops) cast centrally across the joint create a long, tortuous path water cannot cross. PVC bars must be continuous, correctly lapped/welded at corners, and rigidly tied so they do not fold over during concreting. A displaced water bar is worse than none — it becomes a void.
- Swellable bentonite strips are a simpler alternative for horizontal joints; they expand on contact with water to seal the interface. Keep them off standing water before the pour so they do not pre-swell.
- Surface preparation at the joint — laitance removed, substrate roughened and cleaned — is what lets the next pour and any crystalline slurry actually bond.
- Crystalline joint treatment brushed into the green joint adds a self-sealing chemical barrier on top of the physical water bar.
Pipe penetrations, the second-biggest culprit, need puddle flanges cast into the wall and a crystalline or hydrophilic seal around the sleeve — never just mortar packed around a pipe after the fact.
Prove it: the water-fill (hydrostatic) test
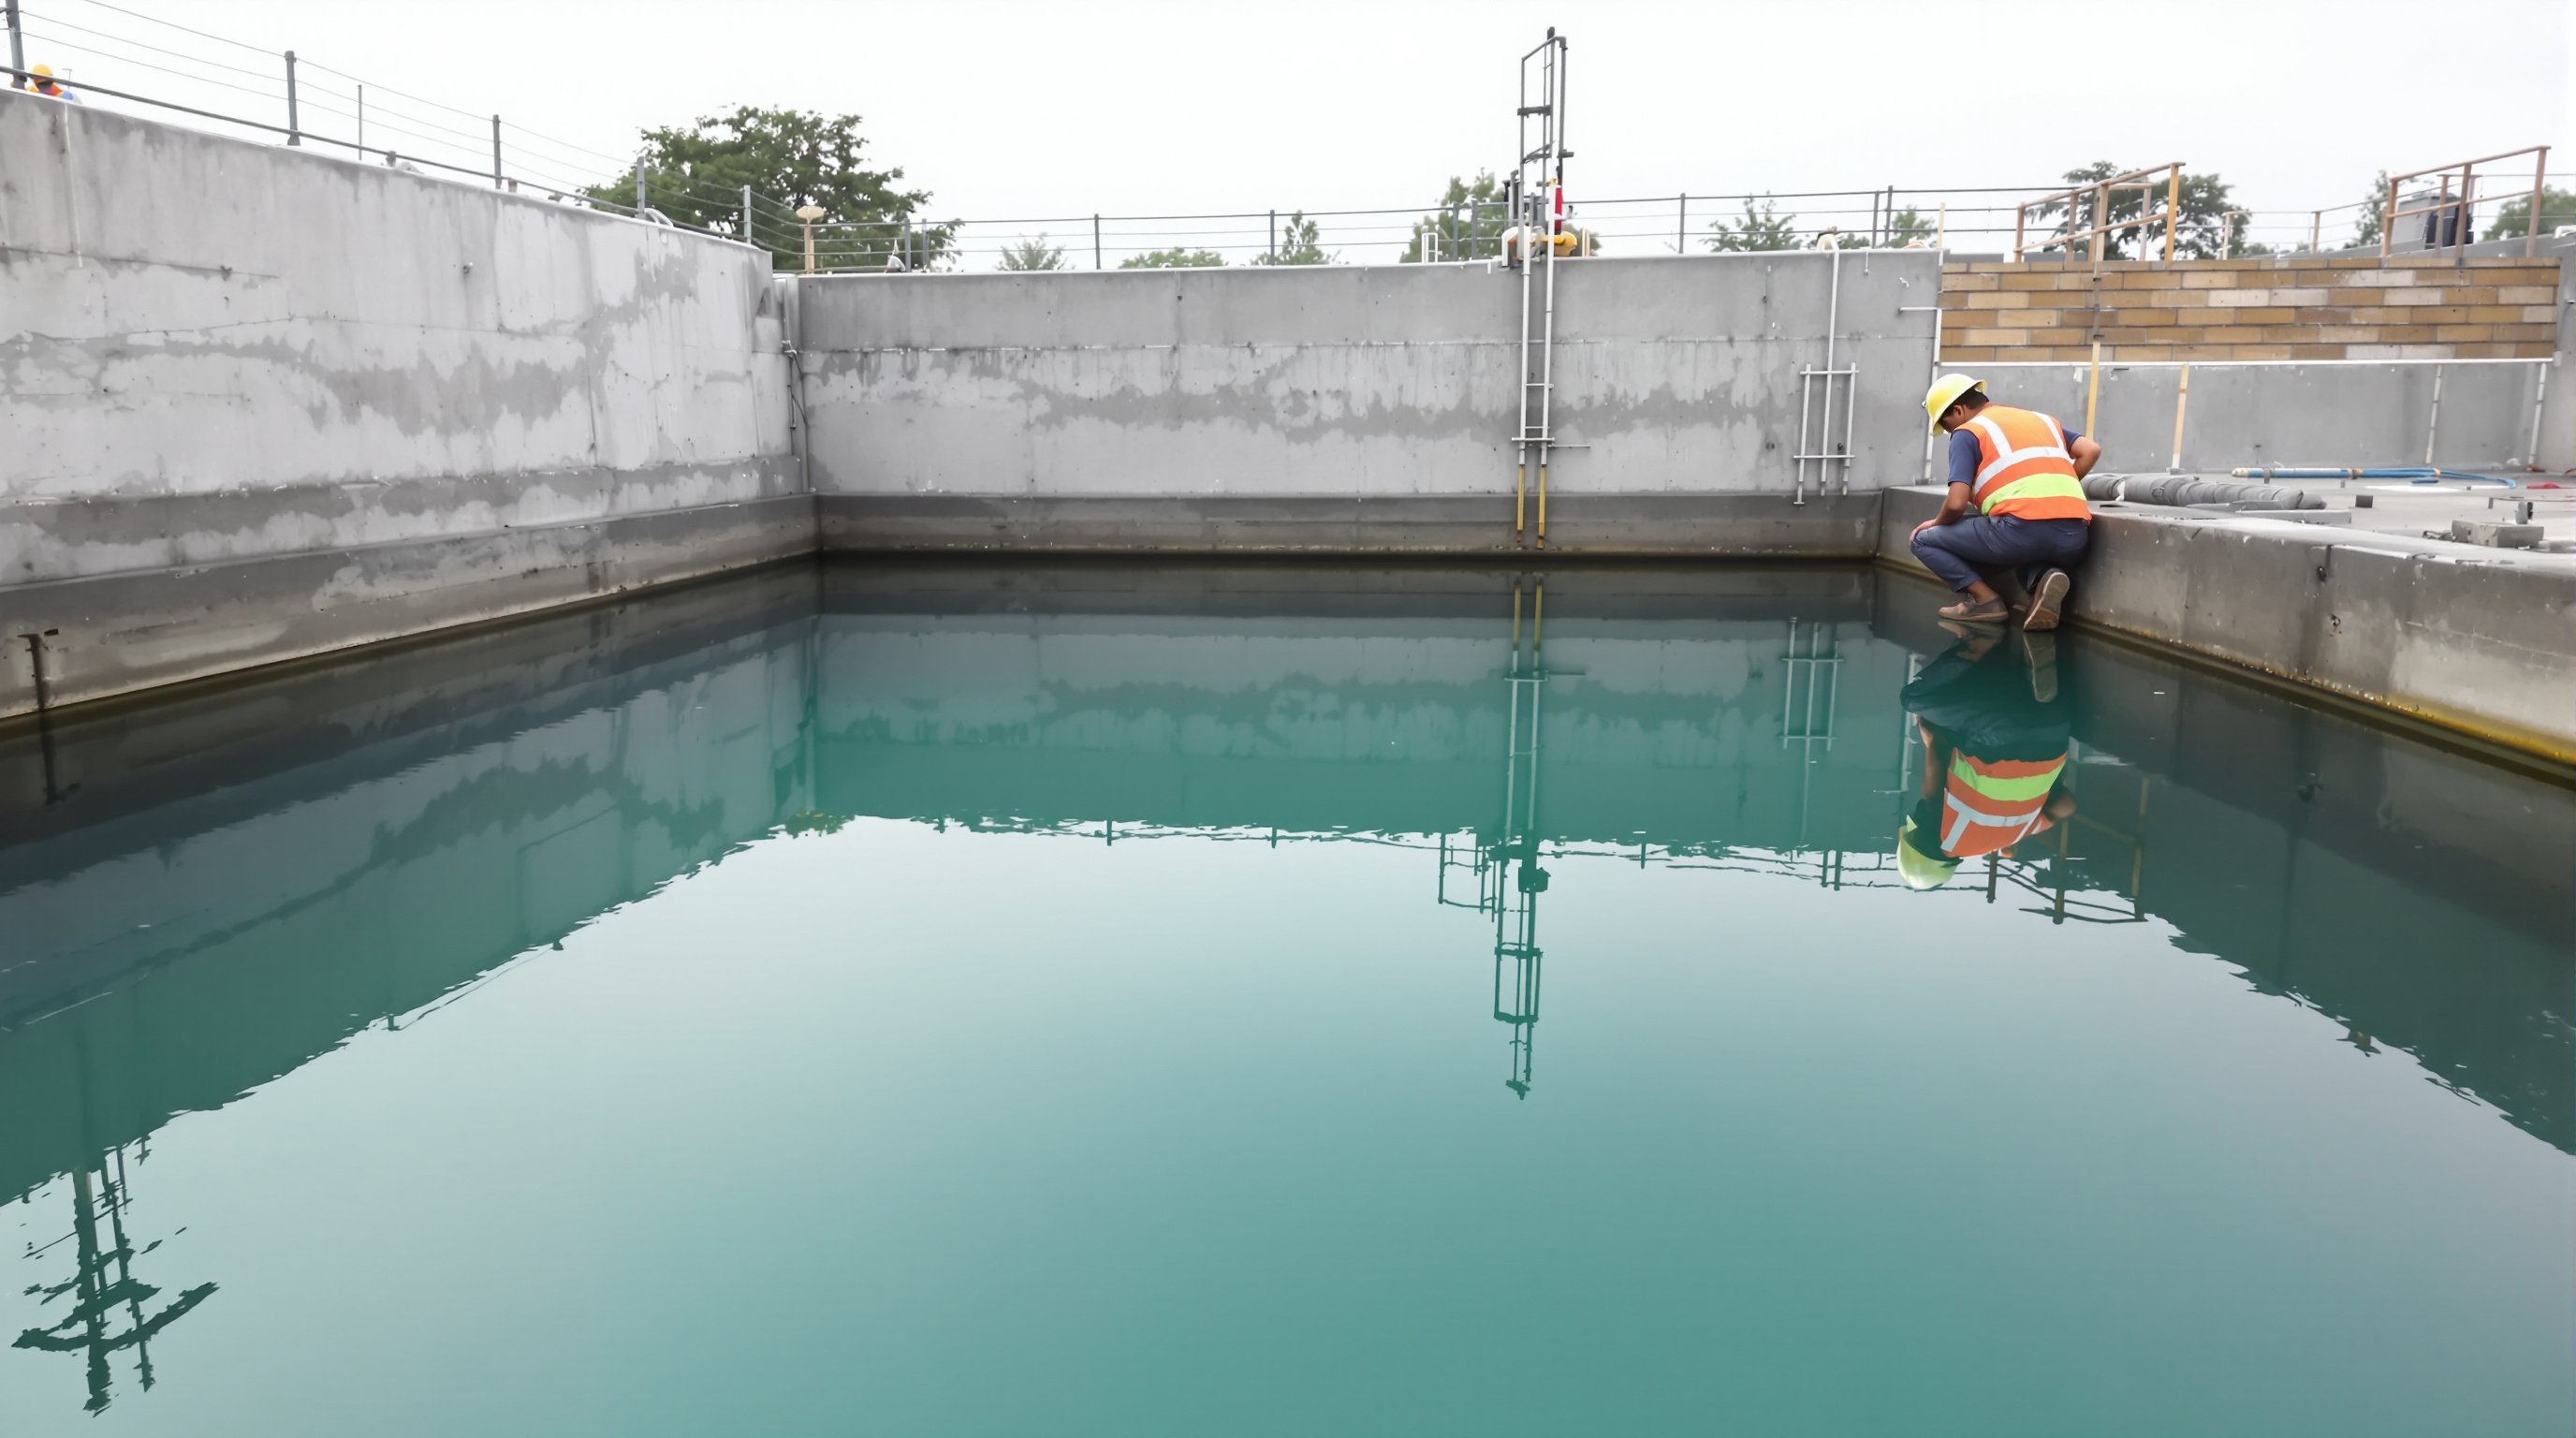
You do not get to assume a tank is watertight. You demonstrate it, before any equipment goes in, with a water-fill test — the acceptance test every STP civil handover should include.
The standard sequence, in line with water-retaining-structure practice:
1. Seal and inspect. Plug all outlets, complete the waterproofing, and let the concrete reach adequate age and cure.
2. Fill in stages. Fill the tank with clean water, usually in lifts over a day or two, to load the walls gradually and let the concrete absorb its initial soakage.
3. Stabilise, then measure. Once full, leave it to stand (commonly around 24 hours) so absorption settles. Record the water level precisely.
4. Observe the drop. Over a fixed period (typically 7 days), monitor the level, correcting for rainfall and evaporation. A permissible drop — a small fraction of the depth — is acceptable; anything more signals a leak.
5. Walk the outside. Simultaneously inspect external faces and the floor perimeter for damp patches, weeping cracks or beads of water. On a below-ground tank, this is where joint leaks reveal themselves.
Fail the test and you trace the leak, drain, repair (crystalline injection for cracks, joint re-treatment, coating patching), and re-test — you never commission a tank that failed. Passing the water-fill test is the gate that lets the rest of commissioning proceed.
The failure points, in order
Where tanks actually leak, roughly by frequency:
- Construction joints with missing, displaced or discontinuous water bars.
- Pipe penetrations and sleeves sealed with mortar instead of a proper detail.
- Honeycombed pours and areas of poor compaction.
- Shrinkage cracks from inadequate curing or over-thick lifts.
- Cold joints from interrupted pours that were never treated as joints.
- Coating breakdown under negative groundwater pressure on tanks below the water table.
Notice how few of these are "the waterproofing product was bad." Almost every STP tank leak is a workmanship and detailing failure — which is exactly why supervision during the pour matters more than the brand on the drum.
The bottom line
Waterproofing an STP tank is about building a water-retaining structure that works under pressure from both sides: dense, well-cured, crack-controlled concrete as the primary barrier; crystalline and coating systems as reinforcement; water bars and proper penetration details at every joint; and an honest water-fill test to prove it before commissioning. Do that and the tank quietly holds sewage in and groundwater out for decades. Skimp on the joints and you will chase damp patches for the life of the plant.
From here, continue through the Sewage Treatment Plants guide library, read how the tanks are detailed in RCC tank design for STPs, and see how leak-testing fits the wider STP commissioning procedure. To scope the tanks in the first place, the STP Capacity Calculator turns your occupancy into the treatment volume every tank size starts from.
Export this guide
Related Guides — Deep-dive reading
Civil Construction of STPs: What Goes Into Building One
Before a single blower runs, an STP is a piece of civil engineering — excavation, watertight RCC tanks, baffle walls, a plant room and drainage, built in a sequence that decides whether the plant ever works. Here is what that construction actually involves.
Sewage Treatment PlantsRCC Tank Design for STPs: Liquid-Retaining Structures Done Right
How the reinforced-concrete tanks that hold your sewage treatment plant are actually designed — wall thickness, crack control to IS 3370, freeboard, partitioning for treatment stages, and the buoyancy checks that keep underground tanks from floating.
Sewage Treatment PlantsSTP Commissioning Procedure: A Step-by-Step Guide to Starting a Plant
How a finished sewage treatment plant is brought to life — from clean-water leak tests and equipment run-checks to seeding the biological culture and loading it gradually until the treated water meets norms.
Sewage Treatment PlantsRelated Tools — Try Free
Home Building & Interior Cost Calculator — 20 Cities
Construction + interior costs for 20 Indian cities across kitchen, wardrobes, flooring, painting, ceiling.
Cost CalculatorSTP Commissioning Checklist
An interactive step-by-step checklist that takes a sewage treatment plant from installation readiness through wet commissioning, biological start-up and handover, tracking live completion toward Consent to Operate.
ChecklistSTP Equipment Selection Wizard
Recommend key STP equipment sizes — blower air, feed pump, aeration tank and clarifier area — from plant capacity and inlet BOD.
Wizard