
Door Bottom Rot Repair: Fix a Rotted Door Foot India 2026
Cut out the rot, treat the wood, rebuild with epoxy or a timber splice, then add a drip cap so it never comes back.
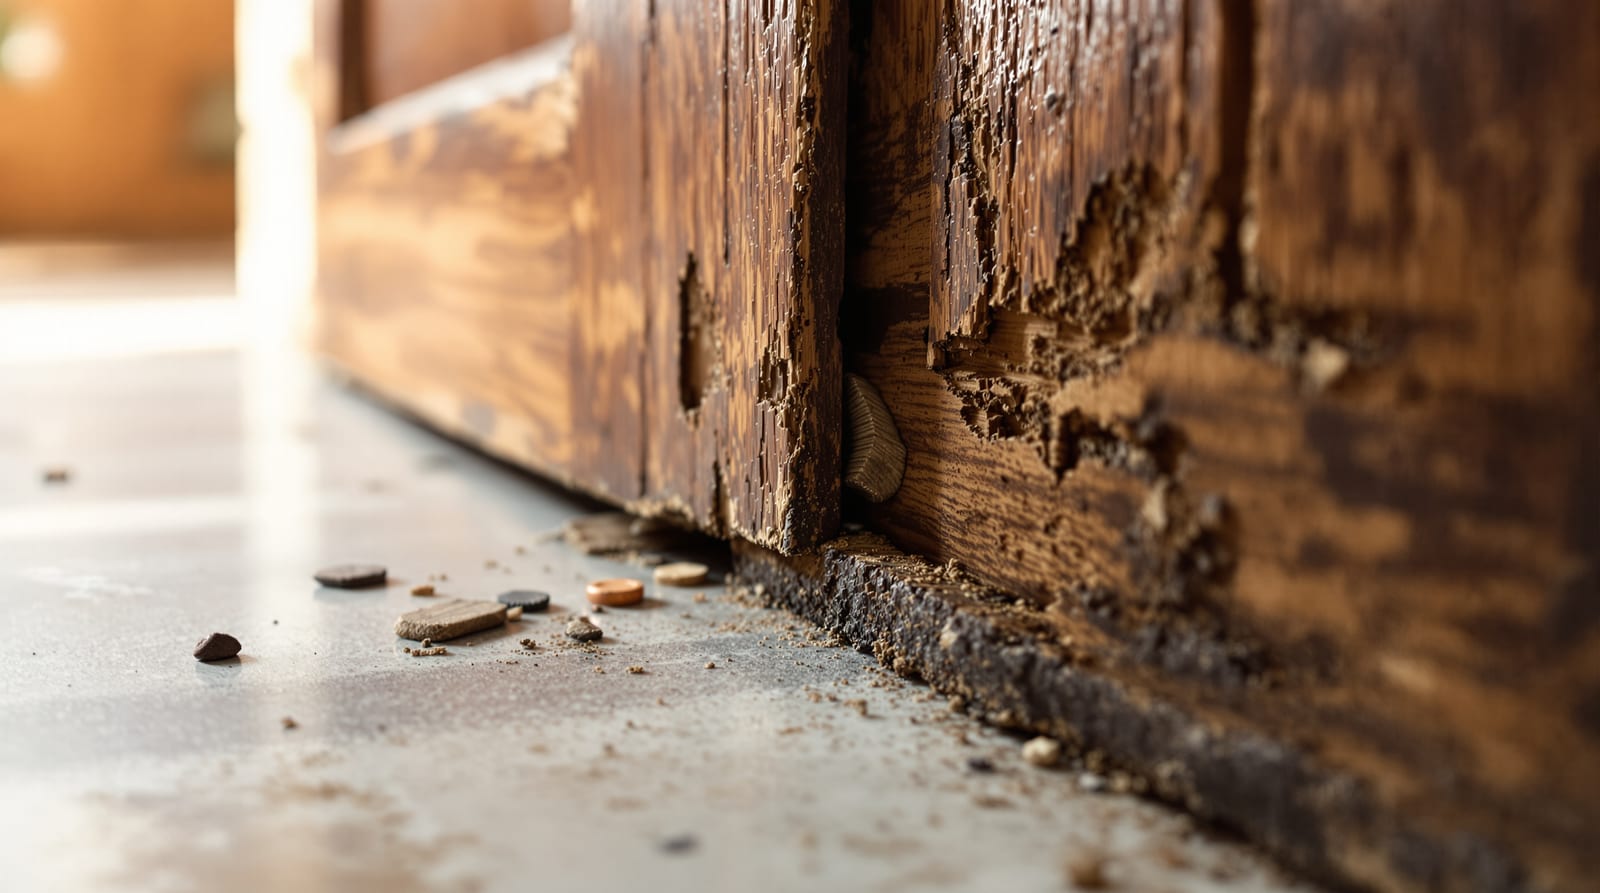
A door bottom rot repair is one of those jobs that looks alarming but is often very doable — if you catch it before the whole bottom rail has gone soft. In Indian homes the bottom 100-150 mm of a door is where water quietly does its damage: the bathroom door wicking up splashes, the balcony door sitting in monsoon puddles, the main door on grade soaking up ground splash-back. Wood that stays damp feeds fungus, the fibres turn spongy and dark, paint blisters, and one day you press a screwdriver in and it sinks like into a sponge. The good news: rot is local. Cut it out, treat what remains, rebuild it solid, and stop the water — and that door has years left. This guide walks you through the honest version of that fix, plus the moment you should stop and replace instead.
How to tell rot from a stain (and how bad it is)
Not every dark patch at the bottom of a door is rot. A water stain is grey-brown but the wood is still hard. Rot is soft — that is the test. Probe gently with a screwdriver or awl across the bottom rail and the frame foot (the lower part of the door frame where it meets the floor). Where the tip sinks in with little resistance, the fibres have failed.
| What you see | Likely cause | What it means |
|---|---|---|
| Grey patch, wood still firm | Old surface water staining | Cosmetic — sand, seal, repaint |
| Dark, spongy, crumbly bottom edge | Wet rot (fungus, constant damp) | Repairable if confined to bottom 50-100 mm |
| Powdery, cracked in cubes, dry-crumbly | Dry rot / advanced decay | Spreads — cut well past it, treat hard |
| Pinholes + fine dust + soft tunnels | Borer/termite with damp | Treat the pest first — see door borer & fungus treatment |
| Whole bottom rail soft, leaf sagging | Structural rot | Usually a replace job, not a fix |
A quick rule of thumb on scope: if the rot is in the bottom 50-100 mm of a solid or panelled door, or in the lower few centimetres of the frame foot, you can rebuild it. If the entire bottom rail has gone, if the rot has climbed past the lowest panel, or if the door visibly sags and won't hold a screw, you are past the point of a tidy DIY fix.
Difficulty, time and cost
Difficulty: moderate (epoxy rebuild) to pro (timber splice with hand tools). Time: half a day of actual work, but spread over 2 days because hardener and epoxy need curing time. Skills: comfortable with a chisel, a saw and basic patience.
| Route | DIY parts | If a carpenter does it |
|---|---|---|
| Epoxy rebuild (small rot) | ₹400-1,200 | ₹800-1,800 |
| Scarfed timber splice (bottom rail/frame foot) | ₹500-1,500 | ₹1,500-3,500 |
| Add drip cap + sweep | ₹150-600 | included / +₹300-600 |
| Carpenter half-day visit | — | ₹400-800 |
| Replace flush leaf (rot too far gone) | ₹3,000-6,000 leaf only | + labour |
If the verdict is replacement, don't throw money at filler — read the door replacement guide and door cost guide instead. Add 18% GST on goods.
Tools & materials you'll need
- Screwdriver or awl (for probing) and an old chisel
- Multi-tool, tenon saw or sharp hand saw (for cutting out rot / a splice)
- Wire brush, vacuum, and a rag
- Wood hardener (consolidant) — soaks into soft fibres and sets them firm
- Borate/fungicidal wood preservative (boron rods or liquid) to kill remaining spores
- Two-part epoxy wood filler (the structural kind, not soft putty) for the rebuild
- For a splice: a matching offcut of timber, waterproof PVA or PU wood adhesive, a couple of screws or dowels
- 80/120/220 grit sandpaper, primer (oil/PU based), exterior-grade paint or polish
- A drip cap (small angled strip over the door) and a door sweep / weather bar for the bottom
- Gloves, dust mask, eye protection — epoxy and fungicide are not skin-friendly
Step-by-step: cut, treat, rebuild, seal
Work with the leaf off its hinges and laid flat on trestles wherever you can — it is far easier than crouching at a hung door. For a frame foot you'll work in place.
1. Dry it and remove the leaf
The single most common mistake is repairing damp wood. If the door has just been through monsoon, give it a few dry days indoors, or under a fan, before you start. Epoxy and hardener will not bond to wet timber. Lift the door off (see door hinge replacement if the pins are seized) and lay it flat.
2. Cut out all the soft wood
With the chisel and saw, dig out every fibre that feels spongy — and then a little more. Healthy-looking wood right next to rot is often colonised. Keep going until your blade only meets hard, pale, sound timber. Brush out the dust and vacuum the cavity. Be ruthless here; leaving soft fibres is why repairs fail.
3. Treat the remaining wood
Soak the exposed sound wood with fungicidal preservative and let it dry, then flood it with wood hardener. The hardener wicks into the slightly-soft surface fibres at the edge of your cut and turns them rigid, giving the filler something solid to grip. Let it cure as the tin says — usually a few hours.
4a. Rebuild with epoxy (smaller areas)
Mix the two-part epoxy filler in small batches (it sets fast in Indian heat — work quick). Press it firmly into the cavity, slightly proud of the surface, working out air pockets. For deep voids, build in two layers. Once hard (overnight to be safe), it cuts and sands like wood.
4b. Or scarf in a timber splice (bottom rail / frame foot)
For a larger loss — say the bottom 60 mm of the rail or the lowest 100 mm of the frame foot — a timber splice is stronger and cheaper than a fist of epoxy. Saw the damaged section away on a long diagonal (a scarf cut, not a straight butt — it glues stronger and resists water tracking). Cut a matching offcut to fit, glue with waterproof adhesive, clamp, and pin with a screw or dowel. Fill the seam with epoxy.
5. Shape, sand and prime
Once everything is hard, plane or sand the rebuild flush with the door face and re-form the bottom edge square. Sand through 120 to 220 grit. Prime the bottom edge especially — bare end-grain on a door bottom is exactly where the next round of rot starts. Use an oil or PU primer.
6. Seal, then paint or polish
Give the whole bottom rail two coats of exterior-grade paint or PU/melamine polish, wrapping the colour right around the bottom edge. The goal is a fully sealed foot with no exposed end-grain anywhere. See door painting guide or door polishing & refinishing for the finish.
7. Stop it coming back
Rot is a water problem, not a wood problem. Fit a drip cap above the door (so rain runs off, not down the face) and a door sweep or weather bar along the bottom. Check the floor below isn't pooling water, and that the bottom clearance still lets the door swing — see gap under door fix. For bathroom and balcony doors this final step matters more than the repair itself.
When to stop and replace (the honest verdict)
Filler and splices are for local rot. Call it a replacement job when:
- The entire bottom rail is soft — you'd be rebuilding the structural base of the door, and it won't hold the hinge or lock loads.
- The rot has climbed past the lowest panel or into the stiles (the vertical edges).
- The door is also warped from the soakings — fix one and the other remains. See warped door fix.
- It's a hollow flush door whose core has turned to wet cardboard — there's nothing solid to rebuild into; budget for a new leaf via the door replacement guide.
- A frame foot has rotted right through and the frame is loose in the wall — that's a frame job, see door frame repair.
There is no shame in replacing. A teak or solid door that has lost only its foot is worth saving; a builder-grade hollow flush door that's soaked through usually is not.
Keep it from happening again
A repaired foot rots again if the conditions don't change. Wipe up standing water on bathroom and balcony floors, make sure the bottom edge stays sealed (re-coat every couple of years), keep the drip cap and sweep in place, and treat for borer/termite if you've seen any signs. For a full upkeep routine see wooden door maintenance and, for the most exposed door in the house, main door maintenance. If your door also swells shut every monsoon, that constant damp is itself a rot risk — fix the swollen door at the same time.
Not sure whether this one is a fix or a write-off? Run it through the repair vs replace door calculator, and size the bill with the door repair cost estimator. For the wider picture, the door troubleshooting guide and the complete door guide tie all these fixes together.
Frequently asked questions
Can I really repair a rotted door bottom, or is filler just a patch?
If the rot is confined to the bottom 50-100 mm and you treat the surrounding wood with hardener and fungicide before filling, a structural two-part epoxy rebuild or a scarfed timber splice is a genuine, long-lasting repair — not a cosmetic patch. The catch is that it only lasts if you also stop the water with a drip cap, a sweep and a sealed bottom edge.
What's the difference between wood filler and epoxy wood filler for this?
Ordinary wood putty is for filling small dents and nail holes; it has no structural strength and will pop out of a load-bearing door bottom. Two-part (epoxy) wood filler chemically hardens, bonds to consolidated wood, and can be sawn, drilled and screwed like timber — that's what you need for a door foot. See fill door holes & dents for the lighter cosmetic jobs.
Do I need to remove the door, or can I fix it in place?
For an epoxy rebuild you can often work in place if the rot is shallow. For a scarf splice, taking the leaf off and laying it flat makes the cut and clamping far easier and the result much stronger. A rotted frame foot, by contrast, is always done in place.
How long should I wait between steps?
Let the wood dry for a few dry days before starting if it's been wet, give the fungicide and hardener their full cure (a few hours each), and leave epoxy or splice glue overnight before sanding. Rushing curing in humid weather is the main reason repairs fail.
My bathroom door keeps rotting at the bottom — why?
Splashed water pools on the floor and wicks up the unsealed bottom edge, and bathroom humidity keeps it damp enough for fungus to thrive. After repairing, seal the bottom edge fully, fit a sweep, keep the floor dry, and consider whether a moisture-proof leaf like a WPC or uPVC door suits that opening better long term — see bathroom door guide.
When is it cheaper to just replace the door?
When the whole bottom rail is gone, the leaf is also warped, or it's a hollow flush door with a soaked core. At that point a ₹3,000-6,000 new leaf beats hours of filler that won't hold. Use the repair vs replace door calculator to decide objectively.
Export this guide
Related Guides — Deep-dive reading
Fix a Water-Damaged Door: Repair Guide (India 2026)
Dry it, assess swelling vs delamination vs rot, sand and fill, re-glue veneer, seal every edge, and know when to switch to WPC or uPVC.
Home Doors & EntrancesRepair a Cracked Wooden Door: DIY Guide (India 2026)
Hairline crack, deep split or panel separation? Match the right glue, clamp and filler method to the fault and refinish like new.
Home Doors & EntrancesDoor Repair Guide India: Fix Holes, Dents, Swelling, Hinges & Locks (2026)
A fix-it reference for Indian homes: every common door problem with a quick fix, a proper repair, a replace verdict, the materials needed, and indicative rupee costs.
Home Doors & EntrancesRelated Tools — Try Free
Door Cost Calculator
Estimate the all-in cost of a door — leaf, frame, hardware, fitting and GST — by type, material and size.
Door CalculatorDoor Paint Calculator
Estimate paint and primer litres and cost to paint your doors by size, number of doors, coats and paint type.
Door CalculatorDoor Material Comparison Tool
Compare 2–4 door materials on cost, durability, maintenance, security and moisture resistance.
Comparison Tool