
Fix a Water-Damaged Door: Repair Guide (India 2026)
Dry it, assess swelling vs delamination vs rot, sand and fill, re-glue veneer, seal every edge, and know when to switch to WPC or uPVC.
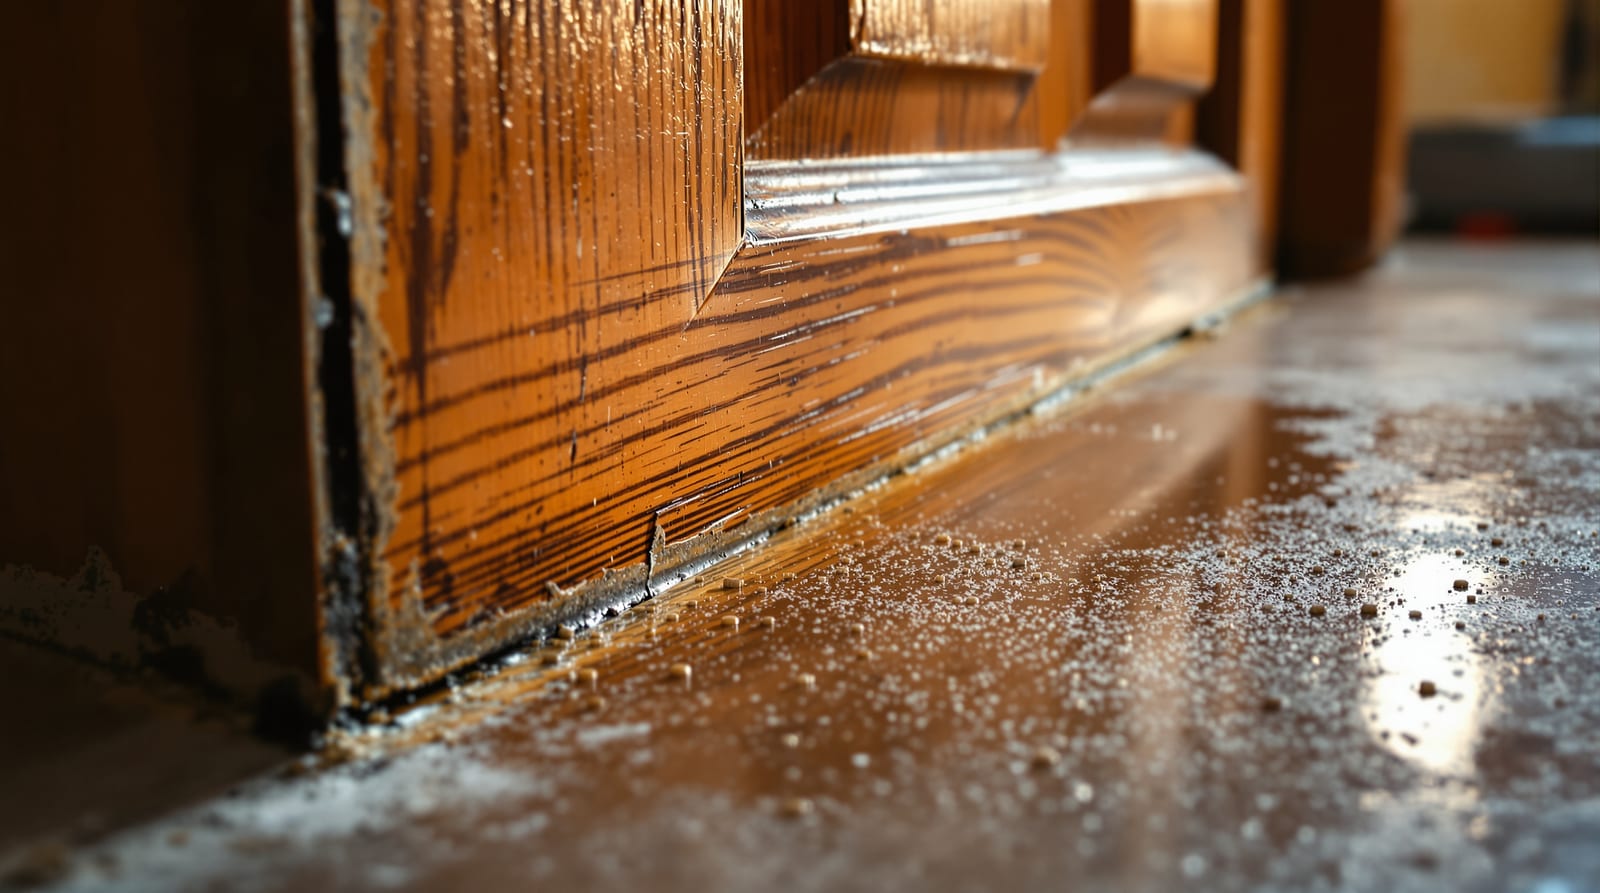
Water is the quiet killer of Indian doors. A bathroom leaf that drinks splash and steam, a balcony door left to a monsoon downpour, a main door whose bottom edge sits in a puddle every rainy season — these are the classic casualties. To fix a water-damaged door properly you have to do two things in order: first dry it out completely, then honestly assess whether you are dealing with mild swelling, lifting veneer, or full-blown rot. The fix is genuinely different for each, and so is the verdict on whether the door is worth saving at all. This guide from Studio Matrx walks you through drying, diagnosis, the actual repairs, sealing it so it never happens again, and the point where the right move is to swap the leaf for a WPC or uPVC door that simply does not care about water.
To fix a water-damaged door, dry it completely first
Every repair below fails if the timber is still wet inside. Filler will not bond, glue will not cure, paint will trap moisture and blister, and the door will keep swelling. Patience here saves the whole job.
1. Take the leaf off its hinges if you can and lay it flat across two supports, in shade, with air moving over both faces.
2. Wipe off all standing water and gently scrape away any soft, mushy surface fibre that comes off easily.
3. Let it dry for several days to a couple of weeks depending on how soaked it was — a fan or open windows help; never use a heat gun or direct sun, which warps the leaf.
4. Check it is dry by feel (no cold-damp), by colour (no dark wet patches), and ideally with a cheap moisture meter reading under about 12–14%.
Only once it is bone dry do you decide what kind of damage you actually have.
Diagnose: swelling vs delamination vs rot
The three failures look similar when wet but need very different fixes. Diagnose on the dried door.
| Symptom | What it is | Severity | Fixable? |
|---|---|---|---|
| Door swelled, sticks in frame, surface still solid | Swelling — timber absorbed water and expanded | Mild | Yes — dry, sand back, seal |
| Veneer or laminate bubbling, lifting at edges | Delamination — the glue line failed | Moderate | Often — re-glue or patch |
| Corner soft, crumbly, dark, smells musty | Rot / fungal decay | Severe | Repair small spots; replace if widespread |
| Bottom rail spongy, fibres separating | Bottom-edge rot — the commonest serious case | Severe | Epoxy small zones; usually replace |
| Hollow-core skin peeled, core mushy inside | Core saturation | Terminal | Replace — no reliable fix |
If you press a screwdriver into a "rotted" spot and it sinks in with no resistance over a large area, the structure is gone — that part cannot be made strong again, only filled cosmetically. Small, localised soft spots can be rebuilt with epoxy. Widespread rot, especially across the bottom rail or into a hollow core, means replacement.
Tools and materials you'll need
- Moisture meter (optional, ~₹500–1,200) and a fan for drying
- Sandpaper (80 / 120 / 220 grit) and a sanding block
- Two-part epoxy wood filler or hardener + filler kit for soft spots (₹300–1,000)
- Ordinary wood putty for shallow dents (₹100–300)
- Wood glue (PVA / Fevicol) or epoxy for re-gluing veneer; contact adhesive for laminate (₹100–400)
- Clamps or heavy weights, a flat board, painter's tape
- A sharp chisel and a utility knife
- Sealer for every face and edge: primer + exterior paint, PU/melamine polish, or marine/exterior varnish (₹200–600)
- Touch-up marker or matching polish for finishing
Step-by-step repair
Step 1 — Sand back swollen areas (easy)
Once fully dry, a swollen door often shrinks back close to its original size. Sand the high, raised areas with 80 then 120 grit until the door moves freely in the frame again. Don't over-plane while it is freshly dried — take a little, test the swing, repeat. Finish with 220 grit. This alone fixes most mild bathroom-door swelling. For the seasonal version of this, see fix a swollen door in monsoon.
Step 2 — Fill or epoxy soft spots (moderate)
For shallow dents and small gouges, press in wood putty, let it dry, and sand flush. For soft, punky spots where the timber has started to go but is localised, use a two-part epoxy: brush a wood hardener into the area first so it soaks in and stabilises the remaining fibre, then pack epoxy filler into the void, slightly proud. Once cured, sand it back to the door's profile. Epoxy is far stronger and more water-resistant than ordinary putty — it is the right choice anywhere near water. See fill door holes and dents for general filling technique.
Step 3 — Re-glue lifted veneer or laminate (moderate)
If the surface skin has bubbled or peeled:
1. Gently lift the loose edge — don't force dry, brittle veneer or it will crack.
2. Scrape out old, failed glue from underneath and let the cavity dry.
3. Work fresh wood glue (for wood veneer) or contact adhesive (for laminate) under the lifted skin with a thin spatula or syringe.
4. Press it down, wipe the squeeze-out, lay painter's tape over it, then clamp — or stack a board and weights — flat for 24 hours.
5. For veneer that has torn away completely, cut a matching patch and glue it in. Detailed methods are in door veneer repair and door laminate peeling fix.
Step 4 — Tackle bottom-edge damage (moderate to pro)
The bottom rail is where water sits and rot starts. If it is only surface-soft, dry it, dig out the punky fibre, and rebuild with epoxy filler, then seal heavily. If the bottom rail is spongy through its thickness or crumbling, the leaf's strength is compromised — read door bottom rot repair and be ready to accept replacement.
Step 5 — Seal EVERY face and EVERY edge (essential)
This is the step that stops it ever happening again, and the one people skip. Water re-enters through the raw bottom edge, the raw top edge, and the unsealed back face. Sand smooth, then apply your sealer — primer + paint, polish, or varnish — to both faces and all four edges, with extra coats on the top and bottom edges. Equal sealing also keeps the door from warping. See door seals and weatherstripping, door painting guide, and door polishing and refinishing.
Difficulty, time and cost
| Task | Difficulty | Time | DIY cost | Carpenter cost |
|---|---|---|---|---|
| Dry the door | Easy (patience) | 3–14 days | ₹0 | n/a |
| Sand back swelling | Easy | 1–2 hrs | ₹100–300 | ₹300–800 plane visit |
| Fill / epoxy soft spots | Moderate | 2–3 hrs + cure | ₹300–1,000 | ₹500–2,000 |
| Re-glue veneer / laminate | Moderate | 1 hr + 24 hr clamp | ₹100–400 | ₹500–2,000 patch |
| Seal all faces & edges | Moderate | Half day + drying | ₹200–600 | ₹500–1,500 repaint |
| Replace flush leaf | n/a (replace) | half–1 day | ₹3,000–6,000 leaf | + fitting |
When to stop and switch to WPC or uPVC
Be honest about the verdict. If the rot is widespread, if a hollow-core leaf's interior is saturated, if the bottom rail is structurally gone, or if you have re-fixed the same bathroom door three monsoons running, stop spending on it. A wooden door in a wet location is fighting its nature.
The smart upgrade for any wet doorway in India is a water-immune material. WPC doors (wood-plastic composite) look like timber but shrug off water and termites — ideal for bathrooms and balconies; see WPC doors. uPVC doors are fully waterproof and great for balconies and utility areas; see uPVC doors. For wet rooms specifically, our bathroom door guide explains why WPC is usually the right call. A new flush leaf runs ₹3,000–6,000; a WPC bathroom door is in a similar range and never swells again. Use the repair vs replace door calculator and the door cost guide for 2026 to compare honestly.
When to call a carpenter: if the door is structurally sagging, the frame is rotted too, it is a heavy main door, or there is glass or an automatic operator involved — do not improvise on those. For the wider fault picture see the complete door guide and the door troubleshooting hub.
Frequently asked questions
Can a water-damaged wooden door be saved?
Often, yes — if it is dried fully and the damage is swelling, lifted veneer, or small soft spots, you can sand, epoxy, re-glue and seal it. Widespread rot, a saturated hollow core, or a crumbling bottom rail usually means the leaf needs replacing.
How long does a wet door take to dry before I repair it?
Give it several days for light wetting and up to two weeks for a badly soaked leaf, in shade with air moving. Aim for a moisture reading under about 12–14%. Repairing while still wet wastes the whole job — filler and glue will not bond and paint will blister.
Why does my bathroom door keep getting water-damaged?
Almost always because the bottom and back edges were never sealed, so splash and steam soak straight into raw timber. Seal every face and edge — or, for a permanent fix, switch to a WPC door that does not absorb water.
Should I use wood putty or epoxy on a water-damaged door?
Use ordinary putty only for shallow cosmetic dents. For anything soft or near water, use two-part epoxy with a wood hardener — it is stronger, waterproof, and rebuilds missing structure rather than just filling a hole.
Is it worth repairing or should I replace with WPC?
If the damage is mild and localised, repair and seal — it is far cheaper. If it keeps recurring or the rot is structural, a WPC or uPVC door costs a similar amount to a new wooden leaf and ends the problem for good in wet locations.
Export this guide
Related Guides — Deep-dive reading
Door Repair Guide India: Fix Holes, Dents, Swelling, Hinges & Locks (2026)
A fix-it reference for Indian homes: every common door problem with a quick fix, a proper repair, a replace verdict, the materials needed, and indicative rupee costs.
Home Doors & EntrancesDoor Veneer Repair: Fix Lifting & Chips (India 2026)
Veneer bubbling, lifting at the edge or chipped off? Here is how to re-glue, patch and colour-match wood veneer at home, step by step.
Home Doors & EntrancesHow to Fill Door Holes and Dents: DIY (India 2026)
Patch screw holes, dents and punched hollow-core damage with filler or epoxy, then sand, prime and paint so it disappears.
Home Doors & EntrancesRelated Tools — Try Free
Door Paint Calculator
Estimate paint and primer litres and cost to paint your doors by size, number of doors, coats and paint type.
Door CalculatorDoor Cost Calculator
Estimate the all-in cost of a door — leaf, frame, hardware, fitting and GST — by type, material and size.
Door CalculatorBathroom Door Material Selector
Get the best wet-area door material — WPC, FRP, PVC, marine ply or aluminium — ranked for your bathroom or utility.
Material Selector