
Fitting Tower Bolts & Flush Bolts: Site Guide (India 2026)
How to mark, mortise and align surface tower bolts and morticed flush bolts on the inactive leaf of a double door so each bolt shoots clean.
On most Indian double doors only one leaf is used day to day; the second — the inactive leaf — is held shut top and bottom by bolts. Fitting tower bolts and their morticed cousins, flush bolts, is quick, low-cost work that nonetheless separates a tidy door-set from a sloppy one. Get the marking and alignment right and each bolt drops into its socket with a single push; get it wrong and you have a leaf that rattles, a floor bolt that scrapes the screed, or a head socket the bolt never quite finds. This guide is the new-fit craft: where to mark, how to cut the floor dust box and head socket, and how to align so the shoot is clean. It assumes the leaves are already hung true — if they are not, fix the clearances and tolerances first.
Surface tower bolt or morticed flush bolt?
The two products do the same job — lock the inactive leaf to head and floor — but mount very differently, so the fitting tower bolts decision drives everything that follows.
A tower bolt (barrel/aldrop-family bolt, IS 204) is surface-mounted: the whole barrel-and-slide screws onto the face of the leaf, usually near the meeting stile. It is the cheaper, faster, more forgiving option and the default on flush and panelled timber doors across India. A flush bolt is morticed — the body sits buried in the leaf edge with only a flush faceplate showing, operated by a finger-lever. It is neater, vandal-resistant and standard on better joinery, glazed double doors and fire-rated sets. Choose by quality level, edge thickness and whether the leaf edge can take a mortise without weakening it.
| Feature | Surface tower bolt | Morticed flush bolt |
|---|---|---|
| Mounting | Screwed to leaf face | Mortised into leaf edge |
| Skill / time | Low; ~10–15 min/bolt | Higher; ~25–40 min/bolt |
| Appearance | Barrel visible on face | Flush faceplate only |
| Typical cost (each) | ₹80–₹400 | ₹250–₹900 |
| Best for | Flush/panel timber doors | Quality joinery, glazed, fire sets |
| Risk if mismarked | Bolt misses socket | Mortise weakens thin edge |
As a rule of thumb, budget ₹150–₹500 per leaf for a top-and-bottom tower-bolt pair plus sockets, and ₹600–₹1,800 for a morticed flush-bolt pair. GST is 18% on the hardware; fitting labour is usually rolled into the door-hanging rate. For what each product is and how to specify finishes, see the door hardware guide; this page is purely about fitting them.
Set-out: marking top and bottom positions
Bolts go on the inactive leaf only, on the face/edge nearest the meeting stile, top and bottom. The active leaf carries the lever/lock against the now-fixed inactive leaf, so before you mark a single bolt, confirm the handing and which leaf stays shut.
Heights and reach
| Element | Position (rule of thumb) | Note |
|---|---|---|
| Top tower/flush bolt | Within easy reach, ~1800–2000 mm | Must be reachable one-handed |
| Bottom tower/flush bolt | ~150–300 mm above floor | Clear of skirting |
| Head socket | Centred on top bolt throw | In frame head or rebate |
| Floor socket / dust box | Centred on bottom bolt throw | Recessed flush in floor |
| Bolt-to-meeting-stile offset | 30–50 mm from leaf edge | Keeps barrel clear of astragal |
Keep the top bolt within comfortable reach — a bolt at 2400 mm that needs a stool defeats the purpose, and on an egress route an unreachable bolt is a life-safety problem. The inactive leaf of a double door on an escape route should never be bolted in a way that traps occupants; where both leaves may be needed for free egress, follow NBC 2016 life-safety provisions and prefer hardware operable without a key. Accessibility under the RPwD / Harmonised Guidelines points the same way: lever-operated, one-hand, no fiddly knobs at awkward heights. When in doubt on a public or fire door, default to the meeting-stile lever and lock carrying the daily duty and keep bolts for the held-shut leaf only.
Mark both bolt centrelines with a marking knife and combination square so top and bottom share one vertical line down the leaf — a pencil tick wanders, a knife line does not. For the full marking discipline across a door-set, see marking out door hardware and the wider setting-out routine.
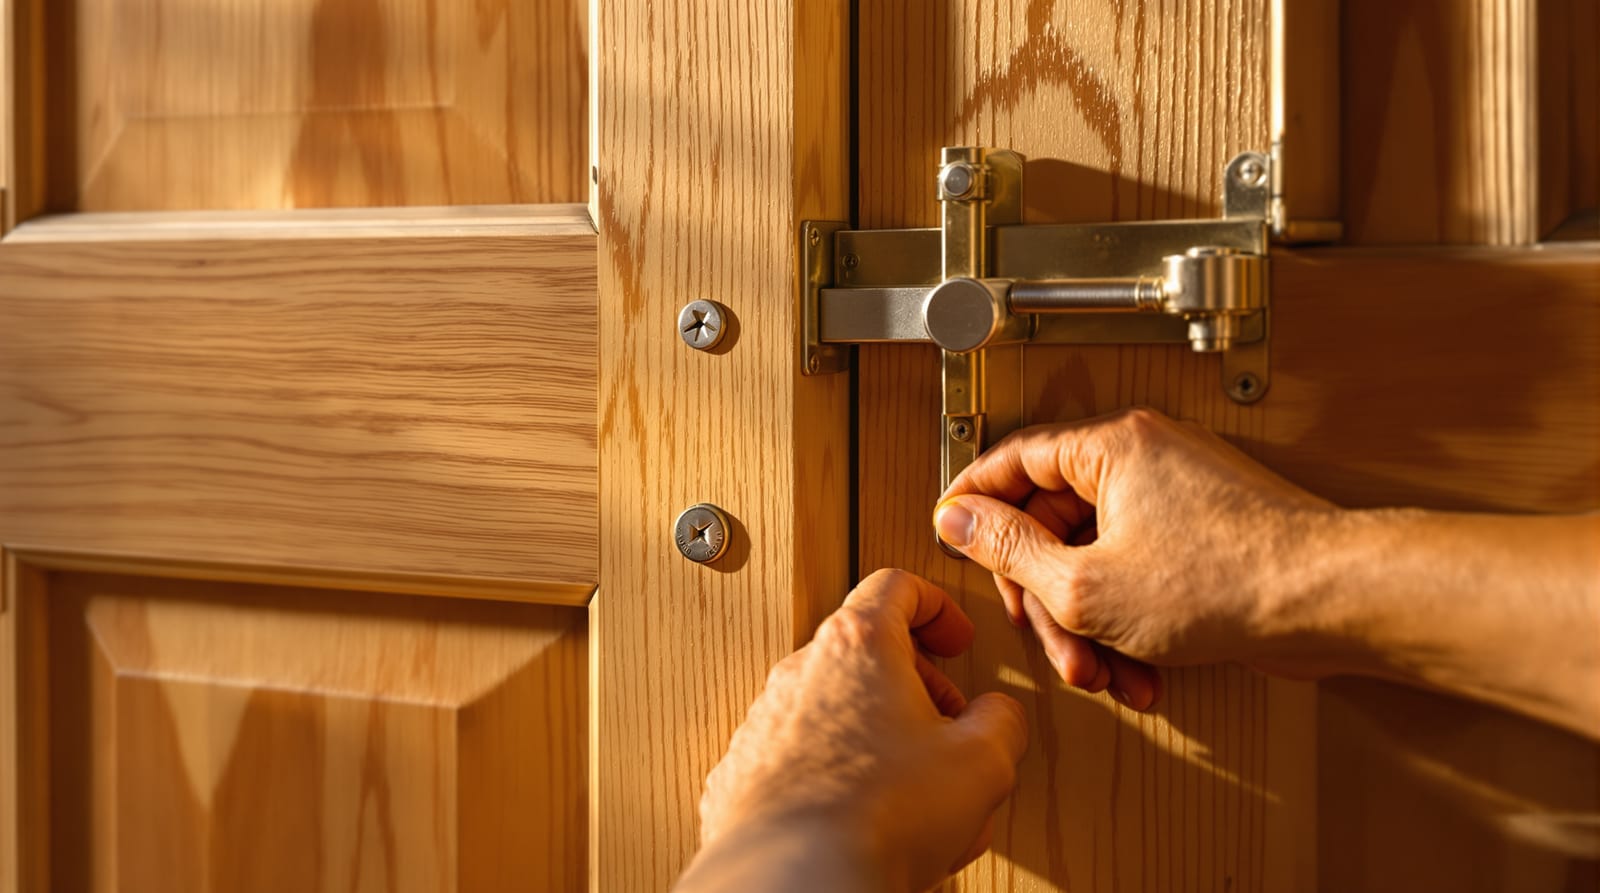
Fitting a surface tower bolt
1. Position the barrel. Hold the bolt against the leaf face on your knifed centreline, slide thrown halfway, and mark the screw holes with a bradawl. Check the slide runs square to the leaf edge — a skewed barrel guarantees a missed socket.
2. Pilot and fix. Drill pilot holes (typically 2–2.5 mm) so brass screws do not shear, and fix the barrel. Hand-driving the last turn avoids stripping soft timber.
3. Mark the socket. Throw the bolt fully and let it touch the frame head (top) or floor (bottom). The bolt tip dimples the exact socket centre — far more reliable than measuring across.
4. Cut and fit the receiver. For the head, mortise a shallow keep or fit the surface socket plate over a drilled hole. For the floor, fit a recessed floor socket / dust box (below).
5. Test the shoot. The bolt should slide its full throw with light finger pressure and no binding. If it scrapes, the barrel is off-line — ease the socket or re-pilot; do not force it.
A chronically stiff bolt is usually misalignment, not a faulty bolt — the same diagnosis logic as a misaligned strike plate.
Fitting a morticed flush bolt
Flush bolts demand a clean edge mortise, so sharp hand tools and a steady mortising jig or router matter.
1. Mark the faceplate on the leaf edge, on your centreline, and knife the outline.
2. Sink the faceplate recess with chisel or router so the plate sits dead flush — proud plates foul the rebate.
3. Bore the body pocket along the edge to the bolt-body depth; a Forstner or auger gives a clean wall. Do not over-deepen on a thin or fire-rated leaf — breaching the core ruins the rating.
4. Fix and test the lever — it must throw fully and stay shot under spring.
5. Mark and cut the sockets from the thrown bolt tip, as for the tower bolt.
The floor socket / dust box and head socket
The receivers make or break the job. The head socket is a plate-and-hole (or shallow mortise keep) in the frame head or rebate, centred precisely on the top bolt’s throw. The floor socket — the dust box — is recessed flush into the floor screed or threshold so the bottom bolt drops in without a trip-hazard lip.
| Receiver | Where | Cut method | Watch-out |
|---|---|---|---|
| Head socket | Frame head / rebate | Drill + plate, or shallow keep | Keep clear of intumescent on fire sets |
| Floor socket / dust box | Floor screed / threshold | Core-drill recess, set flush | Must drain/clear dust; no proud lip |
| Surface head plate | Frame face | Screw over drilled hole | Bolt must enter square |
On finished marble or tile, drill the floor recess with a diamond core bit and water, and seat the dust box in adhesive flush with the surface — a proud box is both a trip hazard and an accessibility failure. The dust box earns its name: without one, the bottom socket fills with grit and the bolt jams within weeks, India’s site dust being what it is. Fit bolts and sockets after wet trades and floor finishes are complete, never before, so you cut into the final, level floor.
Alignment so the bolt shoots clean
Alignment is the whole craft. The bolt, its socket and the leaf edge must share one true vertical. Three habits guarantee a clean shoot:
- One knifed centreline top to bottom on the leaf — never measure each end independently.
- Mark the socket from the bolt tip, not by transferring a dimension across the gap.
- Test before final fixing — throw the bolt into a part-cut socket, ease, then finish.
A bolt that needs a shove, lifts the leaf, or only catches at one end is misaligned — stop and correct rather than enlarging the socket into a sloppy hole. Final acceptance: each bolt shoots full-throw with light one-hand pressure, the inactive leaf sits flush with the active leaf at the meeting stile, and gaps stay even. This feeds the door-set snagging and operation testing at handover, and the bolt schedule belongs in the project ironmongery schedule.
For doors that must release in a fire or evacuation, never rely on a bolted inactive leaf to make up egress width — read the install-time rules in fire-door installation compliance and cross-check the fire-door maintenance and inspection regime. To build the full hardware schedule and verify reach heights, use our door ironmongery schedule builder and door hardware height calculator. For the wider picture of every door-set on the job, return to the complete door guide and the Act pillar on fitting door hardware.
Frequently asked questions
How high should the top tower bolt go on a double door?
Within comfortable one-hand reach, as a rule of thumb around 1800–2000 mm, and never so high that a stool is needed — an unreachable bolt on an escape route is a life-safety failure under NBC 2016. Keep the bottom bolt ~150–300 mm above the floor, clear of the skirting.
Tower bolt or flush bolt — which should I fit?
Fit a surface tower bolt (IS 204) on standard flush and panelled timber doors: it is cheaper, faster and forgiving. Choose a morticed flush bolt for quality joinery, glazed or fire-rated double doors where you want a neat flush faceplate — provided the leaf edge is thick enough to mortise without weakening it.
Why does my bottom bolt keep jamming?
Usually the floor socket has filled with grit. A proper recessed dust box, set flush, keeps debris out; without one, India site dust clogs an open socket within weeks. Clear the recess, confirm the bolt is on a true vertical with the barrel, and check the box sits flush, not proud.
Can I bolt the inactive leaf of a fire or escape door shut?
Only if the held-shut leaf is not needed for required egress width and the active leaf alone meets it. Where both leaves form the escape route, do not rely on bolts — follow NBC 2016 life-safety and the fire-door installation compliance rules, and prefer hardware operable without a key.
When in the build sequence do I fit the floor socket?
After all wet trades and the final floor finish are complete. Cutting the recess into the finished, level floor lets you seat the dust box flush; fitting it early risks a proud or misplaced box once the screed or tile goes down.
Export this guide
Related Guides — Deep-dive reading
Fitting Door Hardware: Ironmongery Install Guide India 2026
The new-fit craft of mounting hinges, locks, levers, closers, bolts, stops and seals onto a door and frame — in the right order, at the right heights.
Home Doors & EntrancesFitting Mortise Locks: New-Fit Craft Guide India 2026
The on-site craft of fitting a mortise lock to a new door — marking, mortising the pocket, boring cylinder and handle holes, and testing the throw.
Home Doors & EntrancesFitting Door Hinges: New-Fit Craft Guide (India 2026)
Mark the three hinge positions, cut a clean recess, screw hinges to leaf and frame, and get a new door to swing true on the first try.
Home Doors & EntrancesRelated Tools — Try Free
Accessibility Compliance Calculator
Check a planned lift against the CPWD and RPwD accessible-lift benchmarks for a score.
Lift CheckerDoor Size Calculator
Get the standard door and frame size by room, with swing clearance and the accessible clear-width check.
Door ToolFire Door Rating Checker
See the likely fire-door rating (30/60/90/120 min) and components a location needs per IS 3614 / NBC — guidance, confirm with your architect.
Compliance Tool