
Door Fitting Measuring Tools: Levels & Gauges (India 2026)
How spirit levels, squares, marking gauges, feeler gauges and laser levels deliver plumb, level, square and gap-true door fitting on Indian sites.
A door that binds, won't latch first time, or shows a tapering 6mm reveal down one stile almost always traces back to one root cause: it was never measured true. The right door fitting measuring tools are what separate a leaf that swings sweetly and self-closes from a callback. On Indian sites — mixed-skill labour, dust, monsoon-swollen timber and frequent power cuts that strand your laser level mid-job — the humble spirit level, square and gauge are your most reliable arbiters of plumb, level, square and gap. This guide is the fitter's toolbox for measuring and marking, not the install sequence; pair it with the complete door guide and the door-fitting tools Act pillar.
Why measuring tools decide the result
Every acceptance test at handover is a measurement: are the margins 2-4mm and even, is the frame plumb to within ±1.5-2mm, is the leaf flat, does the lock keep line up so it latches first time? You cannot pass tests you never took during fitting. CPWD and IS 1200 govern measurement and workmanship on contract work, and NBC 2016 sets the life-safety frame — so a fitter who measures as they go is simply pre-empting the inspector. Buy good tools, keep them true, and check the tool itself before you trust it.
This kit also keeps you honest on the three musts the brief never lets you forget: free egress (the leaf must clear and swing fully), accessible lever heights (RPwD / Harmonised Guidelines: lever handles, not knobs, set 800-1100mm, ≈1000mm common), and fire-door integrity (gaps ≤3mm, 4mm max — a tolerance you can only hold with feeler gauges).
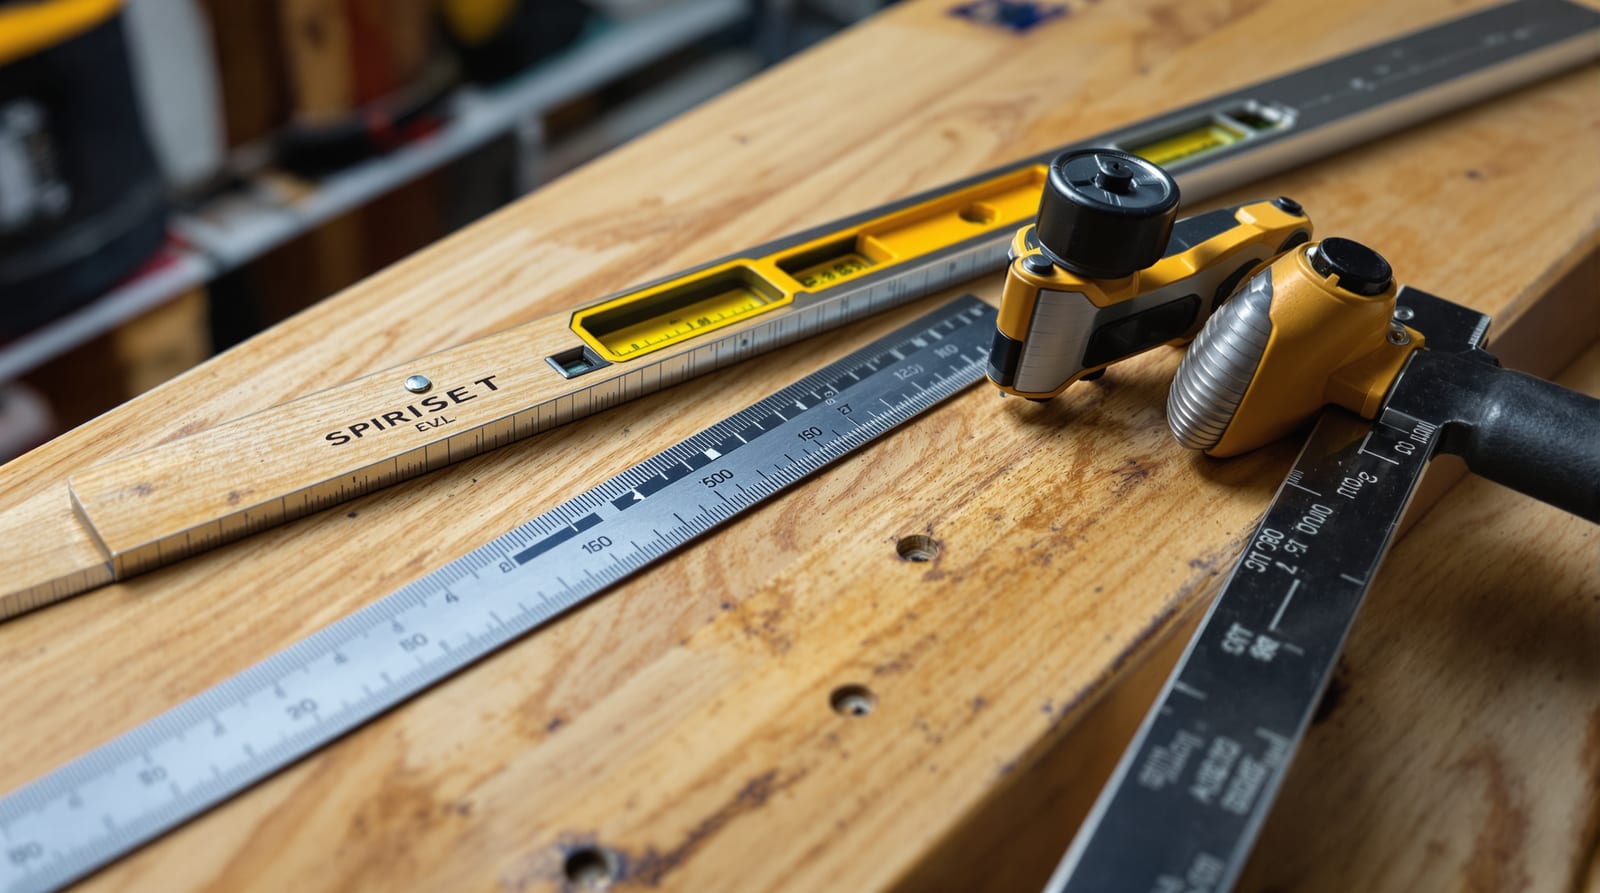
The measuring & marking kit
These are reference bands — "as a rule of thumb" — for a working fitter buying from an Indian hardware market or online. GST 18% applies on tools; prices swing with brand (entry Indian vs. imported pro).
| Tool | What it does on a door | Typical accuracy | ₹ band (indicative) |
|---|---|---|---|
| 600mm spirit level | Plumb a stile, level a head over a leaf | ±0.5mm/m vial | 400-1,500 |
| 1200mm spirit level | Plumb full frame height, level threshold | ±0.5mm/m vial | 900-3,000 |
| Combination square (300mm) | Mark 90°/45°, set depth, gauge reveal | square to ±0.1mm | 600-2,500 |
| Try square (150-250mm) | Square lines across stile/edge | fixed 90° | 250-1,200 |
| Marking gauge | Score a line parallel to an edge (hinge, lipping) | hairline | 200-700 |
| Mortise gauge (twin-pin) | Score both walls of a lock/hinge mortise | set to chisel width | 350-1,200 |
| Sliding bevel (bevel gauge) | Copy any angle (rebate, splayed jamb) | transfers exactly | 300-1,000 |
| Feeler gauge set | Read 0.1-3mm leaf-to-frame gaps | ±0.01mm blades | 150-600 |
| Tape measure (5m, class II) | Sizes, set-out heights, diagonals | EC class II | 250-900 |
| Marking knife | Crisp severed line for chisel registration | hairline | 200-800 |
| Cross-line laser level | Project plumb/level lines for frame & multi-door runs | ±0.3-0.5mm/m | 3,000-15,000 |
A sensible measuring-and-marking subset costs ₹3,000-8,000 inside the basic DIY kit; add a self-levelling laser and you are at ₹8,000-20,000. The full pro kit with morticer and jigs (₹25,000-60,000+) is covered in door fitting power tools; the bench hand tools sit in door fitting hand tools.
The four checks every door must pass
Plumb — the vertical truth
Hold a 1200mm spirit level against each hinge stile and the lock stile of the frame; the bubble must sit dead-centre. A frame out of plumb is the single biggest cause of a self-swinging leaf — a 2mm lean over the height pushes the door open or shut on its own. Read more on diagnosing this in door frame plumb & level. Always check plumb in two planes: across the opening (does the frame lean left/right) and in the depth of the wall (does it tip forward/back).
Level — the horizontal truth
A 600mm level on the head, and on the threshold or sill, confirms the door isn't fitted to a sloping floor. If the floor falls, you decide the undercut as a deliberate, even bottom margin rather than letting the leaf scrape one corner.
Square — corners at 90°
A frame can be plumb and level yet still be a parallelogram. Check the diagonals with your tape — equal diagonals mean square. For marking out, the combination square sets your 90° hinge and lock lines, and its sliding rule doubles as a depth and reveal gauge. Use the marking out door hardware method for set-out heights and the door setting out Act pillar for the wider geometry.
Gap — the feeler-gauge test
Gaps are where good fitting is proven. A feeler-gauge set reads the leaf-to-frame margin precisely: aim for even 2-4mm all round on a standard internal door. On a fire-door set this becomes a compliance test, not a preference — gaps ≤3mm (4mm absolute max) around the leaf and a threshold gap typically ≤8-10mm or sealed, per IS 3614 and NBC 2016. Walk the inspection method in door gap inspection.
Marking accurately: gauges, knives and bevels
A tape and pencil get you close; a marking knife and gauge get you to the chisel line. The marking gauge scores a single line parallel to an edge — perfect for hinge-leaf depth and lipping width. The mortise gauge, with twin pins set to your chisel or lock-case width, scores both walls of a mortise in one pass so the recess is the exact size of the hardware. Set the pins to the chisel, not the chisel to a ruler — the tool and the cut then agree.
The sliding bevel copies any angle the site throws at you: a splayed jamb, a rebate, a stair-string door. Lock it to the existing angle and transfer it to the leaf without ever reading a number. A marking knife severs the timber fibres so the chisel registers crisply and the flush-door veneer doesn't tear — a detail that lifts a fit from rough to refined. These marking skills carry straight into fitting door hardware and fitting door hinges.
Set-out heights you measure to
Measuring tools are only as useful as the dimensions you set them to. Standardise these on every leaf:
| Element | Set-out height / position | Tool used |
|---|---|---|
| Lever / handle centre | 900-1050mm (≈1000mm common) | tape + combination square |
| Mortise lock keep | ≈900mm; backset 60mm (some 57mm) | tape + mortise gauge |
| Top hinge | 150-200mm from head | tape + marking gauge |
| Bottom hinge | ≈250mm from floor | tape + marking gauge |
| Third (middle) hinge | mid-point or one-third down | tape |
| Door viewer | 1400-1500mm | tape |
| Tower / flush bolts | top & bottom of leaf | tape + try square |
Heavy and fire doors take a fourth hinge. For accessibility, lever handles must be one-hand operable and set 800-1100mm — verify with the tape every time on RPwD-relevant jobs, and see accessible doors.
Laser level: where it earns its keep — and where it doesn't
A self-levelling cross-line laser is superb for setting out a run of doors to a common datum, transferring a frame line around a corner, or marking lever heights across a corridor of identical openings. But on Indian sites it has two enemies: bright daylight (you need a receiver or a shaded opening) and power cuts that flatten the battery mid-task. Treat the laser as a speed tool layered on top of the spirit level — never a replacement. The spirit level needs no charge, survives a drop, and is the tool an inspector will reach for. When buying, calibrate-check a laser on receipt and re-check after any knock.
Keeping your tools true
An untrue tool measures lies confidently. Test a spirit level by reading a surface, then flipping it end-for-end on the same spot — the bubble must read identically both ways. Test a square by scribing a line off a known-straight edge, flipping the square, and scribing again — the two lines must coincide. Drop-damaged vials and bent square blades are common on busy sites; bin or re-true them. Storage, sharpening and care of the wider kit is covered in door fitting tool maintenance.
For quick on-site estimating and compliance, the door acceptance tolerance checker and the door clearance checker turn these measurements into pass/fail in seconds.
Frequently asked questions
What length spirit level is best for door fitting?
Carry both. A 1200mm level plumbs full frame height in one read and is your primary truth for vertical alignment; a 600mm level handles heads, thresholds and tight spots. A vial accuracy of about ±0.5mm/m is fine for joinery. Always flip-test the level on receipt to confirm it reads true.
How do I check a door gap is within tolerance?
Use a feeler-gauge set. Slide blades into the leaf-to-frame margin at several points: aim for even 2-4mm all round on a standard internal door. For a fire-door set the limit tightens to ≤3mm (4mm absolute maximum) around the leaf, with the threshold typically ≤8-10mm or sealed, per IS 3614 and NBC 2016. Uneven gaps signal an out-of-plumb frame or a hinge-bound leaf.
What's the difference between a marking gauge and a mortise gauge?
A marking gauge has one pin and scores a single line parallel to an edge — used for hinge-leaf depth and lipping. A mortise gauge has twin pins you set to the exact width of your chisel or lock case, scoring both walls of a recess in one pass so the mortise matches the hardware precisely.
Do I need a laser level, or is a spirit level enough?
A spirit level is essential and sufficient for fitting a single door — it needs no power and survives site abuse. A laser level adds speed on multi-door runs and datum transfer, but daylight glare and power cuts limit it on Indian sites. Buy the laser as a layer on top of, never instead of, a good spirit level and squares.
Which Indian standards govern door measurement and tolerances?
IS 1200 and CPWD specifications govern measurement and workmanship on contract work; NBC 2016 sets fire and life-safety requirements; IS 3614 covers fire-check and metal-clad doors. Accessibility lever heights follow the RPwD Act and Harmonised Guidelines. BS EN standards are useful international comparisons but are not Indian law.
Export this guide
Related Guides — Deep-dive reading
Measuring for a Door: Opening Sizes & Checks (India 2026)
How to measure a door opening in India — three width and height points, diagonals, plumb and level — so the carpenter cuts it right the first time.
Home Doors & EntrancesMarking Out Door Hardware Positions: Set-Out (India 2026)
Standard fitting heights, story rods and templates for setting out hinges, locks, viewers and bolts consistently across an Indian project.
Home Doors & EntrancesDoor Acceptance Criteria: Tolerances & Tests India 2026
What 'acceptable' means for a fitted door: even gaps, frame plumb, flat leaf, one-hand operation, latches first time, clean finish — and the accept/snag/reject thresholds.
Home Doors & EntrancesRelated Tools — Try Free
Fire Door Rating Checker
See the likely fire-door rating (30/60/90/120 min) and components a location needs per IS 3614 / NBC — guidance, confirm with your architect.
Compliance ToolAccessibility Compliance Calculator
Check a planned lift against the CPWD and RPwD accessible-lift benchmarks for a score.
Lift CheckerAccessible Door Checker
Check a door against wheelchair-accessibility guidance — clear width, threshold, handle and closer force per RPwD 2021.
Compliance Tool