
Door Gap & Reveal Inspection at QA: India 2026
How to inspect the margin around a hung leaf with feeler gauges, read an uneven reveal, and pass or fail a door on its gaps.
A door is judged at its edges. Door gap inspection is the QA discipline of reading the thin margin of air between a hung leaf and its frame — the reveal — and proving it is even, within tolerance, and safe. It is one of the fastest, cheapest checks on site and one of the most revealing: an uneven reveal does not just look wrong, it tells you the frame is out of plumb or out of square, the hinges are gained unevenly, or the leaf is bowed. This guide is the inspection method — what to measure, with what, and how to pass or fail a door. For the underlying numbers and why the tolerances are what they are, read door clearances & tolerances; this piece tells you how to check them on a hung leaf at handover.
It is written for site engineers, QA inspectors, carpenters and contractors signing off doors against a door acceptance criteria standard, and it feeds straight into the door snagging punch-list when a gap fails.
What a good reveal looks like — the acceptance margins
The rule of thumb across India and international practice: the lock-stile, hinge-stile and head margins should be even and sit in the 2-4 mm band, and the bottom clearance is set by the floor finish. Even is as important as the absolute number — a consistent 3 mm all round reads as quality; a gap that tapers from 1 mm to 5 mm down one stile reads as a defect even if the average is fine.
| Location | Acceptance band (rule of thumb) | Why it matters |
|---|---|---|
| Hinge stile (knuckle side) | 2-4 mm, even top to bottom | Tapering means hinges gained unevenly or frame out of plumb |
| Lock stile (latch side) | 2-4 mm, even top to bottom | Too tight binds; too wide rattles and won't latch cleanly |
| Head (top of leaf) | 2-4 mm | A wedge-shaped head gap shows the frame is out of square |
| Bottom — over hard floor | 8-12 mm (or per door type) | Clears tiles/skirting; not so large it kills privacy/acoustics |
| Bottom — over carpet/rug | 10-20 mm | Leaf must swing clear of the finish |
| Threshold/undercut for ventilation | per design | HVAC return-air gaps where specified |
These are general-joinery acceptance bands. Fire doors are a separate, stricter regime — see the dedicated section below; never apply the loose internal-door numbers to a fire-rated set.
The inspection toolkit — measuring a gap properly
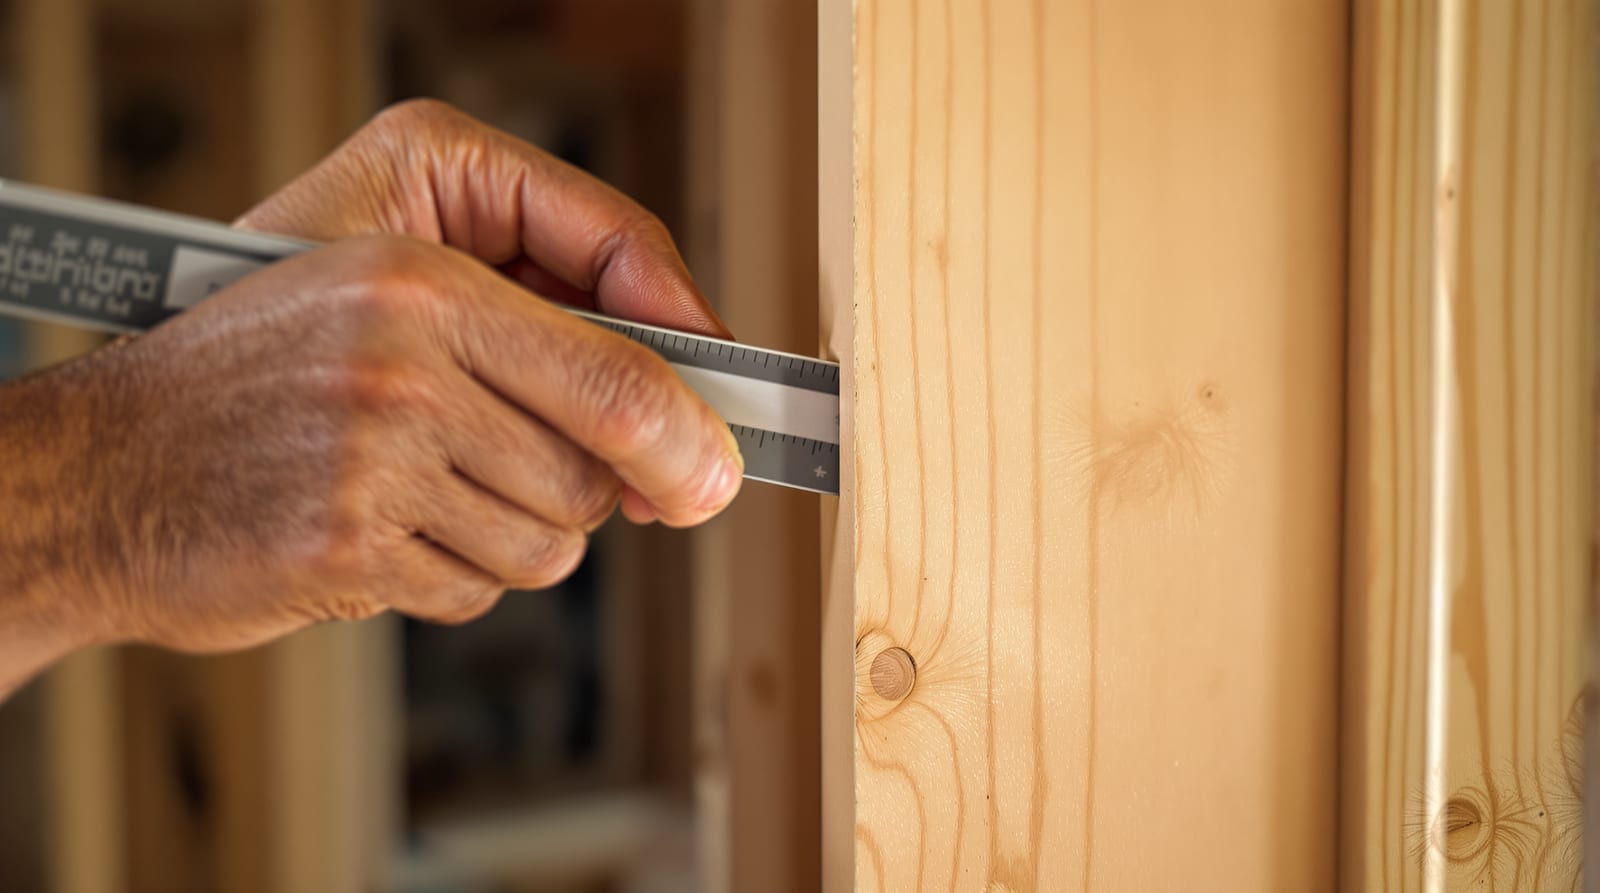
You cannot eyeball a 1 mm difference reliably, so QA uses cheap, repeatable gauges. The point of a feeler gauge is a go/no-go check: a 3 mm leaf either slides into the gap or it does not.
| Tool | What it checks | Indicative ₹ |
|---|---|---|
| Feeler gauge set (blade or stepped) | Exact gap width, go/no-go at 2/3/4 mm | ₹150-600 |
| Fire-door gap gauge (3 mm step gauge) | The ≤3 mm fire reveal as a pass/fail step | ₹600-2,000 |
| Taper/wedge gauge | Reads a varying gap by sliding to the binding point | ₹200-800 |
| 600/1200 mm spirit level | Frame plumb and head level (the cause of bad gaps) | ₹500-2,500 |
| Combination/try square | Frame square; head-to-jamb right angle | ₹200-900 |
| Steel rule / tape | Bottom clearance, leaf width | ₹100-400 |
| Torch (raking light) | Reveals an inconsistent line across the reveal at a glance | ₹150-700 |
Method, in order: shine a torch down each margin first — raking light makes a tapering gap jump out before you measure anything. Then run a feeler gauge into the gap at the top, middle and bottom of each stile and across the head. If the 3 mm blade slides freely at the top but a 1 mm blade jams at the bottom, the reveal is tapering and you have found a frame or hinge fault, not just a cosmetic one.
Reading an uneven reveal — what the gap is telling you
This is the diagnostic core of gap inspection. The shape of the error points to the cause, so a good inspector writes down the fault, not just "gap NG".
| What you see | Likely cause | Where to fix |
|---|---|---|
| Hinge-stile gap tapers top-to-bottom | Frame out of plumb on the hinge jamb | Re-plumb frame — door frame plumb & level |
| Head gap wedge-shaped (wide one corner) | Frame out of square / racked | Re-square frame before re-hanging |
| Lock-stile tight at top, open at bottom (or vice-versa) | Hinges gained to different depths; leaf hung skew | Re-seat one hinge; adjust hinge mortise |
| Gap even but leaf binds on hinge side | Hinge-bound — hinge mortise too deep | Pack/shim the hinge leaf out |
| Lock stile too wide all over | Leaf undersize for the opening | Plant a stop bead or accept/replace |
| Reveal even at edges, light through middle | Leaf bowed | Reject — a bowed leaf rarely recovers |
| Bottom gap uneven across width | Floor not level, or frame dropped | Check FFL; pack frame |
Because most reveal faults trace back to the frame, confirm the frame with a level and square before blaming the leaf: a perfectly made door hung in a racked frame will always show a bad reveal. Cross-check against the door installation checklist and the common pitfalls in door installation mistakes.
Fire doors — the ≤3 mm gap is a life-safety check, not a finish one
On a fire-rated door-set the gap inspection stops being cosmetic and becomes a compliance check. The certified fire door-set is tested at a defined gap, and on site the rule of thumb is ≤3 mm around the leaf (4 mm absolute maximum) at the head and stiles, with the threshold/bottom gap typically ≤8-10 mm or sealed unless the certification says otherwise. A gap larger than tested lets fire and smoke pass and can void the rating.
Use a 3 mm fire-door gap gauge as a go/no-go step: the step must NOT pass freely through the reveal at any point. Then confirm the continuous intumescent and smoke seals are fitted and unbroken in the frame or leaf rebate — an oversize gap that should be closed by an intumescent strip is only acceptable if that strip is present and continuous. Check this alongside fire door installation compliance at fitting and fire door maintenance & inspection over the door's life. The governing references are IS 3614 (fire-check / metal-clad doors), NBC 2016 fire and life-safety provisions, and the door-set's own test certificate — the certificate always wins where it is stricter.
Never "fettle" a fire door to close a gap by planing the leaf down to bare core, and never pack a gap with a non-tested material. If a fire door fails its gap inspection, it is a hold point — raise it as a defect and bring in the supplier or a specialist, do not improvise.
Gap inspection map — the points to check
The inspection routine — pass / fail in order
Run the same sequence on every door so nothing is skipped:
1. Visual + raking light. Torch each margin; flag any obvious taper or wedge before measuring.
2. Feeler-gauge the stiles. Top, middle and bottom of hinge and lock stiles. Record the band; a stile that swings from 1 mm to 5 mm fails.
3. Feeler-gauge the head. Wedge shape = frame out of square.
4. Measure the bottom clearance with a steel rule against the specified floor finish.
5. Fire doors: run the 3 mm step gauge — must not pass; confirm seals continuous.
6. Confirm cause if failing — level and square the frame, check hinge gaining and leaf flatness before deciding leaf vs frame fix.
7. Operate the door — even gaps mean little if it binds or won't latch; cross-check door operation testing.
8. Record pass/fail and the diagnosed cause on the snag list.
Pass / fail summary
| Criterion | Pass | Fail |
|---|---|---|
| Stile reveal | Even, 2-4 mm, all points | Tapering, binding, or >4 mm uneven |
| Head reveal | Even, 2-4 mm | Wedge-shaped (frame not square) |
| Bottom clearance | Per spec, even across width | Catches floor, or wildly uneven |
| Fire-door gap | ≤3 mm, seals intact | >4 mm or step gauge passes |
| Leaf flatness | Visibly flat | Bowed — light shows through middle |
A door that fails on gaps is a snag, not an acceptable door — log it against your door acceptance criteria, feed it to the door snagging list, and verify the wider set-up with the door inspection checklist. Tie the cluster together at the complete door guide, and use the door clearance checker to confirm target gaps before you walk the job, with the door snagging checklist generator for the punch-list itself.
Frequently asked questions
What is the correct gap around a door?
For general internal and external doors the rule of thumb is an even 2-4 mm reveal around the head and both stiles, with a bottom clearance of about 8-12 mm over a hard floor (more over carpet). Evenness matters as much as the number — a consistent 3 mm all round is the target. Fire doors are stricter at ≤3 mm. See door clearances & tolerances for the full numbers.
How do I check a door gap without special tools?
A feeler gauge set (₹150-600) is the proper tool: slide the 3 mm blade into the gap as a go/no-go check at the top, middle and bottom of each stile. With no gauge, use a torch in raking light to spot a tapering reveal, and a strip of card cut to 3 mm as a rough feeler. A taper or wedge points to a frame or hinge fault.
What does an uneven door reveal mean?
It is a symptom, not just a cosmetic flaw. A hinge-stile gap that tapers top-to-bottom usually means the frame is out of plumb; a wedge-shaped head gap means the frame is out of square; an even gap that still binds points to a hinge-bound leaf; and light through the middle of an even reveal means the leaf is bowed. Fix the frame before blaming the leaf.
What is the maximum gap on a fire door?
The rule of thumb is ≤3 mm around the leaf, 4 mm absolute maximum at head and stiles, with the threshold gap typically ≤8-10 mm or sealed — but the door-set's own test certificate and IS 3614 / NBC 2016 always govern. A 3 mm step gauge must not pass through the reveal, and the continuous intumescent and smoke seals must be present and unbroken. An oversize gap can void the rating, so treat a fire-door gap failure as a hold point.
Is gap inspection part of snagging?
Yes — it is one of the core checks on a door snag list. A door that needs an uneven, tapering or out-of-tolerance gap corrected is logged as a defect against the door acceptance criteria and rectified before handover. Even gaps alone are not enough; the door must also operate and latch cleanly, so pair the gap check with door operation testing.
Export this guide
Related Guides — Deep-dive reading
Door Acceptance Criteria: Tolerances & Tests India 2026
What 'acceptable' means for a fitted door: even gaps, frame plumb, flat leaf, one-hand operation, latches first time, clean finish — and the accept/snag/reject thresholds.
Home Doors & EntrancesDoor Clearances & Tolerances: The Gaps Guide (India 2026)
The exact margins around a hung leaf — 3mm reveals, 2-3mm latch gaps, 6-12mm undercut and tighter fire-door tolerances explained.
Home Doors & EntrancesMeasuring for a Door: Opening Sizes & Checks (India 2026)
How to measure a door opening in India — three width and height points, diagonals, plumb and level — so the carpenter cuts it right the first time.
Home Doors & EntrancesRelated Tools — Try Free
Fire Door Rating Checker
See the likely fire-door rating (30/60/90/120 min) and components a location needs per IS 3614 / NBC — guidance, confirm with your architect.
Compliance ToolDoor Snagging Checklist Generator
Generate a tailored door snag and QA checklist by door type, covering gaps, operation, hardware, finish and fire items.
Checklist GeneratorSnag Checklist
Professional interior snag checklist for handover inspection across 10 work categories.
Snag List