
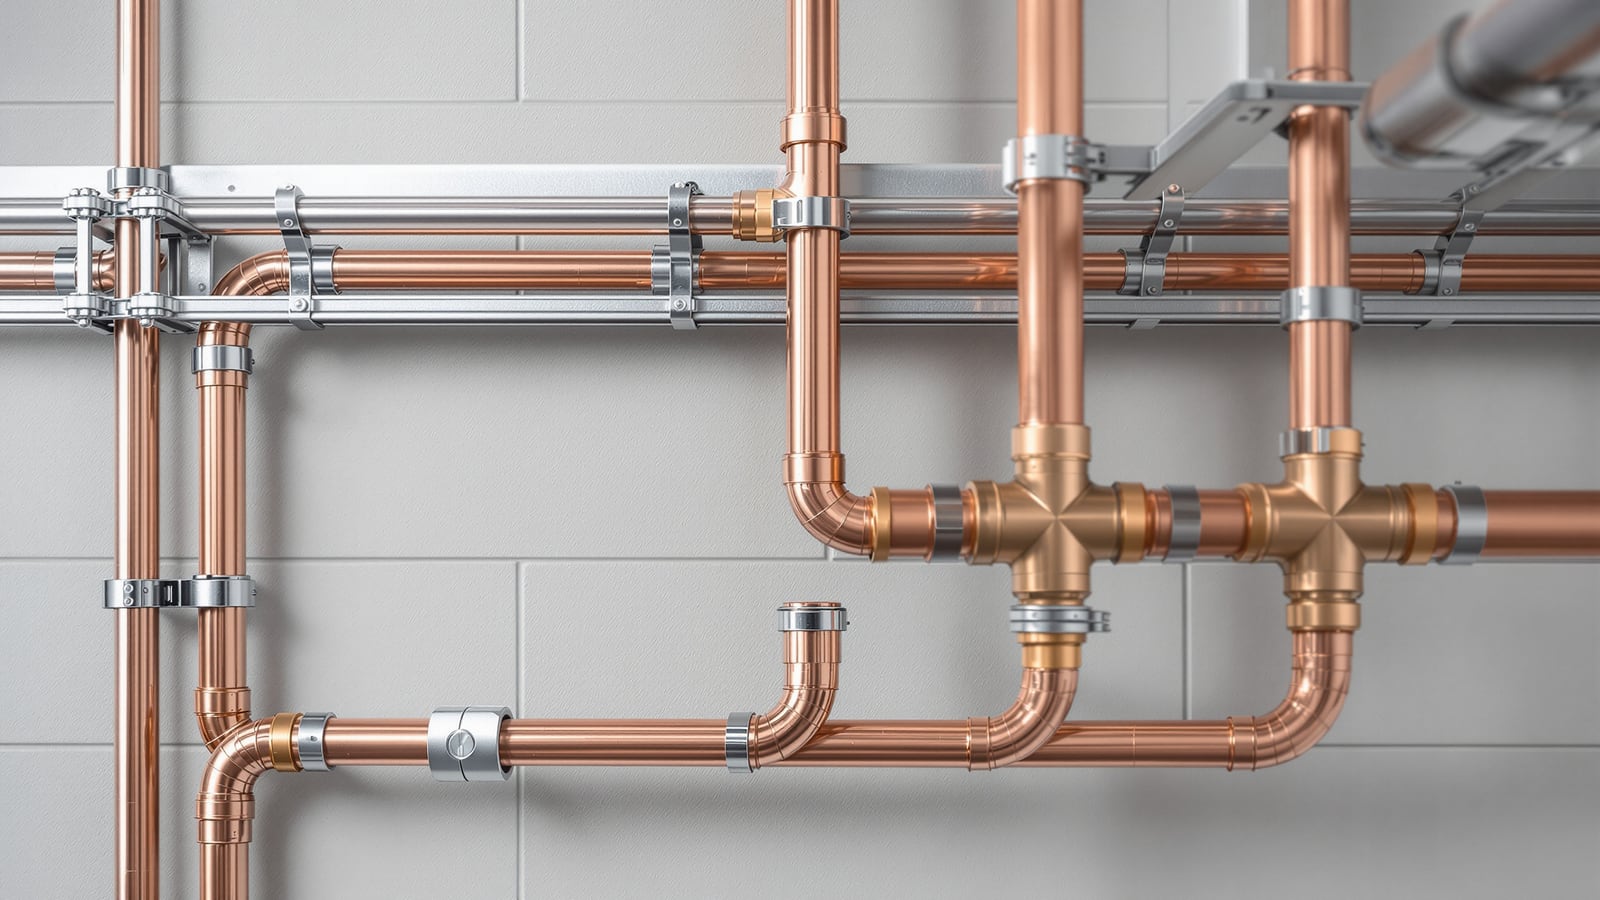
Exposed Plumbing in India: How to Run Surface-Mounted Pipes Neatly
Surface-mounted plumbing clamps pipes to the wall face instead of burying them in a chase — the honest, serviceable way to route water in retrofits, terraces, utility areas and industrial spaces. How to align, clamp, protect and even style exposed pipe runs in Indian homes.
Not every pipe belongs inside a wall. Exposed plumbing — pipe run on the face of the wall and held with clamps — is the older, more honest way of moving water, and in a lot of Indian situations it is still the smarter one. You can see it, reach it and fix it without breaking a single tile. This is a standalone how-to within the Studio Matrx plumbing pipes hub: where surface-mounted pipe makes sense, and how to make it look deliberate rather than accidental.
If your question is really "should I bury it or leave it out?", that is a separate decision — read the head-to-head concealed vs exposed plumbing comparison and the concealed plumbing installation guide. This page assumes you have already decided to run pipe on the surface, and focuses on doing it well.
What "exposed" actually means
Exposed or surface-mounted plumbing means the pipe travels along the outside of a finished wall, ceiling or column, fixed at intervals with clamps, saddles or brackets, rather than being chased into a groove and plastered over. The pipe stays visible and fully accessible for its whole life.
The material rarely changes — you still use the same CPVC for hot and cold supply, UPVC or PVC for drainage, GI or copper where you want metal. What changes is how the pipe is held, and that support detail is the whole craft. For a deeper look at brackets, saddles and hangers, see the pipe supports guide.
Where exposed plumbing makes sense
- Retrofits and renovations. Adding a line to a finished, tiled or painted wall? Cutting a chase means demolition, dust, re-tiling and a week of mess. A surface run adds the same pipe in an afternoon with zero wall damage.
- Terraces, roofs and overhead tanks. Pipe feeding or draining a terrace tank is outdoors anyway — there is nothing to conceal it in, so it runs exposed on the parapet or slab.
- Utility and service areas. Wash areas, pump rooms, shafts, garages, staircases and the back of the kitchen platform are working spaces where access beats looks.
- Industrial and commercial spaces. Factories, warehouses and workshops run everything exposed on purpose so a valve or joint can be reached instantly.
- Anywhere you value easy repair. A joint you can see is a joint you can fix. No leak-detection guesswork, no breaking a wall to reach a weeping elbow.
The single honest advantage of exposed plumbing: a fault is visible the day it starts, and reachable the same hour. Concealed pipe hides the problem until the wall is already wet.
Routing and alignment: make it look intentional
The difference between "professional" and "afterthought" is almost entirely geometry. Water does not care whether the run is straight; your eye does.
- Run pipes truly horizontal and vertical. Snap a chalk line or use a spirit level before fixing a single clamp. A run that drifts even 10 mm over 2 m reads as sloppy.
- Keep parallel runs at constant spacing. Hot and cold together, drainage below supply, gas separate. A uniform gap (say 40–60 mm centre to centre) between parallel pipes looks engineered.
- Turn corners at fittings, not by bending. Use proper elbows for clean right angles. Avoid heat-bent or strained pipe on a visible run.
- Hug internal corners and skirting lines. Route along the junction of wall and floor, or wall and ceiling, so the pipe sits in a natural line rather than marooned mid-wall.
- Group the mess. Where several pipes fan out to fixtures, bring them down in one tidy bank rather than scattered singles.

Clamp and support spacing
The most common failure of an exposed run is sag — supports set too far apart, so the pipe droops between them, joints take strain and the whole line looks tired. Plastic pipe needs more support than metal because it is more flexible and softens in heat, and horizontal runs need closer support than vertical ones. Treat the figures below as indicative site practice; always follow the pipe maker's published support table for the exact grade and diameter.
| Pipe type & size | Horizontal support spacing | Vertical support spacing | Notes |
|---|---|---|---|
| CPVC / UPVC 15–25 mm | 600–900 mm | 1,200–1,500 mm | Cold water; halve spacing on hot lines |
| CPVC hot water 15–25 mm | 450–600 mm | 900–1,200 mm | Warm pipe expands and softens — support closer |
| PVC / UPVC drainage 75–110 mm | 900–1,200 mm | 1,200–1,800 mm | Support at every socket and change of direction |
| GI / copper 15–25 mm | 1,800–2,400 mm | 2,400–3,000 mm | Rigid metal spans further between clamps |

Additional support rules that matter more than the raw numbers:
- Clamp within 150–300 mm of every fitting — elbows, tees, valves and tap connections carry the load and the twisting force.
- Support every branch and every change of direction. A bend without a nearby clamp will walk over time.
- Fix into solid substrate. Use nylon or steel expansion plugs into brick or concrete, not into plaster alone. A clamp that pulls out is worse than no clamp.
- Leave room for expansion on hot lines. CPVC and copper grow with heat — do not clamp so rigidly on long hot runs that the pipe has nowhere to move; use clips that allow slight axial slide where the maker specifies.
Protecting exposed pipe from sun and knocks
The price of visibility is that the pipe is out in the world. Two enemies dominate in India: UV from the sun and physical impact at low level.
- UV degradation. Unprotected CPVC, PVC and PPR go chalky and brittle after years of direct Indian sun, especially on terraces and south or west walls. Either use pipe rated and pigmented for outdoor UV exposure, or paint plastic runs with a UV-stable exterior acrylic (a light colour also runs cooler). Metal pipe shrugs off UV but GI will rust outdoors unless painted.
- Impact and abrasion. Any pipe below about knee height — in garages, passages, wash areas — gets kicked, knocked by cycles, and caught by furniture. Route it high where you can, or box the vulnerable stretch in a slim MS or uPVC guard.
- Freezing (hill stations only). In the far north and high hills, an exposed line can freeze in winter. Insulate and, where needed, trace-heat outdoor runs. In most of India this is a non-issue.
- Anti-siphon and vermin. Keep open pipe ends screened and terminate overflow and vent pipes so birds and insects cannot enter.
| Exposure | Risk | Practical protection | Indicative cost |
|---|---|---|---|
| Terrace / roof, full sun | UV embrittlement of plastic | UV-grade pipe or 2 coats exterior acrylic | ₹15–40 per running metre for paint |
| Garage / passage, low level | Impact, abrasion | Route high, or MS guard channel | ₹150–350 per running metre for guard |
| Hot-water run indoors | Heat loss, condensation | 9–13 mm closed-cell foam sleeve | ₹40–90 per running metre |
| Cold pipe on hot terrace | Condensation drip, warm water | 6–9 mm insulation sleeve | ₹30–70 per running metre |
Draining and insulating exposed lines
- Give supply lines a fall to a drain point. Because the pipe is accessible, add a small drain valve or plug at the low point so the run can be emptied before winter repairs or long absences.
- Insulate hot-water runs. An exposed hot line loses heat fast; a 9–13 mm closed-cell foam sleeve keeps water hot to the tap and stops the pipe from burning a passing hand. See the hot water distribution guide for how this fits the wider system.
- Insulate cold lines that sweat. In humid coastal and monsoon conditions a cold pipe on a warm wall drips with condensation and stains the surface below — a thin sleeve stops it.
- Slope drainage correctly. Exposed waste and soil pipe still needs its fall (roughly 1 in 40 to 1 in 60 for 75–110 mm lines); a visible run makes it easy to check the slope with a level and correct it.
Exposed as a feature, not a compromise
Done with intent, exposed plumbing is a look, not a last resort. Polished copper or chrome-plated pipe run in clean parallel banks reads as industrial-chic in kitchens, bar counters, cafés and loft interiors. If you are going to see the pipe, choose a material worth seeing, keep the geometry ruthless, use matching metal clamps, and let it be part of the design language of the room.
The one honest limitation
Exposed pipe is visible and, on primary living-room and bedroom walls, most homeowners still prefer it hidden. That is the whole case for the concealed alternative — pipe chased into the wall and plastered over for a clean finish, at the cost of access. Weigh the two properly in the concealed vs exposed plumbing comparison.
Testing and inspection
- Pressure-test before you love the finish. Cap the ends and hold supply lines at about 1.5 times working pressure for an hour — with exposed pipe you can watch every joint directly, which is a genuine advantage.
- Check every clamp is tight and plumb after the pipe is charged and warm; heat and pressure reveal a lazy fixing.
- Re-inspect annually. Because it is visible, a two-minute walk-past catches a weeping joint, a loose clamp or UV chalking long before it becomes damage.
Code notes
- NBC 2016 Part 9 (Plumbing Services) governs water supply and drainage practice, including support and access; it recognises both concealed and surface-run pipework provided joints remain accessible and lines are properly supported.
- Follow the pipe manufacturer's published support-spacing table for the exact grade, diameter and temperature — it overrides any general rule of thumb, including the indicative figures above.
- Keep supply and drainage separated and supported per the relevant Indian Standards for the pipe material you use; verify current editions locally before you fix anything permanently.
References
- National Building Code of India 2016, Part 9 — Plumbing Services
- Bureau of Indian Standards — product and installation standards for CPVC, UPVC, PVC, GI and copper plumbing pipe (verify the current edition for your chosen material)
- Pipe manufacturer's installation and support-spacing literature for the specific grade and diameter used
Export this guide
Related Guides — Deep-dive reading
Concealed Plumbing in India: Chasing, Fixing & Pressure-Testing In-Wall Pipes
How in-wall concealed plumbing is really done in Indian homes — chasing pipes into walls and floors without cutting structure, fixing and spacing them in the chase, the pressure test you must never skip, and marking routes so you can find them again.
PlumbingPipe Supports, Clamps & Hangers in India: Spacing, Fixing & Anti-Vibration
The clamps, clevis hangers, riser clamps and channel brackets that hold a plumbing system in place — why support spacing matters, how far apart to fix pipe by material and size, how to support risers versus horizontal runs, how to allow for thermal movement, and how to fix into RCC and masonry.
PlumbingBathroom Waterproofing Failure in India: Causes, Diagnosis & Fixes (2026)
Why bathroom waterproofing fails in Indian homes — poor surface prep, thin coats, missed junctions, no membrane turn-up, damage during tiling — how to read the symptoms, and whether a surface fix or a full redo is the right remedy.
BathroomsRelated Tools — Try Free
Plumbing Pressure-Test & Leak Checklist
Pre-closure pressure and leak test — 9 categories, 60+ checkpoints across water supply, drainage, fixtures, waterproofing, hot water, tanks.
Pre-Closure TestMonsoon-Readiness Checklist
Pre-rain home audit across 9 categories — terrace, drains, waterproofing, electrical, HVAC, pest, vehicles, documents.
Seasonal AuditFull-Room BOQ — Living, Bedroom, Kitchen, Bath
Room-wise BOQ across living, bedrooms, kitchen, utility, and bathrooms with line-item pricing.
Full-Room BOQ