
Bathroom Waterproofing Failure in India: Causes, Diagnosis & Fixes (2026)
Why bathroom waterproofing fails in Indian homes — poor surface prep, thin coats, missed junctions, no membrane turn-up, damage during tiling — how to read the symptoms, and whether a surface fix or a full redo is the right remedy.
Waterproofing rarely fails because water is clever. It fails because a specific detail was skipped, rushed or damaged — and water, given years and gravity, finds every one of them. A bathroom that leaks into the room below is not usually the victim of a mysterious defect; it is the predictable result of thin coats, a missed junction, or a membrane that was never turned up the wall. The good news is that the failure modes are a short, well-known list. Once you can name them, you can both diagnose an existing leak and stop the next bathroom from repeating the same mistake.
This guide is India-first. It assumes a health-faucet at the WC spraying the wall daily, hard water that scales and etches, monsoon humidity that never lets a wall dry out, and an apartment slab you share with the neighbour below — the person who will knock on your door when the ceiling stains. If you are building or renovating rather than diagnosing, start with the bathroom waterproofing guide for India for how to do it right, and read the site-wide waterproofing failures explained guide for the physics that applies to every wet area. This page stays bathroom-specific: why bathroom membranes fail, and how to read the evidence.
Water never leaks where it appears. The stain is where gravity let it stop; the failure is somewhere uphill. Diagnose the path, not the patch.
Why bathroom waterproofing fails: the short list
Almost every bathroom waterproofing failure traces back to one of seven causes. Learn these and you can inspect any bathroom — new or old — and know where to look first.
| # | Cause | What actually happens | Where it shows up |
|---|---|---|---|
| 1 | Poor surface preparation | Membrane applied over dust, laitance, oil or a damp screed; it never bonds and peels back as a sheet | Random damp patches, membrane lifting when tiles are removed |
| 2 | Thin or uneven coats | One thin pass instead of two full coats at the specified wet-film thickness; pinholes remain | Slow, diffuse seepage over a wide area |
| 3 | Missed junctions | Floor-to-wall corners, pipe penetrations and the drain collar left uncoated or unreinforced | Sharp, repeatable leak tracking a specific pipe or corner |
| 4 | No membrane turn-up | Waterproofing stops at floor level instead of running 150–300 mm up every wall (and higher in the shower) | Damp low on the wall outside, salt bloom at skirting |
| 5 | Damaged during tiling | Tile spacers, screed barrows or a trowel puncture the cured membrane before it is protected | Leak that appears months after a perfect ponding test |
| 6 | Wrong product for the substrate | A rigid coating on a flexing slab, or a cementitious coat where a flexible acrylic/PU was needed | Cracks reopening along the same line each season |
| 7 | No ponding test | Nobody flooded the floor for 24–72 hours before tiling, so a defect shipped hidden under the tiles | Discovered only after the ceiling below stains |
Notice how many of these are workmanship, not material. Indian sites routinely buy a good branded membrane (Dr. Fixit, Fosroc, Pidilite/Fevicol, Asian Paints SmartCare) and then defeat it with a one-coat, no-turn-up, no-test application. The product on the tin is almost never the problem.
The junctions do the leaking
If you remember one thing: the flat field of the floor rarely fails. Water finds the edges — the floor-to-wall corner, the pipe sleeve, the drain collar, the door threshold. These are the points that move, that are hardest to coat, and that get the least attention. A proper job reinforces every one with a fibreglass or non-woven fillet band bedded into the wet membrane, and turns the coating up the wall past the highest splash line. A failed job treats corners as if they were floor.
Reading the symptoms: what the leak is telling you
You usually meet a waterproofing failure through a symptom, not a defect. The trick is to read the symptom back to its cause. Different failures leave different signatures.
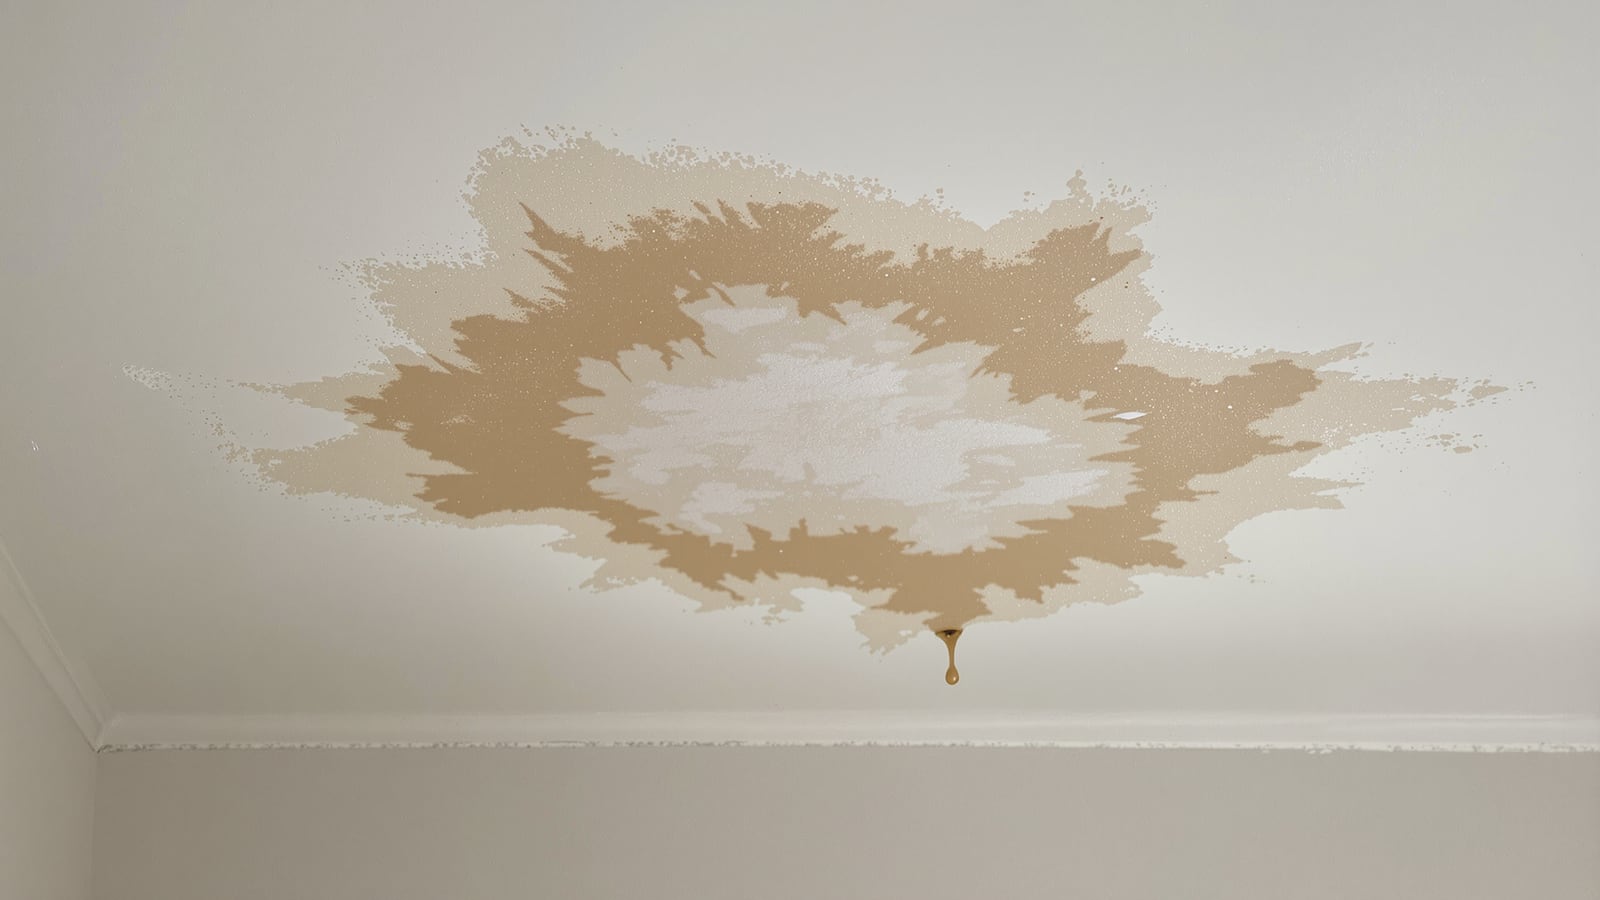
- Damp patch on the ceiling below — the classic apartment leak. A slow-growing brown ring on the neighbour's ceiling (or your own, from the flat above) means water has passed the floor membrane and reached the slab. Its position rarely sits under the source; water tracks along the slab to the lowest point before it drips.
- Efflorescence (white salt bloom) — chalky white crystals on tile grout, skirting or the wall outside the bathroom. This is dissolved salts left behind as water evaporates through the surface. It is proof that water is moving through the assembly, even if you see no drip. Common at the base of a shared wall where a turn-up is missing.
- Peeling paint or bubbling plaster on the wall backing the shower, or on the outside face of a bathroom wall. Trapped moisture pushes the paint film off. Follow the peel to its highest point — the leak is at or above it.
- Loose or drummy tiles that sound hollow when tapped, or grout that stays perpetually dark. The bed behind them is saturated because the membrane under the tiles has failed.
- Musty smell with no visible water — moisture inside the wall cavity or under the floor bed, not yet surfaced. Often the earliest sign.
Trace the path, then confirm it
Symptoms tell you a leak exists; they do not, by themselves, name the defect. Confirm with a ponding (flood) test: block the drain, flood the floor 25–40 mm deep, mark the level, and watch for 24–72 hours. If the level drops and the ceiling below darkens, the floor field or a floor junction is failing. If ponding holds but the wall outside the shower still goes damp, the failure is a wall coating or a missing turn-up, not the floor. A moisture meter and, on bigger jobs, a thermal camera help pinpoint the wet zone before you break a single tile. This staged approach is covered in the bathroom waterproofing inspection guide; pair it with the habits in the bathroom leak prevention guide so the repaired bathroom does not fail again.
Remedy: surface fix or full redo?
This is the decision that decides your budget. The honest answer depends on whether the failure is localised (one junction, one penetration) or systemic (thin coats, no turn-up, wrong product — the whole membrane is unreliable).
| Surface / localised fix | Full redo (strip & re-tank) | |
|---|---|---|
| When it is right | A single identifiable defect — one cracked grout line, one pipe collar, a failed silicone seal — with a sound membrane elsewhere | Diffuse leakage, multiple symptoms, no ponding test on record, or a bathroom over 12–15 years old |
| Typical scope | Rake and re-grout, epoxy grout at junctions, fresh silicone, injection grouting a crack, a brush coat over one corner | Remove tiles and screed, repair slab, apply two full coats of membrane with turn-ups and fillets, ponding test, re-screed, re-tile |
| Downtime | 1–3 days | 7–15 days |
| Indicative cost (per bathroom) | ₹3,000–₹25,000 | ₹35,000–₹1,20,000+ depending on size, tile grade and slab repair |
| Risk | Low cost, but only works if the diagnosis is exactly right; masks a systemic failure if it is not | High cost and disruption, but resets the clock with a warranty |
| Warranty | Usually none, or a few months on the sealant | Reputable applicators offer 5–10 years on a full system |
A few honest rules from the field:
- Never chase a systemic failure with sealant. If the bathroom never had a turn-up or a ponding test, sealing the grout buys you a season, not a decade. You will pay twice.
- Injection grouting (PU/acrylic) into the slab can stop an active drip from below without opening the floor — genuinely useful for a shared slab where you cannot access the bathroom above. But it treats the crack, not the missing membrane; treat it as a stopgap unless the failure is truly a single crack.
- Match the product to the movement. A slab that flexes or a crack that reopens each season needs a flexible acrylic or polyurethane membrane, not a rigid cementitious slurry. Rule 6 in the table above is one of the most common repeat-failure causes.
- A full redo is the moment to fix everything. While the floor is open, correct the fall to the drain, add the turn-ups, upgrade the drain, and do the ponding test you never had. If you are already this deep, fold it into the wider bathroom renovation guide planning rather than treating it as an isolated patch.
The test that would have prevented all of this
Every failure in this guide would have been caught by a 72-hour ponding test before tiling — the single cheapest insurance in the whole build, and the one most often skipped to save a few days. If you take nothing else away: no bathroom floor should ever be tiled until it has held a flood of water overnight with no drop in level and no stain below. Demand it in writing, watch it happen, and photograph the marked water level. It is the difference between a bathroom that lasts twenty years and one that knocks on the neighbour's door in two.
References
- National Building Code of India (NBC) 2016, Part 9 (Plumbing Services) — wet-area drainage, floor gradient and slope-to-drain requirements.
- IS 1172 — Code of basic requirements for water supply, drainage and sanitation.
- IS 2645 — Integral cement waterproofing compounds, specification.
- IS 13182 / relevant BIS guidance on protective and waterproofing coatings for concrete surfaces.
- CPWD Specifications and CPWD guidance on waterproofing treatments for roofs, toilets and wet areas.
- Bureau of Indian Standards (BIS) product standards for polymer-modified and cementitious waterproofing membranes.
Export this guide
Related Guides — Deep-dive reading
Bathroom Leak Prevention India: Detailing the Junctions That Stop Water Reaching the Flat Below
Bathroom leaks almost never come from a broken pipe — they come from a badly detailed junction. Here is how to get the wall-floor corner, pipe penetrations, floor trap, nahani trap and door threshold right, plus the flood test that catches a leak before you tile.
BathroomsRoof Leak Diagnosis & Repair
The homeowner's most common roofing crisis, calmly explained — how to read the signs (stains, damp, efflorescence, peeling paint, drips, a musty smell), why the leak is almost never right above the stain, where roofs actually leak, how leaks are traced, and the honest line between what you can safely check yourself and what needs a professional. India-grounded, monsoon-tested.
RoofingShower Niche India: Building a Recessed Wall Shelf That Holds Shampoo Without Ever Leaking
A shower niche is a shelf you carve into the wall instead of screwing onto it. Done right it is invisible and dry for decades; done wrong it is the single most common source of seepage into the room behind. Here is how to size it, which wall you may cut, and how to waterproof, slope and tile the recess so it never leaks.
BathroomsRelated Tools — Try Free
Bathroom Drainage Pipe Calculator
Recommended drain and waste pipe sizes, slopes and stack size for a bathroom's fixtures — indicative IS 1172 / NBC plumbing practice.
Bathroom CalculatorBathroom Renovation Cost Calculator
Cost to renovate an existing bathroom with a replace-vs-keep model — demolition, re-waterproofing, tiles, fittings and the money saved by keeping items.
Bathroom CalculatorBathroom Sealant Calculator
How many tubes of silicone sealant a bathroom needs and the cost — by joints to seal, lengths and bead size, with an anti-fungal note.
Bathroom Calculator