
Door Dragging on Floor? Causes & DIY Fix (India 2026)
Why your door scrapes the floor and how to tighten hinges, shim, or plane the bottom edge for a clean, smooth swing again.
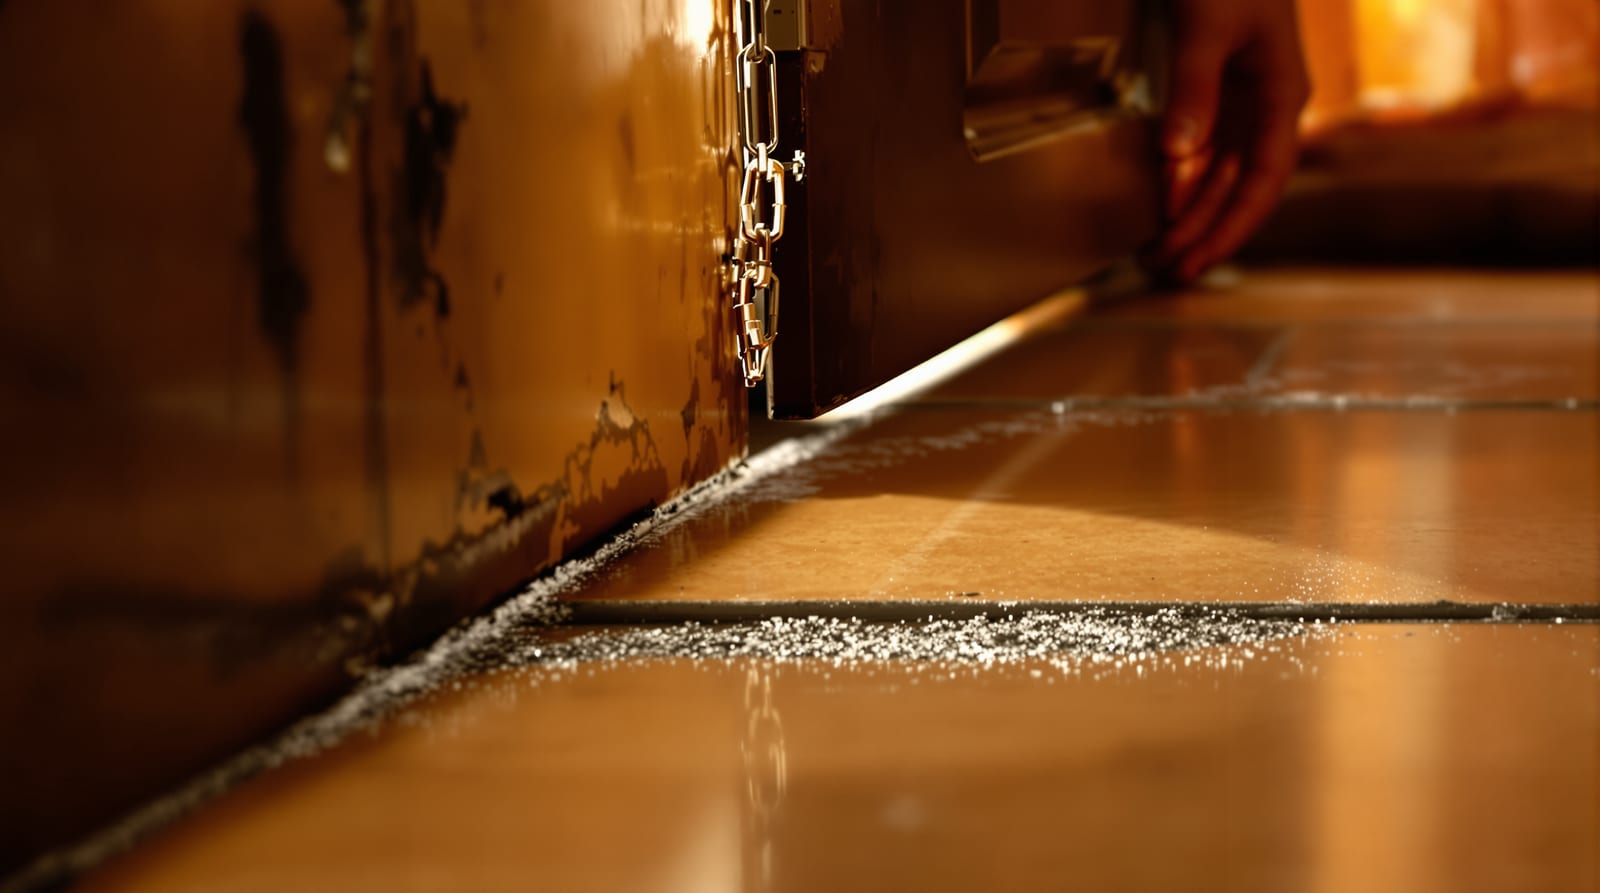
That low scraping sound when you open the bedroom door, the curved scuff worn into your tiles, the door you have to lift slightly to shut — a door dragging on floor is one of the most common faults Indian homeowners face, and one of the most fixable. In most cases you do not need a new door. You need to work out why the bottom edge is now catching, because the right repair depends entirely on the cause: a hinge that has sagged is fixed very differently from a door that swelled in the monsoon, or one where a tiler added 12mm of vitrified tile underneath last summer.
This guide walks you through diagnosing the cause, then every fix from the five-minute screwdriver job to planing the bottom edge and resealing it — and where DIY ends and a carpenter should take over.
A door dragging on floor: find the cause first
Before touching a screwdriver, open the door slowly and watch the gap along the bottom. Where it catches tells you the cause.
- Catches on the latch side (away from hinges), worse near the bottom corner — classic hinge sag. The leaf has dropped on the hinge side and the far bottom corner swings low.
- Drags evenly all the way across the bottom — something has changed the floor or the whole leaf: new tiles/flooring/carpet added, or the frame has settled.
- Only catches in the rains, fine in summer — the bottom edge has swollen with moisture (very common with flush and wooden doors in coastal and high-humidity India).
- Drags AND you can see a soft, dark, crumbly bottom edge — water damage or rot; this may need more than a trim.
| Symptom | Likely cause | First fix to try |
|---|---|---|
| Far bottom corner scrapes, gap wider at top | Sagged / loose hinges | Tighten or relocate hinge screws |
| Loose screws spin in the hole | Stripped screw holes in frame | Toothpick/dowel plug or longer screws |
| Even scrape across whole bottom | New flooring or tiles added | Plane bottom edge / raise on hinges |
| Worse only in monsoon | Swollen bottom edge | Dry out, then light plane + seal |
| Soft, dark, spongy bottom | Water rot / borer | Cut out & patch, or replace leaf |
| Door also rubs the frame sides | Frame settled / out of square | See door rubbing frame |
Not sure which it is? Our door problem diagnoser walks you through it in a minute, and the broader door troubleshooting hub covers neighbouring faults.
Tools & materials you'll need
Most of these you may already own. Buy as the fix demands.
- Phillips and flat screwdrivers (a cordless screwdriver helps)
- A handful of longer wood screws (50–75mm), spare hinge screws
- Matchsticks/toothpicks or hardwood dowel + wood glue (for stripped holes)
- Thin cardboard or metal shim, or a folded business card
- A pencil and a long straightedge or spirit level
- Hand plane or a sanding block / orbital sander with 80–120 grit
- Masking tape, wood filler/putty
- Sealer: PU/melamine polish, or primer + enamel paint to match
- Candle wax or silicone spray (to ease a tight edge temporarily)
- A helper, or wedges to hold the door steady
| Tool / material | Indicative ₹ (India 2026) | Needed for |
|---|---|---|
| Screwdriver set | ₹150–600 | All fixes |
| Longer wood screws (pack) | ₹50–150 | Hinge re-screw |
| Hardwood dowel + glue | ₹100–250 | Stripped holes |
| Hand plane | ₹400–1,200 | Planing bottom |
| Orbital sander | ₹1,800–4,000 | Planing/finishing |
| Sandpaper assortment | ₹100–250 | Finishing edge |
| PU/melamine polish or enamel (small) | ₹150–500 | Resealing edge |
| Wood filler | ₹80–250 | Patching |
GST of 18% applies to these goods. A carpenter for the whole job runs ₹300–800 for a visit/plane, or ₹800–1,500 for a full day if several doors are involved (metros higher, tier-2 cheaper).
Fix 1 — Tighten or relocate the hinge screws (start here)
Difficulty: easy. Time: 10–30 minutes. Cost: ₹0–150. A surprising number of dragging doors are simply hanging on loose top-hinge screws — as they loosen, the leaf pivots and the far bottom corner drops.
1. Open the door fully and slip a wedge or folded card under the latch-side corner to take the weight off the hinges.
2. Starting at the top hinge, drive each screw firmly. If a screw just spins and never bites, the hole is stripped — go to step 4.
3. Test the swing. Often the corner now clears. If not, repeat on the middle and bottom hinges.
4. For a stripped hole: push 2–3 glued toothpicks or matchsticks (or a hardwood dowel) into the hole, snap flush, let it set, then re-drive into fresh wood. See stripped hinge screw fix.
5. Best for a sagging leaf: replace one frame-side screw in the top hinge with a longer 50–75mm screw that bites into the solid frame timber. This single trick pulls the leaf up and cures many drags. More in fix loose door hinges.
If the screws are fine but the door still sags, the hinge itself may be bent or worn — see door hinge replacement and the deeper fix sagging door guide.
Fix 2 — Raise the door on its hinges with a shim
Difficulty: easy–moderate. Time: 20–40 minutes. Cost: ₹0–50. If the whole bottom drags evenly — usually because new tile or flooring was added — you can lift the leaf a few millimetres by shimming behind the hinges.
1. Wedge the door open and unscrew the bottom hinge leaf from the frame (not the door side).
2. Cut a thin shim — cardboard, a folded business card, or a thin metal washer — the size of the hinge mortise.
3. Place it behind the hinge against the frame, then re-screw the hinge over it. This pushes the bottom of the door slightly toward the latch side and lifts the bottom corner.
4. For more lift across the whole door, shim all hinges equally. Test after each change.
This buys 2–4mm — enough for a fresh layer of tiles or a new mat. For more, you will need to plane (Fix 3).
Fix 3 — Mark, trim and plane the bottom edge cleanly
Difficulty: moderate. Time: 1–2 hours. Cost: ₹0–300 DIY; ₹300–800 carpenter. The proper fix when the door is too tall — swollen, or sitting over new flooring — and shimming is not enough. Take your time: you cannot put wood back.
Step-by-step
1. Mark the cut. With the door hung, slide a coin or spacer (say 6–10mm) along the floor and trace a pencil line along its top across the door. This follows the actual floor, which is rarely level. Aim for a 6–10mm gap (more with a thick mat).
2. Lift the door off its hinges (knock out the pins, or unscrew the door-side leaves) and lay it across two stools or trestles.
3. Apply masking tape just below the line on both faces — this stops the veneer or laminate chipping as you cut.
4. Remove the wood. For 1–3mm, a hand plane or sanding block does it. For more, saw to a straightedge then finish to the line with the plane, working from each end toward the middle. Important: flush and hollow-core doors have only a narrow solid strip at the bottom — never plane past it or you expose the core; see flush doors for how the leaf is built.
5. Check the swing, rehang, and shave a touch more only if needed.
6. Reseal the raw edge (next section) — do not skip it.
For a door swollen by humidity rather than too tall, let it dry out for a few dry days first, lightly plane only the swollen high spots, then seal — details in fix swollen door monsoon.
Fix 4 — Reseal the trimmed edge (never skip this)
A freshly planed bottom edge is bare, thirsty timber. In Indian humidity it will drink up moisture, swell, and drag again within a monsoon if left unsealed — so always reseal.
1. Sand the cut edge smooth with 120-grit, wipe off dust.
2. Fill any small gaps or the exposed core (on flush doors) with wood filler; sand flush when dry.
3. Apply two coats of PU/melamine polish, or primer + enamel to match the door, letting each dry. Coat the very bottom face too — this is the most exposed surface and most ignored.
4. Rehang once fully dry.
The finishing approach mirrors a full refinish; door polishing & refinishing and wooden door maintenance go deeper on sealers.
Clearances at a glance
Aim for roughly 2–3mm at the top and sides and 6–10mm at the bottom (a touch more over a thick mat or carpet). You can sanity-check yours with the door gap & clearance checker.
When to stop and call a carpenter
DIY is right for sagged hinges, shimming, and a modest plane-and-seal. Stop and call a professional when:
- The bottom edge is soft, dark, spongy or crumbling — that is rot or borer, not just height. See door bottom rot repair and door borer & fungus treatment; a badly rotted leaf often needs replacing, not fixing.
- The door is visibly warped and twists against the floor — trimming will not cure a warp; see warped door fix.
- The frame has settled or gone out of square, or there are cracks in the wall above — that is a building issue.
- It is a glass, automatic or sensor door — isolate power first and call the supplier; never plane these.
If you are weighing repair against a new leaf (₹3,000–6,000 for a flush leaf alone), the repair vs replace door calculator helps, and the complete door guide covers replacement end to end.
Frequently asked questions
Why does my door drag only during the monsoon?
The bottom edge has absorbed moisture and swollen — common in humid and coastal India with unsealed flush and wooden doors. Let it dry over a few dry days, lightly plane only the high spots, then seal the edge. An unsealed cut will swell again next year.
A tiler added new floor tiles and now the door scrapes. What's the cheapest fix?
First try raising the leaf 2–4mm by shimming behind the hinges (almost free). If the new floor is thicker than that, you will need to plane the bottom edge down by the tile thickness and reseal it. A carpenter typically charges ₹300–800 for a plane-and-rehang visit.
How much should I trim off the bottom of the door?
Leave a 6–10mm gap above the finished floor — enough to clear unevenness and a mat, but not so much that you lose privacy, sound or draught control. Mark the line with a spacer slid along the actual floor, since floors are rarely level. Never plane into the hollow core of a flush door.
Can I fix a dragging door without taking it off its hinges?
Yes for the easy fixes — tightening hinge screws and shimming work with the door hung. But to plane the bottom edge properly and avoid chipping, lift the leaf off and work on trestles.
My hinge screws just spin and won't tighten — now what?
The screw holes are stripped. Push 2–3 glued toothpicks or a hardwood dowel into the hole, let it set, then re-drive the screw into fresh wood. Using one longer 50–75mm screw in the top hinge to reach the frame timber also pulls a sagging door back up. Full method in fix loose door hinges.
Is a dragging door a sign of a structural problem?
Usually no — it is almost always hinges, swelling or new flooring. But if several doors and windows start sticking at once, or you see fresh cracks above the frame, the building may be settling, which is worth a professional look.
Export this guide
Related Guides — Deep-dive reading
Door Not Closing Properly? Fix It Step-by-Step (India 2026)
A clear decision tree for a door that won't shut — latch, hinge-bind, swelling, sag, warp or a moved frame — with DIY fixes and ₹ costs.
Home Doors & EntrancesDoor Repair Guide India: Fix Holes, Dents, Swelling, Hinges & Locks (2026)
A fix-it reference for Indian homes: every common door problem with a quick fix, a proper repair, a replace verdict, the materials needed, and indicative rupee costs.
Home Doors & EntrancesHow to Fix a Sagging Door in India: Diagnose, Tighten, Shim & Plane
A step-by-step repair sequence to fix a door that droops, binds on the frame, or won't latch — from a free five-minute screw fix to a last-resort plane.
Home Doors & EntrancesRelated Tools — Try Free
Window Maintenance Cost Calculator
Estimate annual window upkeep by frame material — yearly, per-window and 5-year cost.
Window CalculatorDoor Paint Calculator
Estimate paint and primer litres and cost to paint your doors by size, number of doors, coats and paint type.
Door CalculatorDoor Problem Diagnoser
Tell us the symptom and get the likely cause, the fix, DIY difficulty and indicative cost for any door fault.
Diagnostic Tool