
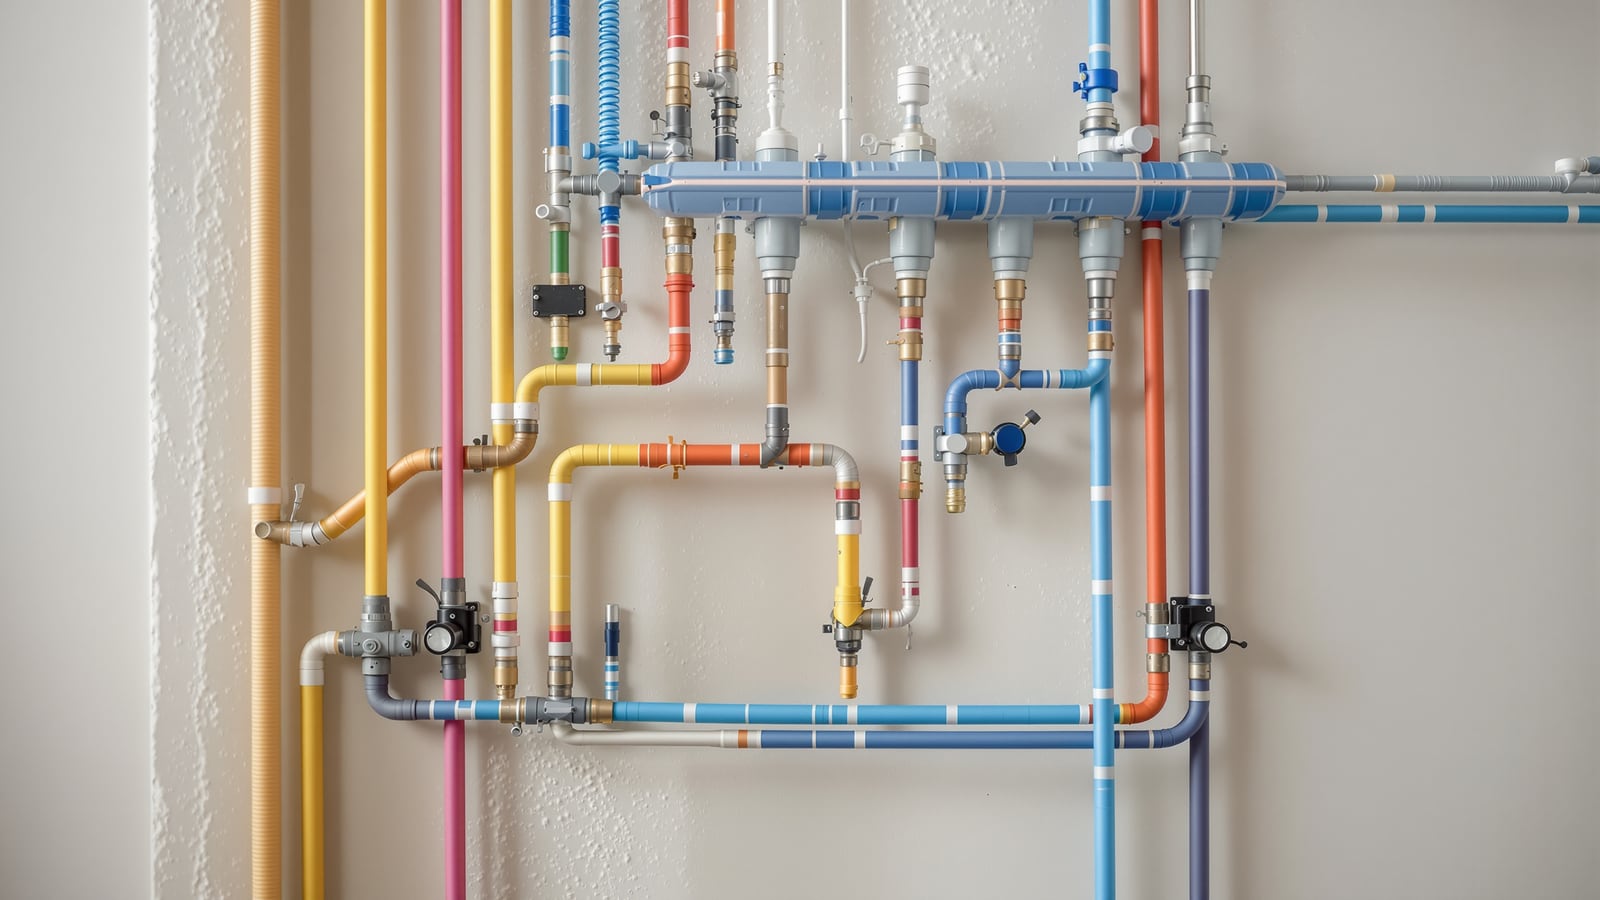
Domestic Water Distribution in India: Piping Cold Water to Every Fixture
How water travels from the overhead tank or pump to every tap, shower and cistern in an Indian home — trunk-and-branch versus manifold layouts, pipe sizing by simultaneous demand, pressure balancing across floors, isolation valves per wet area, and how to kill water hammer.
Getting water into a home is only half the job. The other half — quiet, hidden and easy to get wrong — is domestic water distribution: the network of pipes that carries that water from the overhead tank or pump to every tap, shower, cistern and washing-machine point in the house. Get this layout right and every fixture runs strongly even when three are open at once; get it wrong and someone's shower dies each time a tap opens downstairs.
This guide sits inside the Studio Matrx Plumbing Knowledge Hub. It covers the cold-water distribution network and the general internal layout. How water actually enters the home — sump, pump and tank — is the water supply systems guide; the hot-water side, which runs as its own parallel network, is a sibling covered in the hot-water distribution guide.
A distribution layout is a set of trade-offs between pipe, pressure and control. More pipe and more valves cost money up front but buy you steady pressure and the ability to isolate one bathroom without shutting the house. This guide is about spending that money in the right places.
The two ways to lay it out
Almost every home distribution network is one of two shapes — or a blend of both.
- Trunk-and-branch. A single fat "trunk" main runs from the tank down-take, and each fixture taps off it through a tee as the trunk passes by. It is the traditional, cheapest and most common layout in India: least pipe, fewest fittings. Its weakness is pressure interaction — because fixtures share the same trunk, opening one drops the pressure at the others. Flush a WC and the shower on the same branch loses flow for a moment.
- Manifold ("home-run"). A central manifold — a small distribution block near the tank or entry point — feeds a separate, dedicated pipe straight to each fixture, like spokes from a hub. Every outlet gets its own supply, so fixtures barely affect one another and each line can be shut at the manifold. It uses more pipe (usually flexible PEX or CPVC) but gives the most stable pressure and the cleanest isolation. In India it is still the premium choice, common in high-end apartments and villas.
A very common practical answer is a hybrid: a manifold per wet area (one for the kitchen, one per bathroom) fed by a trunk, so each room is isolatable and internally balanced without running dozens of long pipes back to a single block.
Sizing pipes by simultaneous demand
The single biggest distribution mistake is sizing a pipe for one fixture when in reality several run at once. A pipe wide enough for a single tap chokes the moment a shower and a cistern join it. Plumbers handle this with fixture units — a weighting given to each fixture that reflects both its flow rate and how often it is used — and then apply a diversity (simultaneous demand) factor, because in a home not every tap is ever open together.
For sizing, the design demand is planned around India's standard figure of about 135 litres per person per day (lpcd) for a fully plumbed home, per CPHEEO guidance, but the pipe diameter is driven by the peak simultaneous flow, not the daily total. The practical logic:
- Add up the fixture units on a given run.
- Apply a diversity factor — a bathroom's basin, WC and shower are rarely all wide open together, so you size for perhaps 60–70% of their combined flow, not 100%.
- Pick the pipe size that carries that peak flow at a sensible velocity (roughly 1–2 m/s; faster than about 2.4 m/s invites noise and erosion).
Indicative internal sizing for CPVC or UPVC cold-water lines in an Indian home:
| Pipe run | Typical size (mm) | What it serves |
|---|---|---|
| Tank down-take / house main | 32 mm | The whole house or a full floor |
| Floor / wet-area distribution | 25 mm | Feeds one bathroom + kitchen group |
| Branch feeding 2–3 fixtures | 20 mm | Shower + basin on one wall |
| Single fixture connection | 15 mm | One tap, WC cistern or basin |
A rough fixture-unit-to-pipe guide many Indian plumbers work to:
| Load on the run | Approx. fixture units | Suggested pipe size |
|---|---|---|
| One basin or WC cistern | 1–2 FU | 15 mm |
| A single bathroom group | 3–6 FU | 20 mm |
| Two bathrooms + kitchen | 7–14 FU | 25 mm |
| Whole small house main | 15+ FU | 32 mm |
The governing rule: size the trunk for the peak simultaneous flow, and the branches for the fixtures actually on them. A 25 mm floor line dropping to 15 mm branches, off a 32 mm main, comfortably runs a two-bathroom Indian floor.
Pressure balancing across floors and fixtures
In a gravity-fed home the pressure at any fixture depends on how far it sits below the tank's water surface — roughly 0.1 bar per metre of head — so the top floor is always weakest and the ground floor strongest. (That physics is the gravity-fed system guide; a pumped alternative is the pressurised system guide.) Distribution design cannot add head, but a good layout stops the available head from being wasted or from swinging wildly between fixtures.
Three balancing techniques carry most homes:
- Keep the trunk generous and the branches short. Most pressure is lost to friction in long, thin, over-branched pipe. A fat, short trunk holds pressure high right up to the point where each branch peels off, so every fixture starts from nearly the same pressure.
- Balance the weak floors deliberately. Up-size the down-take and top-floor branches by one step (they have the least head to spare), and reserve the pressure-hungry fixtures — rain showers, instant geysers — for lower floors or give them a dedicated booster.
- Protect the shower from pressure swings. The classic "someone flushed and my shower went cold/scalding" problem is a distribution failure: a cistern filling steals pressure from the shower's cold line. A pressure-balancing or thermostatic mixer, plus giving the shower its own 20 mm branch rather than teeing it off a busy line, fixes it. This matters even more on the hot side — see the hot-water distribution guide.
For planning a whole new home's distribution from scratch — routing, wet-wall grouping and stack layout — work through the plumbing planning guide for new homes.
Isolation valves: control where it counts
The difference between a professionally distributed home and an amateur one is often just valves. Without them, a leaking tap washer or a bathroom renovation means shutting the whole house — and in a joint-family Indian home, that is a real problem.
- A house isolation valve on the main down-take, so the whole supply can be cut in seconds.
- A branch/floor valve where each floor or wing tees off, so one floor can be worked on while the rest run.
- A wet-area valve per bathroom and for the kitchen, ideally in an accessible position (not buried behind tile), so one room is isolatable.
- Stop-cocks (angle valves) at each fixture — every tap, WC cistern and appliance point. These are the small chrome valves under a basin; they let you change a washer or a mixer without touching anything else.
A manifold layout gives you most of this for free: every home-run pipe can be shut at the manifold with a labelled valve. With trunk-and-branch you add the valves deliberately. Either way, the golden rule is every wet area isolatable without shutting the house, and every fixture isolatable without shutting the room. Pipe materials and jointing for these runs are covered in the forthcoming plumbing pipes guide, and valve types in the forthcoming plumbing valves guide.
Two supply-side cross-links worth knowing: if the home runs a dual-supply setup feeding cisterns with treated water, that flushing network is separate from this fresh-water distribution — see treated water for toilet flushing and home greywater recycling.
Minimising runs and pressure loss
Every metre of pipe, every elbow and every part-open valve is a small pressure tax. On a low-head gravity floor there is little to spare, so an efficient layout pays off directly at the tap.
- Group the wet areas. Placing kitchen, bathrooms and utility on a shared wet wall or stacked vertically keeps pipe runs short and lets fixtures share a fat trunk instead of long thin spurs.
- Prefer sweeps over sharp bends. Two 45° bends or a long-radius elbow lose far less pressure than a hard 90°. Fewer fittings overall means less friction and fewer future leak points.
- Do not under-size to save cost. The pipe is a tiny fraction of a build budget; a run one size too thin is a permanent, un-fixable pressure loss buried in the wall.
Avoiding water hammer
Water hammer is that bang in the pipes when a tap or an appliance solenoid (washing machine, dishwasher, some mixers) shuts fast. Moving water has momentum; stop it suddenly and the pressure spike hammers the pipe, loosening joints and fittings over time.
- Fit air chambers or arrestors at fast-closing points — especially washing-machine and dishwasher supply points, which slam shut electrically.
- Keep velocity sensible. Under-sized, fast-flowing pipe (over ~2.4 m/s) hammers harder. Correct sizing is itself hammer prevention.
- Anchor the pipes. Loose pipe in a wall or ceiling amplifies the bang. Proper clips at regular spacing let the pipe absorb the shock quietly.
- Choose quarter-turn valves thoughtfully. Ceramic-disc taps and lever valves close fast and are common culprits at the fixture; an arrestor on that branch tames them.
Putting it together
A well-distributed Indian home follows a simple hierarchy: a 32 mm main off the tank with a house valve, 25 mm lines to each floor and wet-area group each with its own isolation valve, 20 mm branches to grouped fixtures, and 15 mm tails to single outlets — with stop-cocks at every fixture and arrestors wherever a valve slams shut. Choose trunk-and-branch to save cost, manifolds where pressure stability and isolation matter most, and a hybrid for the best of both.
Whatever you build, have the pipe sizes, valve positions and fixture pressures checked by a licensed plumber against NBC 2016 Part 9 and your local municipal bye-laws before anything is chased into the wall. Distribution is the one part of the plumbing you cannot easily fix later.
References
- National Building Code of India (NBC) 2016, Part 9 — Plumbing Services — water supply, distribution, pipe sizing and pressure requirements.
- CPHEEO Manual on Water Supply and Treatment, Ministry of Housing and Urban Affairs — per-capita demand (lpcd) and distribution design.
- IS 1172 — Code of basic requirements for water supply, drainage and sanitation.
- IS 12183 — Code of practice for plumbing in multistorey buildings (water supply).
Figures here are indicative for planning. Verify pipe sizes, valve layout and fixture pressures locally with a licensed plumber and your municipal bye-laws before building.
Export this guide
Related Guides — Deep-dive reading
Bathroom Water Supply India: Cold & Hot Feed, Pipe Sizing, Pressure & Booster Pumps (2026)
How water actually reaches your fixtures in an Indian home — gravity-fed cold from the overhead tank, hot from the geyser, the pipe sizes that decide whether your shower gushes or dribbles, isolation valves at every fixture, booster pumps and hard-water protection, all mapped to IS 1172.
BathroomsWater Supply Systems in India: How Water Reaches Every Tap in Your Home
The complete map of how water gets into an Indian home and out to every fixture — the sources it comes from, the sump-pump-overhead-tank storage model that buffers intermittent supply, how gravity and pressurised distribution differ, and the demand figures that size the whole thing.
PlumbingLow-Rise Plumbing Systems in India: Houses, Villas & Buildings up to 4 Storeys
How plumbing is organised for independent houses, villas and low-rise buildings up to about four storeys — the simple overhead-tank gravity model, when a small booster is still worth adding, single- versus multi-floor distribution, and the simpler stack and venting a low building can get away with.
PlumbingRelated Tools — Try Free
Before vs After — Cost Reality Check
Compare what you expected to pay vs what you actually paid, category by category.
Reality CheckApartment vs Villa Interior Planning Guide
Compare ceiling height, structural flexibility, lighting, storage, and services between apartments and villas.
Planning GuidePlumbing Pressure-Test & Leak Checklist
Pre-closure pressure and leak test — 9 categories, 60+ checkpoints across water supply, drainage, fixtures, waterproofing, hot water, tanks.
Pre-Closure Test