
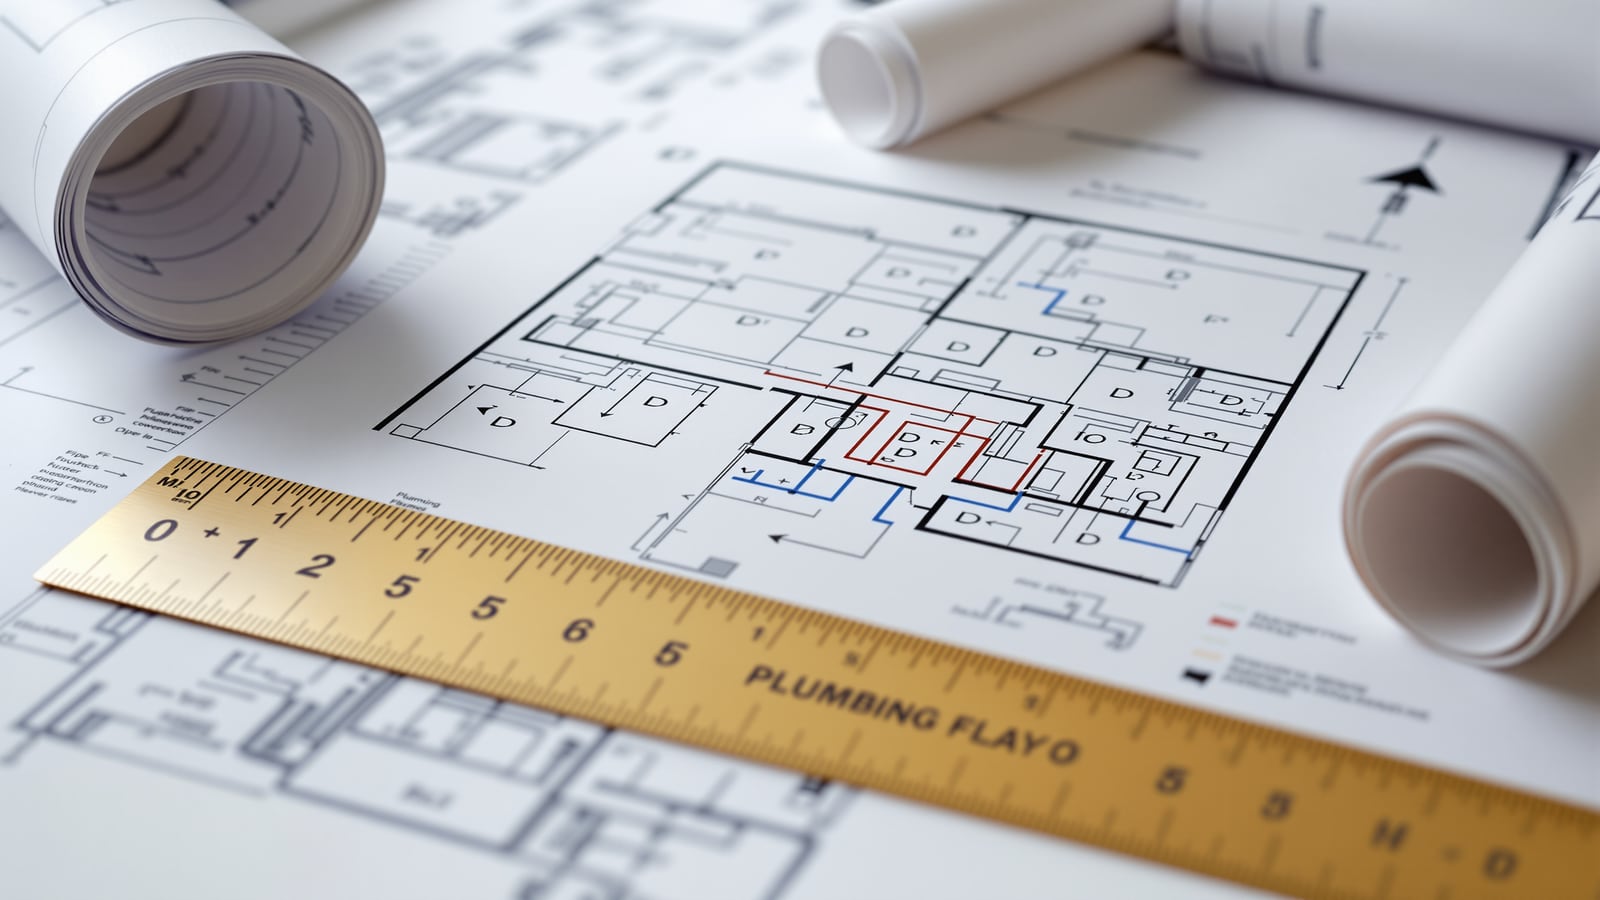
Plumbing Planning for New Homes in India: The Complete Pre-Construction Guide
How to plan a home's plumbing at the design stage — layout, service shafts, pipe routing, tank sizing and future-proofing — before a single wall is cast.
Plumbing is the one building service you cannot easily change once the concrete is poured. A tap can be swapped in ten minutes, but a badly placed shaft, an undersized sump or a bathroom on the wrong side of the house is a lifetime of low pressure, cold-water waits and chipped walls. The cheapest, most powerful moment to get plumbing right is at the drawing-board stage — before a single wall is cast.
This Studio Matrx pillar walks through plumbing planning for new homes in India the way a good consultant would: start with the architecture, group the wet areas, plan the vertical shafts, decide what runs concealed, size your storage, and leave room for the systems you will want in ten years. It is the front door to our Plumbing Knowledge Hub — deep-dive guides on pipes, pumps and water supply branch off from here.
Golden rule: plan plumbing with your architect, not after them. The plumbing layout should influence where walls and bathrooms sit — not fight them once they are fixed.
Why plan plumbing before construction?
On most Indian home sites, plumbing is treated as an afterthought handed to the contractor's plumber during the block-work stage. That is far too late. By then the wall positions, floor levels and sunshade slabs are frozen, and the plumber is left chasing pipes through whatever gaps remain.
Planning early buys you four things:
- Shorter pipe runs — less material, less pressure loss, faster hot water and lower cost.
- Sane vertical routing — pipes drop cleanly through shafts instead of zig-zagging across slabs.
- Access for the future — valves, cleanouts and meters end up where a human can reach them.
- Fewer leaks — every joint and every bend is a potential failure; a planned layout has fewer of both.
A rough industry thumb-rule: plumbing is only 4–6% of a home's construction cost, but a plumbing failure — a leaking concealed line inside a shear wall — can cost many times that to trace and repair. Planning is the highest-leverage rupee you spend.
Step 1 — Coordinate with the architect at design stage
Plumbing planning is a conversation between three drawings: the architectural plan, the structural drawing (beams, slabs, shear walls) and the plumbing layout. When these are drawn together, problems surface on paper where they cost nothing to fix.
Bring these decisions to the architect before the plan is frozen:
1. Where do the wet areas sit? Bathrooms, kitchen, utility/wash area, and any pooja-area tap should cluster — ideally stacking floor-to-floor.
2. Where is the overhead tank, and where is the sump? These fix the two ends of your whole-house water route.
3. Where do the vertical shafts run? One or two shafts should serve every wet area on every floor.
4. Where does the municipal line enter, and where does drainage leave to the sewer, septic tank or STP?
For the layout of the bathrooms themselves — fixture positions, WC-to-wall distances, shower zones — hand off to our dedicated Bathrooms hub: see the Bathroom Plumbing Guide and Bathroom Design Guide. This plumbing hub owns the pipes between the wet areas, not the fittings inside them.
Step 2 — Layout principles: group wet areas, minimise pipe runs
Two principles carry most of the value in a good plumbing layout:
1. Group the wet areas. Every space that needs water or drainage — bathrooms, kitchen, utility/laundry, wash area — should sit close together in plan, and ideally stack vertically floor over floor. When the first-floor bathroom sits directly above the ground-floor bathroom, one shaft serves both and the drop is a straight vertical line. Scatter them across the plan and you multiply pipe length, slab-crossings and leak points.
2. Minimise and straighten pipe runs. Long runs lose pressure, waste water while you wait for it to heat, and cost more. Keep the pump-to-tank rising main direct; keep hot-water lines from the geyser to the shower as short as possible. Every 90° bend adds friction — prefer sweeping bends and fewer of them.
A "back-to-back" wet-wall — where a bathroom and kitchen (or two bathrooms) share a single common wall carrying the pipes — is the most economical arrangement in Indian homes and should be the default target.
| Layout decision | Poorly planned | Well planned |
|---|---|---|
| Wet-area position | Scattered across plan | Grouped, stacked floor-to-floor |
| Bathrooms upper/lower | Offset, each needs own shaft | Stacked over one shaft |
| Kitchen vs bathroom | Opposite ends of house | Back-to-back on a wet wall |
| Geyser to shower run | 6–10 m, long cold-water wait | Under 2–3 m, near-instant hot |
| Rising main to tank | Indirect, many bends | Straight vertical through shaft |
Step 3 — Service shafts and ducts
A service shaft (or plumbing duct) is a dedicated vertical void that carries pipes from floor to floor. Planning even one properly is the single biggest upgrade over the typical Indian practice of burying everything in slabs and walls.
Why a shaft beats fully-concealed pipes:
- Access. A pipe in a shaft can be inspected, isolated at a valve, and replaced without breaking a wall.
- Grouping. Water supply, hot-water, drainage and vent stacks all ride the same vertical route.
- Sound and condensation. Draining stacks are noisy and cold pipes sweat; a shaft keeps both out of habitable walls.
Practical shaft guidance (indicative — confirm with your consultant):
- Give a shaft serving one or two bathrooms a clear internal size of at least about 450 mm x 600 mm; larger for multi-fixture stacks.
- Keep the soil/drainage stack and vent stack in the shaft, with the water-supply lines alongside.
- Provide an access panel or removable louvre door at each floor so valves and cleanouts stay reachable.
- Never route a drainage stack through a bedroom or living wall; keep it in the shaft or an external duct.
Step 4 — Pipe routing: concealed vs exposed at a glance
Indian homes almost universally run water-supply lines concealed in walls for a clean finish. That is fine for supply lines — but drainage, and anything you will want to service, benefits from being accessible. Decide routing line-by-line, not as a blanket rule.
| Line type | Default routing | Why |
|---|---|---|
| Cold & hot water supply | Concealed in wall (in shaft near fixtures) | Clean finish; pressurised lines rarely serviced |
| Soil / waste drainage | In shaft or external, sloped | Needs slope, cleanouts, access; noisy |
| Vent stack | In shaft, up through roof | Must terminate in open air |
| Rising main (pump to OHT) | In shaft / external | High-flow, benefits from a valve at each end |
| Rainwater downpipes | External or dedicated duct | High volume, easy to inspect |
| RO / softener / future lines | Exposed or in accessible duct | You will modify these later |
Two rules keep concealed work safe: pressure-test every concealed line before plastering (typically hold water pressure well above working pressure for a set period and check for any drop), and photograph every wall with pipes in it before it is closed. Those photos are gold when you later want to hang a mirror or trace a leak.
Step 5 — Water storage: sizing the sump and overhead tank
Almost every Indian home stores water twice: an underground sump fed by the erratic municipal/borewell supply, and an overhead tank (OHT) pumped up from the sump to feed fixtures by gravity. Sizing both correctly at planning stage decides whether you ever run dry.
The starting figure is domestic demand of ~135 litres per capita per day (lpcd), the standard used in CPHEEO planning for a house with full plumbing. For a family of four that is roughly 540 litres/day of active use.
| Household size | Daily use at 135 lpcd | Overhead tank (about 1 day) | Sump (about 2–3 days buffer) |
|---|---|---|---|
| 2 people | ~270 L | 500 L | 1,000 L |
| 4 people | ~540 L | 1,000 L | 1,500–2,000 L |
| 6 people | ~810 L | 1,000–1,500 L | 2,000–3,000 L |
| 8 people | ~1,080 L | 1,500–2,000 L | 3,000–4,000 L |
Sizing principles:
- OHT ≈ one day of demand. Bigger tanks stagnate water and stress the roof slab; the OHT is a buffer, not a reservoir.
- Sump ≈ two to three days, sized to your local supply reliability. Where water arrives on alternate days, err larger.
- Placement of the OHT drives pressure. Each metre of height gives roughly 0.1 bar of static pressure. A tank 6–7 m above a ground-floor shower gives a workable ~0.6–0.7 bar; on the top floor, fixtures too close under the tank get weak flow and may need a pressure pump or booster.
- Structural load. Water weighs 1 kg/litre — a full 1,000 L tank plus its own weight is over a tonne. Tell the structural engineer the tank size and position at design stage so the slab and supports are designed for it.
- Keep tanks accessible and cleanable, with an overflow, a washout, and a lid that seals against contamination and mosquitoes.
For how the incoming municipal/borewell supply, meters and distribution actually connect up, see our forthcoming Water Supply Systems Guide. For pipe material and diameter selection across the house, see the forthcoming Plumbing Pipes Guide.
Step 6 — Future-proofing: plan for what you don't have yet
The cheapest time to add a provision is when the walls are open. Leave these hooks even if you will not use them on day one:
- Spare tap points and stub connections in the kitchen, utility and each bathroom — for a future dishwasher, washing machine, bidet spray or garden tap. A capped stub costs almost nothing now.
- RO / water-softener provision. Leave a dedicated point and drain near the kitchen sink for an under-counter RO, and — if your area has hard water — a softener loop on the incoming line with a bypass. This is domestic drinking-water treatment, which this plumbing hub owns.
- Solar water heater lines. Even if you install an electric geyser first, run inlet and outlet pipes up to the roof near the tank so a solar water heater can be added later without chasing new lines up the wall.
- Smart-metering and leak-sensor provision. Leave a straight, accessible pipe length near the main inlet where a smart water meter or shut-off valve can be fitted, and a conduit/power point beside it.
- Rainwater harvesting readiness. Plan roof downpipes and a recharge pit or storage tank now — retrofitting harvesting is far harder. See our forthcoming Rainwater Harvesting Guide.
- Greywater and sewage belong to the STP hub — if you want to reuse bath and wash water, plan the separate drainage now and read Home Greywater Recycling Systems and What is a Sewage Treatment Plant. This plumbing hub carries the drainage pipes; the STP hub owns treatment and reuse.
A pre-construction plumbing checklist
Before you approve the plans and start block-work, confirm:
- Wet areas are grouped and, where possible, stacked floor-to-floor.
- At least one dedicated service shaft serves every wet stack, with access panels.
- Sump and OHT positions are marked, sized, and shared with the structural engineer.
- The municipal inlet, meter position and drainage outfall are located.
- Hot-water routes from geyser to shower are short.
- Concealed lines will be pressure-tested and photographed before plastering.
- Spare stubs, RO/softener, solar-heater and smart-meter provisions are drawn in.
- Rainwater downpipes and a recharge/storage point are planned.
Where this fits in the Plumbing Knowledge Hub
This pillar sits above the rest of the hub. From here, go deeper:
- Systems overview — Plumbing Systems Guide for India
- Homes end-to-end — Residential Plumbing Guide
- Buildings & services — Building Plumbing Services Guide
- Bathroom pipe schedule — Bathroom Plumbing Schedule
- Coming next — Water Supply Systems, Plumbing Pipes, and Rainwater Harvesting guides linked above.
Plan it once, on paper, with your architect and a licensed plumber. Everything downstream — pressure, hot-water speed, leak-freedom and the freedom to add tomorrow's systems — is decided in those first few drawings.
Note: figures here (tank sizes, shaft dimensions, pressures) are indicative planning starting points. Always verify against your family's real usage, your local water-supply reliability, local building bye-laws, and the advice of a licensed plumber and your structural engineer.
References
- National Building Code of India 2016 (NBC 2016), Part 9 — Plumbing Services. The national reference for water supply, drainage and sanitation planning in buildings.
- CPHEEO Manual on Water Supply and Treatment, Ministry of Housing and Urban Affairs — source of the ~135 lpcd domestic demand basis and storage guidance.
- CPHEEO Manual on Sewerage and Sewage Treatment — for drainage and sewage planning context (treatment covered by the Studio Matrx STP hub).
- Relevant Bureau of Indian Standards (BIS) codes for pipes and plumbing practice — confirm the current code and edition for your chosen pipe material with your plumber before specifying.
Export this guide
Related Guides — Deep-dive reading
Complete Guide to Residential Plumbing in India: Supply, Drainage, Pumps & Storage
The homeowner-and-architect deep dive into a house's plumbing — how water enters, how cold and hot water reach every tap, how waste and rain leave, and how pumps and tanks tie it all together, sized in real Indian numbers.
PlumbingPlumbing Systems: The Ultimate Guide for Indian Homes & Buildings
The wide-angle pillar for the Studio Matrx Plumbing Knowledge Hub — what plumbing is, the two halves of every system (water supply and drainage/DWV), the whole-house water journey from source to fixture to drain, the main system types, and where conservation, building services and maintenance fit — with links down to every deeper guide.
PlumbingBathroom Planning for New Homes in India: Get It Right Before You Build
The bathroom decisions you cannot undo once the slab is cast — location and stacking, sunken vs non-sunken slabs, waterproofing, and the plumbing, electrical and ventilation you must coordinate with the civil work, stage by stage.
BathroomsRelated Tools — Try Free
Rainwater Tank Sizer
How big should your rainwater tank be? Computes annual harvest, recommended tank capacity in litres, water-bill savings, and payback — for 10 Indian cities.
RWH CalculatorShower Water Flow Calculator
Shower water use per shower, day and month by head type, plus a pressure-adequacy check for your tank height or pump and low-flow savings.
Bathroom CalculatorFull-Room BOQ — Living, Bedroom, Kitchen, Bath
Room-wise BOQ across living, bedrooms, kitchen, utility, and bathrooms with line-item pricing.
Full-Room BOQ