
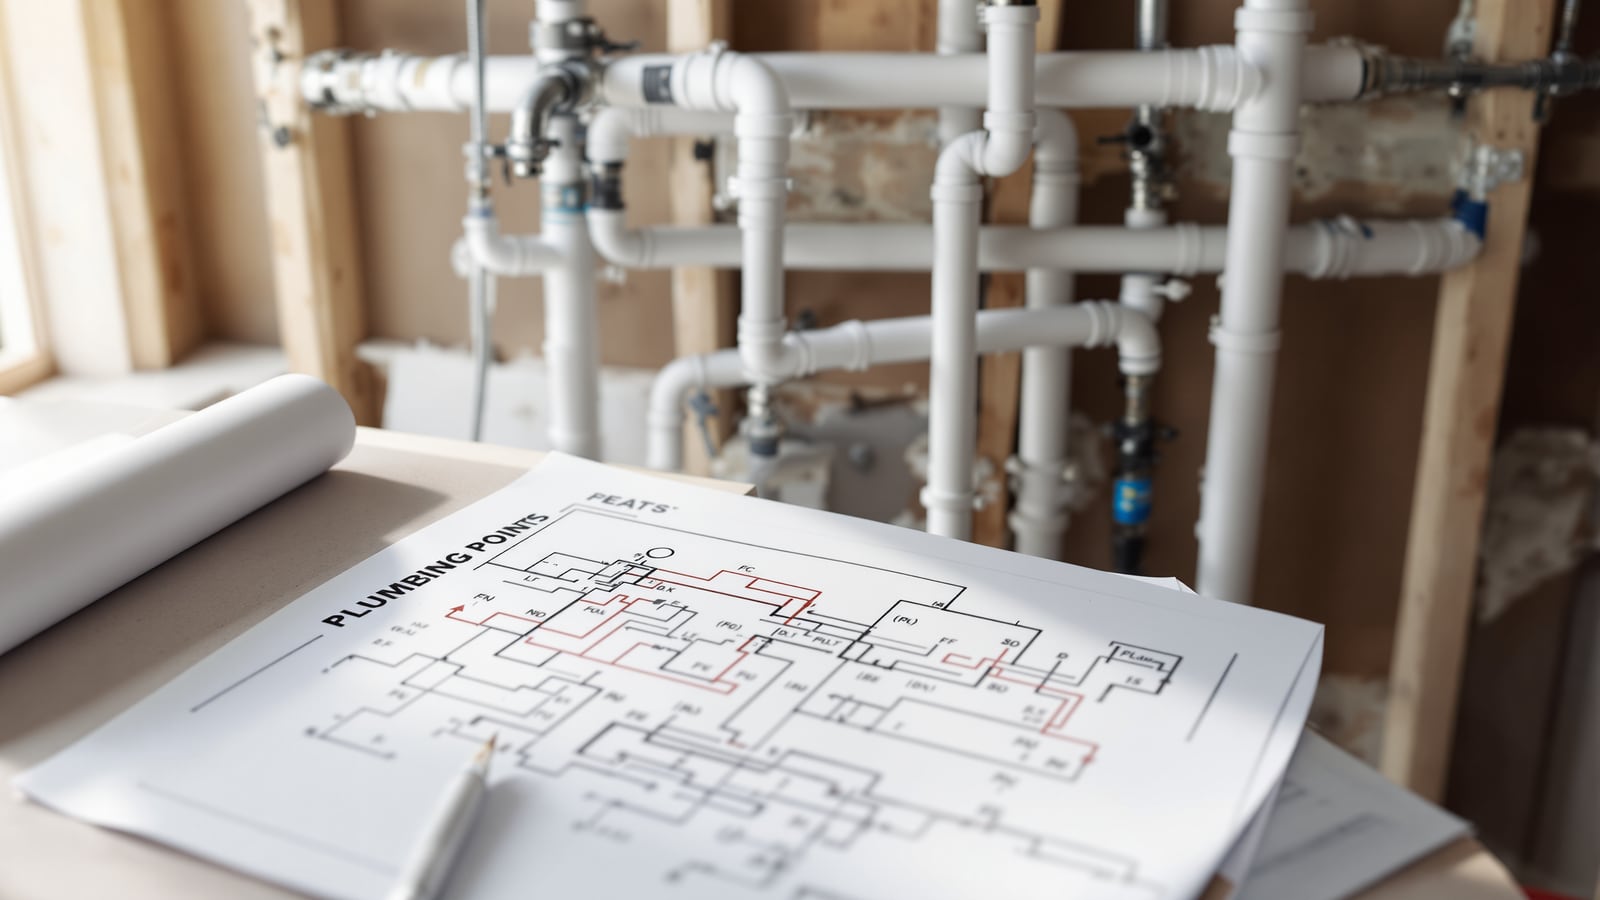
Bathroom Plumbing Schedule (India): Point-by-Point Rough-In Heights & Pipe Sizes
A working bathroom plumbing schedule for Indian projects — every water inlet and outlet point with its rough-in height from finished floor level, CPVC/UPVC pipe size and site notes, so your plumber roughs-in the wall correctly the first time and no fixture lands at the wrong height.
A bathroom is decided at the rough-in stage, not at the showroom. Once the wall is chased, the pipes are set and the tiles go on, the height of every tap, spout and shower is frozen — and a mixer roughed-in 100 mm too low or a basin waste set off-centre becomes a chiselling job that nobody wants to pay for. A bathroom plumbing schedule is the one-page document that stops that: it lists every water point in the room, tells the plumber exactly how high above finished floor level (FFL) to set it, what pipe size to run, and what to watch for. Hand it over before the chasing starts and the wall gets built once, correctly.
This is the companion working document to the complete bathroom plumbing guide for India — that guide explains the why of pipe materials and systems; this one is the what and where you tape to the wall on site. Copy the tables below into your rough-in drawing or BOQ and adapt the rows to your actual layout.
Rough-in heights are to the centre of the point (the stub-out or angle-stop), measured from finished floor level — not the slab. Confirm your tile-plus-bed thickness (typically 30–50 mm) before marking, or every height drifts down by that amount.
How to use this document
The schedule is filled and used at a specific moment. It sits between the design and the wet works:
- Who fills it in — the architect or MEP consultant sets the fixture list; the plumbing contractor confirms heights against the actual sanitaryware cut-sheets before marking the wall.
- When — right after brickwork/blockwork and before the wall is chased and the concealed pipes are laid. This is the last cheap moment to move a point.
- How — for each fixture, read its cut-sheet, transfer the height to this schedule, then mark the wall in chalk. The plumber roughs-in to the marks; the site engineer signs off before concealment.
- Golden rule — always drive heights off the actual fixture you have bought. A wall-hung WC frame, a tall vessel basin or a rain-shower arm each shifts the numbers. The table gives sensible India defaults; the cut-sheet gives the truth.
The plumbing points schedule (copy this table)
This is the deliverable. Each row is one water point. Heights are indicative mid-range defaults for a standard Indian family bathroom with a floor-mounted WC, counter or wall-hung basin, a mixer shower and a storage geyser — adjust to your fixtures.
| Point | Fixture | Hot & cold inlet | Outlet / drain | Rough-in ht from FFL (mm) | Pipe size (CPVC / UPVC) | Notes |
|---|---|---|---|---|---|---|
| P1 | WC (floor-mounted EWC) | Cold only, angle stop | 110 mm soil to P-/S-trap | Inlet 200; soil at floor | 15 mm CPVC in / 110 mm UPVC out | Angle stop 150 mm to one side of pan centre; keep soil run short |
| P2 | Concealed cistern / flush valve | Cold feed to cistern | Flush pipe to pan | Feed 250; actuator plate 1000–1100 | 20 mm CPVC in / 40–50 mm flush | Set frame plumb; leave inspection access to actuator |
| P3 | Health faucet | Cold, angle stop | — | 300 (or 200) | 15 mm CPVC | 200–300 mm to the flush side of the WC, within reach |
| P4 | Wash basin (counter/wall) | Hot + cold angle stops | 32/40 mm bottle-trap waste | Inlets 550; waste 480 | 15 mm CPVC in / 40 mm UPVC out | Inlets 100–150 mm apart, centred on bowl; waste below and central |
| P5 | Shower mixer / diverter | Hot + cold | Floor via P8 | Mixer body 1050; diverter 1100 | 15 mm CPVC (20 mm feeds) | Hot on left, cold on right, 150 mm centres; recess mixer body flush |
| P6 | Overhead shower arm | From diverter | — | 2100 | 15 mm CPVC | 2000–2150 depending on user height and false-ceiling drop |
| P7 | Hand shower / rail elbow | From diverter | — | 1200 | 15 mm CPVC | Slide-rail elbow; keep clear of mixer and grab bar zones |
| P8 | Shower floor trap | — | 75 mm trap + 50 mm waste | At floor, in fall | 75 mm UPVC | Deep-seal trap; floor graded 1:60 toward it |
| P9 | Geyser (storage) | Cold in + hot out nipples | Relief valve drip | 1900–2000 (to nipples) | 20 mm CPVC (15 mm to points) | Isolation valve on cold; safety/relief valve piped to trap |
| P10 | Bath spout / tub filler | Hot + cold | Tub waste + overflow | Spout 150–200 above tub rim | 15–20 mm CPVC / 40 mm UPVC | Only where a bathtub is specified |
| P11 | Washing area / utility tap | Cold (hot optional) | 50 mm floor waste | Bib 900 | 15 mm CPVC / 50 mm UPVC | For washing machine or utility sink; add a floor trap nearby |
| P12 | Floor trap (general) | — | 50–75 mm to stack | At floor, in fall | 50–75 mm UPVC | One per wet zone; deep-seal, gully or bottle type |
Standard rough-in heights (quick reference)
When you do not yet have a cut-sheet, these India-standard defaults keep you safe. All are to the point centre, from FFL, in mm — treat as indicative and confirm against the fixture.
| Point | Standard rough-in height from FFL (mm) | Common range |
|---|---|---|
| WC angle stop (floor-mounted) | 200 | 150–250 |
| Concealed cistern actuator plate | 1050 | 1000–1150 |
| Health faucet angle stop | 300 | 200–350 |
| Wash basin inlets (hot & cold) | 550 | 500–600 |
| Wash basin waste | 480 | 450–520 |
| Basin rim / counter top | 820 | 800–850 |
| Shower mixer / single-lever body | 1050 | 1000–1150 |
| Shower diverter | 1100 | 1050–1200 |
| Hand-shower rail elbow | 1200 | 1150–1300 |
| Overhead shower arm outlet | 2100 | 2000–2150 |
| Geyser inlet & outlet nipples | 1950 | 1800–2050 |
| Bath spout (above tub rim) | +180 | +150 to +200 |
| Washing-area bib tap | 900 | 800–1000 |
Pipe sizes & slope reference
Get the pipe sizing and the drain fall right and the room drains silently and fills at pressure. Undersize a drain or flatten its slope and you buy back-ups and gurgles.
| Line | Typical size | Material | Slope / fall | Serves |
|---|---|---|---|---|
| Fixture supply branch | 15 mm (1/2") | CPVC | — | Individual tap, angle stop, health faucet |
| Distribution / geyser feed | 20 mm (3/4") | CPVC | — | Feeds to shower, geyser, twin points |
| Main bathroom riser / manifold | 25 mm (1") | CPVC | — | Cold/hot main into the bathroom |
| Basin waste | 32–40 mm | UPVC | 1:40 | Basin bottle trap to stack |
| Shower / floor trap waste | 50–75 mm | UPVC | 1:40 to 1:60 | Floor traps, shower gully |
| Washing area / urinal waste | 50 mm | UPVC | 1:40 | Utility drains, floor traps |
| WC soil pipe | 110 mm | UPVC | 1:60 (min ~18 mm/m) | Pan to soil stack |
| Vent / anti-siphon | 40–50 mm | UPVC | vertical | Protects trap seals against siphonage |
Slope rule of thumb: 100–110 mm drains fall at about 1:60 (roughly 18 mm per metre); 40–75 mm wastes at about 1:40 (25 mm per metre). Too flat and solids settle; too steep and water outruns the solids and leaves them behind.
Fill-in template (blank rows to copy)
Drop these headers into your own drawing and add a row per point, per bathroom. Keep one schedule per wet area so nothing is missed.
| Point | Fixture | Inlet (hot/cold) | Outlet size | Ht from FFL (mm) | Pipe size | Verified against cut-sheet? |
|---|---|---|---|---|---|---|
| — | — | — | — | — | — | Y / N |
Common mistakes
- Measuring from the slab, not FFL — forgetting the 30–50 mm of tile and bed drops every point. Always mark from finished floor level.
- Not centring the basin waste and inlets on the actual bowl — a vessel or asymmetric basin shifts the centreline; check the cut-sheet.
- Shower hot and cold reversed — hot is left, cold is right, at 150 mm centres. Fixing this after tiling is brutal.
- Geyser points too low or with no isolation valve — set nipples at 1900–2000 mm and always give the cold feed a shut-off and the relief valve a piped drip route.
- Flat drains — a floor trap laid without fall, or a soil pipe below 1:60, guarantees odour and back-flow. Grade before you conceal.
- Concealing before a pressure test — never bury CPVC that has not held a hydrostatic test. This is non-negotiable.
These figures are indicative starting points for a typical Indian bathroom; actual heights, sizes and falls depend on the fixtures bought, the layout, local municipal bye-laws and the NBC. Verify every point against the real project, the fixture cut-sheets and a licensed plumber before you chase the wall.
Related resources & guides
- Bathroom design checklist (India) — the room-by-room checklist this schedule feeds into.
- Complete bathroom plumbing guide (India) — the systems and materials behind these points.
- Bathroom fixture schedule (India) — the companion fixture list that drives these heights.
- Bathroom plumbing codes (India) — the NBC and IS provisions your rough-in must satisfy.
Export this guide
Related Guides — Deep-dive reading
Bathroom Plumbing India: The Complete Guide to Water Supply, Drainage, Traps & Pipes
The whole plumbing picture for an Indian bathroom in one place — the two systems (cold and hot water supply, and waste/soil drainage with its vented SWV stack), traps and the floor trap, slopes and gradients, concealed vs exposed pipework, pipe materials (CPVC/UPVC/PEX/GI) and the overhead-tank pressure reality — with the coordination that must happen before any civil work starts.
BathroomsConcealed Diverter Faucet India: In-Wall Body, Diverters, Cost & Servicing Guide
In-wall concealed faucets and diverters for Indian bathrooms — how the concealed body buried behind the tiles works with the exposed trim plate and lever, single, two-way and three-way diverters that route water to the overhead rain shower, hand shower and spout, why the hidden brass body is the part that really matters, and how to plan the rough-in before you tile.
BathroomsBathroom Quality Inspection Checklist (India): Stage-Wise ITP with Hold Points & Tolerances
A copy-and-use Inspection & Test Plan (ITP) for Indian bathroom construction — the checks, acceptance criteria, hold and witness points and sign-offs at every stage from rough plumbing to final finish, plus a tolerances sheet and a defect-rating table your site engineer can lift straight into a snag sheet.
BathroomsRelated Tools — Try Free
Material Schedule Generator
Generate a room-wise finish schedule — walls, floors, ceilings, trim, and joinery by location.
Material ScheduleBathroom Drainage Pipe Calculator
Recommended drain and waste pipe sizes, slopes and stack size for a bathroom's fixtures — indicative IS 1172 / NBC plumbing practice.
Bathroom CalculatorPlumbing Pressure-Test & Leak Checklist
Pre-closure pressure and leak test — 9 categories, 60+ checkpoints across water supply, drainage, fixtures, waterproofing, hot water, tanks.
Pre-Closure Test