
How to Buy Floor Tiles in India: The Complete Buyer's Playbook for Size, Spec, Grade, Quote & Delivery (2026)
From deciding size, finish, PEI and water-absorption group for each room to reading the box spec and ISI mark, matching calibre and lot, spotting seconds, and getting an honest all-in quote.
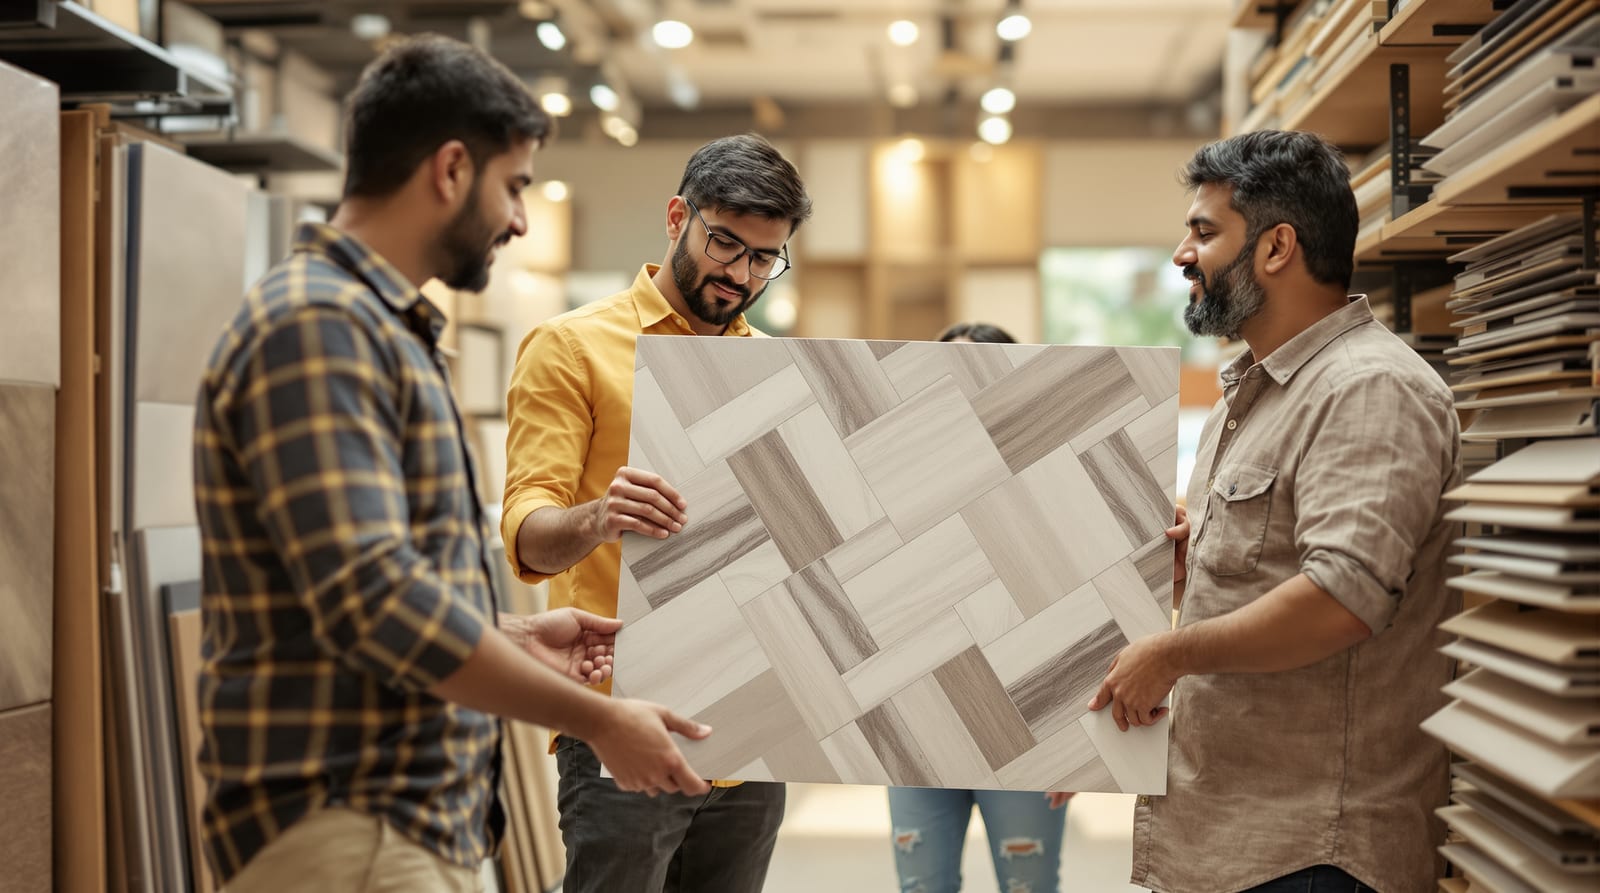
Buying floor tiles in India feels simple in the showroom and turns expensive on site. The tile you fell for under bright halogen lamps can arrive in a different shade, in mismatched sizes that leave you with ridged joints, or as a cheap "seconds" lot that chips within a season. The price the salesman quotes is rarely the price you actually pay once adhesive, laying, skirting, grout, GST and transport are added.
This is the complete buyer's playbook: how to decide the size, finish, wear rating and water-absorption group for each room, how to read the box spec and the ISI mark, how to match calibre, shade and lot, how to spot defects on the floor, and how to pull an honest all-in quote out of a dealer before you pay a rupee.
Step 1: Decide the spec before you fall in love with a design
Most buyers pick a design first and discover the spec is wrong only after laying. Reverse it. Decide the four numbers that actually govern performance, then shortlist designs that meet them.
| Decision | What to choose for an Indian home | Why it matters |
|---|---|---|
| Size | 600x600 or 800x800 mm for halls/bedrooms; 600x1200 or larger for premium look; 300x300 anti-skid for bathrooms; 300x600 for utility/balcony | Bigger tiles mean fewer joints (cleaner look) but need a flatter floor and skilled laying; small tiles suit small rooms and wet areas |
| Finish | Glossy/polished (PGVT) for halls and bedrooms; matte or anti-skid for bathrooms, kitchens, balconies, stairs | Glossy is slippery when wet; matte and anti-skid (R10+) protect against falls in wet zones |
| Wear (PEI) | PEI III for normal home floors; PEI IV for busy living rooms, entries, shops | Under-rated glazed tiles scratch and lose shine in high-traffic areas |
| Water absorption | Group BIa (E ≤ 0.5%, fully vitrified) for floors and wet areas; BIb (≤ 3%) acceptable for general indoor floors; never BIII on a floor | Low absorption equals dense, strong, stain and water resistant; porous bodies crack, stain and pop |
A quick room map: living room and bedrooms want a BIa glossy vitrified tile at PEI III or higher; the kitchen floor wants a matte or anti-skid BIa tile that hides masala splashes; bathrooms and the utility wash area want a small anti-skid BIa tile rated R10 or R11; balconies and terraces want BIa matte rated for outdoor wet use. Our companions on the tile water absorption groups and the PEI rating system explain how to read those two numbers, and the room-by-room picks live in the living room, kitchen and bathroom flooring guides.
Step 2: Read the box and the tile body, not the salesman
Every genuine box of branded tiles carries a printed label. Learn to read it and you instantly separate a real spec from showroom patter.
| Label item | What to look for | Buyer's note |
|---|---|---|
| ISI / BIS mark | The ISI monogram plus the licence number and IS 15622 | Ceramic and vitrified tiles fall under a mandatory Quality Control Order — no ISI mark, no deal |
| Water absorption / group | A percentage and the group (BIa, BIb, etc.) | Confirm it matches the use; "vitrified" with E above 0.5% is really BIb, not porcelain |
| Size and nominal/work size | e.g., 600x600 mm, thickness 8.5-10 mm | Thicker bodies wear better on floors; bathroom tiles can be thinner |
| Calibre | A small code/number (often W, or a number like 1, 2, 3) | All your boxes must be the SAME calibre — see Step 3 |
| Shade / batch / lot | A shade code and a production lot/batch number | All boxes for one room must be ONE shade and ideally one lot |
| PEI / abrasion class | PEI I-V for glazed; abrasion mm3 for double-charged | Demand PEI III+ for floors |
| Pieces per box and coverage | e.g., 4 pcs = 1.44 sq m | Used to compute quantity and wastage |
| Grade | Premium / Standard / Commercial / Economy / Seconds | "Seconds" or "commercial" lots are defective or off-spec — fine for a garage, wrong for the hall |
If a dealer cannot produce a spec sheet or the boxes carry no ISI mark and no batch numbers, treat the price as a warning, not a bargain. The BIS marking guide and the tile testing and quality guide go deeper on what each certification actually guarantees.
Step 3: Calibre, shade and lot — the three words that prevent disasters
These three trade terms cause more on-site grief than any design choice.
Calibre is the actual fired size of a production batch. Tiles shrink slightly and unpredictably in the kiln, so factories sort the output into calibres (a 600x600 tile might fire at 598 or 602 mm). Mix two calibres in one floor and adjacent tiles differ by a millimetre or two — the joints stagger and you get lippage (one tile edge standing proud of its neighbour). Insist that every box for a single room is the SAME calibre.
Shade (or dye-lot) is the colour batch. Even within one design, colour drifts between production runs. Two boxes from different shade lots can look identical in the dim store and reveal a patchwork once laid under daylight. Buy all the tiles for one continuous area from a single shade/lot, and open and dry-lay a few from different boxes before fixing.
Lot/batch is the production run. The safest practice is to buy your whole requirement in one purchase, from one lot, plus spares — because you may never find the same lot again.
Buy ONE lot plus 5-10% spare
Never order your exact floor area. You lose tiles to cutting at walls, to corner and door cuts, to breakage in transit and during laying, and to a few future replacements when one cracks years later.
| Area type | Wastage to add | Reason |
|---|---|---|
| Simple rectangular rooms, straight lay | 5-7% | Edge and door cuts only |
| Diagonal or brick-pattern lay | 10-12% | More cuts at angles |
| Small/irregular rooms, many corners | 10-15% | High cut ratio |
| All areas — keep aside | At least 1 full box | Future replacement from the same lot |
Use the tile quantity calculator to size the order with the right wastage, then round up to whole boxes. Keep your spare box dry and labelled; matching a discontinued lot later is nearly impossible.
Step 4: Inspect for seconds and defects — on the showroom floor
Defective or off-spec tiles are quietly sold as "seconds", "commercial" or "economy" at tempting discounts. They are fine for a store-room or garage, dangerous for your hall. Run these checks before you commit, and again at delivery.
| Check | How to do it | A good tile | A reject |
|---|---|---|---|
| Warp / bow (sight test) | Hold the tile at eye level and sight along its length and diagonal; stand two tiles face-to-face | Flat, faces meet cleanly | Visible curve; faces rock or gap — causes lippage |
| Ring / tap test | Tap the tile in the centre with a coin or knuckle | Clear, high "ting" | Dull, flat thud — a hidden crack or weak body |
| Edge squareness | Place two tiles edge to edge and rotate | Tight, even joint all round | Gaps that open at corners — out of square |
| Surface flaws | Tilt under bright light; run a fingernail across | Even glaze, no pinholes | Pinholes, scratches, glaze blobs, colour specks |
| Shade match | Lay 4-5 tiles from different boxes side by side | Uniform colour | Patchy, banding, visible step in tone |
| Thickness | Stack a few and compare edges | Consistent | Uneven thickness across the batch |
The ring test is the quickest filter at delivery — tap a sample from several boxes; any dull tile goes back. Our dedicated spotting fake tiles guide, the tile grades and sorting guide and the flooring quality inspection guide walk through each defect in more detail, and the flooring quality checklist gives you a printable on-site list.
Step 5: Understand the grade tiers
The same design exists at several grades, and the price gap is the first thing a sharp buyer learns to read.
| Grade | What it is | Sensible use | Buyer caution |
|---|---|---|---|
| Premium | Best output, tight calibre and shade, full warranty | Living areas, anything on show | Pay for it where it shows; check the warranty card |
| Standard | Good output, minor cosmetic variance | Bedrooms, general floors | Fine for most homes |
| Commercial | Looser tolerances, more shade spread | Utility, store, garage | Expect more shade and calibre drift |
| Economy / Seconds | Off-spec, warped, pinholed or chipped lots | Temporary or hidden areas only | Never use in living areas; sold cheap for a reason |
A dealer offering a famous brand at a startling discount is often selling its seconds. That is legitimate for a balcony store-room, a hazard for your hall. Always ask, in writing, which grade you are buying.
Step 6: Get an honest all-in quote and negotiate
The single biggest buyer error is comparing tile sticker prices when the real cost is the installed, all-in rate. Make every dealer quote the same complete line items so you compare like with like.
| Line item | Indicative rate (2026, varies by city/vendor) | Note |
|---|---|---|
| Tile (vitrified, mid-range) | ₹45-90 / sq ft | Premium designs and large formats run higher |
| Tile adhesive | ₹12-30 / sq ft | Mandatory for large-format and over-existing-floor lay |
| Laying labour | ₹20-40 / sq ft tier-2; ₹35-60 / sq ft metros | Diagonal/pattern lay costs more |
| Grouting | ₹3-8 / sq ft | Epoxy grout costs more than cement grout |
| Skirting | ₹25-45 / running ft | Often quoted separately — ask |
| Transport + loading | varies | Distance from dealer/Morbi adds up |
| GST | 18% on tiles, adhesive, grout and labour (works contract) | Insist on a GST invoice |
Indicative figures only; rates vary by city, vendor and brand. Run your own numbers with the flooring cost calculator and the tile adhesive calculator, and see the all-India baseline in the flooring cost guide.
Negotiating tips that work in the Indian tile trade: ask for the dealer rate, not the showroom rate (builders and repeat buyers get 10-25% off MRP); buy direct from the Morbi belt or a large dealer for volume orders; bundle tiles, adhesive and grout for a package rate; ask whether transport is included or extra; and never pay the full amount in advance — a part advance with the balance on delivery and inspection protects you. The Morbi tiles guide explains how India's tile capital sets the base price for the whole country.
Brands and where they sit
Kajaria, Somany, Nitco, Orient Bell and H&R Johnson are the established national brands with reliable QC, wide showroom networks and proper warranties. Simpolo, Varmora and dozens of strong Morbi houses offer excellent value with comparable specs at keener prices. Vitrified surface warranties commonly run 10-15 years — get the warranty card and the GST invoice, because warranty claims need proof of genuine purchase.
Step 7: Delivery, breakage and final acceptance
Your job is not done at payment. Agree the delivery and breakage terms in writing before you order.
1. Confirm the delivery date, who unloads (loading/unloading charges), and where boxes will be stacked (dry, off the ground).
2. Open and check boxes on arrival: verify the brand, design, size, calibre, shade/lot and grade against your bill, and that quantity plus your spare box is complete.
3. Run the ring test on random tiles and sight-check for warp; reject and document any broken or dull tiles immediately.
4. Agree the breakage policy up front — a fair dealer replaces tiles broken in transit; some allow a small breakage percentage, so get it in writing.
5. Keep one sealed spare box, the bill, the warranty card and the spec sheet together for future repairs and any claim.
The flooring buying mistakes guide and the flooring vendor selection guide round out the vendor side, and the GST and billing guide explains why a proper invoice matters for warranty and input credit.
Frequently asked questions
How much extra tile should I buy beyond my floor area?
Add 5-7% wastage for a straight lay in simple rooms, 10-12% for diagonal or pattern lays, and up to 15% for small, irregular rooms with many cuts. On top of that, keep at least one full box aside as future-replacement spare from the same shade lot — matching a discontinued lot later is nearly impossible.
What is calibre, and why must all my boxes match?
Calibre is the actual fired size of a production batch (a 600x600 tile may come out at 598 or 602 mm). Mixing calibres in one floor makes adjacent tiles slightly different sizes, so joints stagger and edges stand proud (lippage). Insist that every box for one room carries the same calibre code.
How do I spot "seconds" or defective tiles?
Sight along the tile for warp, tap it for a dull thud that signals a hidden crack, place two tiles edge to edge to check squareness, tilt under light for pinholes and scratches, and lay several from different boxes side by side for shade match. Seconds are sold cheap as commercial or economy grade and are fine only for hidden or temporary areas.
Which water-absorption group should a floor tile be?
For Indian floors and wet areas, demand Group BIa (water absorption up to 0.5%, fully vitrified/porcelain) for the best strength and stain and water resistance; BIb (up to 3%) is acceptable for general indoor floors. Never lay a BIII wall tile on a floor.
Why is the installed price so much higher than the tile price?
Because the tile is only part of the cost. Adhesive, laying labour, grouting, skirting, transport, loading and 18% GST all add up, often nearly doubling the bare tile rate. Always compare dealers on the complete all-in installed rate per square foot, not the sticker price of the tile alone.
Export this guide
Related Guides — Deep-dive reading
Flooring Buying Mistakes in India: 12 Costly Purchase Errors and How to Avoid Them (2026)
From ordering the exact area with no spare and losing the dye-lot, to mixing calibre, buying seconds for living rooms, skipping the ISI mark, paying full advance and ignoring transport and loading charges, here are the purchase mistakes that quietly inflate a floor's true cost.
Flooring & SurfacesVitrified Tile Flooring in India: Types, Sizes, Cost & Buying Guide (2026)
India's most popular floor decoded — what vitrified really means, the four main types, sizes and finishes, ₹/sq ft costs, laying methods and how it stacks up against ceramic and stone.
Flooring & SurfacesMorbi Tiles Guide: How India's Tile Capital Sets the Price of Your Floor (India 2026)
Why one town in Gujarat makes most of India's ceramic and vitrified tiles, the full range it offers, how to read its quality spread from premium to seconds, and how to buy direct without bringing home a defective lot.
Flooring & SurfacesRelated Tools — Try Free
Flooring Cost Calculator
Estimate the all-in cost of a floor — material, laying, wastage, skirting and GST — by area and material.
Flooring CalculatorTile Quantity Calculator
Work out how many tiles and boxes to buy for a floor, by tile size and area, with wastage and skirting.
Flooring ToolTile Water Absorption Classifier
Classify a tile by its water-absorption percentage into its IS 15622 group and see where it can be used.
Flooring Tool