
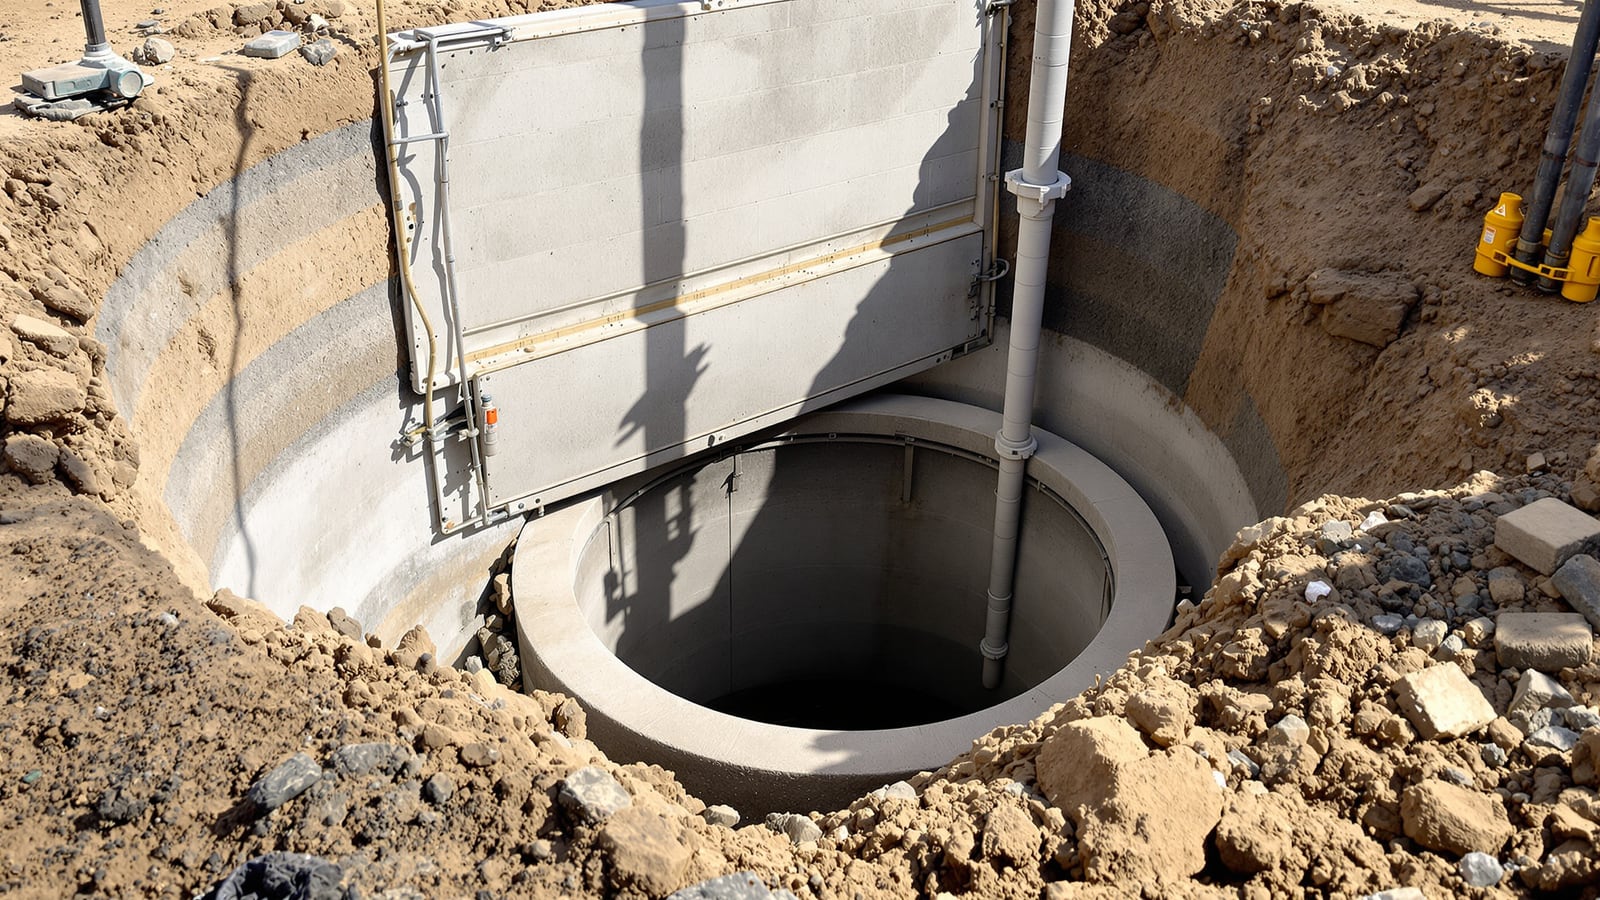
Underground Water Sump Tanks in India: Sizing, Waterproofing and Safe Placement
The below-ground reservoir that catches municipal and borewell water at ground level before a pump lifts it to your overhead tank — how it fits the supply chain, why waterproofing is make-or-break, how big to build it, where to keep it away from the sewer, and how to keep the pump from running dry.
An underground water sump is the buffer tank that sits below ground and catches the water your home receives — from the municipal mains or a borewell — and holds it until a pump lifts it up to the overhead tank on the roof. It is the first reservoir in a typical Indian home's water chain, and because it is buried, it is also the one most people never look at until something goes wrong: the water tastes off, the level drops overnight, or the pump burns out running dry.
This guide sits under the Studio Matrx water storage tanks pillar. It is the ground-level companion to the guide on overhead water tanks, and if you are deciding what to build the sump from, read it alongside RCC water tanks. To understand what fills the sump in the first place, see municipal water supply.
Where the sump fits in the supply chain
Most Indian homes with intermittent supply follow the same three-stage path, and the sump is stage one:
supply (municipal main or borewell) -> underground sump (store at ground level) -> pump lifts up -> overhead tank on roof -> gravity feeds your taps
The reason for two tanks is timing. Municipal water often arrives for only an hour or two a day, at low pressure and at odd hours. You cannot pump that trickle straight to the roof reliably, nor be awake to catch it. The sump solves this: it receives whatever comes, whenever it comes, at ground level where filling is easy. A pump then transfers it — on your schedule — up to the overhead tank, which gravity-feeds the house. The sump is the shock absorber between an unreliable supply and a steady tap.
- Buffer — it absorbs a short, irregular supply window into a full day's steady use.
- Storage — it holds bulk water cheaply at ground level, where a large tank is easy to build.
- Pump feed — it gives the transfer pump a flooded suction, so the pump lifts from a full tank rather than sucking on an empty line.
RCC or plastic: what to build the sump from
A sump is almost always one of two things:
- Cast RCC (reinforced cement concrete) — walls and base cast on site, usually integrated with the building foundation. This is the standard for anything from a modest home upward, because it can be built to any shape and size, sits happily under a driveway or the building footprint, and lasts the life of the house. The catch is that concrete is porous, so it must be waterproofed properly and cured well, or it will weep. See RCC water tanks for the construction detail.
- Plastic (rotational-moulded PE) sump tanks — factory-made, seamless, one-piece tanks buried in a supporting bed. They arrive leak-proof from day one, need no waterproofing, and go in quickly. They suit smaller homes and retrofits, but they need careful backfilling (an empty buried plastic tank can be pushed up or crushed by soil and groundwater), and above a certain size an RCC sump is more economical and less fussy.
For a new house being built anyway, a cast RCC sump under the setback or driveway is usually the default. For a plot where digging is limited or the sump is being added later, a moulded plastic sump can be the cleaner choice.
| Sump type | Typical capacity | Indicative cost | Lifespan | Best for |
|---|---|---|---|---|
| RCC cast sump (small home) | 2,000–5,000 L | ₹35,000–₹70,000 built + waterproofed | 30+ years | New homes; large storage; under driveway |
| RCC cast sump (large / apartment) | 10,000–50,000+ L | quoted by volume | 30+ years | Villas, apartments, high demand |
| Rotational-moulded PE sump | 1,000–5,000 L | ₹12,000–₹45,000 tank + install | 15–20 years | Retrofits, small plots, no waterproofing |
| Brick masonry sump (older) | 2,000–5,000 L | lower upfront, higher risk | 15–25 years | Legacy; prone to leaks, less recommended |
All figures are indicative and vary sharply by city, depth, soil and labour — get a local quote and confirm.
Sizing the sump at a glance
The sump is normally the larger of your two tanks, because it is the bulk buffer while the overhead tank only needs to hold a few hours of use. A common rule of thumb is to size the sump for one to two full days of household demand, so a supply interruption or a maintenance day does not leave you dry.
A quick anchor: Indian planning norms work around roughly 135 litres per person per day for a home with full plumbing. A family of four therefore uses on the order of 500–550 litres a day, so a one-day sump lands near 2,000 litres and a two-day buffer near 4,000–5,000 litres. Add margin if your supply is erratic or you run a borewell that recharges slowly.
Do not eyeball it for a real build. Use the Studio Matrx bathroom water tank calculator to size storage by number of people and bathrooms, then split the total sensibly between sump and overhead — bigger buffer below, smaller working tank above.
Rule of thumb: overhead tank = a few hours of use; sump = one to two days. The sump carries the reserve; the overhead tank just needs to outlast the pump's next cycle.
Waterproofing: the one thing you cannot skip
For a buried sump, waterproofing is not a finish — it is the whole point of getting the job right. A sump has to stay watertight in both directions:
- Keeping groundwater out. A buried tank sits in wet soil, and in the monsoon the water table can rise to meet it. If the walls or base are not sealed, groundwater seeps in, carrying silt, bacteria and contamination straight into your stored drinking water. This is the single most common reason sump water goes cloudy or smells.
- Keeping stored water in. Concrete is porous; an un-waterproofed sump slowly leaks your clean water out into the soil. You pay to pump water in and then lose it silently, and the constant damp undermines the foundation around it.
For an RCC sump, that means a proper waterproofing system — an integral waterproofing admixture in the concrete plus a coating or membrane on the surfaces, good compaction, dense concrete and thorough curing. Cast the walls and base to work as one watertight box with no cold-joint leaks. A moulded plastic sump sidesteps this because it is seamless, but its joints — the inlet, outlet and cover — still have to be sealed where they penetrate the shell.
Location: keep it away from the sewer
Where you bury the sump matters as much as how you build it, because a below-ground drinking-water tank sitting next to a source of contamination is a health hazard.
- Away from the soak pit, septic tank and sewer line. Any leak or seepage from foul drainage must never be able to reach the sump. Keep a generous horizontal separation — a common guidance is to keep the sump well clear of the septic tank and soak pit, and never directly downhill of them. Confirm the distance against your local building bye-laws.
- Accessible for the tanker and the plumber. The inlet should reach the road side so a water tanker can fill it, and the cover should be reachable for cleaning without lifting paving.
- Clear of heavy point loads. If the sump sits under a driveway, its top slab must be designed for vehicle load; do not park over a thin domestic cover.
- Mind the water table. In low-lying or coastal plots the sump may need anchoring against uplift and extra waterproofing, because it is effectively a boat trying to float in wet soil.
Access, ventilation and cleaning
A sump you cannot open is a sump you cannot maintain — and buried water needs maintaining.
- Access cover. Every sump needs a lockable, child-safe cover over an opening large enough for a person to climb in to clean it. A tight, sealed, lockable lid also keeps out leaves, dust, rodents and mosquitoes. An open or loose sump cover is a genuine drowning and contamination risk — keep it secured.
- Ventilation. A sealed underground tank needs a screened vent pipe so air can move as the water level rises and falls, and so any gas can escape. The vent must be insect-screened and turned down or hooded so nothing falls in.
- Desilting and cleaning access. Silt, fine sand from borewell water and biofilm settle on the sump floor over time. A slight slope toward a washout (drain) point at the low corner lets you flush sediment out instead of scooping it. Plan the access and washout at construction — retrofitting them means breaking concrete. A detailed cleaning schedule is covered in a forthcoming maintenance guide; for now, plan to inspect the sump at least twice a year.
Inlet, outlet, level control and the dry-run problem
The plumbing on a sump is simple but every part earns its place:
- Inlet — the supply line (municipal or borewell) enters near the top, controlled by a float valve so it shuts off when the sump is full and never overflows. The auto-fill float valve is covered in the float valves guide — link it here rather than repeat it.
- Outlet / pump suction — the transfer pump draws from a point set slightly above the floor, so it takes clean water and leaves settled silt behind.
- Overflow and washout — an overflow near the top prevents pressurising the tank if the float valve sticks; the washout at the floor lets you drain and desilt.
- Level control and pump auto-start. A level sensor or float switch tells the transfer pump when the overhead tank needs filling and when to stop. Automatic controllers watch both tanks: start the pump when the overhead tank is low and the sump has water; stop it when the overhead is full or the sump runs low.
That last condition matters most, because of the dry-run risk. A pump lifting water needs water at its suction. If the sump empties — the supply did not come, or the overhead float stuck open — a pump left running spins against nothing, overheating and burning out its motor and seals in minutes. So every sump-to-overhead setup needs dry-run protection: a low-level float or sensor in the sump that cuts the pump the moment the water drops too far. Treat this as essential — a ₹300 float switch protects a pump worth many times that.
Pros, cons and the bottom line
Why nearly every Indian home has a sump:
- Captures irregular, low-pressure supply that could never be pumped straight to the roof.
- Stores bulk water cheaply at ground level, where big tanks are easy to build.
- Gives the transfer pump a flooded, reliable suction.
What to watch:
- Buried and out of sight, so leaks and contamination go unnoticed — waterproofing and twice-yearly inspection are non-negotiable.
- Contamination risk if placed near foul drainage or left with a loose cover.
- Dry-run damage to the pump without proper level control.
A well-built RCC sump is a 30-year, near-invisible asset; a badly waterproofed or poorly placed one is a slow, expensive problem. Spend on the waterproofing, the cover and the float switch — the parts you never see decide whether the sump quietly does its job for decades.
References
- IS 12701 — Rotational moulded polyethylene water storage tanks (relevant to moulded plastic sumps); confirm the current edition.
- National Building Code of India (NBC) and your local municipal building bye-laws — for water storage provision, sump placement and separation from drainage. Verify the applicable clauses locally before you build.
- CPHEEO Manual on Water Supply and Treatment — for per-capita demand figures used in sizing. Treat all figures here as indicative and confirm against local requirements.
Export this guide
Related Guides — Deep-dive reading
Water Storage Tanks Guide for India: Sump, Overhead, Sizing, Materials & Fittings
The master overview of how an Indian home stores water — why storage exists at all, the sump to pump to overhead-tank to gravity chain, how much to hold, underground versus overhead placement, plastic versus RCC versus steel, food-grade and hygiene, the inlet-outlet-overflow-vent-washout fittings, and cleaning at a glance.
PlumbingOverhead vs Underground Water Tank: Which Do You Need in India?
A fair, India-first head-to-head: an overhead tank gravity-feeds your taps but holds little; an underground sump stores huge volumes from erratic supply but needs a pump. Capacity, pressure, cost, cleaning, contamination — and why most Indian homes quietly run both.
PlumbingBathroom Planning for New Homes in India: Get It Right Before You Build
The bathroom decisions you cannot undo once the slab is cast — location and stacking, sunken vs non-sunken slabs, waterproofing, and the plumbing, electrical and ventilation you must coordinate with the civil work, stage by stage.
BathroomsRelated Tools — Try Free
Rainwater Tank Sizer
How big should your rainwater tank be? Computes annual harvest, recommended tank capacity in litres, water-bill savings, and payback — for 10 Indian cities.
RWH CalculatorCross-Ventilation Analyzer
Estimate airflow and air changes per hour (ACH) from room size, window areas, layout, and local wind — with NBC 2016 Part 8 compliance check.
Ventilation CalculatorMonsoon-Readiness Checklist
Pre-rain home audit across 9 categories — terrace, drains, waterproofing, electrical, HVAC, pest, vehicles, documents.
Seasonal Audit