
Plumbing Renovation Guide India: Re-Piping, Costs & Sequencing
When and how to re-plumb an existing Indian home — reading the signs of failing GI pipes, choosing between whole-house and partial re-piping, upgrading concealed lines, fixing leaks, retrofitting water savings, and sequencing plumbing with civil work.
Every home reaches a point where the plumbing is no longer worth patching. The pressure drops year after year, the water runs the colour of weak tea for the first few seconds each morning, and a new leak appears just as the last one is fixed. That is corrosion talking, and no amount of local repair reverses it. A plumbing renovation — re-piping the parts of the system that have aged out and upgrading the rest while the walls are open — is how you reset the clock on a house.
This guide is the Studio Matrx playbook for renovating the plumbing in an existing Indian home: how to know when re-piping is genuinely due, how to choose between a whole-house and a partial job, how to handle concealed lines, and how to sequence all of it with the civil work so you open the walls only once. For the fundamentals of how a home system is put together in the first place, read the complete plumbing systems guide for India and the residential plumbing guide. This guide assumes those and focuses on the renovation itself.
Renovation plumbing has one iron rule: the pipe is cheap, the wall is expensive. Every decision below is really a decision about how many times you are willing to break tiles and plaster.
When and why to re-pipe
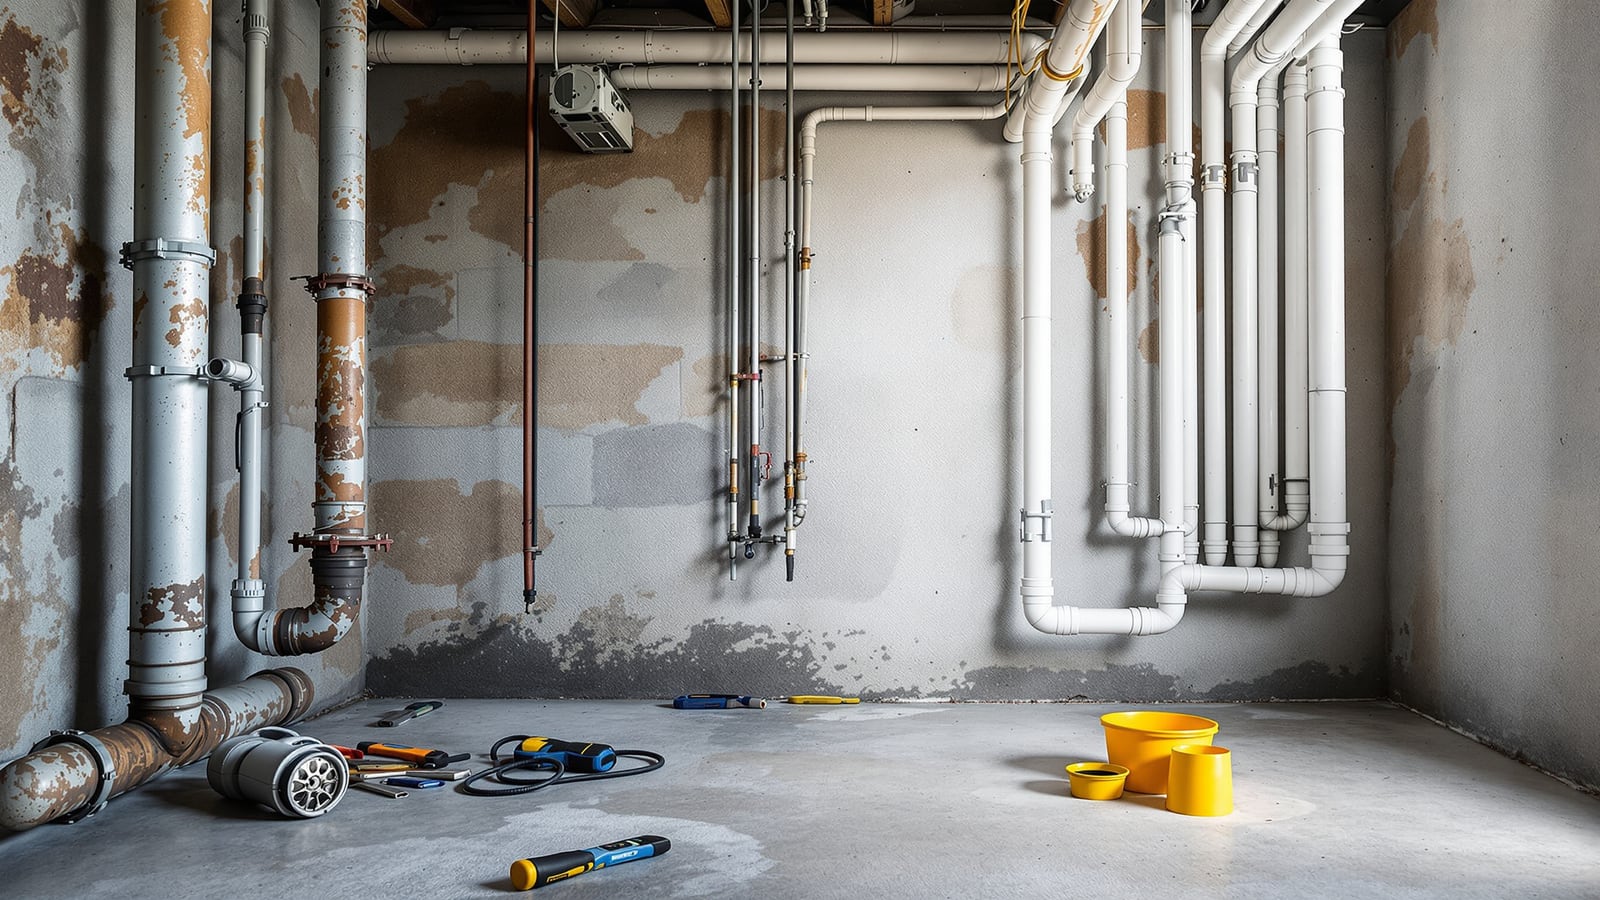
Most Indian homes built before roughly the mid-2000s used galvanised iron (GI) for water supply. GI is strong, but its zinc coating erodes from the inside, and once bare steel meets water it rusts, scales and narrows. A 20 mm GI line that started with a clean bore can lose half its effective diameter to internal scale in fifteen to twenty-five years — which is exactly why the pressure at the tap keeps falling even though the municipal supply has not changed.
Watch for this cluster of symptoms. One alone may be a local fault; three or more together mean the system, not the fitting, is failing:
- Discoloured water — reddish-brown or yellow, worst first thing in the morning after water has sat in the pipes overnight.
- Falling pressure across the whole house, not just one tap, as scale chokes the bore.
- Recurring pinhole leaks, especially at threaded GI joints and elbows where corrosion concentrates.
- Metallic taste or visible rust flakes in stored or filtered water.
- Age — any concealed GI supply system past about 20 years is on borrowed time regardless of how it looks.
The decision is rarely about a single pipe. It is about whether the concealed distribution — the lines you cannot see, buried in walls and floors — has reached the point where fixing one leak simply relocates the next. When it has, re-piping is cheaper over five years than the drip-feed of repeated repairs and water damage. If you are still weighing repair against replacement on a specific symptom, the forthcoming plumbing troubleshooting guide walks through diagnosis before you commit to opening walls.
Pipe replacement: GI to CPVC
The near-universal replacement for GI in Indian homes today is CPVC (chlorinated polyvinyl chloride) for hot and cold supply, with UPVC reserved for cold-only and drainage. CPVC is corrosion-proof, does not scale, is rated for hot water to about 93 degrees Celsius, and is joined by solvent cement rather than threading — faster and leak-tight when done properly. PEX and composite pipes exist and are excellent, but CPVC dominates on availability and plumber familiarity across India.
The table below is the practical comparison a renovating homeowner actually needs. Treat the costs as indicative material rates that swing with brand, city and copper or resin prices — confirm current rates locally.
| Attribute | GI (old system) | CPVC | UPVC | Copper |
|---|---|---|---|---|
| Corrosion / scaling | Corrodes, scales heavily | None | None | Excellent, very durable |
| Hot water rated | Yes but corrodes faster | Yes, to ~93 C | Cold only | Yes |
| Typical life | 20-25 yrs (often less) | 40-50 yrs | 40-50 yrs | 50+ yrs |
| Jointing | Threaded, skilled | Solvent cement | Solvent cement | Brazed / press |
| Indicative pipe cost (per running metre, 20 mm) | — (being removed) | ₹80 to ₹160 | ₹60 to ₹120 | ₹400 to ₹700 |
| Best renovation use | Remove | Whole-house hot & cold | Cold & drains | Premium / exposed |
Standard supply-line sizes stay the same across materials, so a re-pipe is largely like-for-like on diameter: 15 mm for a single fixture branch, 20 mm for a bathroom sub-main, 25 mm for the house main from the tank, and 32 to 40 mm for pump and tank connections. Drainage and soil stacks run 75 mm for waste and 110 mm for soil. For the full material deep-dive — pressure classes, SDR ratings and where each pipe belongs — see the forthcoming plumbing pipes guide for India.
Whole-house versus partial re-piping
This is the central renovation decision, and it comes down to how much of the concealed run is GI and how accessible it is.
- Whole-house re-piping replaces every supply line from the tank and pump down to each fixture stop. It is the right call when the house is more than 20 years old, the GI is failing in multiple rooms, or you are already gutting the place. It costs more up front but ends the leak cycle completely and is far cheaper per metre when the walls are open anyway.
- Partial re-piping replaces only the worst runs — typically the bathrooms and kitchen, or a single failing riser — and leaves sound sections in place. It suits newer homes with a localised problem, tight budgets, or a phased renovation. The risk is that untouched GI fails a year later and you break the same wall twice.
If the walls are already open for a renovation, re-pipe the whole zone even if only part of it is leaking today. The marginal cost of extra pipe is trivial against the cost of re-opening finished walls.
Upgrading concealed plumbing
Concealed plumbing — pipes chased into walls and hidden under floor screed — is what makes a renovation feel clean, and also what makes it unforgiving. Get it wrong and the fix is a hammer and new tiles. A few rules protect you:
- Pressure-test before you close the wall. Every re-piped section should be capped and held at test pressure (commonly around 1.5 times working pressure, held for a set period) and checked for a drop before plaster or tile goes on. This single step prevents the most expensive renovation failure there is.
- Keep hot and cold at correct spacing. A standard 150 mm centre-to-centre between hot and cold outlets keeps mixers and diverters standard and serviceable.
- Leave the concealed body of every mixer and diverter accessible in memory — photograph the open wall with a tape measure in frame before closing it. When a future leak appears, that photo tells the plumber exactly where the pipe runs.
- Do not bury unions or threaded transitions. Every joint that might one day need opening belongs behind an access panel or above a false ceiling, never under permanent tile.
- Respect the chase depth. Over-deep horizontal chases in load-bearing walls weaken them; keep runs vertical where possible and shallow horizontal runs short.
For fixture upgrades themselves — choosing the WC, the wash basin, the faucets, the shower and the geyser, and the hot-water routing that goes with them — this hub deliberately does not repeat the bathroom cluster. Follow the bathroom renovation guide for India, which owns fixture selection, layout and finishes. Plan the pipe positions here; choose what sits on the end of them there.
Leak repairs during renovation
Not every renovation is a full re-pipe, and knowing which leaks are worth chasing matters. Leaks fall into three broad classes:
- Joint leaks at threads and elbows — the classic GI failure. In a renovation these are a symptom, not the disease; a system throwing joint leaks is a system to re-pipe.
- Pinhole and body leaks in the pipe wall itself — always corrosion, always a re-pipe signal for that run.
- Fixture and valve leaks — worn stop-cocks, cartridge seals and float valves. These are genuine one-off repairs and do not imply the pipes are failing.
The trap is treating a corrosion leak as a repair. Clamping or re-threading a rusted GI line buys months, not years, and the next leak is already forming a metre downstream. During a renovation, the honest question for any concealed supply leak is not "how do I patch this" but "should this whole run come out now while the wall is open."
Water-saving retrofits
A renovation is the cheapest moment in a home's life to build in water efficiency, because the pipes and fixtures are already being touched. India's domestic planning norm is around 135 litres per capita per day (lpcd), and a well-retrofitted home comfortably beats it. The high-value moves:
- Aerators and flow restrictors on every tap — the single cheapest retrofit, cutting tap flow from a wasteful 12 or more litres per minute to a comfortable 4 to 6 with no loss of usable pressure.
- Dual-flush cisterns (typically 3 and 6 litres) replacing old single-flush tanks that used 10 or more litres a flush.
- Low-flow and rain-style showers sized for satisfaction at lower flow.
- Pressure-reducing valves where a tall overhead tank or a pump delivers more head than fixtures need — high static pressure wastes water at every open tap.
To size the actual savings for your household before you buy, run the numbers through the bathroom water-savings calculator — it converts fixture flow rates and household size into litres and rupees saved per year, which is how you justify the retrofit spend. On the supply side, a renovation is also the natural time to add or upgrade rainwater harvesting and, in many cities, it is now mandatory on plots above a threshold size — check your local bye-law.
Note the boundary: reusing treated water — greywater recycling, and anything downstream of the drain into a septic tank or sewage treatment plant — belongs to the STP hub, not here. If your renovation extends to on-site treatment or a switch between systems, start with STP versus septic tank and what a sewage treatment plant is. This plumbing hub owns the pipes up to the drain; the treatment beyond it is covered there.
Sequencing with civil work
The difference between a smooth renovation and a miserable one is sequencing. Plumbing is a rough-in trade — most of it must happen after demolition but before plaster, tile and paint. Get it out of order and you either trap the plumber behind finished surfaces or force finished surfaces to be broken open again.
The workable order for a plumbing-inclusive renovation:
| Stage | Work | Why this order |
|---|---|---|
| 1 | Demolition & chasing | Open walls and floors, cut chases for new runs |
| 2 | Supply & drainage rough-in | Lay CPVC / UPVC lines, set concealed valve bodies and stacks |
| 3 | Pressure test | Prove every joint holds before anything is covered |
| 4 | Concealing & waterproofing | Plaster over supply, screed floors, waterproof wet areas |
| 5 | Tiling & flooring | Finish surfaces over sound, tested plumbing |
| 6 | Fixture & fitting install | Mount WCs, basins, mixers, geysers onto set stub-outs |
| 7 | Commissioning | Flush lines, test every fixture, check drainage falls |
Two sequencing failures cause most renovation grief. The first is plastering before the pressure test — never do it; a buried leak found after tiling can cost more to reach than the entire re-pipe. The second is wet-area waterproofing that ignores the new penetrations — every pipe that pierces a floor or wall in a bathroom is a leak path, and the waterproofing membrane must wrap those penetrations, which is only possible if the plumbing rough-in is fully complete and tested first.
Cost estimation at a glance
Renovation plumbing cost is driven far more by how much wall you open than by the pipe itself. Material is a small fraction; labour, chasing, and making-good the walls and tiles dominate. The indicative figures below are ballpark ranges for planning only — get itemised local quotes, because rates vary sharply by city and by whether tiling is in scope.
| Scope | What it covers | Indicative range |
|---|---|---|
| Single-bathroom re-pipe | Supply + drainage for one bathroom, GI to CPVC | ₹25,000 to ₹60,000 |
| Kitchen supply & drain renewal | Sink, RO, washing-machine points | ₹15,000 to ₹40,000 |
| Whole-house re-piping (2-3 BHK) | All supply lines, excl. finishes | ₹80,000 to ₹2,00,000 |
| Water-saving retrofit (fixtures) | Aerators, dual-flush, low-flow showers | ₹8,000 to ₹35,000 |
| Making-good (tiles, plaster, paint) | Often 30-50% of the total | Varies widely |
The headline lesson: the pipe is cheap and the wall is expensive, so the economics almost always favour doing more re-piping in one opened-up campaign rather than returning later. For a detailed, room-by-room breakdown of what a re-pipe actually costs and how quotes are built up, see the forthcoming pipe replacement cost guide for India.
The one-line answer
If your home is past twenty, the water runs rusty in the morning, and the pressure keeps falling, the pipes are the problem — re-pipe the whole zone in CPVC while the walls are open, pressure-test before you close them, retrofit water savings in the same pass, and never break a finished tile twice for a job you could have finished the first time.
References
- National Building Code of India 2016, Part 9 (Plumbing Services), Bureau of Indian Standards: https://www.bis.gov.in/
- Uniform Plumbing Code India (Indian Plumbing Association / IAPMO India), plumbing installation practice: https://www.iapmoindia.org/
- CPHEEO Manual on Water Supply and Treatment, Ministry of Housing and Urban Affairs, Government of India: https://cpheeo.gov.in/
- Indian Standard IS 15778 (CPVC pipes and fittings) and IS 4985 (UPVC pipes), Bureau of Indian Standards: https://www.bis.gov.in/
- Model Building Bye-Laws (rainwater harvesting and services provisions), Ministry of Housing and Urban Affairs: https://mohua.gov.in/
Export this guide
Related Guides — Deep-dive reading
Concealed Plumbing in India: Chasing, Fixing & Pressure-Testing In-Wall Pipes
How in-wall concealed plumbing is really done in Indian homes — chasing pipes into walls and floors without cutting structure, fixing and spacing them in the chase, the pressure test you must never skip, and marking routes so you can find them again.
PlumbingComplete Guide to Residential Plumbing in India: Supply, Drainage, Pumps & Storage
The homeowner-and-architect deep dive into a house's plumbing — how water enters, how cold and hot water reach every tap, how waste and rain leave, and how pumps and tanks tie it all together, sized in real Indian numbers.
PlumbingShower Systems Guide India: Overhead, Rain, Hand Shower, Body Jets, Mixers & Water Pressure
The complete guide to shower systems for Indian bathrooms — overhead and rain showers, hand showers and body jets, the mixer and diverter that drive them, the hard truth about water pressure from overhead tanks, geyser sizing for hot water, and how to waterproof the shower zone. Choose the right system for your pressure and budget.
BathroomsRelated Tools — Try Free
Plumbing Pressure-Test & Leak Checklist
Pre-closure pressure and leak test — 9 categories, 60+ checkpoints across water supply, drainage, fixtures, waterproofing, hot water, tanks.
Pre-Closure TestRainwater Tank Sizer
How big should your rainwater tank be? Computes annual harvest, recommended tank capacity in litres, water-bill savings, and payback — for 10 Indian cities.
RWH CalculatorBathroom Renovation Cost Calculator
Cost to renovate an existing bathroom with a replace-vs-keep model — demolition, re-waterproofing, tiles, fittings and the money saved by keeping items.
Bathroom Calculator