
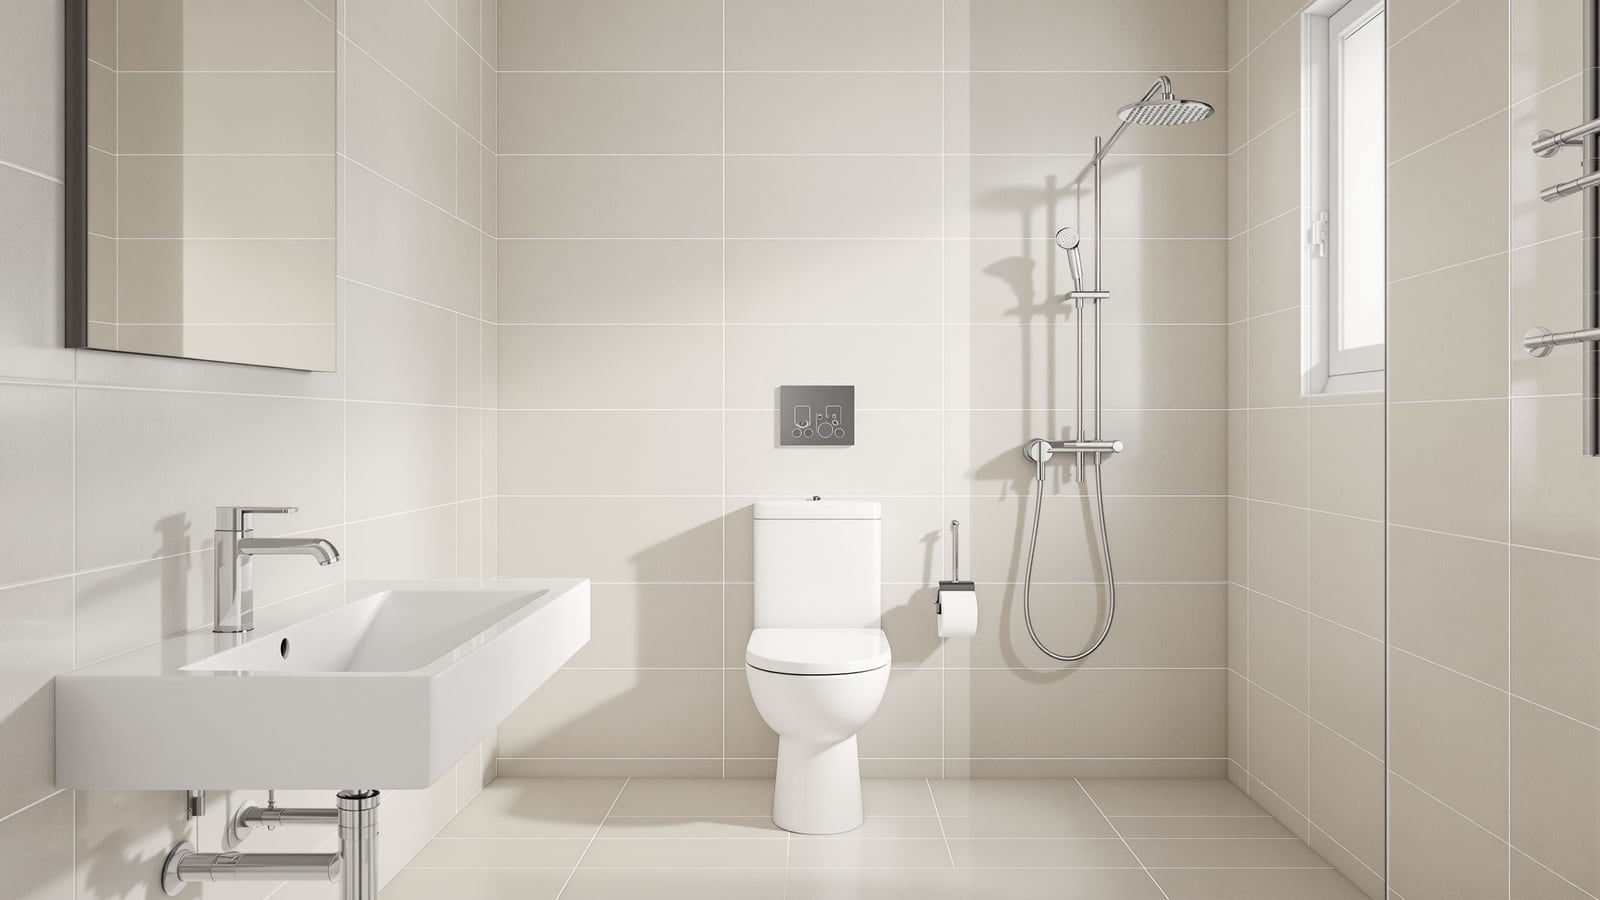
Plumbing-Efficient Bathroom Layout India: Single Wet Wall, Back-to-Back & Stacked Bathrooms
How to arrange bathroom fixtures to minimise pipe runs — the single wet wall, back-to-back and stacked bathrooms, shared shafts — with sizes in mm, rupee savings, and the drainage-slope rules that cut cost and leak risk in an Indian home.
Every metre of concealed pipe you run inside a wall or under a floor is a metre that costs money to lay, eats floor slope, and can one day leak into the slab below. The single biggest lever a homeowner has over all three is where the fixtures sit. Cluster the WC, basin and shower against one wall — the wet wall — over a single vertical shaft, and the plumbing shrinks to its shortest, simplest, most watertight form. Spread the same three fixtures across three different walls and you triple the buried pipework, the joints, and the chances of a hidden leak.
This is the plumbing-efficiency guide in the Studio Matrx bathroom hub. Read it alongside the bathroom layout and planning guide, which is the pillar for arranging fixtures, and the complete bathroom design guide for India for the codes and fundamentals behind every number here.
The rule is short: keep the water in one wall, and keep the bathrooms near each other. Everything below is that rule, drawn out.
Why pipe runs cost you — three ways
A fixture needs three services: cold water in, hot water in, and a waste out (the WC also needs a large soil connection to the stack). The waste pipe is the one that governs your layout, because it must fall continuously to drain by gravity.
- Money. Concealed plumbing in India runs roughly ₹400–900 per running metre of pipe laid, chased and made good, before fixtures. Fewer metres, fewer fittings, lower bill.
- Slope budget. A 100 mm soil pipe needs about a 1:40 to 1:60 fall; a 40–50 mm waste needs about 1:40. Every extra metre of horizontal run drops the pipe lower — run it too far and it either fouls the slab or surfaces above the finished floor. Short runs keep the fall easy.
- Leak risk. Most concealed leaks are at joints — solvent-welded elbows, tees and threaded connections. Fewer metres means fewer joints, and grouping fixtures over one shaft means the few joints you have are clustered where they can be accessed, not scattered across the whole floor.
There is a fourth, quieter cost too: hot-water wait and heat loss. The longer the run from the geyser to the tap, the more cold water you drain before it turns hot, and the more heat the pipe sheds on the way. Grouping the basin and shower close together, and close to the geyser, means hot water arrives faster and you waste less water and power every single day — a saving that never shows on the estimate but shows on the bill.
| Layout choice | Approx. pipe run | Joints | Relative cost | Leak exposure |
|---|---|---|---|---|
| Fixtures on 3 separate walls | Longest | Most | Highest | Highest |
| Fixtures on 2 adjacent walls | Medium | Medium | Medium | Medium |
| All fixtures on one wet wall | Shortest | Fewest | Lowest | Lowest |
| Two baths back-to-back on one wall | Shortest per bath | Shared stack | Lowest per bath | Lowest |
The single wet wall
The core move is to line up the WC, basin and shower supply along one wall, so all three tap off one set of risers and drop into one shaft. The WC sits closest to the soil stack because its waste is the fattest and least forgiving; the basin and shower share smaller wastes into the same stack.
Sensible dimensions for grouping fixtures on the wet wall in an Indian home:
| Element | Recommended (mm) | Note |
|---|---|---|
| WC width (centre to obstruction) | 700–760 | WC nearest the soil stack |
| WC clear space in front | 600 min | For use and cleaning |
| Basin width | 600–700 | Shares the same wall risers |
| Shower zone | 900 x 900 min | Its own drain, steeper fall |
| Circulation in front of wet wall | 700 min | NBC-typical clear passage |
| Door leaf | 600–750 | Swing away from fixtures |
| Soil pipe fall | 1:40 to 1:60 | 100 mm PVC/UPVC to stack |
| Basin/shower waste fall | 1:40 | 40–50 mm to the same stack |
Two things make the wet wall pay off. First, keep the WC hard against the soil stack so its short, fat waste barely travels. Second, run all supply risers — cold, hot and any recirculation — inside that one wall or the shaft behind it, so the rest of the room has no pipes buried in it at all.
A common Indian mistake is to place the basin on the wall by the door "because that is where the mirror looks nice", leaving it 2–3 m of buried pipe away from the WC and shower on the far wall. It works, but you have paid for the extra run, the extra floor depth to carry its slope, and a joint under tiles you will never reach. If the basin truly must sit apart for the look, at least keep its waste short by dropping it into the nearest branch of the same stack rather than chasing it back across the room.
Back-to-back and stacked bathrooms
The single wet wall saves pipe inside one bathroom. The bigger savings come when you plan two bathrooms to share one shaft — either side by side or one above the other.
- Back-to-back (horizontal sharing). Two bathrooms on the same floor put their wet walls on opposite faces of a common party wall, so both drop into one shaft. A bedroom ensuite and a common bath, or two adjacent bedroom baths, can share a single stack and a single set of risers. This is the classic move behind a well-planned Jack-and-Jill bathroom and paired ensuites.
- Stacked (vertical sharing). Put the ground-floor and first-floor bathrooms directly above each other, wet wall over wet wall, so one continuous vertical stack serves both. In apartments this is not optional — the shaft is fixed and every flat's bathroom sits on it — which is exactly why the apartment bathroom guide treats the shaft position as the starting point of the plan.
The payoff is real money. A shared shaft roughly halves the vertical stack and riser length that would otherwise serve two independent bathrooms, and it concentrates every wet penetration of the slab into one small, waterproofed zone instead of several scattered ones.
| Grouping strategy | What it shares | Typical saving vs. spread-out plan |
|---|---|---|
| Single wet wall (one bath) | Risers + one shaft | 20–35% less pipe in that room |
| Back-to-back baths | Party wall + shaft | One stack instead of two |
| Stacked baths (per floor) | One vertical stack | Roughly halves vertical runs |
| Bath shaft near kitchen | Drainage/vent stack | Fewer slab penetrations overall |
Rules of thumb for a leak-safe, low-cost layout
- Group, do not spread. Fixtures on one wall beat fixtures on three walls every time. If the room shape forces two walls, use two adjacent walls, not two opposite ones. See the square and rectangular layout guides for shape-specific arrangements.
- WC hugs the stack. The 100 mm soil connection is the least flexible pipe in the room; put the WC where its waste is shortest, then arrange the basin and shower around it.
- Keep horizontal waste short. Long horizontal runs eat your slope budget and force a deeper floor. Aim to reach the stack within 1.5–2 m for a 100 mm soil, less for smaller wastes.
- Provide access. Concealed does not mean unreachable. An access panel or duct at the shaft lets you fix a joint without breaking tiles — the single best insurance against a small leak becoming a big repair.
- Waterproof the wet wall and the shaft. Tank the wet wall to at least 1.8 m and the full shower zone, and seal every slab penetration. This is where the wet-and-dry zone layout and drainage detailing meet plumbing efficiency.
- Vent the stack. Every soil stack needs a vent to atmosphere so traps do not siphon dry. A shared stack still needs its single vent carried to the roof.
Where efficiency meets the room
Plumbing efficiency is a constraint you plan around, not the only goal. In a generous master bath you may deliberately float a freestanding tub away from the wet wall for effect — see the master bathroom design guide — and simply accept a longer, well-detailed run to serve it. In tight flats and rows of stacked bathrooms, though, the shaft rules the plan, and grouping every fixture onto the one wet wall is both the cheapest and the driest way to build. Start from the shaft, put the WC on it, line up the rest, and the plumbing almost designs itself.
References
- NBC 2016 (National Building Code of India), Part 9 — plumbing services: drainage slopes, soil and waste stacks, venting and shaft requirements.
- IS 1172 — code of basic requirements for water supply, drainage and sanitation in buildings.
- IS 2065 — code of practice for water supply in buildings.
- IS 5329 — code of practice for sanitary pipe work above ground for buildings (waste and soil pipe layout).
- IS 2556 — sanitary appliances (vitreous china WCs and wash basins) specifications.
- CPHEEO Manual on Water Supply and Sanitation — drainage, trap and slope guidance for domestic plumbing.
Export this guide
Related Guides — Deep-dive reading
Bathroom Plumbing India: The Complete Guide to Water Supply, Drainage, Traps & Pipes
The whole plumbing picture for an Indian bathroom in one place — the two systems (cold and hot water supply, and waste/soil drainage with its vented SWV stack), traps and the floor trap, slopes and gradients, concealed vs exposed pipework, pipe materials (CPVC/UPVC/PEX/GI) and the overhead-tank pressure reality — with the coordination that must happen before any civil work starts.
BathroomsBathroom Plumbing Code India: NBC 2016 Part 9, UPC-I & the IS Standards That Govern Pipework
A professional reference to the codes and standards that govern bathroom plumbing in India — the National Building Code (NBC 2016) Part 9 on Plumbing Services, the Uniform Plumbing Code India (UPC-I), the CPHEEO Manual, and the IS standards for water supply, drainage, trap seals, pipe sizing, slopes and venting — with a caveat to always verify the current code and your local authority.
BathroomsRectangular Bathroom Layout India: 3-Fixture Plans, Sizes & Clearances (mm)
The rectangle is the most common Indian bathroom shape. Here is how to arrange the WC, basin and shower along the long or short wall, keep the wet zone at the far end, and hit the clearances that make a narrow-ish rectangle feel roomy — with plans, sizes in mm and rupee-aware advice.
BathroomsRelated Tools — Try Free
Bathroom Drainage Pipe Calculator
Recommended drain and waste pipe sizes, slopes and stack size for a bathroom's fixtures — indicative IS 1172 / NBC plumbing practice.
Bathroom CalculatorCross-Ventilation Analyzer
Estimate airflow and air changes per hour (ACH) from room size, window areas, layout, and local wind — with NBC 2016 Part 8 compliance check.
Ventilation CalculatorPlumbing Pressure-Test & Leak Checklist
Pre-closure pressure and leak test — 9 categories, 60+ checkpoints across water supply, drainage, fixtures, waterproofing, hot water, tanks.
Pre-Closure Test