
Bathroom Grab Bars India: Placement, Heights, Load & Fixing Guide (2026)
Where grab bars and handrails go in an Indian bathroom — beside the WC, in the shower, by the tub and at the door — with heights in mm, the ~100+ kg load they must take, why fixing into solid blocking (not tile) is non-negotiable, stainless vs nylon, foldable options, retrofit into masonry, CPWD guidance and rupee costs.
A grab bar is the cheapest piece of safety engineering you can put in a house, and the one most often installed wrong. Get it right and it is the difference between a stumble and a fall, between rising from the WC under your own control and hauling up on a towel rail that tears out of the wall. Get it wrong — screwed into a single tile, set at the wrong height, or fitted where the hand never actually reaches — and it gives false confidence that fails at the exact moment weight goes onto it. This guide is about doing it right in an Indian bathroom: where the bars go, how high, how strong they must be, and above all what they must be fixed into.
The context here is India-first. Heights and clearances follow the CPWD Harmonised Guidelines for Universal Accessibility and the National Building Code of India (NBC 2016); prices are in rupees; and the assumptions are Indian — wet bathrooms rather than sealed cubicles, the health faucet beside the WC, hard water that pits cheap chrome, and the reality that most bars go into brick or block walls behind ceramic tile rather than timber-framed drywall. Read it alongside the accessible bathroom design guide for India for the full barrier-free picture, and the elderly friendly bathroom guide for the room-level design that grab bars sit inside.
A grab bar is only as strong as what it is bolted to. The bar itself almost never fails — the wall behind it does. Design the fixing first and the bar second.
Why a grab bar is not a towel rail
The single most common — and most dangerous — mistake is treating a towel rail, soap shelf or shower riser as something to grab. A towel rail is fixed with two small screws into wall plugs, designed to hold a wet towel of maybe two kilograms. A real grab bar must survive a sudden, off-axis load of a falling adult body. The two are not interchangeable, and no amount of "it looks sturdy" changes the physics.
A proper grab bar has three things a rail does not: a load-rated bar (typically 32–40 mm diameter, thick-walled), substantial flanges with three or four fixing points each, and — critically — fixings that reach solid backing, not just the tile and a whisker of plaster behind it. Miss any one and the assembly is decorative.
Where the bars go
Bars earn their keep only where the hand instinctively reaches. Put them at the four decision points — the WC, the shower, the tub and the entry — where balance is tested.
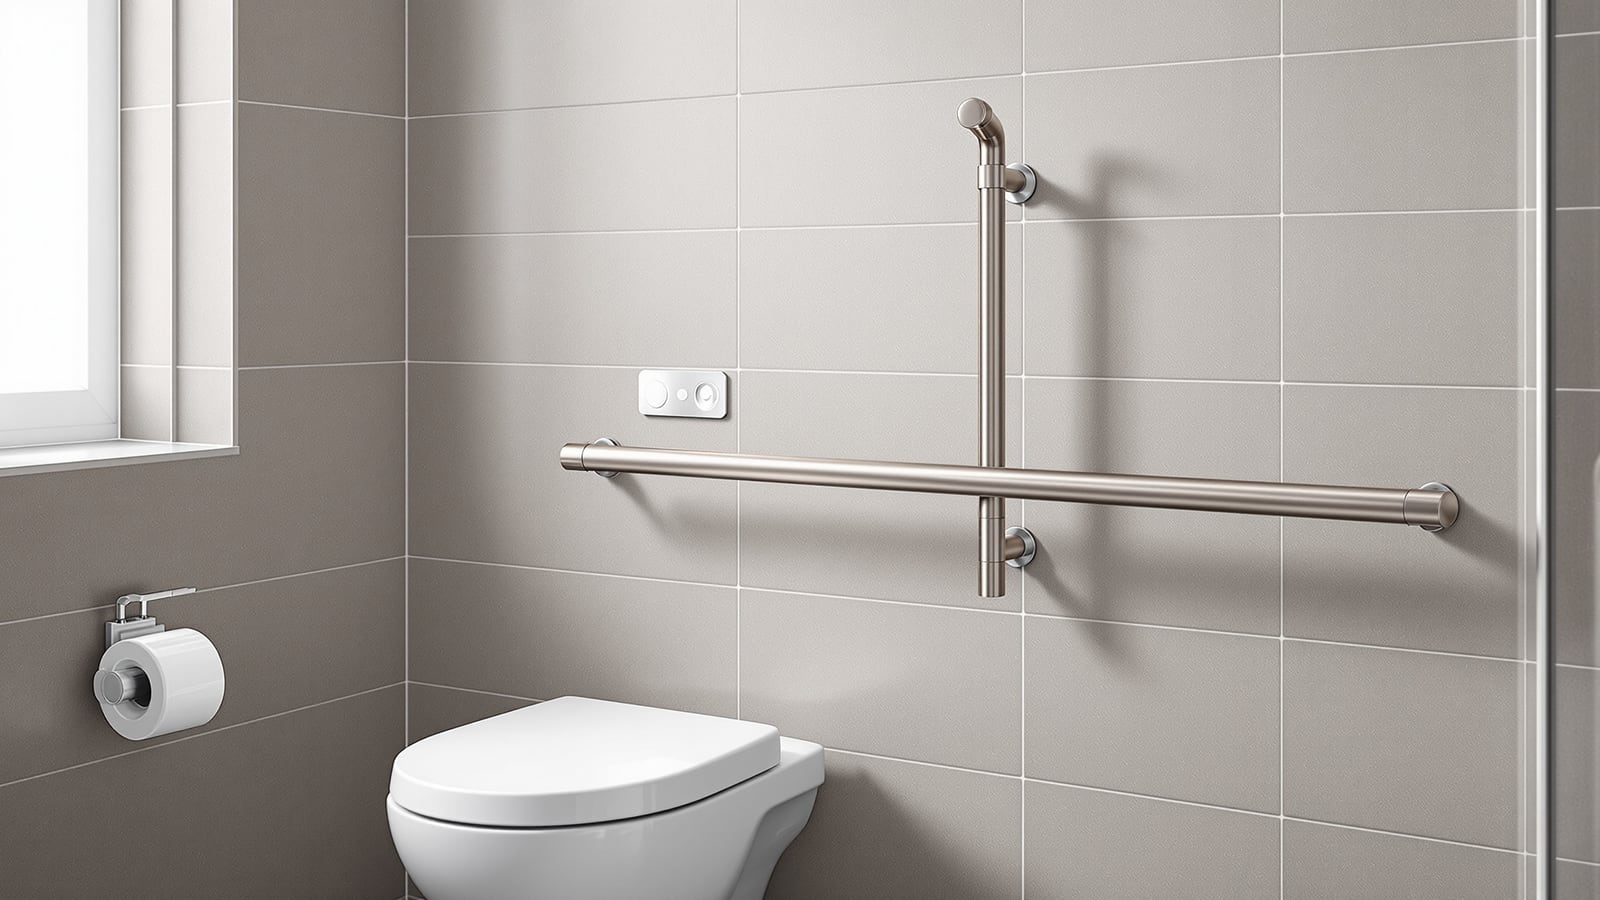
- Beside the WC. The workhorse position. Fit an L-shaped pair: a horizontal bar on the transfer side for pushing up, plus a vertical bar for the pull-up-and-steady. On a wall-hung WC with no adjacent wall, use a fold-down (foldable) grab bar fixed to the rear wall that swings down over the pan and lifts away when not needed.
- In the shower. A horizontal bar within reach of the shower seat for sitting and standing, and a vertical entry bar at the point where a wet foot first crosses into the wet zone. See the barrier-free shower guide for how bars integrate with a level-access wet area.
- By the bathtub. The step-over is the highest-risk move in the house. Fit a vertical bar at the tub's edge for the step-in, and an angled or horizontal bar along the long wall for lowering into and rising from the water.
- At the entry. A short vertical steadying bar just inside the door helps someone using a walker or stick pause and reorient on a wet threshold.
Heights, diameters and angles
The numbers matter because a bar 100 mm too high or too low is a bar the hand cannot use with force. These follow CPWD/harmonised accessibility practice.
- Horizontal bars: roughly 750–800 mm above finished floor — level with a comfort-height WC seat at 480–500 mm plus a comfortable pushing height for the hand.
- Vertical bars: run from about 900 mm up to 1400–1500 mm, so the hand can grip anywhere along the pull-up.
- Diameter: 32–40 mm — thick enough to bear load, thin enough for an arthritic hand to wrap around fully.
- Clearance to wall: a 35–40 mm gap between bar and wall. Less and fingers jam; more and a falling arm can slip behind the bar and trap.
- Length: WC horizontal bars are commonly 600–760 mm; shower and tub bars 450–900 mm depending on run.
- Angled bars: a bar set at roughly 30–45° suits a tub step-over or a ramped standing-to-seated move, following the natural arc of the arm.
The load it must take — and the fixing that carries it
This is the part that saves lives and the part cheap installs skip. A grab bar is not asked to hold a static weight; it is asked to arrest a sudden dynamic load when someone slips and their full body weight snaps onto it at an angle.
- Design load. Accessibility standards require a grab bar assembly to resist about 1.1 kN — roughly 110 kg — of concentrated force in any direction, static and sustained. Once you allow for the dynamic multiplier of a real fall, treat 100–130 kg suddenly applied as the working assumption. A quality bar is rated well above this; the wall fixing is what usually is not.
- Fix into solid backing, never tile alone. A ceramic or vitrified tile is 8–10 mm of brittle glass over adhesive. A screw plugged into tile pulls out under a fraction of the design load, often taking a cone of tile with it. The bar must reach past the tile into solid substrate.
What "solid backing" means in the Indian context:
| Wall type | How to fix a grab bar safely |
|---|---|
| Brick / solid block masonry | Chemical anchors or long sleeve/expansion bolts reaching ≥60–75 mm into sound masonry, avoiding mortar joints |
| AAC block (Aerocon / Siporex) | Special AAC anchors or a chemical anchor with mesh sleeve — standard plugs strip out; never a plain expansion bolt |
| RCC wall / cast nib | Best case: through-bolt or heavy expansion anchor into concrete |
| Drywall / gypsum partition | Never into board alone — cut in 18–19 mm marine ply or cement-board blocking between studs before boarding |
| Hollow / cavity wall | Add blocking or a spreader plate; a single-point cavity fixing will not hold |
- Build in blocking during construction. The professional move is to cast an RCC nib or fix a marine-ply / cement-board pad behind the tile at every intended and every possible future bar position, before waterproofing and tiling. It costs almost nothing at shell stage and turns a later grab-bar fit into a five-minute job into known solid backing.
- Waterproofing. Every drilled hole pierces the tanking. Seal each fixing with a waterproof sealant and use stainless fasteners so the penetration does not become a leak or a rust bloom. Coordinate with your bathroom waterproofing build-up.
Retrofitting into a finished, tiled wall
Most Indian grab bars go into an existing tiled bathroom, where you cannot open the wall. The safe method:
1. Find solid brick or block, not a hollow partition. Tap-test, or check the building's construction — external and wet-wall faces are usually solid masonry.
2. Drill through the tile with a diamond/tile bit first, gently, then switch to a masonry bit for the substrate. Do not hammer-drill the tile itself — it cracks.
3. Use chemical anchors (epoxy/resin capsule) for the highest hold in masonry, or long sleeve anchors reaching well past the tile. Avoid landing fixings in mortar joints.
4. Seal every hole with silicone before driving the fixing, to keep water out of the wall.
5. Test before trust. Hang your body weight on the fitted bar and pull hard in several directions before anyone relies on it.
If the only available wall is hollow drywall, either add blocking (open a strip, fit ply, re-close and re-tile) or choose a floor-to-ceiling pole or free-standing frame that does not depend on the wall at all.
Material and finish — stainless vs nylon, and anti-slip
| Type | Best for | Notes |
|---|---|---|
| Stainless steel (SS 304) | Most homes; strength and durability | 32–40 mm tube; matt/brushed resists hard-water spotting better than polished |
| Nylon-coated / soft-grip over SS core | Warm touch, colour contrast, anti-slip | Steel core carries load; nylon skin is grippy wet and warmer than bare metal in winter |
| Knurled / textured stainless | Wet, soapy grip | Machined grip pattern; grips even with wet, soapy hands |
| Polished chrome | Looks only | Avoid for safety bars — turns slippery when wet and soapy |
| Foldable / fold-down SS | Wall-hung WC, tight plans | Swings up out of the way; check the hinge load rating, not just the bar |
- Anti-slip is non-negotiable. A safety bar you cannot hold with a wet, soapy hand is not a safety bar. Choose knurled, textured or nylon-coated surfaces over glossy chrome.
- SS 304 minimum for corrosion resistance in a humid, hard-water bathroom; SS 316 for coastal salt air.
- Colour contrast helps weak eyes. A dark or coloured bar against a light tile is far easier to locate in a hurry — nylon-coated bars come in contrasting colours for exactly this reason.
Cost — what grab bars add
Grab bars are inexpensive relative to what a single fall costs in surgery and recovery. The bar is cheap; do not economise on the fixing.
| Item | Indicative cost (₹) | Notes |
|---|---|---|
| Stainless straight grab bar (each, supply) | 900 – 4,500 | Rises with grade (304 vs 316), diameter and finish |
| Nylon-coated / knurled anti-slip bar | 1,500 – 6,000 | Warm touch, colour contrast, better wet grip |
| L-shaped WC grab bar set | 3,500 – 12,000 | Horizontal + vertical combined |
| Fold-down (foldable) grab bar | 4,000 – 18,000 | For wall-hung WC; check hinge load rating |
| Chemical-anchor fixing per bar (fitted) | 300 – 1,200 | Resin anchors + labour; the part that actually holds |
| Marine-ply / cement-board blocking (built in) | 200 – 800 per position | Near-free at shell stage; invaluable later |
A typical elderly-ready bathroom needs three to five bars, landing most retrofits in the ₹8,000–45,000 range including safe fixing. Building blocking in during construction pulls the future cost close to nothing.
Bringing it together
Decide the bar positions before you tile — WC, shower, tub, entry — and put solid blocking behind every one. Fit load-rated stainless or nylon-coated bars with an anti-slip finish, at 750–800 mm horizontal and 900–1500 mm vertical, fixed with chemical anchors into masonry and sealed against water. Then test each one with your full weight before anyone trusts it. Done this way, grab bars quietly hold up on the worst day — the wet, unsteady, poorly-lit day — which is the only day they exist for.
For the wider design they sit inside, see the accessible bathroom design standard; for the room built around an ageing user, the elderly friendly bathroom guide; and for the companion hardware and wet-zone detailing, the bathroom safety accessories guide and the barrier-free shower guide. Studio Matrx specifies these bars to disappear into the room while quietly doing their job.
References
- Central Public Works Department (CPWD), Harmonised Guidelines and Standards for Universal Accessibility in India, Ministry of Housing and Urban Affairs — grab-bar heights, diameters, clearances and load requirements for barrier-free sanitary facilities.
- Bureau of Indian Standards, National Building Code of India (NBC) 2016, Part 3 (Universal Accessibility provisions) and Part 8 (Building Services).
- IS 2556: Vitreous Sanitary Appliances specification series, Bureau of Indian Standards (WC seat heights that set grab-bar levels).
- IS 15622: Pressed Ceramic Tiles — specification and slip-resistance classification, Bureau of Indian Standards (why fixings must pass through tile into substrate).
- Rights of Persons with Disabilities (RPwD) Act 2016 and its accessibility rules, which give the Harmonised Guidelines statutory backing for public and shared facilities.
- Indian Green Building Council (IGBC) universal-design criteria for residential accessibility.
Export this guide
Related Guides — Deep-dive reading
Designing Adaptable & Universal-Design Homes
Accessibility, Aging-in-Place, and the Multi-Stage Family — Code, Anthropometrics, and Plan-Stage Discipline for Indian Residential Architects
Room PlanningShower Niche India: Building a Recessed Wall Shelf That Holds Shampoo Without Ever Leaking
A shower niche is a shelf you carve into the wall instead of screwing onto it. Done right it is invisible and dry for decades; done wrong it is the single most common source of seepage into the room behind. Here is how to size it, which wall you may cut, and how to waterproof, slope and tile the recess so it never leaks.
BathroomsAccessible Bathroom Standards India: CPWD Harmonised Guidelines & NBC 2016 (2026)
The regulatory reference for barrier-free bathrooms in India — the CPWD Harmonised Guidelines and Standards for Universal Accessibility, NBC 2016 Part 3, the RPwD Act 2016 mandate, and the working dimensions for turning circles, grab bars, WC height, roll-in showers and door widths.
BathroomsRelated Tools — Try Free
Bathroom Sealant Calculator
How many tubes of silicone sealant a bathroom needs and the cost — by joints to seal, lengths and bead size, with an anti-fungal note.
Bathroom CalculatorCross-Ventilation Analyzer
Estimate airflow and air changes per hour (ACH) from room size, window areas, layout, and local wind — with NBC 2016 Part 8 compliance check.
Ventilation CalculatorMaterial Schedule Generator
Generate a room-wise finish schedule — walls, floors, ceilings, trim, and joinery by location.
Material Schedule