
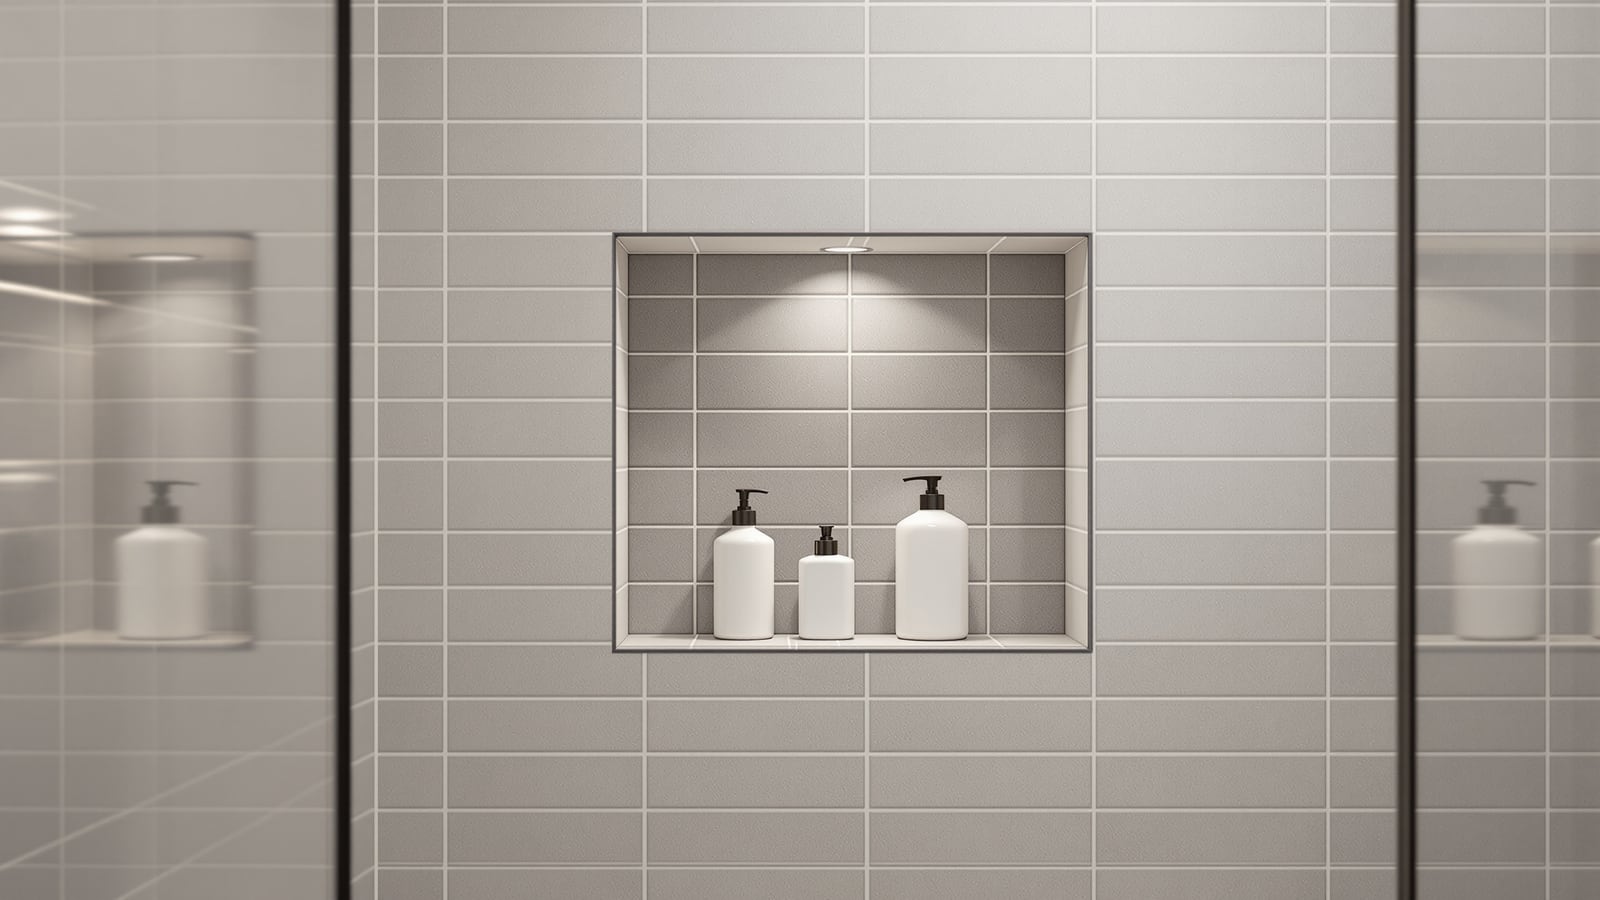
Shower Niche India: Building a Recessed Wall Shelf That Holds Shampoo Without Ever Leaking
A shower niche is a shelf you carve into the wall instead of screwing onto it. Done right it is invisible and dry for decades; done wrong it is the single most common source of seepage into the room behind. Here is how to size it, which wall you may cut, and how to waterproof, slope and tile the recess so it never leaks.
Every shower needs somewhere to put the shampoo. The cheap answer is a plastic caddy hung off the mixer or a corner shelf screwed to the tiles — both of which drip, rust, wobble loose and collect scum in exactly the crevices you cannot clean. The considered answer is a shower niche: a shelf carved into the wall so it sits flush with the tiled surface, holds bottles out of the spray path, and reads as part of the architecture rather than an accessory bolted on afterwards.
A niche is not free, though — you are opening a hole in a wall inside the wettest square metre of your home. Get the waterproofing and the fall right and the niche is invisible and bone-dry for the life of the bathroom. Get them wrong and that recess becomes a permanent reservoir feeding damp into the room behind. This guide, part of the Studio Matrx bathroom hub, is about doing it right. Read it alongside the bathroom vanity guide for India for the rest of your storage, the leak-prevention guide for the junction detailing a niche depends on, the wet-room design guide if your shower has no enclosure at all, and the new-homes bathroom planning guide so the niche is designed in before the block-work goes up.
A shower niche is a small hole in your most vulnerable wall. It leaks not because it is a niche but because it was tiled without being sloped and sealed first. Fall to the front, membrane all six inside faces, and it stays dry for decades.
Which wall you are allowed to cut
The first decision is not aesthetic, it is structural. A niche steals depth from the wall, so the wall has to have depth to spare — and it must not be doing a job that the recess would compromise.
- A 230 mm (9-inch) brick or block masonry wall is the classic host. A standard niche is 90–100 mm deep, leaving well over 100 mm of masonry behind it. This is the safe, normal case.
- A 115 mm (4.5-inch) half-brick partition is marginal. A 90 mm recess leaves barely 25 mm behind — too little. Either reduce niche depth to ~60 mm (shallow, holds slim bottles only) or build the niche to project out the far side into a wardrobe or dead space.
- An RCC structural wall, column or beam — never. You cannot chase, cut or recess a load-bearing concrete element for a shelf. If the shower wall is a shear/structural wall, use a prefab surface-mounted niche or a slim projecting shelf instead.
- A shaft / duct wall carrying pipes or the common plumbing riser — never. Apartment societies prohibit it, and you will hit a live line. Confirm the wall is solid masonry before anyone lifts a cutter.
If you are on a slab-to-slab renovation, the honest move is to decide the niche wall while the block-work is being laid, so the mason forms the pocket in the coursing rather than hacking it out of a finished wall later.
Sizing the niche: depth, height, width
Depth is dictated by the wall, as above. The other dimensions are dictated by what you store and by your tile module — a niche that lands on tile joints instead of cutting through the middle of tiles looks intentional rather than accidental.
| Dimension | Practical range | Notes for India |
|---|---|---|
| Internal depth | 90–100 mm (min 60 mm) | 100 mm clears a 1 L shampoo bottle; keep 100+ mm masonry behind |
| Internal width | 300–600 mm | Set to a tile-course width; 400–450 mm is the common single niche |
| Internal height | 250–350 mm (single) | Tall enough for a pump-top bottle standing upright |
| Bottom-of-niche height from floor | 1000–1250 mm | At chest height in the main spray zone, within easy reach |
| A second niche (razor/soap) | 200 mm high, lower | Set nearer waist height or beside the mixer |
A useful rule: put the niche on the wall at right angles to the spray, not the wall the overhead shower sits on, so bottles are not permanently blasted by water. Keep the bottom of the niche above the highest point water pools during a shower, and keep the whole recess inside the tiled wet zone.
The detail that stops it leaking
This is the part every rushed job skips. A niche has six inside surfaces — back, top, bottom (the sill), two sides — and every one of them is inside the shower. The recess is effectively a small open-topped box turned on its side; if water gets into the masonry through any face, it has nowhere to go but the wall behind.
Four things make the difference between a dry niche and a slow disaster:
1. Slope the sill. The bottom of the niche must fall towards the room, i.e. outward and downward, at roughly 1:20 to 2:20 (a 5–10 mm drop across a 100 mm depth). Water that lands on the shelf must run out onto the wall and down, never pool at the back. A dead-level or back-sloping sill is the number one cause of a leaking niche.
2. Waterproof all six faces, continuously. After the recess is formed and rendered, apply the same waterproofing system as the rest of the wet wall — a cementitious or acrylic-polymer coating (two coats), with fibreglass mesh or reinforcing tape run into every internal corner and, critically, lapped continuously onto the surrounding wall membrane. The niche membrane and the wall membrane must be one unbroken skin. Follow the coving-and-lapping logic in the leak-prevention guide.
3. No sharp internal angles. Form a small cove/fillet at the sill-to-back and side-to-back corners so the membrane bridges a curve, not a knife-edge it will crack over.
4. Full mortar bed behind the tiles. Tile the niche with no voids behind — voids fill with water and stay wet. Use a good polymer-modified adhesive, not dab-and-dot, and a mould-resistant epoxy or good cement grout at the joints.
Only after the membrane has cured and, ideally, passed the same flood/ponding logic used for the floor should the niche be tiled.
Cast in place, or drop in a prefab box?
You can build a niche two ways. The traditional Indian site method is to form the pocket in the masonry, render it, waterproof it and tile it — total control, matches your tiles exactly, but wholly dependent on the mason and the waterproofer doing the slope and membrane properly. The alternative is a prefab niche box: a ready-made, pre-sloped, pre-waterproofed niche (rigid foam-cement, ABS or moulded stone) that is mortared into the opening as a single sealed unit, then tiled over. Prefab units remove the two things site labour most often gets wrong — the fall and the sealed corners.
| Factor | Site-built (masonry) recess | Prefab niche box |
|---|---|---|
| Slope built in | No — mason must form it | Yes, moulded to fall |
| Waterproofing | Depends fully on applicator | Body is already sealed; you still lap the wall membrane |
| Tile match | Perfect — you tile the inside | Perfect — tileable insert types; solid-surface types show their own finish |
| Material cost | Low (labour + mortar) | ₹2,000–8,000+ per unit |
| Best for | Skilled crew, custom size | Faster jobs, less-supervised sites, guaranteed fall |
Neither is automatically better. A good crew builds a flawless recess for the cost of a bag of mortar; on a site you cannot supervise closely, a prefab box buys insurance against a back-sloping sill.
One niche or several?
A single 400 × 300 mm niche at chest height covers most households — shampoo, conditioner, body wash, one bar of soap. Consider more only where it earns its place:
- A tall vertical niche (say 300 × 900 mm, split by a shelf) is a striking feature wall and swallows a whole family's bottles, but it is a bigger hole to waterproof — worth it only on a generous 230 mm wall.
- A second low niche by the WC or health faucet is genuinely useful and keeps shower clutter out of the toilet zone.
- A niche shared back-to-back between two showers on the same wall halves the storage of each and doubles the risk — avoid.
More niches means more waterproofed internal corners, so every extra recess is extra leak risk. Add them for real storage needs, not decoration.
What it costs in India
A niche is cheap in materials and moderate in labour and risk. As a rough 2026 guide:
| Item | Indicative cost |
|---|---|
| Forming + rendering a masonry recess | ₹800–2,000 labour per niche |
| Waterproofing the recess (part of wall system) | ₹300–800 material per niche |
| Tiling the inside (labour + wastage) | ₹800–2,500 depending on tile and cuts |
| Prefab niche box (unit only) | ₹2,000–8,000+ |
| Typical all-in, site-built single niche | ₹2,500–5,500 |
Against the ₹30–50 lakh cost of a flat and the ₹1–2 lakh a leak into the room below can cost to fix, the niche is trivial money. The only expensive niche is the one that leaks — so spend on the waterproofing and the fall, not on exotic tile.
Getting it right, in one page
- Confirm the wall is solid masonry with depth to spare — never RCC, never a plumbing shaft.
- Keep 100 mm+ of masonry behind a 90–100 mm recess; on a 115 mm wall go shallow or project a prefab box.
- Size to your bottles and to your tile module; set the base 1000–1250 mm off the floor.
- Slope the sill outward at ~1:20 — this single detail prevents most niche leaks.
- Membrane all six faces continuously and lap it onto the wall, cove the corners, tile on a full bed.
- Add extra niches only for real storage need — each one is another sealed box to get right.
References
- National Building Code of India (NBC) 2016, Part 9 Plumbing Services — bathroom wet-area and waterproofing provisions.
- IS 15622: Pressed Ceramic Tiles — Specification (tile selection for niche and wall).
- IS 13630: Ceramic Tiles — Methods of Test (water absorption, relevant to wet-zone tiling).
- IS 2645: Integral Cement Waterproofing Compounds — Specification (waterproofing admixtures).
- IS 1172: Code of Basic Requirements for Water Supply, Drainage and Sanitation.
- Bureau of Indian Standards (BIS) — current editions of the above codes.
Export this guide
Related Guides — Deep-dive reading
Bathroom Leak Prevention India: Detailing the Junctions That Stop Water Reaching the Flat Below
Bathroom leaks almost never come from a broken pipe — they come from a badly detailed junction. Here is how to get the wall-floor corner, pipe penetrations, floor trap, nahani trap and door threshold right, plus the flood test that catches a leak before you tile.
BathroomsBathroom Planning for New Homes in India: Get It Right Before You Build
The bathroom decisions you cannot undo once the slab is cast — location and stacking, sunken vs non-sunken slabs, waterproofing, and the plumbing, electrical and ventilation you must coordinate with the civil work, stage by stage.
BathroomsFreestanding Bathtub India: Materials, Floor Load, Concealed Plumbing & Cost (2026)
The statement centrepiece tub that stands free of every wall — how acrylic, stone-resin and cast-iron differ, the floor load a filled tub imposes, the concealed rough-in you must set out before the flooring goes down, the clear space it needs all around, drainage, and honest 2026 rupee costs.
BathroomsRelated Tools — Try Free
Before & After Studio
Generate AI before-and-after renders to preview how your redesign could look.
DesignAIAcoustic Privacy (STC) Visualizer
Indian healthcare acoustic visualizer — compare wall assemblies and noise sources, see received SPL after STC attenuation, and check FGI 2018 / IS 1950 / NABH speech-privacy compliance with live dual-canvas waveform.
Acoustic ToolApartment Video Door System Planner
Enter flats, entrances, floors and guard desk for a first-pass building intercom plan — door stations, indoor monitors, guard station, the right architecture and an indicative cost band.
Building Planner