
Apartment Lighting Planning Guide
How to light a deep, dark apartment floor plate in layers — before the wiring is chased into the walls
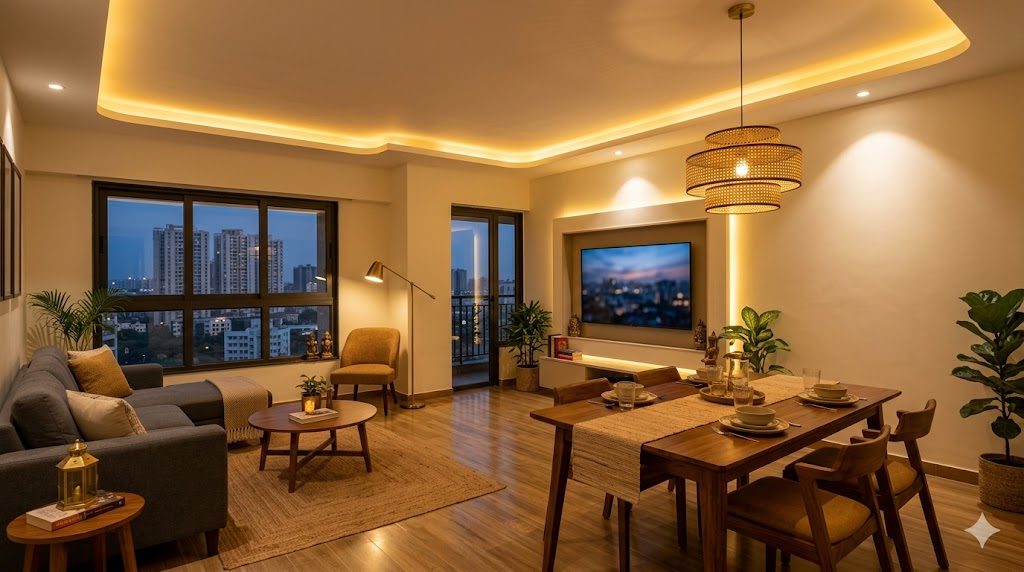
Apartments are dark in ways houses rarely are. The floor plate is deep, so the centre of the flat sits far from any window. There are usually only one or two external walls, and the balcony — the one generous opening — often shades the living room rather than lighting it. Then the builder hands over the flat with a single tube light or one flat ceiling fixture per room, and the result is a home that needs the lights on at noon and still feels flat after dark.
Good apartment lighting solves two problems at once: it protects and bounces the daylight you have, and it builds artificial light in layers instead of one bright disc on the ceiling. The catch is timing. In a flat, every switch, socket, and ceiling point has to be decided on the plan before the wiring is chased into the walls — because moving a point in a finished apartment means breaking a wall you just paid to finish. This guide is a deep-dive companion to our apartment interior planning checklist.
The core idea: light in three layers
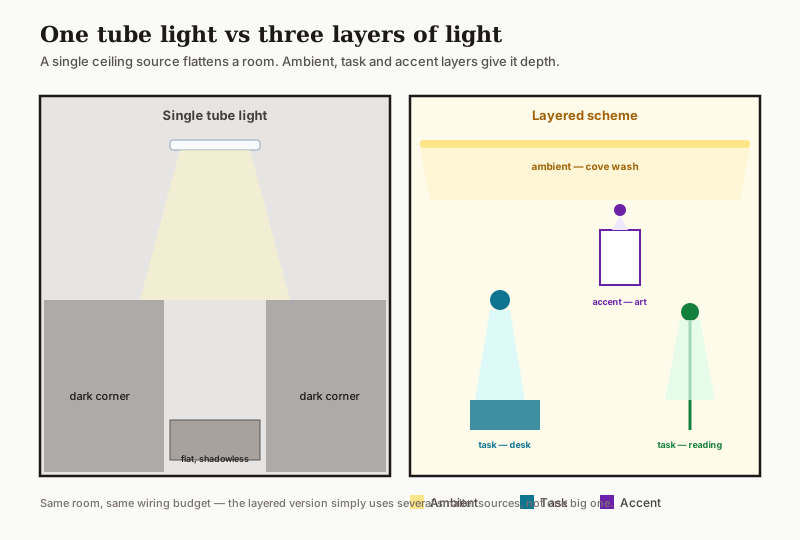
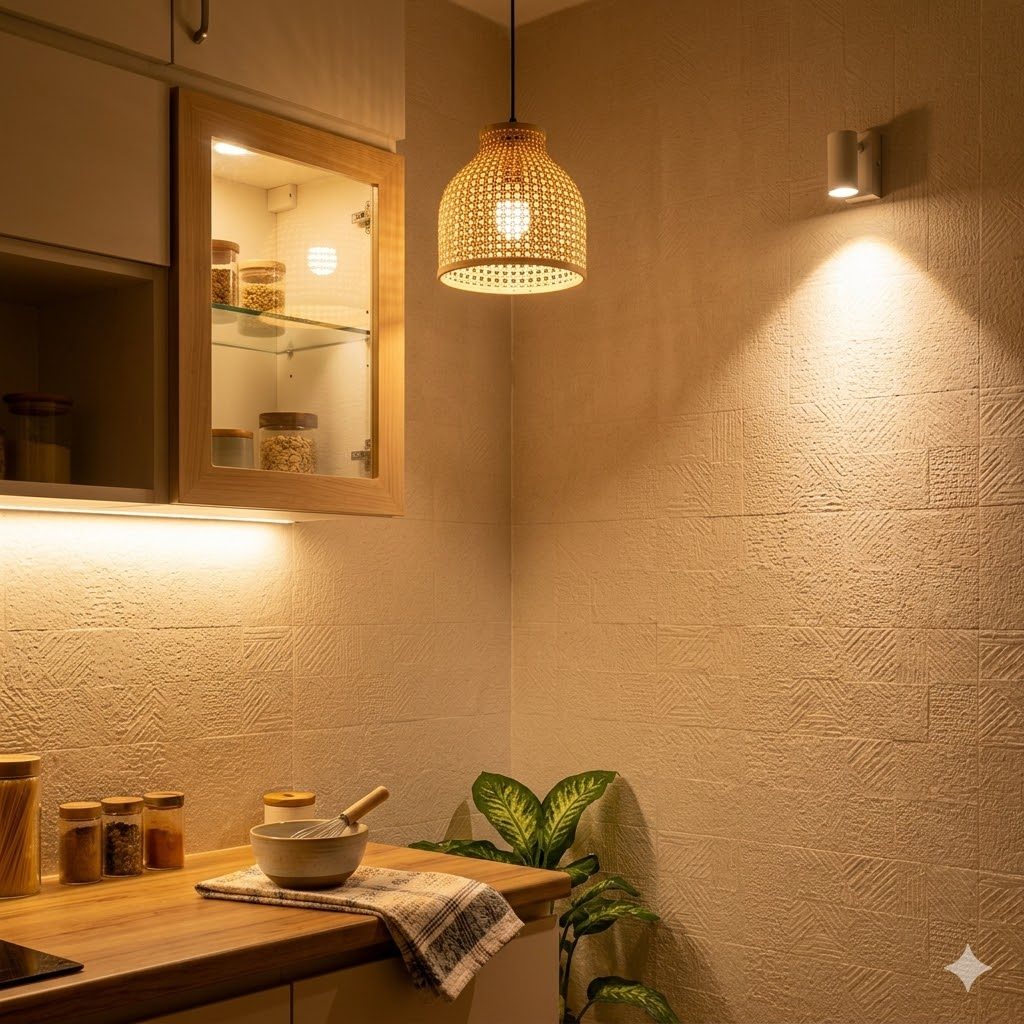
A well-lit room uses at least three sources at different heights, each doing a different job. One ceiling light cannot do all three — it floods the room flatly, casts hard shadows, and leaves work surfaces in gloom. The three layers are ambient, task, and accent.
| Layer | What it does | Typical fixtures in a flat |
|---|---|---|
| Ambient | Fills the room with soft general light | Cove lighting, recessed downlights, a central fixture |
| Task | Lights a specific activity surface | Under-cabinet kitchen lights, a desk lamp, a reading floor lamp, mirror lights |
| Accent | Adds depth, highlights a feature | Wall grazers, picture lights, TV-niche strips, shelf lighting |
The shift from one layer to three is the single biggest upgrade most apartments can make. It is also cheap if planned early and expensive if retrofitted, because task and accent lighting need their own circuits and points.
A flat does not feel premium because of expensive fixtures. It feels premium because the light is layered — soft fill, bright where you work, and a few points of glow that add depth.
Protect the daylight you have
Before adding a single fixture, plan around the daylight. In an apartment you cannot add windows, so the daylight you receive is fixed — your job is to not waste it. Keep the window wall unobstructed by tall furniture, use light, reflective finishes on the walls opposite the windows to bounce light deeper into the plan, and choose sheer or stackable window treatments that fully clear the glass during the day. A mirror placed opposite a window can visually double the daylight reaching the room.
Read next: Natural light planning for Indian homes and the diagnosis of dark rooms in why your home feels dark.
Colour temperature: match the Kelvin to the room
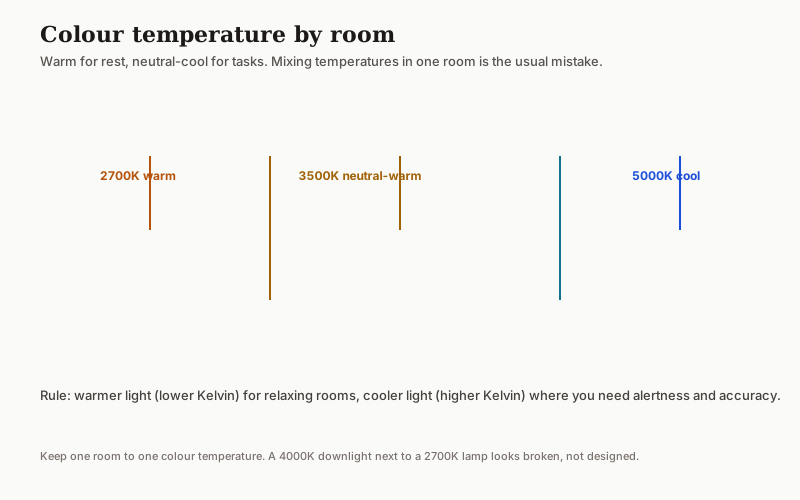
Colour temperature — measured in Kelvin (K) — decides whether a room feels warm and restful or crisp and alert. The most common apartment mistake is buying one carton of cool-white bulbs and using them everywhere, which makes bedrooms feel like offices. Match the temperature to how the room is used.
| Room | Recommended | Why |
|---|---|---|
| Living room | 2700–3000K (warm) | Relaxed, welcoming, flatters skin and wood |
| Bedroom | 2700K (warm) | Calming, supports winding down |
| Kitchen | 3500–4000K (neutral) | Clear, accurate for prep work |
| Bathroom | 3500–4000K (neutral) | Crisp for grooming, with warm option |
| Study / home office | 4000K (neutral-cool) | Alert, reduces afternoon drowsiness |
| Dining | 2700–3000K (warm) | Food looks appetising, intimate |
Keep one temperature consistent within an open-plan living-dining zone so the space reads as one. Use a high colour-rendering index (CRI 80+, ideally 90+) everywhere you judge colour — kitchen, wardrobe, bathroom mirror.
Plan the circuits and points before wiring
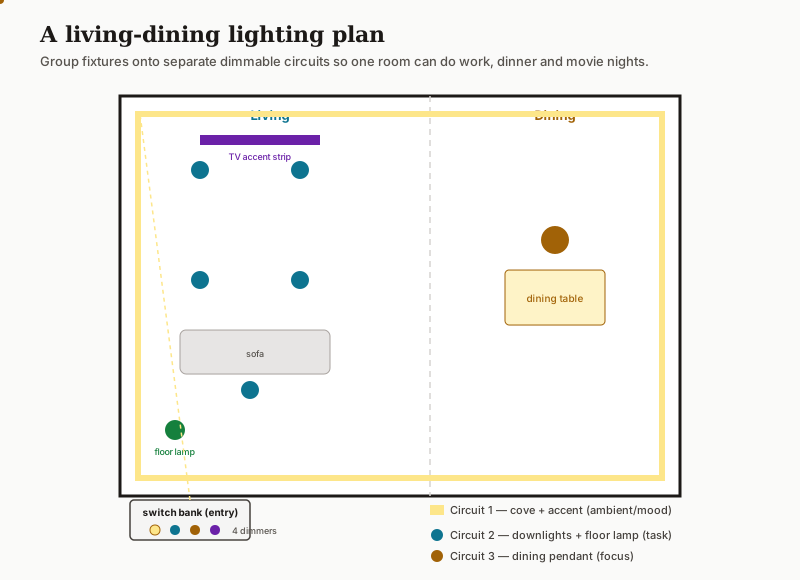
This is the step apartments cannot skip. Once the false ceiling is up and the walls are finished, every new point means a chase, a patch, and a repaint. Mark all of it on the plan first: ceiling points, wall lights, switch banks at every entry, two-way switching for through-rooms and bedrooms, sufficient 5A and 15A sockets, and dedicated points for floor and table lamps so they are not run off extension cords.
A few habits prevent most regret:
- Switch at the point of entry. Every room gets a switch bank where your hand naturally reaches as you walk in.
- Two-way switching for bedrooms (door and bedside) and any corridor or room with two entries.
- Separate circuits per layer so ambient, task, and accent can be controlled — and dimmed — independently.
- Dimming on the ambient and dining layers. A single dimmer transforms a room from bright-functional to soft-evening.
- Lamp sockets planned, so floor and table lamps add their layer without trailing wires.
Room-by-room quick guide
| Room | Ambient | Task | Accent |
|---|---|---|---|
| Living | Cove or downlights, dimmable | Reading floor/table lamp | TV-niche or shelf strip |
| Dining | Pendant centred over the table | Pendant doubles as task | — |
| Kitchen | Ceiling downlights | Under-cabinet LED over counter | Toe-kick or open-shelf strip |
| Bedroom | Soft central, dimmable | Bedside lamps or wall reading lights | Wardrobe internal lights |
| Bathroom | Ceiling downlight | Mirror/vanity lights at face height | — |
| Balcony | Wall or string light | — | Uplight on a plant |
The fix, in order
1. Protect the daylight — clear the window wall, bounce light with pale finishes and a mirror.
2. Design three layers — ambient, task, accent — for every room, on the plan.
3. Choose colour temperature by room — warm to live and rest, neutral to work.
4. Lock every point and switch on the plan before wiring, with two-way and lamp circuits.
5. Split circuits per layer and add dimming so one room can be many moods.
Plan it: Lay out fixtures, circuits, and switch points with the Lighting Planner, and read the deeper reference on architectural lighting design in India. For the whole apartment sequence, start at the apartment interior planning checklist.
References
- Karlen, M., Spangler, C. and Benya, J.R. (2017) Lighting Design Basics. 3rd edn. Hoboken, NJ: John Wiley & Sons.
- Bureau of Indian Standards (2016) National Building Code of India 2016, Part 8: Building Services, Section 1: Lighting and Ventilation. New Delhi: BIS.
- Illuminating Engineering Society (2011) The Lighting Handbook. 10th edn. New York: IES.
- Ching, F.D.K. (2014) Interior Design Illustrated. 3rd edn. Hoboken, NJ: John Wiley & Sons.
Part of the Studio Matrx Apartment Living series.
Export this guide
Related Guides — Deep-dive reading
Bedroom Lighting Design for Indian Homes: Calm, Layered & Dimmable (2026)
How to light an Indian bedroom for rest first and function second — why the harsh central tube light in your eyeline is the classic mistake, how to layer soft ambient, bedside reading task, accent and a low night light, and how to specify warm 2700K, dimming and two-way switching so the room winds down with you.
LightingDining Room Lighting Design: The Pendant & the Glow (2026)
How to light a dining area the design way — the pendant or chandelier as the hero over the table, warm and dimmable for the meal, layered with soft ambient fill and a buffet accent, and centred on the table (not the room) before the ceiling point is ever wired.
LightingKitchen Lighting Design for Indian Homes: Task-First & Shadow-Free (2026)
The design guide to lighting an Indian kitchen where task and safety matter most: the one rule that ends counter shadows, the ambient-task-accent layers, the right lux, neutral colour and high CRI so food looks true, and where wiring near water hands off to a licensed electrician.
LightingRelated Tools — Try Free
Cross-Ventilation Analyzer
Estimate airflow and air changes per hour (ACH) from room size, window areas, layout, and local wind — with NBC 2016 Part 8 compliance check.
Ventilation CalculatorApartment Interior Planning Checklist
51-item checklist across structural, ceiling, lighting, furniture, storage, electrical, kitchen, bathroom.
ChecklistFull-Room BOQ — Living, Bedroom, Kitchen, Bath
Room-wise BOQ across living, bedrooms, kitchen, utility, and bathrooms with line-item pricing.
Full-Room BOQ