
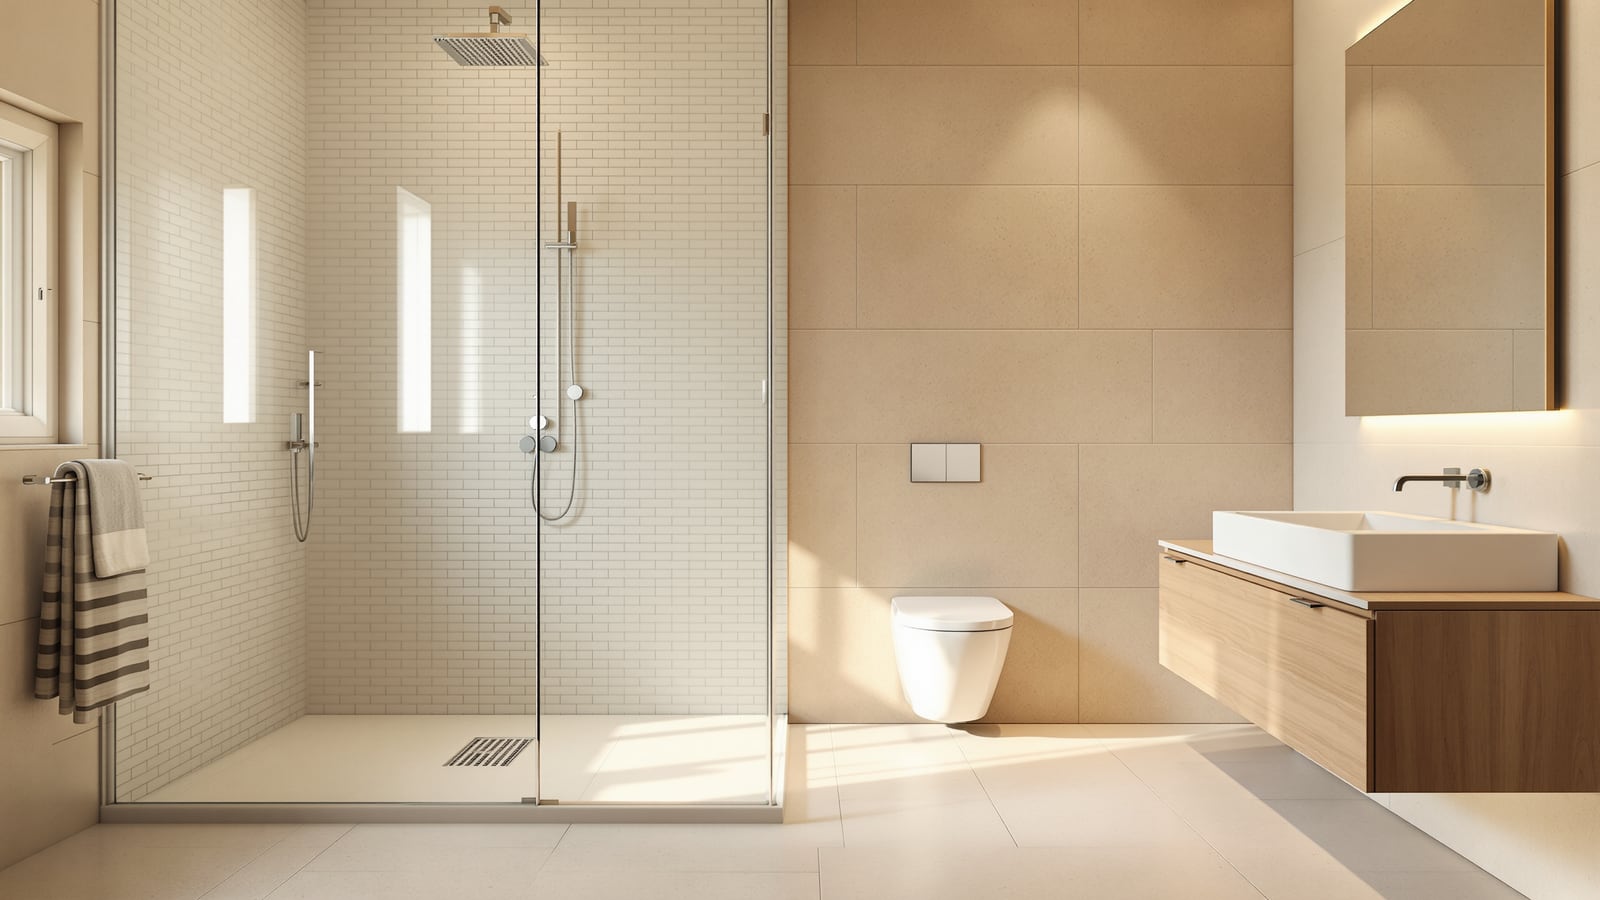
Wet and Dry Bathroom Layout India: Zoning, Glass Partition & Drainage Plan
How to zone an Indian bathroom into a wet shower area and a dry WC-and-vanity area — where to place the glass partition, how to slope and drain each zone, and the clearances in mm that make the split the modern Indian standard.
The traditional Indian bathroom is wet everywhere. One drain, one gentle slope, a health faucet and a shower that spray water across the whole floor — so the WC seat, the vanity, the storage and the tiles you walk on all stay damp for hours. The wet-and-dry bathroom layout ends that by drawing a single line through the room: a tanked, steeply drained wet zone for the shower, and a dry zone where the WC, basin and mirror stay dry all day. A glass partition holds the split. Done well, it is now the default expectation in new Indian homes and renovations.
This is the wet-and-dry zoning guide in the Studio Matrx bathroom hub. It is about where the line goes and how the plan works around it — so read it with the bathroom layout and planning guide, the layout pillar, and the complete bathroom design guide for India for the codes and fundamentals. If you want the room-type view of the same idea, the dry bathroom design guide and the wet room design guide are the two ends of the spectrum this layout sits between.
Wet-and-dry is not a fixture you buy. It is a decision about which side of one partition each fixture lives on — and putting slope, drainage and ventilation on the correct side of that line.
What "wet zone" and "dry zone" actually mean
The two zones are defined by water, not by walls. The wet zone is the only part of the floor and wall you treat as a shower tray: fully waterproofed (tanked), steeply sloped, with its own drain. The dry zone is everything outside it — planned to stay dry, so the fixtures there never sit in a splash.
| Zone | What lives here | Waterproofing | Floor slope | Drain |
|---|---|---|---|---|
| Wet zone | Shower (rain/hand), any tub, wet-zone niche | Full tanking, floor + walls to 1800 mm | Steep 1:50 to shower drain | Dedicated trap or linear channel |
| Dry zone | WC, basin/vanity, mirror, storage | Standard splash-back only | Gentle 1:100 for washdown | Small floor drain, occasional use |
| Transition (the line) | Glass partition + door, kerb/channel | Waterproofed threshold | — | Channel catches runoff |
The single most important planning rule follows from this: put the wet zone at the far end, away from the door, so you never walk through the shower to reach the WC or basin. Everything else in the plan is arranged around that.
The core zoned plan
The diagram below is the standard three-fixture Indian bathroom, zoned. The WC and vanity share the dry zone near the entry; the shower sits behind glass at the far wall on the plumbing side, so supply and drainage stay grouped.
Sensible dimensions for an Indian home, checked against NBC 2016 fixture spacing:
| Element | Recommended (mm) | Note |
|---|---|---|
| Wet shower zone | 900 x 900 min; 900 x 1200 comfortable | Fully tanked, own drain |
| WC compartment width | 760 min; 600 clear in front | Health faucet reachable from seat |
| Basin / vanity | 600–700 wide | Splash contained by dry-zone slope |
| Circulation / clear walkway | 700–750 | Between fixtures and partition |
| Door leaf | 600–750 | Swings into the dry zone, never the wet |
| Glass partition height | 1800–2000 | 8–10 mm toughened glass |
| Threshold / kerb | 0–12 mm upstand, or flush linear channel | At the glass line |
Placing the glass partition — the decision that makes or breaks it
The partition is the whole system. Get its position and type right and the dry side stays dry; get it wrong and you have spent money on glass that still lets water sheet across.
- Position it to enclose only the shower. The partition should ring the wet zone tightly — you want a 900 x 900 mm (or 900 x 1200 mm) enclosure, not a glass wall halfway across the room. Enclosing less floor means less to keep wet and more dry circulation.
- Door swings or slides into the wet zone. A pivot or sliding shower door should open inward so drips fall back onto the tanked floor, not onto the dry tiles.
- Choose the partition type to the budget. A fixed 8–10 mm toughened panel with a door is the reliable default. A half-height dwarf wall (900–1000 mm) topped with glass is cheaper and still works. A well-tracked shower curtain is the weakest option but beats an open floor.
- Seal the base. A silicone bead or a low kerb where the glass meets the floor stops the shower's runoff from creeping under the panel into the dry zone.
Slope and drainage: two independent falls
A wet-and-dry layout fails when water crosses the line, and water crosses because the drainage was designed as one system instead of two. The section below shows the fix: a steep fall inside the wet zone, a drainage break at the glass, and a gentle fall on the dry side.
The rules that keep the line honest:
- A steeper wet-zone fall. Slope the wet floor at roughly 1:50 toward its drain so a shower's worth of water clears in seconds. Follow IS 1172 and NBC 2016 Part 9 drainage practice.
- A gentle dry-zone fall. Give the dry side a shallow 1:100 to a small floor drain so you can still swab it, without water running toward the fixtures.
- A drainage break at the glass line. A linear channel or a low kerb exactly where the partition meets the floor is the single detail most jobs skip — it catches shower runoff before it reaches the dry tiles.
- Ventilation, or the dry side never dries. Size an exhaust fan at roughly 6–8 air changes per hour, ducted outside — not into a false ceiling. Openable louvred windows help through the monsoon.
Common zoning mistakes
Most wet-and-dry layouts that fail were let down by small planning errors, not by budget. The recurring ones:
- Enclosing too much floor. A glass wall halfway across the room turns the whole space back into a wet zone with a partition in the middle of it. Ring the shower tightly instead.
- A single shared drain. One trap serving both zones means the dry side depends on the wet side clearing first. Give each zone its own fall and drain.
- The door swinging into the dry zone. A shower door that opens outward drips onto dry tiles every time. Swing or slide it inward.
- Skipping the channel at the glass. Without a break at the line, runoff sheets across the floor no matter how good the glass is.
- No exhaust. A dry zone in a sealed, unventilated room is dry in name only — humidity keeps every surface damp.
Materials, and where this layout suits
Be strict on the wet zone, relax slightly on the dry. Wet-zone floor: small-format matt or textured tiles rated R11 or better for anti-slip, to IS 15622; smaller tiles add grout lines and grip. Dry-zone floor: larger-format tiles are fine for a cleaner look, but keep at least R10 — a stray splash near the basin still happens. Sanitaryware: wall-hung or floor-mounted WC and basin to IS 2556; wall-hung frees the dry floor for easy cleaning. Partition glass: 8–10 mm toughened, with a nano coating in hard-water areas so you are not scrubbing scale off it weekly.
This zoning is the right default for almost every Indian bathroom with real daily use — see the small bathroom layout guide for how to fit a compact 900 x 900 enclosure into a tight plan, the rectangular bathroom layout guide for the far-wall wet zone on the common Indian shape, and the L-shaped bathroom layout guide where the two legs make the wet/dry split almost automatic. To keep costs and pipe runs down, group the shower against the same plumbing wall as the WC and basin, as covered in the plumbing-efficient layout guide. In a very tight room under about 1.2 x 1.5 m, a fixed partition can eat circulation — there, a tracked curtain or a corner enclosure is the honest call.
References
- NBC 2016 (National Building Code of India), Part 9 — plumbing services, drainage slopes and bathroom ventilation.
- NBC 2016, Part 3 — development control and general building requirements, including sanitation and fixture spacing.
- IS 1172 — basic requirements for water supply, drainage and sanitation in buildings.
- IS 2556 — sanitary appliances (vitreous china WCs and wash basins) specifications.
- IS 15622 — pressed ceramic and vitrified tiles; use for wet-zone anti-slip selection.
- CPHEEO Manual on Water Supply and Sanitation — drainage and trap guidance for domestic bathrooms.
Export this guide
Related Guides — Deep-dive reading
Dry Bathroom Design India: Wet-and-Dry Layout, Glass Partition & Benefits
How to design a dry bathroom for an Indian home — separating a dry WC and vanity zone from a tanked wet shower with a glass partition — with sizes in mm, rupee costs, and the drainage and ventilation detail that keeps the dry side genuinely dry.
BathroomsRectangular Bathroom Layout India: 3-Fixture Plans, Sizes & Clearances (mm)
The rectangle is the most common Indian bathroom shape. Here is how to arrange the WC, basin and shower along the long or short wall, keep the wet zone at the far end, and hit the clearances that make a narrow-ish rectangle feel roomy — with plans, sizes in mm and rupee-aware advice.
BathroomsSmall Bathroom Layout India: 3x5, 4x6 & 5x7 ft Plans That Actually Work
How to plan a tiny Indian bathroom so it feels bigger and works harder — the best fixture arrangements for 3x5, 4x6 and 5x7 ft rooms, corner basins, sliding doors, wall-hung sanitaryware, clearances in mm and rupee-smart tricks.
BathroomsRelated Tools — Try Free
Cross-Ventilation Analyzer
Estimate airflow and air changes per hour (ACH) from room size, window areas, layout, and local wind — with NBC 2016 Part 8 compliance check.
Ventilation CalculatorWindow Size Calculator
Get the right window size, glazing area and openable area for any room using NBC daylight rules.
Window ToolBathroom Renovation Cost Calculator
Cost to renovate an existing bathroom with a replace-vs-keep model — demolition, re-waterproofing, tiles, fittings and the money saved by keeping items.
Bathroom Calculator