
Water Tank Cleaning in India: How Often, DIY vs Professional, Overflow & Leak Fixes
A homeowner's guide to keeping overhead tanks and underground sumps clean — why sediment, algae and biofilm build up, the six-monthly drain-scrub-disinfect-rinse routine, when to call a tank-cleaning service, how to seal a tank against contamination and mosquitoes, and how to fix constant overflow and tank leakage.
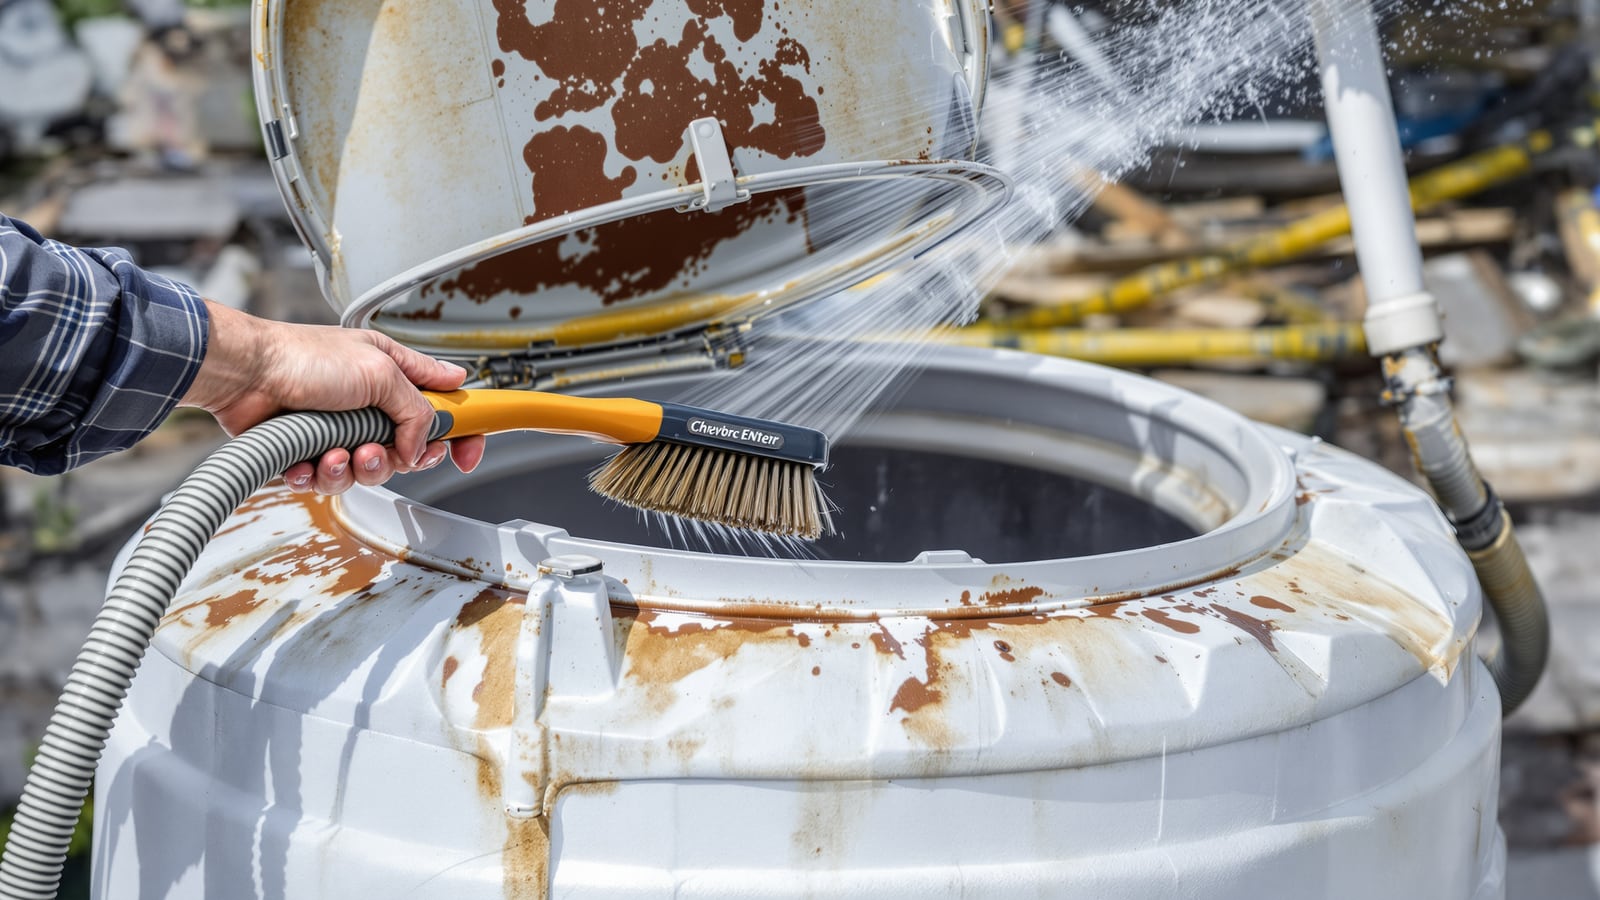
Water can leave the treatment plant clean and still reach your tap tasting of mud, smelling stale or carrying a faint green tinge — because in most Indian homes the last stop before the tap is a storage tank that quietly collects sediment, algae and slime. A tank is only as good as its last cleaning. This guide covers how often to clean an overhead tank or underground sump, the drain-scrub-disinfect-rinse routine, when to hand it to a professional, and how to fix the two problems that plague stored-water systems: constant overflow and tank leakage.
This guide sits under the Studio Matrx plumbing maintenance guide. For how tanks are sized and specified, see the water storage tanks guide and the guide to overhead water tanks. Overflow almost always traces back to one fitting, so keep the float valves guide handy.
Why a stored-water tank needs cleaning
Even municipal water that meets drinking standards carries fine suspended solids, and borewell water carries far more. Once water sits still in a tank, three things happen:
- Sediment settles. Silt, sand and fine grit sink and form a soft sludge on the tank floor — thicker with borewell or hard water.
- Algae grows. Any daylight reaching the water (a translucent tank, a cracked or missing lid) feeds green or brown algae along the walls.
- Biofilm forms. A thin, slippery layer of bacteria coats the walls and fittings. It is the source of most "off" smells and tastes, and it shelters organisms that a passing dose of chlorine cannot reach.
Left alone, that combination discolours water, blocks the inlet and outlet mesh, clogs downstream aerators and filters, and can make water unsafe to drink. A stagnant, poorly covered tank is also a prime mosquito breeding site — a real public-health issue in dengue-prone Indian cities.
A tank does not have to look filthy to be due for cleaning. Biofilm and fine sludge are largely invisible from the manhole. Clean on a schedule, not only when you can see a problem.
How often to clean
The right interval depends on your water source and tank type. As a practical India-first default, clean every six months — many households sync it with the pre-monsoon and post-monsoon periods so it is easy to remember.
| Task | Frequency | Notes |
|---|---|---|
| Full tank clean (drain, scrub, disinfect, rinse) | Every 6 months | Every 3-4 months for borewell/hard water or a translucent tank in sunlight |
| Check and clear inlet/outlet mesh and overflow pipe | Monthly | Quick look; clear any silt or insects |
| Inspect lid, seal and vent mesh | Monthly | Confirm it is closed, intact and mosquito-proof |
| Inspect for cracks, damp patches or seepage | Quarterly | Check underground sump walls and RCC tanks especially |
| Wipe/clear sump floor sludge | Every 6 months | Sumps collect more grit than overhead tanks |
| Professional deep clean (high-pressure + vacuum) | Every 12 months (optional) | Useful for large or shared building tanks |
The cleaning procedure, step by step
The routine is the same for a Sintex-type plastic overhead tank, a stainless tank or an RCC underground sump — only the access and effort differ.
1. Shut off the inlet. Stop the pump and close the inlet valve so no fresh water enters while you work. Isolate the tank from the distribution line if you can.
2. Drain down. Use up the stored water through normal taps, then open the drain/washout or scoop out the last few centimetres. Do not simply flush hundreds of litres of clean water down the overflow — plan the clean for when the tank is naturally low.
3. Remove the sludge. Scoop out the settled silt and sludge with a mug or dustpan. Never wash a thick sludge layer straight into the outlet — it clogs the downstream line.
4. Scrub the surfaces. With a soft-bristle brush or a clean sponge, scrub the floor, walls, corners and the underside of the lid. Do not use detergent, soap, acid or bleach powder that leaves residue — plain scrubbing removes most biofilm.
5. Rinse out. Rinse the loosened dirt to the drain. Repeat until the rinse water runs clear.
6. Disinfect. Wipe or spray the inner surfaces with a mild chlorine solution — ordinary household liquid bleach (sodium hypochlorite) diluted well in water is the common, low-cost choice. Leave it in contact for the time stated on the product, keep the tank ventilated, and wear gloves.
7. Final rinse. Rinse thoroughly so no chlorine taste or smell remains, and drain that rinse away — do not send it to your taps.
8. Refill and check. Restore the inlet, let the tank fill, and run the nearest taps until any residual smell clears before drinking.
DIY or call a professional tank-cleaning service?
A single overhead tank you can stand beside and reach into is a reasonable DIY job with a brush, a bucket and diluted bleach. Hand it to a professional service when the tank is large, deeply recessed, on a shared building terrace, or an underground sump you would have to climb into.
- DIY makes sense for an accessible plastic or steel overhead tank up to roughly 1,000-2,000 litres, where you can drain, scrub and rinse without entering it.
- Call a professional for underground sumps, large or twin-tank installations, tanks that need entry, or when you want a documented deep clean. Services use high-pressure jets, wet vacuums and anti-bacterial treatment, and typically charge a few hundred to a couple of thousand rupees per tank (indicative — it varies by city and tank size). For an apartment, this is usually the society's job.
Do not enter an underground sump casually. A closed sump can hold low oxygen or trapped gases — a confined-space hazard. If a tank must be entered, that is a job for a trained crew with ventilation and a second person watching, not a solo DIY afternoon.
Sealing the tank: keep contamination and mosquitoes out
Cleaning is wasted if the tank re-contaminates within weeks. A well-sealed tank stays clean far longer:
- A tight, opaque lid keeps out dust, leaves, lizards and birds, and blocks the sunlight that feeds algae. Replace any cracked or ill-fitting cover.
- A mosquito-proof vent and overflow. Fit fine mesh over the air vent and the mouth of the overflow pipe so mosquitoes cannot enter to breed — one of the most effective anti-dengue measures at home.
- A screened inlet keeps grit and insects out of the incoming water.
- Shade a translucent tank — box it in or paint-shield it — to stop algae.
Troubleshooting: overflow and leaks
The two failures homeowners meet most are a tank that overflows constantly and a tank that leaks. They come from opposite ends of the tank: overflow from the inlet fitting at the top, leakage from a crack or failed seal in the wall or base.
Use the table to narrow it down, then the notes below.
| Symptom | Likely cause | Fix |
|---|---|---|
| Water runs continuously from the overflow pipe | Float valve not shutting off (stuck arm, worn washer, sunk float ball, wrong level setting) | Check and service or replace the float valve; reset the level so it cuts off below the overflow |
| Overflow only when the pump runs; stops otherwise | Pump has no auto cut-off and outruns the float, or a failed float switch | Add or repair a float switch / level controller; do not rely on the mechanical float alone |
| Slow drip from a plastic (Sintex-type) tank wall or base | Hairline crack, UV-embrittled wall, or a leaking outlet nut | Tighten/re-seal the fitting; for a cracked plastic tank, repair with a plastic-weld patch or replace the tank |
| Damp patch or seepage on an RCC/masonry tank or sump wall | Failed internal waterproofing or a structural crack | Empty and apply proper tank waterproofing — see the water storage tanks guide; serious RCC cracks need professional treatment |
| Leak at a pipe joint on or near the tank | Loose union, perished washer, worn threads | Re-seal or replace the joint; see the plumbing maintenance guide |
| Water level drops with no visible leak | Leaking outlet/foot valve or an underground sump seeping into soil | Isolate sections to locate; sump seepage usually needs waterproofing |
Constant overflow is almost always the float valve — the mechanical ball cock that is supposed to shut the inlet when the tank is full. A sunk float, a worn washer or an arm set too high all let water keep entering until it pours out of the overflow, wasting water and, for pumped systems, running the pump needlessly. The float valves guide walks through servicing and resetting it. For pumped tanks, back the mechanical float with a float switch or level controller so the pump also cuts off.
Leakage depends on the tank material. A plastic tank usually leaks at a fitting (re-seal it) or through a crack from UV brittleness or impact — small cracks can be plastic-welded, but an aged, cracking tank is best replaced. A concrete or masonry tank or an underground sump leaks because its internal waterproofing has failed; the durable fix is to empty it and re-apply a proper waterproofing system, not to smear sealant over a damp wall. The water storage tanks guide covers tank construction and waterproofing in more depth.
Safety notes
- Isolate the pump at the mains before working on or near a tank — electricity and water together is a serious risk, and you do not want it switching on while your hands are inside.
- Never enter a closed sump without ventilation and someone watching from outside. Treat it as a confined space.
- Ventilate while disinfecting, wear gloves, and never mix bleach with any other cleaning chemical (acids or ammonia release toxic gas).
- Rinse out all chlorine before the water is used for drinking, and let taps run until any smell clears.
References
- National Building Code of India (NBC) — for water supply, storage and plumbing provisions in buildings.
- Bureau of Indian Standards (BIS) — Indian Standards covering water storage tanks and drinking-water quality. Confirm the current standard and edition for your tank type before specifying; do not rely on a number quoted from memory.
Export this guide
Related Guides — Deep-dive reading
Toilet Maintenance India: Clean the Bowl, Fix a Running or Weak-Flush WC (2026)
The WC is the hardest-working fitting in an Indian bathroom and the quietest money-waster when it fails. This is the practical, do-it-yourself guide to keeping a toilet clean and working: scrubbing the bowl and under the rim, killing the hard-water limescale ring, and fixing the four things that actually go wrong — a running cistern, a weak flush, a leak, and a blockage.
BathroomsUnderground Water Sump Tanks in India: Sizing, Waterproofing and Safe Placement
The below-ground reservoir that catches municipal and borewell water at ground level before a pump lifts it to your overhead tank — how it fits the supply chain, why waterproofing is make-or-break, how big to build it, where to keep it away from the sewer, and how to keep the pump from running dry.
PlumbingWater Pump Maintenance & Troubleshooting in India: Fix a Pump That Won't Start, Runs Dry or Loses Prime
A homeowner's guide to keeping a domestic water pump alive and diagnosing it when it fails — a routine maintenance schedule (leaks, bearing noise, capacitor, foot valve, priming, dry-run protection, impeller) and a symptom-to-cause-to-fix table for the five faults every Indian pump eventually throws: won't start, runs but no water, low flow, won't stop, and trips or overheats.
PlumbingRelated Tools — Try Free
Rainwater Tank Sizer
How big should your rainwater tank be? Computes annual harvest, recommended tank capacity in litres, water-bill savings, and payback — for 10 Indian cities.
RWH CalculatorMonsoon-Readiness Checklist
Pre-rain home audit across 9 categories — terrace, drains, waterproofing, electrical, HVAC, pest, vehicles, documents.
Seasonal AuditCross-Ventilation Analyzer
Estimate airflow and air changes per hour (ACH) from room size, window areas, layout, and local wind — with NBC 2016 Part 8 compliance check.
Ventilation Calculator