
Smart Infrastructure Planning for Indian Homes
The invisible backbone you lay during construction so any smart system clicks in later
Walk into almost any "smart home" being sold in India today and you are really looking at a pile of gadgets: a video doorbell here, a Wi-Fi bulb there, a voice speaker on the shelf. Useful, yes. But none of it is built into the house. Pull the plug, take it to your next flat, and the home is exactly as dumb as it was before. That is fine for renters. It is a missed opportunity for anyone pouring lakhs into a home they expect to live in for the next twenty years.
The homes that age well are the ones where the owner, during construction, quietly laid down something invisible: a backbone. Empty conduits running floor to floor. A bunch of network cables converging on one cupboard. A neutral wire waiting behind every switch. A 600 mm niche where a future rack will live. None of it does anything on day one. All of it means that five years from now, adding cameras, mesh Wi-Fi, a smart lock, or whole-home automation is a plug-in afternoon rather than a wall-breaking, plaster-cracking, week-long ordeal.
This guide is strictly about that backbone, not the brains. We will not tell you which smart speaker to buy or which automation app is best. We will tell you what to bury in your walls now, while the slab is open and the masons are still on site, so that whatever you choose later simply clicks in.
The mantra for this entire guide: provision the dumb infrastructure now; add the smart brains anytime. Cheap empty pipe and one spare cable today routinely saves you ten to thirty times their cost in chiselled walls and re-plastering tomorrow.
1. Why a backbone, and why now
A smart system has two halves. There is the infrastructure layer — the conduits, the data cables, the central enclosure, the power point, the neutral wires — and there is the systems layer, the actual devices and ecosystems that ride on top. The systems layer changes every few years; Wi-Fi standards jump, brands rise and die, your needs evolve. The infrastructure layer, if you build it right, never needs to change at all.
The trap most Indian homeowners fall into is treating the two as one decision, made late. They wait until the house is nearly ready, panic about "smart features", and then bolt on whatever wireless gadget is easiest — because the walls are closed and running a proper cable now means breaking them. The result is a house that is forever stuck on battery-powered, Wi-Fi-dependent workarounds.
A useful rule from the building trades: spend on what is permanent and hard to change; economise on what is easy to swap. Conduits and cabling are permanent. Devices are swappable. Put your money and attention on the permanent layer.
The good news is that the backbone is genuinely cheap when done during construction. A few hundred metres of conduit, a roll or two of Cat6A cable, a patch panel, and a niche in the wall are a rounding error against your overall build cost — often well under one percent. The bad news is that almost none of it can be added later without destruction. That asymmetry is the whole reason this guide exists.
For the actual systems and ecosystems that ride on this backbone — wired versus wireless devices, which platform, and running costs — see the companion guide Smart Home Design for Indian Homes. This guide stays on the infrastructure side; that one is your "what to install" partner.
2. Structured cabling: think star, not chain
The single most important decision is to wire your home in a star topology, also called structured cabling. It means every data outlet in the house — each TV point, each desk, each ceiling Wi-Fi spot, each camera location — gets its own unbroken cable that runs all the way back to one central point. No daisy-chaining one room to the next. No splitters buried in walls. Each cable is a "home run".

Figure 1: Every outlet gets its own dedicated cable back to one enclosure. Power-over-Ethernet runs (dashed) carry both data and power on a single cable to access points and cameras.
Use Cat6 cable at minimum; Cat6A is the smart choice and the small price premium is worth it. Cat6A comfortably carries 10 Gbps over the short distances inside a home and gives you decades of headroom — Indian broadband is already crossing 1 Gbps in metros and will keep climbing. The cable is the part you cannot easily replace, so buy the better grade once.
How many outlets, and where? A workable baseline for an Indian family home:
| Location | Data outlets to provision | Why |
|---|---|---|
| Living / TV wall | 2 | Smart TV, set-top, console, future soundbar |
| Each bedroom | 1-2 | Desk, wall-mounted TV, future use |
| Home office / study | 2-3 | Wired desk is far steadier than Wi-Fi for calls |
| Ceiling, one per floor | 1-2 | Wi-Fi access points (see section 6) |
| Entry / gate / boundary | 2-3 | Cameras, video doorbell, intercom |
| Central enclosure | all of the above land here | The hub |
Run two cables to any point where one would do but is awkward to reach later — the second cable costs a little copper and a few minutes now, versus opening a wall later. This is the cheapest insurance in the entire build.
3. The conduit spine: empty pipe is the real future-proofing
Cables get the attention, but the conduits matter more. A conduit is just the plastic pipe the cable runs inside. If you size your conduits generously and, crucially, leave some completely empty with a pull-string inside, you can add almost any future cable without touching the wall — you tie the new cable to the string and pull it through.

Figure 2: A vertical spine links every floor to the hub. Keep at least one oversized conduit empty, with a nylon pull-string already threaded, so tomorrow's cable needs no chiselling.
Three rules make a spine future-proof:
- Run a vertical spine. In a multi-storey home, dedicate a vertical chase or duct that connects every floor to the ground-floor hub. This is the highway; branch conduits feed off it to each room.
- Oversize and leave spares. Where 25 mm conduit suffices for today's cables, also run a 32-40 mm conduit that is empty. The marginal cost of a larger pipe and one spare is trivial during construction.
- Always leave a pull-string. A simple nylon string left inside an empty conduit is the difference between a five-minute pull and a demolition job. Insist your electrician leaves one in every spare conduit and labels both ends.
Avoid sharp 90-degree bends in conduit runs; use gentle sweeps or pull-boxes at corners, otherwise the pull-string and future cables will jam. Keep data conduits a sensible distance from power cables to limit interference — a parallel separation of around 100-150 mm and crossing at right angles is the usual guidance.
The wiring-circuit side of this — distribution boards, spare breaker ways, dedicated circuits, and how the power conduits are planned — is a separate discipline. That belongs to the companion guide Future-Proof Wiring Systems for Indian Homes. Here we stay on the data, network and empty-conduit side; there you will find the power-circuit detail.
4. The central enclosure: where the house's nervous system lives
Every home run has to land somewhere. That somewhere is your central enclosure — a single cabinet, niche, or small rack, ideally on the ground floor near where the ISP fibre enters, in a dry, ventilated, accessible spot. Not in a damp utility shaft, not above the cooking range, not behind a wardrobe you will later seal.

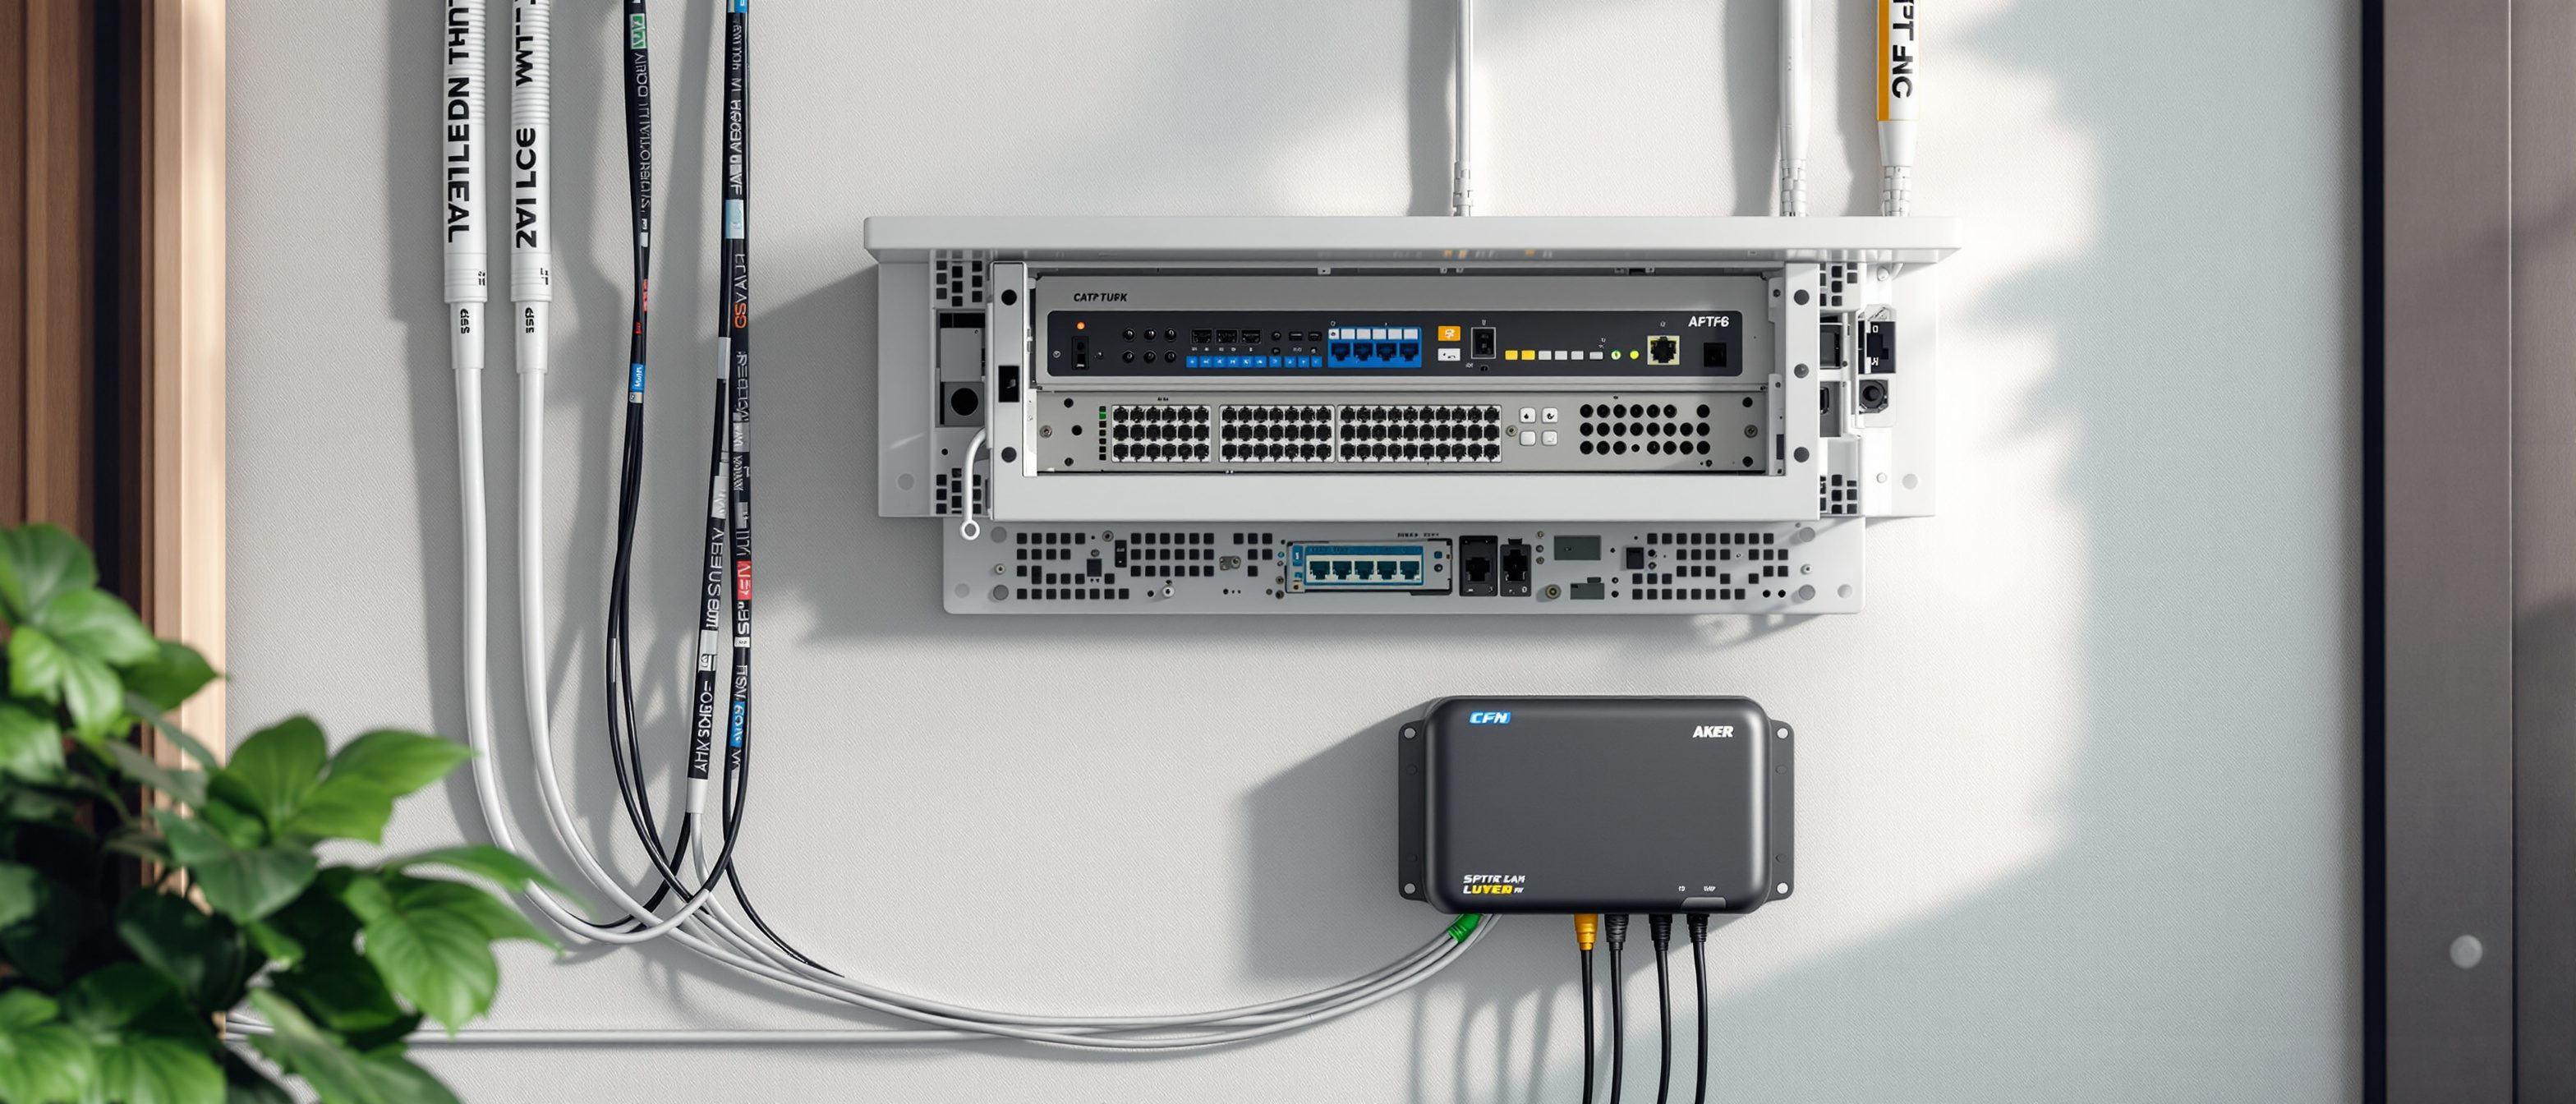
Figure 3: One tidy cabinet where the street's fibre meets every cable in the house. The patch panel terminates every room's home run; the switch fans them back out; the UPS keeps it alive through power cuts.
What lives in a mature enclosure, and what each part does:
| Component | Job | Provision now? |
|---|---|---|
| ONT (fibre terminal) | Where ISP fibre becomes ethernet | Route fibre conduit to this spot |
| Router / gateway | Addresses, firewall, ISP failover | Mains socket + space |
| Network switch (PoE) | Fans data out to every room; powers APs and cameras | Cable termination + power |
| Patch panel | Terminates and labels every home run cleanly | Buy with the build |
| Mini-UPS | Keeps internet and cameras alive in a cut | A backed-up socket |
| Spare ways | Room to add an NVR, second switch later | Leave 30-40% empty space |
You do not have to buy all of this on day one. What you must do on day one is make room for it: a recessed niche of roughly 600 x 600 mm (larger if you can), a dedicated 16A power socket on your inverter or UPS line, a ventilation slot so the kit does not cook, and all your conduits arriving neatly at this one point. Provisioning that empty, powered, ventilated niche costs a few thousand rupees at construction. Cutting one into a finished wall later costs many times that, plus the mess.
Centralise the brains, and you change the system without ever touching the wires. Swap a router, add a camera recorder, jump to Wi-Fi 7 — it all happens in one cupboard, never in your walls.
5. Fibre entry and ISP redundancy
Plan exactly where the street fibre enters the building and run a dedicated, gently-curved conduit from that entry point straight to the enclosure. In India the ONT (the small box the fibre plugs into) is usually supplied by your provider; your job is to make sure the conduit and a power point are waiting for it in the right place, not have the technician drill a hole through your front elevation on installation day.
For anyone who works from home or runs a business, single-ISP dependence is a real risk — Indian broadband still suffers outages, and a cut fibre can mean a dead day. Provisioning for redundancy is cheap: run a second entry conduit from a different side of the building so a second wired ISP can be added later, and keep your router choice open to "dual-WAN" or automatic failover to a mobile (4G/5G) backup. You are not buying two connections today; you are making sure adding a second one tomorrow is a plug-in, not a project. The remote-work case for this is covered in Home Office Design for Remote Work in India.
6. Wi-Fi done properly: ceiling access points and PoE
Most Indian homes get bad Wi-Fi because a single router sits in one corner, fighting through brick and concrete walls. The fix is not a bigger router; it is wired access points mounted on the ceiling, one per floor or per wing, each fed by its own Cat6A home run from the enclosure.
The elegant part is Power-over-Ethernet (PoE): the same network cable that carries data also carries power, so a ceiling access point needs no separate electrical point and no visible adapter — just the one data cable you already provisioned. To enable this, you simply need a PoE-capable switch in the enclosure and a data outlet provisioned at each ceiling location.
| Approach | Coverage | Future-proof? | Verdict |
|---|---|---|---|
| Single router in a corner | Patchy through walls | No | Avoid as the only plan |
| Wireless mesh nodes | Good, but each node hogs a socket and re-broadcasts | Partly | Acceptable retrofit if no cabling exists |
| Wired ceiling APs over PoE | Even, fast, expandable | Yes | The backbone goal |
If you only provision one thing for Wi-Fi, provision a data outlet at the ceiling of each main level. Even if you start with a cheap wireless mesh, those ceiling cables mean you can upgrade to proper wired access points whenever you like — no walls harmed.
7. The neutral wire: the cheapest smart-home enabler you can forget
Here is a small detail with outsized consequences. Most smart switches and dimmers — the ones that replace your existing wall switch so you can control a light from your phone or by voice — need a neutral wire present in the switch box to power their electronics. Traditional Indian switch wiring often runs only the live (switched) wire to the switch and keeps the neutral at the light fitting. If there is no neutral at the switch, many smart switches simply will not work, and you are pushed toward fiddly, less reliable workarounds.
The fix costs almost nothing if done during wiring: ask your electrician to bring a neutral wire to every switch box, whether or not you plan a smart switch there. It is one extra core in a cable you are already running. Retrofitting a neutral later means opening switch boxes and pulling new wire through conduits — expensive and disruptive. This single instruction, given once to your electrician, quietly future-proofs every light in the house. (The broader circuit design that this sits within is covered in Future-Proof Wiring Systems and the basics of reading these layouts in Electrical Drawings Explained.)
8. Central or distributed? Wired or wireless? Choosing an architecture
Two architectural choices shape everything. Neither has a single right answer, but the backbone you lay should keep both options open.
Central vs. distributed. A central architecture pulls all intelligence into the enclosure — a single controller, recorder and switch — with simple endpoints in each room. A distributed architecture spreads smart devices around the house, each fairly independent. Central is tidier, easier to back up and secure, and ages better; distributed is easier to start small. Because you cannot predict which you will prefer in ten years, lay a backbone that supports central (every cable home-runs to one place) — you can always run a distributed system over centralised cabling, but not the reverse.
Wired backbone vs. wireless mesh. A wired backbone — cables to fixed points, mesh only at the very edge — is faster, more reliable, and immune to the interference that plagues dense apartment blocks. A pure wireless mesh needs no cabling but depends on radio conditions and power at each node. The pragmatic answer for a home you are building: lay the wired backbone (it is only cheap now), then use wireless mesh as a convenience at the edges and for mobile devices. You get the reliability of wire and the flexibility of wireless.
| Decision | Cost to provision now | Cost to retrofit later | Recommendation |
|---|---|---|---|
| Star cabling to one enclosure | Cable + a day's labour | Break walls room to room | Always provision |
| Empty spare conduit + pull-string | A larger pipe, a string | Chisel new chases | Always provision |
| Neutral at every switch | One extra wire core | Open every switch box | Always provision |
| Ceiling data outlet for Wi-Fi AP | One cable per floor | New ceiling chase | Always provision |
| Central enclosure niche + 16A point | A wall recess + socket | Cut into finished wall | Always provision |
| Actual devices (cameras, switches) | — | Same cost either way | Defer; buy when needed |
The pattern is unmistakable: provision the permanent layer, defer every device. The devices cost roughly the same whenever you buy them; the infrastructure is the only thing that gets dramatically more expensive once the walls close.
9. Power and backup at the hub
A backbone is only as reliable as its power. In most of India, power cuts are a fact of life, and a smart home that goes dark — and loses its cameras and internet — every time the grid blinks is not much of an upgrade. Provision a dedicated 16A socket at the enclosure, wired onto your inverter or UPS backup line, so the router, switch, ONT and a small mini-UPS keep running through a cut. The networking kit draws very little — typically a few tens of watts — so even a modest backup keeps your internet and cameras alive for hours.
Two cheap habits pay off: keep the enclosure ventilated (a small grille or gap), because routers and switches run warm and Indian summers are unforgiving; and leave 30-40% of the rack or niche empty for the kit you will inevitably add. You can estimate what the full smart layer might eventually cost with the Smart Home Cost Calculator, and sanity-check your provisioning list against the Electrical Safety Checklist before the walls close.
10. A provisioning checklist to hand your contractor
Future-proofing fails when it lives only in your head. Write it into the drawings and the contract. At minimum, instruct your team to:
- Run a star topology: a dedicated Cat6A home run from every data point to one central enclosure — no daisy-chains.
- Establish a vertical conduit spine linking every floor to the ground-floor hub.
- Leave at least one oversized empty conduit with a labelled pull-string on every major run.
- Bring a neutral wire to every switch box, without exception.
- Provision a ceiling data outlet for a Wi-Fi access point on each level, on a PoE-capable switch.
- Build a ventilated enclosure niche (about 600 x 600 mm) with a dedicated 16A socket on inverter backup.
- Route a dedicated fibre conduit to the enclosure, plus a second entry conduit for ISP redundancy.
- Leave 30-40% spare capacity in the enclosure and a couple of spare conduit branches to likely future spots (gate, roof, terrace).
Do these eight things and you will have spent a fraction of a percent of your build cost to make the house permanently ready for whatever smart technology arrives over the next two decades. You are not buying the future. You are leaving the door open to it — which, as this whole cluster argues, is the only sensible way to build in 2026.
Sources & further reading
- National Building Code of India (NBC 2016), Bureau of Indian Standards — Part 8 (Building Services), guidance on electrical and communication installations and ducting in buildings.
- IS 732: Code of Practice for Electrical Wiring Installations, Bureau of Indian Standards — governs wiring, circuits and the practices your electrician should follow.
- TIA-568 / ISO-IEC 11801 structured cabling standards — the international basis for star-topology premises cabling and Cat6/Cat6A performance categories.
- Eco Niwas Samhita (ENS) / ECBC-R, Bureau of Energy Efficiency — India's residential energy code; relevant when coordinating networking and power provisioning with efficiency measures.
- Central Electricity Authority (CEA) Safety Regulations — statutory safety requirements for electrical installations in India.
- TRAI broadband and fixed-line reports — context on rising Indian home broadband speeds that justify Cat6A and fibre provisioning.
Pairs with the pillar Designing Homes for 2040 in India, and its siblings Smart Home Design for Indian Homes and Future-Proof Wiring Systems for Indian Homes.
Export this guide
Related Guides — Deep-dive reading
Smart Home Planning Guide India: New Build & Existing Homes
The decisions that make or break a smart home are taken at the plan stage — before a wall goes up or a switch box is chased. Here is how to plan conduits, neutrals, network backbone and device points for an Indian home that stays smart for a decade.
Smart HomeFuture-Proof Wiring Systems for Indian Homes
Build electrical headroom now so tomorrow's loads are plug-and-play, not demolition.
Future-Ready HomesPoE vs Wi-Fi CCTV: Which Home Security Cameras Are Better?
One camera type runs power and video down a single Cat6 cable to an NVR and almost never drops out; the other clips to a wall in minutes and streams over your home Wi-Fi. This guide settles PoE vs Wi-Fi CCTV for Indian homes — reliability, video quality and bandwidth, cabling and power, retrofit versus new-build effort, NVR versus SD and cloud storage, hacking risk, real rupee costs, scalability and outdoor use — and gives a clear verdict for each kind of home.
Smart HomeRelated Tools — Try Free
Access-Control Battery-Backup Calculator
Size the standby battery so an access system keeps running through a power cut, with an egress life-safety note.
Battery BackupApartment Video Door System Planner
Enter flats, entrances, floors and guard desk for a first-pass building intercom plan — door stations, indoor monitors, guard station, the right architecture and an indicative cost band.
Building PlannerSecurity Cabling & PoE Planner
Estimate cable length, drops, PoE power budget, the right switch, conduit and cost for a CCTV/security cabling plan.
Cabling Planner