
Smart Home Planning Guide India: New Build & Existing Homes
The decisions that make or break a smart home are taken at the plan stage — before a wall goes up or a switch box is chased. Here is how to plan conduits, neutrals, network backbone and device points for an Indian home that stays smart for a decade.
The most expensive smart-home mistake in India is not buying the wrong gadget. It is finishing the civil work — plastered walls, painted rooms, tiled floors — and only then deciding you want automation. At that point every wire you did not run must be surface-mounted in ugly casing, chased into a finished wall at premium cost, or replaced by a wireless workaround that is second-best. Planning at the plan stage is the single highest-leverage decision in the whole project, and it costs almost nothing while the walls are still open.
This guide is about that plan-stage thinking. It walks through what to run in the walls for a new build, how to plan when the home already exists, the electrical and network requirements that trip up most Indian installs, where to place devices, and how to budget and phase the spend so you are never trapped. If you are still deciding whether to automate at all, start with the ultimate guide to smart homes in India; if you want the money angle, the smart home cost guide sits alongside this one.
The cheapest smart home is the one you planned for before the plaster went on. Every wire you skip at the slab costs ten times more to add after paint.
Why planning at the plan stage matters
A smart home is layers: power, network, devices, control. In a finished Indian home, three of those four layers are locked behind walls you cannot easily open. Conduit routes, the depth of switch boxes, whether a neutral wire reaches each switch, where the network cabling terminates — all of this is decided during electrical rough-in, weeks before you think about which brand of smart switch to buy. Get the infrastructure right and you can swap devices freely for a decade. Get it wrong and you are locked into wireless-only retrofits forever.
The costs are asymmetric in your favour. Adding a neutral wire to a switch box during wiring costs the price of a little extra cable. Adding it afterward means chasing a finished wall, re-plastering, re-painting — easily fifty times the cost, and impossible in a rented or society-restricted flat. This asymmetry is the entire argument for plan-stage integration.
Plan-stage decisions for new construction
If you are building or doing a full renovation, this is the checklist that matters. None of it commits you to a brand or a system — it just keeps every door open. The philosophy behind it echoes the wired vs wireless debate: you are laying the wired option so you can choose either later.
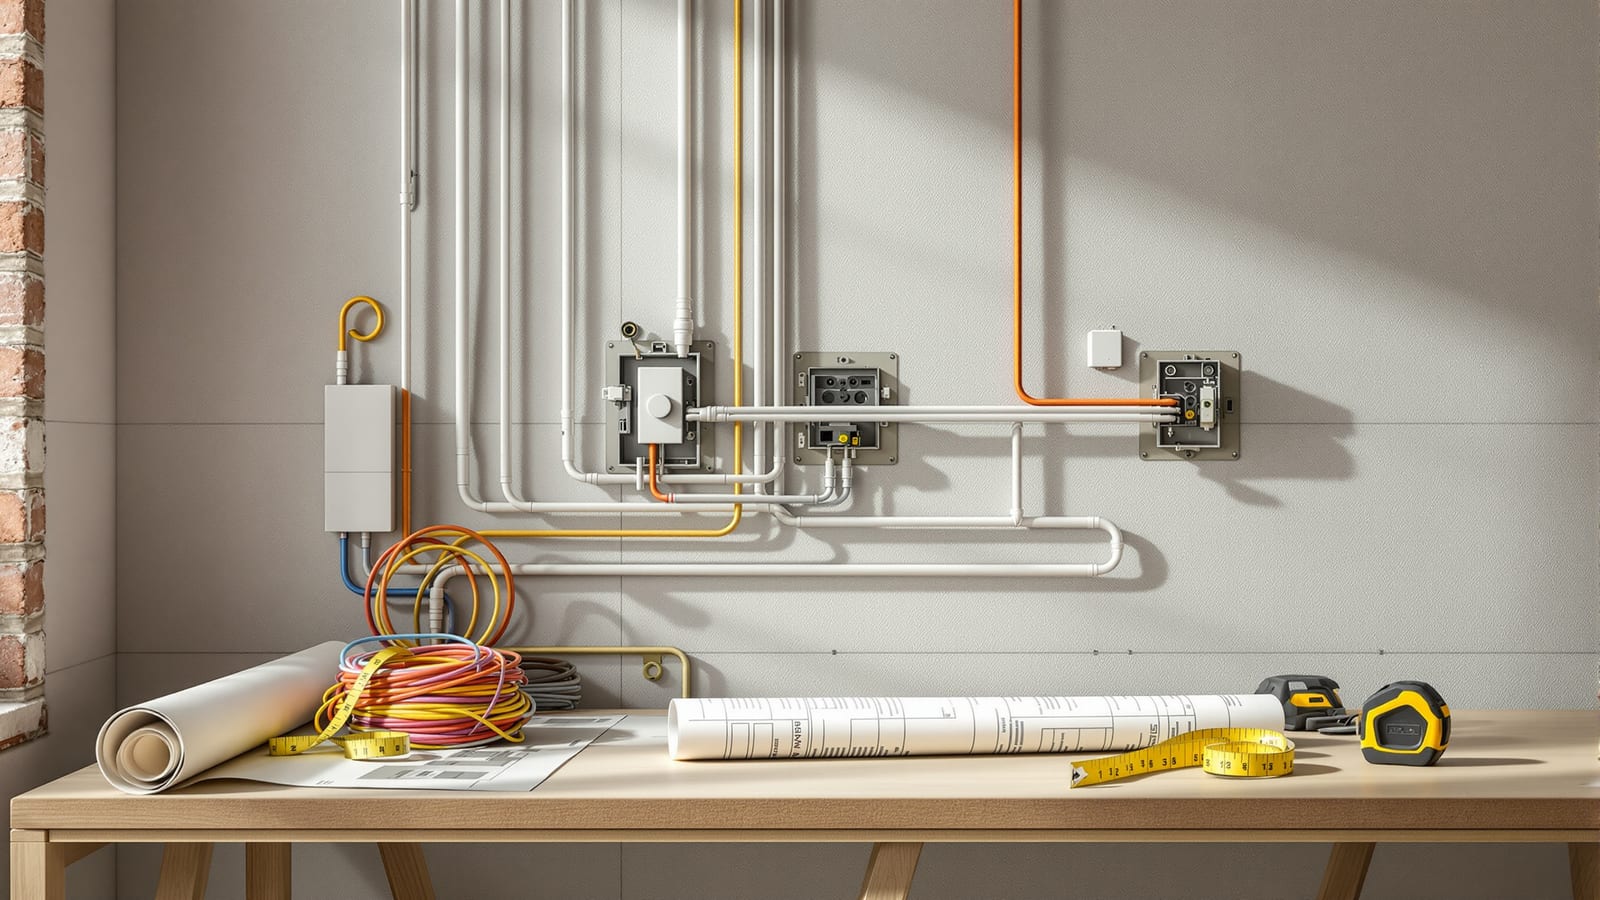
Conduits and cabling routes
Run generously sized conduits (25mm minimum on trunk routes) so you can pull additional cable later without chasing walls. Adopt a star topology: home runs from a central rack to every room, rather than daisy-chaining. Pull nylon draw-strings through empty conduits so future cables have a path. Keep low-voltage data conduits at least 150mm away from parallel 230V power runs to avoid interference.
Deep switch boxes and neutral wires
This is the one most Indian electricians get wrong for smart homes. Standard Indian switch boxes are shallow; smart switches and their modules need room. Specify deep boxes (65mm) at every location you might automate. Critically, insist on a neutral wire at every switch box — most Indian switch loops carry only live and switched-live, which strands the majority of smart switches that need a neutral to power themselves.
Network backbone and rack location
Decide where the brain of the home lives. A small ventilated cupboard or a dedicated niche near the incoming broadband ONT works. Terminate all Cat6 home runs there, allow a power point and a shelf, and keep it cool. This is your future network rack, NVR location and hub home. Read the smart home networking guide for how to size and lay this out properly.
| What to specify | Why it matters | Cost if skipped now |
|---|---|---|
| 65mm deep switch boxes | Room for smart modules | Re-cut every box later |
| Neutral at every switch | Powers most smart switches | Wall chasing per switch |
| Cat6 home runs (star) | Wired reliability, PoE | Wireless-only forever |
| Central rack niche | Clean hub/NVR home | Ugly surface clutter |
| Spare conduits + draw-string | Future cable pulls | Fresh chasing |
| Camera/sensor drop points | PoE cameras, door sensors | Battery-only cameras |
Camera and sensor points
Mark camera positions on the plan — main gate, entry door, balcony, back access — and run PoE Cat6 to each so cameras are wired, powered and reliable rather than battery Wi-Fi units. Plan door and window sensor points, motion sensor corners, and a doorbell drop. Even if you fit these later, the cabling waiting behind the wall makes the upgrade trivial.
Planning for existing homes
If the walls are already up and finished, you are planning a retrofit, and the rules change. You cannot easily add neutrals or pull new cable, so the plan becomes: map what you have, then choose devices that work within it. The companion retrofit guide covers the techniques in depth, but at the planning level the sequence is:
1. Audit the switch boxes. Open a few and check for a neutral wire and box depth. This decides whether smart switches are even an option.
2. Map the network. Where does broadband enter? Can you place a router centrally, or do you need mesh?
3. Choose wireless-first. Wi-Fi, Zigbee and Matter devices avoid rewiring. Lean on smart bulbs, plugs and battery sensors.
4. Plan surface routes for the few wires you truly need — a camera to the balcony, for example — using neat PVC casing along skirting or cornice lines.
Electrical requirements
Two electrical facts govern smart-home planning in India. First, the neutral problem: a large share of switches wired the traditional Indian way have no neutral in the box, which many smart switches require. Plan for it at rough-in, or plan around it with no-neutral devices later.
Second, load. Smart devices themselves draw little, but you are consolidating control of real loads — geysers, ACs, pumps, motorised curtains. Size circuits and switch modules to the appliance, not the gadget. Motorised curtain motors and smart geyser switches especially need correctly rated modules.
| Load type | Typical rating | Planning note |
|---|---|---|
| Lighting circuit | 6A | Most smart switches fine |
| Fan/regulator | 6A | Confirm module supports fan speed |
| Geyser / AC | 16A / 20A | Use a rated relay, not a 6A switch |
| Motorised curtain | Motor-specific | Dedicated point, correct load module |
| Pump / motor | 16A+ contactor | Never switch directly from a smart relay |
Network requirements
Every smart home rides on its network, so plan it as infrastructure, not an afterthought. Run Cat6 in a star to each room and to camera points; reserve central positions for access points; and terminate everything at the rack. Even in a wireless-first home, a wired backbone to two or three access points transforms reliability through India's thick RCC walls. The full treatment is in the smart home networking guide; the key planning rule is to leave a wired path to wherever coverage must be strong.
Device placement
Where devices go is a plan-stage decision too, because it drives cabling and switch positions. Think through it room by room, the same way the smart home design guide approaches layout.
| Location | Plan for | Note |
|---|---|---|
| Main door | Smart lock, camera, video doorbell | Power + Cat6 to doorbell |
| Living room | Scene switches, hub, speaker | Central AP nearby |
| Bedrooms | Bedside scene control, motion | Neutral at each switch |
| Kitchen | Leak sensor, smart plugs | Damp-safe placement |
| Balcony/gate | PoE camera, motion light | Weatherproof rating |
| Utility | Water tank, pump, geyser control | Rated relays |
Budgeting and phasing
You do not have to do everything at once — you just have to lay the infrastructure that lets you add later. Spend on the wires and boxes now (cheap while walls are open), and phase the devices over years as budget allows. Run the numbers in the smart home cost calculator and check the payback with the home automation ROI calculator.
| Phase | Do now (build stage) | Add later |
|---|---|---|
| Infrastructure | Conduits, neutrals, Cat6, rack | — |
| Phase 1 | Router, main-door lock, few switches | Cameras |
| Phase 2 | Smart lighting scenes, sensors | Motorised curtains |
| Phase 3 | Whole-home audio, HVAC control | Energy monitoring |
Future expansion
Plan for the home you will want, not just the one you can afford today. Spare conduits and draw-strings, a rack with room to grow, neutral wires everywhere, and a Cat6 star are the four things that keep the future cheap. A home wired this way can adopt Matter, Thread, new cameras and new switches for a decade without opening a single wall.
Pre-construction checklist
Hand this to your electrician and architect before rough-in begins:
- Neutral wire terminated at every switch box.
- 65mm deep switch boxes at all automatable locations.
- Cat6 home runs (star) from a central rack to every room.
- PoE Cat6 to each planned camera and doorbell position.
- Central rack niche: ventilated, powered, shelved, near the ONT.
- 25mm+ conduits on trunk routes with nylon draw-strings.
- Data conduits kept 150mm clear of parallel 230V runs.
- Rated relays for geyser, AC, pump and curtain loads.
- Sensor and motion points marked per room on the plan.
- Access-point positions marked centrally per floor/wing.
Tick every box while the walls are open and the rest of the smart home becomes a series of easy, affordable upgrades you make on your own schedule. For the automation logic that sits on top of this infrastructure, continue with the home automation guide for India.
References
- National Building Code of India 2016, Part 8 — Building Services — the reference framework for electrical and low-voltage services in Indian buildings.
- IS 732:2019 Code of Practice for Electrical Wiring Installations, BIS — Indian standard governing wiring, circuits and switch installations.
- Connectivity Standards Alliance — Matter — the interoperability standard your future devices will use, worth planning for now.
- Thread Group — the low-power mesh standard for battery sensors and smart devices.
- Wi-Fi Alliance — Wi-Fi 6E and Wi-Fi 7 — the Wi-Fi generations your access points should support.
- Central Electricity Authority (Measures relating to Safety and Electric Supply) Regulations, India — India's statutory electrical safety rules for domestic installations.
Export this guide
Related Guides — Deep-dive reading
Smart Home Design for Architects & Designers (India)
The smart layer is an architectural system, not an accessory bought after handover. Here is how to design it at concept and schematic stage, coordinate with your MEP consultant and integrator, and produce drawings that a contractor can actually build.
Smart HomeRetrofit Smart Home India: Automate Without Rewiring
You do not need to break a single wall to make an existing Indian flat smart. Here is the honest, room-by-room retrofit playbook — the neutral-wire problem and its workarounds, wireless-first devices, rental-friendly options, and where retrofit genuinely hits its limits.
Smart HomeFuture-Proof Wiring Systems for Indian Homes
Build electrical headroom now so tomorrow's loads are plug-and-play, not demolition.
Future-Ready HomesRelated Tools — Try Free
Electrical Safety & Load Audit
Home electrical audit — 10 categories, 65+ checkpoints across earthing, RCCB, MCB, wiring, switchboards, appliance circuits, DG/inverter backup.
Safety AuditSmart Curtain ROI Calculator
Estimate the energy savings and payback of motorising and automating curtains on harsh-sun windows.
ROI CalculatorMotorized Curtain Cost Calculator
Estimate the all-in cost to motorise curtains — motors, tracks, hub and installation.
Cost Calculator