
Sloping Site Design: Building on a Gradient
How to read a slope, choose between terracing, cut-and-fill and stilts, and turn a hillside plot in Pune, Bengaluru's outskirts or the Ghats into an asset instead of a liability.
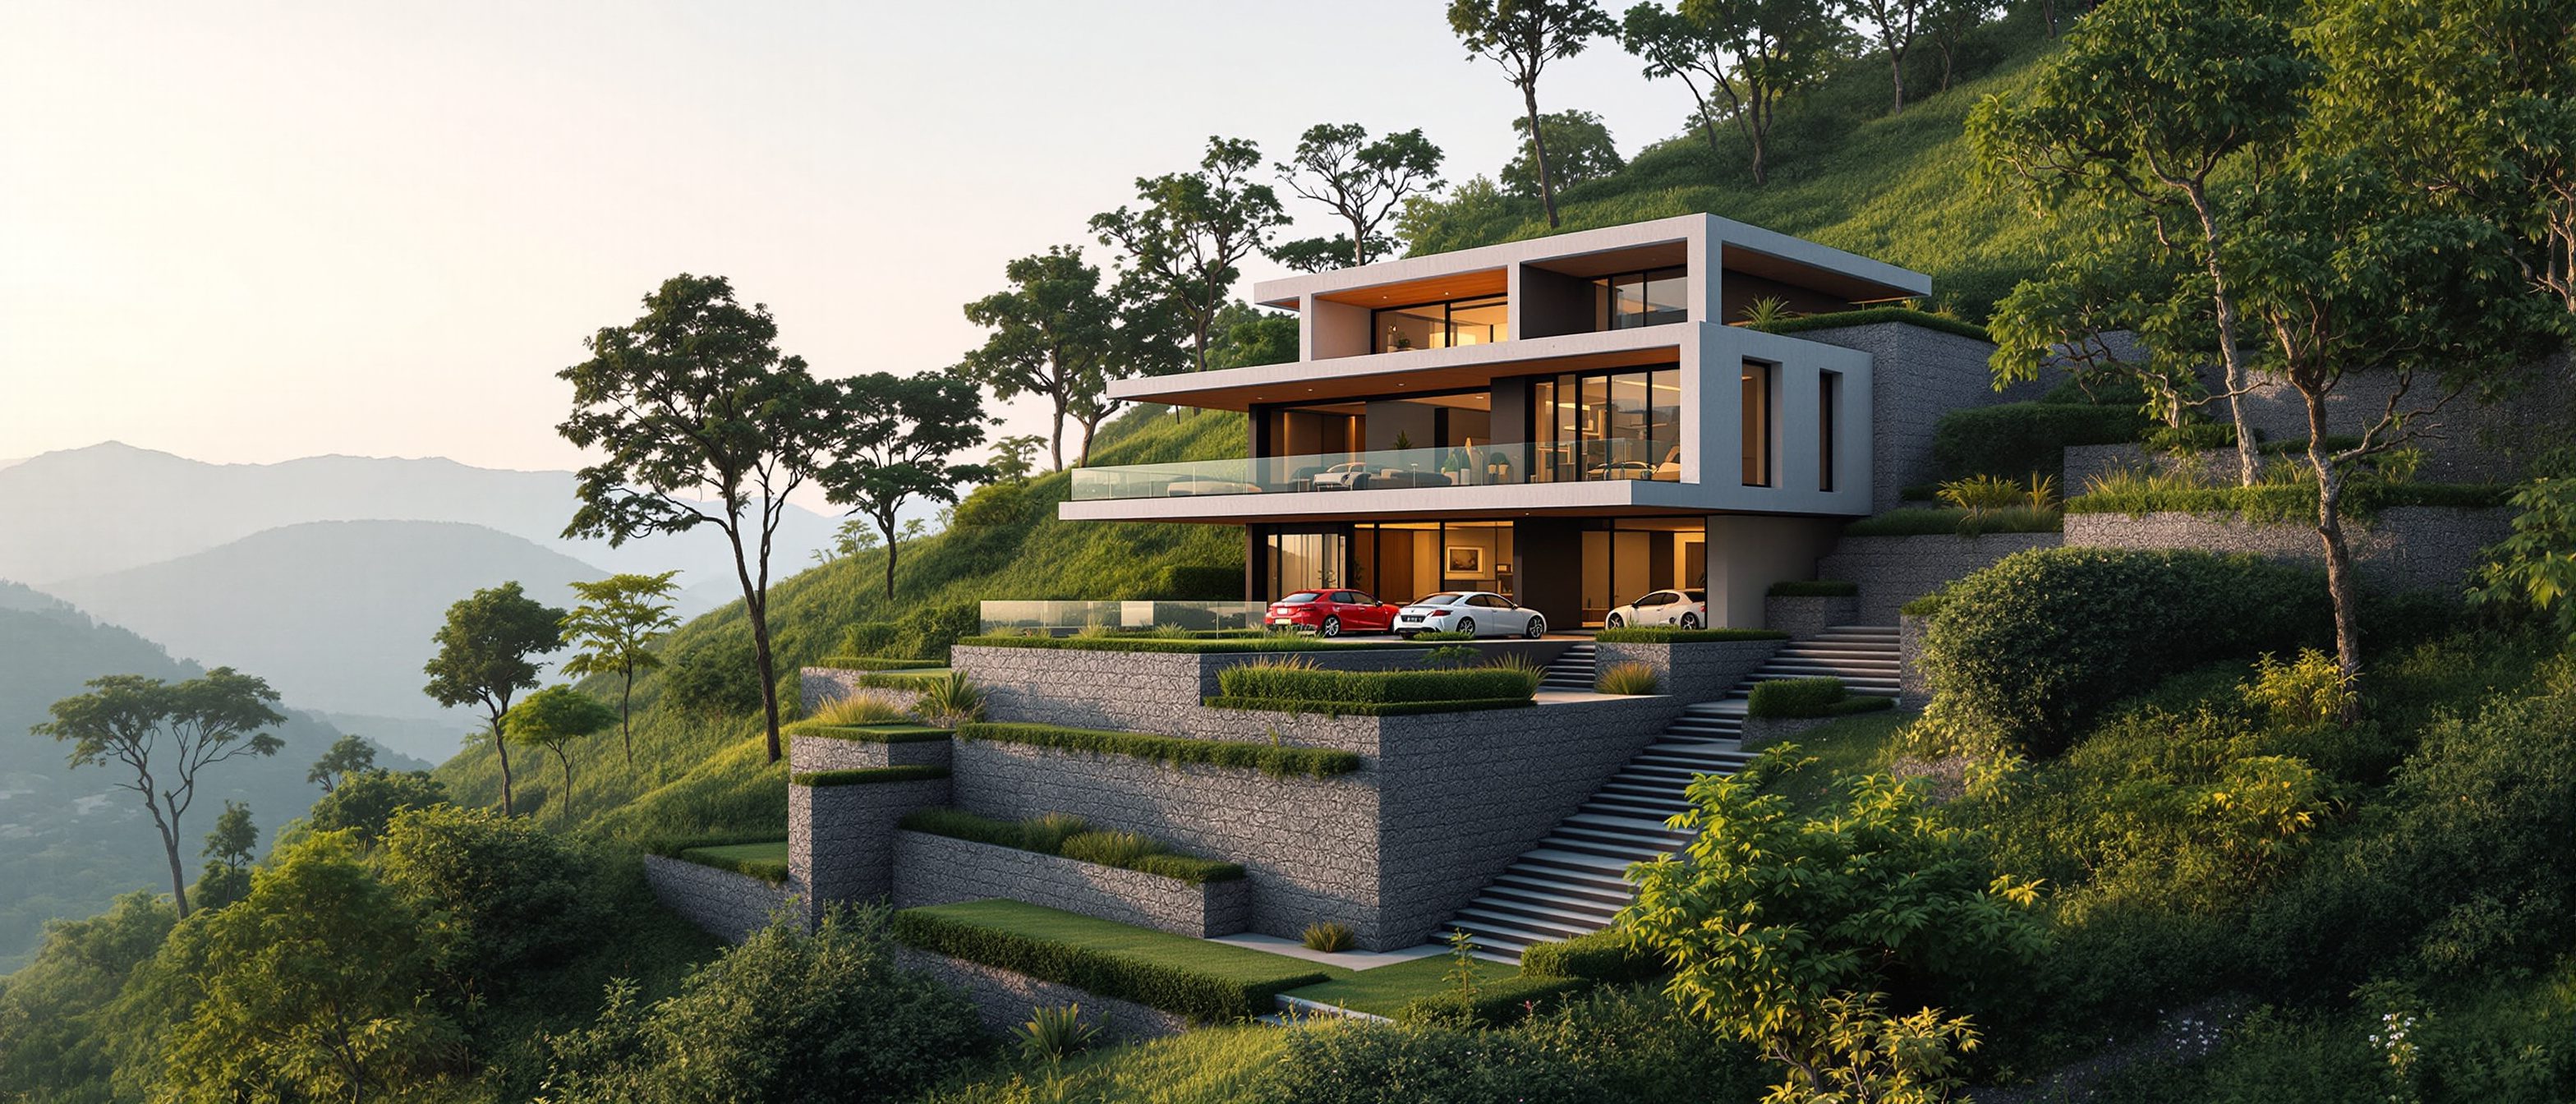
A young couple buys a 40-foot plot on the edge of Bengaluru, near Nandi Hills, because it is a third cheaper than the flat sites two streets up — and it has a view of the valley that flat sites will never have. Their first instinct, and their contractor's, is to bring in an earthmover and flatten the whole thing into one neat pad. By the time the soil is exported, the uphill bank is held up by a four-metre retaining wall and the downhill half of the house is sitting on loose fill, the savings have evaporated and the slope is fighting them at every step.
This happens constantly across India's hill belts — the Western Ghats, the Pune and Lonavala layouts, the Bengaluru and Hyderabad outskirts, Dehradun, Shimla, Gangtok, the Nilgiris. The slope is almost never the problem. The instinct to erase it is.
A sloping site rewards the design that listens to the land: step with the contours, move as little earth as possible, get the water away first, and let the fall give you views, daylight and parking for free.
1. Read the slope before you draw anything
Every decision downstream depends on three numbers you can establish in an afternoon: how steep the land is, which way it falls, and what the soil is made of.
Gradient. Slope is expressed as a percentage: the vertical rise divided by the horizontal run, ×100. A plot that drops 3 m over a 30 m length has a 10% slope. You can measure it roughly with a line level and tape, but for anything you intend to build on, commission a contour survey (a topographic map with lines joining points of equal height). Contours bunched close together mean steep ground; contours far apart mean gentle ground. This single drawing is the most useful thing you can hand an architect.
Direction of fall. Walk the plot and note whether it falls away from the road (downhill site) or up from the road (uphill site), or across it (cross-slope). This governs where you enter, where you park and where the views are.
- Downhill (falls away from the road): you enter at the top and the house steps down below you. Ideal — street-level entry, valley views, easy stilt parking at the road.
- Uphill (rises from the road): you must climb to reach the living spaces; parking sits low and you walk or drive up. Trickier, but the upper floors get the best light and outlook.
- Cross-slope (falls along the width): the house steps sideways; one flank is cut, the other is filled or propped. Workable but needs careful sectioning.
Soil and stability — non-negotiable. A slope is held together by its soil and rock. Before you commit, get a geotechnical investigation: trial pits or boreholes to establish the soil type, the safe bearing capacity, the depth of rock, and crucially whether the slope is stable. Black cotton (expansive clay), loose fill, or saturated hill soils behave very differently from murram or weathered rock. On steeper or previously disturbed ground, ask specifically for a slope-stability assessment — landslips on cut-and-filled hill plots are almost always traceable to skipping this step. Score the basics of your topography and soil with our plot-evaluation tool, but treat that as a first filter, not a substitute for a soil report.
"In hilly areas, buildings shall be so located and designed that the natural drainage and slope stability are not adversely affected, and cutting and filling shall be kept to the minimum." — National Building Code of India (NBC 2016), provisions for development on hill slopes
Classifying the gradient
The steeper the slope, the more the strategy is dictated for you rather than chosen.
| Slope | Gradient | What it means for the house |
|---|---|---|
| Gentle | 0–10% (up to ~1 in 10) | Almost any approach works. A modest split of one or two levels, or light cut-and-fill, sits comfortably. Drainage is easy. |
| Moderate | 10–20% (~1 in 10 to 1 in 5) | Step-with-the-slope clearly wins. Two to three split levels, modest retaining walls (1–2 m), a daylight basement or stilt becomes natural. |
| Steep | 20–35% (~1 in 5 to ~1 in 3) | Tight terracing or stilts/podium. Earthwork is expensive; engineered retaining and foundations are mandatory. Driveway access needs careful gradient design. |
| Very steep | >35% | Specialist territory. Often stilts/pile foundations, anchored retaining, switchback access. Budget and engineering dominate the design. Many state bylaws restrict or scrutinise building here. |
Many hill states (Himachal, Uttarakhand, parts of the Nilgiris and the Ghats) impose extra rules on steep ground — maximum cut heights, mandatory slope-stability certificates, tree-cover and ridge-line protections. Check the local development authority bylaws early; they can decide your strategy for you.
2. The three core strategies
There are really only three ways to put a building on a slope. Most good hillside houses use one as the spine and borrow a little from another.

Figure 1: The same slope, two philosophies. Heavy cut-and-fill (left) creates one flat slab but demands big retaining walls, soil export and risks settlement on the filled half. Stepping with the slope (right) keeps the levels close to natural ground, shrinking the walls and the earthwork.
Step-with-the-slope (split levels / terracing)
You break the house into platforms that follow the contours, each offset from the next by a half- or full-storey, linked by short flights of stairs. This is the gentlest, usually the cheapest, and almost always the most beautiful approach. The floor plates stay close to the natural ground, so retaining walls stay small and the earthwork is minimal. The cost is a more three-dimensional plan — you live across levels, which suits some families and not others.
Cut-and-fill (and why minimal cut wins)
You carve a platform out of the hill: "cut" the uphill soil away and use it to "fill" the downhill side, ideally balancing the two so you neither import nor export earth. Done lightly on a gentle slope, this is fine. Done heavily, it is the classic trap — tall retaining walls on the cut side, a house resting on engineered fill on the other, and a flattened plot that has lost the very topography you paid for. The golden rule: keep cut to a minimum, and never build directly on unconsolidated fill without proper compaction and engineering. Where you must fill, the foundations should reach down to undisturbed natural ground or rock.
Stilts / podium
You lift the house on columns (stilts) or a structural podium so it bridges the slope and barely touches it. The fall passes underneath, giving you covered parking, storage or services, and the main floors float out toward the view. This is excellent on steep ground where cutting is ruinous, and it keeps natural drainage flowing beneath the building. It costs more in structure (taller columns, sometimes piles) and the under-croft needs careful detailing so it does not become a damp, dark dead space.
| Strategy | When to use | Pros | Cons |
|---|---|---|---|
| Step-with-the-slope (split levels / terracing) | Gentle to moderate slopes (up to ~20%) | Least earthwork, small walls, lowest cost, follows the land, great section | Multi-level living (stairs everywhere), harder for elderly, more design effort |
| Cut-and-fill | Gentle slopes, or where a flat lawn/court is genuinely wanted | Single flat level, conventional construction, level garden | Tall retaining walls if overdone, soil export cost, settlement risk on fill, loses topography |
| Stilts / podium | Steep or very steep slopes (>20%), flood-prone toes, prized views | Minimal ground disturbance, free parking/storage below, drainage flows under, floats to the view | Higher structural cost, taller foundations/piles, under-croft can be dark and damp if neglected |
A practical combination on a moderate Pune or Bengaluru-outskirts plot: step the house into two or three split levels, take one modest cut on the uphill side held by a retaining wall, and let the downhill toe sit on stilts for parking. You get the cheapness of stepping, the level entry of a small cut, and the free garage of a stilt.
3. Retaining walls: you are holding back water as much as earth
The moment you cut into a slope, you need to hold the higher ground back. A retaining wall feels like a wall against soil — but the force that actually overturns retaining walls is almost always water trapped behind them. Saturated backfill weighs far more and pushes far harder than dry soil. The single most important detail in any retaining wall is therefore drainage, not thickness.

Figure 2: A retaining wall that drains is a slim wall. Granular (gravel) backfill, a perforated pipe at the base, weep holes through the face, and a catch-drain on top stop water from building up and doubling the pressure on the wall.
What a sound wall needs, whatever the material:
- Granular backfill (gravel or coarse sand) immediately behind the wall, not the excavated clay — clay holds water and swells.
- A perforated drain pipe at the base of the backfill, laid to fall, leading the water to a safe outlet downhill.
- Weep holes through the face (typically every 1–1.5 m) so any water that does collect can escape.
- A surface catch-drain along the top to intercept runoff before it reaches the backfill.
- A foundation that suits the soil — a wider base or a heel slab to resist overturning and sliding, sized by an engineer to the soil's bearing capacity.
For walls up to roughly a metre on stable ground, gravity stone or random-rubble masonry is common and economical across India. Beyond that, RCC cantilever or counterfort walls, gabions, or reinforced-earth (geogrid) systems take over — and beyond about 2–3 m, or on any questionable soil, the wall must be designed by a structural engineer to IS 14458 (retaining walls) and the relevant earth-pressure provisions. This is not a place for a rule of thumb: a wall failure on a slope can take the house with it. Step tall retentions into two or three shorter walls with planted terraces between them — it is cheaper, safer and far prettier than one looming face.
4. Drainage and water: the number-one cause of slope failures
If you remember one thing from this guide, make it this: on a slope, water is the enemy, and managing it is the project. Almost every hillside failure in India — slipped banks, cracked retaining walls, basements that flood every monsoon, foundations that settle — traces back to water that was not given a planned path away from the building. Our monsoons deliver intense, concentrated rainfall; a slope concentrates and accelerates that water; a poorly drained site funnels it straight into the soil and structure.
The principle is simple: intercept water uphill, carry it around the building, and release it safely downhill — never let it pond, never let it soak the backfill, never let it run unchecked across a cut face.
A working drainage scheme on a slope includes:
- A catch-drain (garland drain) across the top of the site or above each cut, to intercept hillside runoff before it reaches the house.
- Surface channels and chambers that collect roof and paved-area water and carry it in pipes or lined drains, not as sheet flow over soil.
- Sub-surface / French drains behind retaining walls and around the uphill side of the building, to relieve groundwater pressure.
- Stable outfalls — discharge into a storm drain, a soak pit on stable ground, or a rainwater-harvesting tank, but never spill concentrated water onto the unprotected slope below, which simply erodes a gully.
- Erosion control on bare slopes — turf, coir matting, planting or stone pitching, so the first heavy rain does not wash your re-graded ground away.
Many hill plots also benefit from rainwater harvesting here precisely because the topography makes water easy to collect and store. What you must not do is let drainage be an afterthought added once the structure is up; it has to be planned into the section from day one.
5. Foundations on a slope
Foundations on sloping ground follow two rules. First, every footing must bear on firm, undisturbed natural soil or rock — never on fill. Where the ground has been filled, the foundation steps or extends down through the fill to competent strata. Second, footings should be stepped to follow the slope rather than founded at wildly different depths, so that no part of the building is left perched.
Common approaches, in rough order of slope severity:
- Stepped strip or spread footings on gentle to moderate slopes with good soil — economical and conventional, the footings cascading down with the levels.
- Stepped raft where the soil is weaker or loads vary.
- Piers or short piles to carry stilt columns down to rock or firm strata on steeper ground.
- Pile foundations on very steep slopes, deep fill, or poor soil, taking the load well below the disturbed zone.
A critical detail: foundations and columns on a slope can be subject to lateral earth thrust, and the building's footings on the downhill side must not be undermined by erosion or by a future cut. This is exactly why the soil report from Section 1 is the starting gun for the whole design — the foundation type is chosen from the geotechnical data, not guessed. For anything beyond a single-storey house on a gentle, well-understood slope, the foundations and any retaining structures should carry a structural engineer's design and sign-off. Site analysis and a good architect get you a great plan; the slope's safety is an engineering question, and expert structural input here is essential, not optional.
6. Turn the slope into an asset
Here is the payoff for working with the land: a slope can give you things a flat plot simply cannot.

Figure 3: The fall does the work. Enter at street level uphill, step the living spaces down toward the valley, gain a naturally lit basement on the open downhill face, cantilever decks toward the view, and tuck parking into stilts at the toe — all from the gradient you were tempted to bulldoze away.
- Views and orientation. A downhill slope hands you an unobstructed outlook over whatever is below — a valley, a tank, the next ridge. Step the main living spaces and decks toward it. Just balance the view against sun and privacy; our companion guide on designing for views and privacy covers how to frame the good and screen the rest, and the orientation, light and views guide covers reconciling the view direction with the sun.
- Daylight basements. On a slope, a "basement" is only buried on the uphill side. The downhill face is fully above ground, so it can take full-height glazing — turning what would be a dark cellar into a bright, naturally ventilated lower floor (a studio, a guest suite, a home office) at basement cost.
- Stilt parking and storage. Where the ground falls away, columns lift the house and the under-croft becomes covered parking or storage — without excavating a basement.
- Stepped gardens and terraces. The terraces created between retaining walls become planted gardens, sit-outs and kitchen-garden beds, each at a comfortable, usable level instead of one steep, unusable bank.
- Half-level living. Split levels create generous double-height spaces and visual connection between floors that a flat, stacked house never offers — the slope gives you architectural drama for free.
The through-line of every one of these is the same idea you started with: don't flatten the slope, choreograph it.
7. A homeowner's slope checklist
| Stage | Do this | Don't |
|---|---|---|
| Before buying | Get a contour survey; note direction of fall; score topography on the plot-evaluation tool | Don't assume "we'll just flatten it" — price the earthwork and walls first |
| Before design | Commission a geotechnical soil report (+ slope-stability check on steep ground) | Don't skip the soil test to save a few thousand rupees |
| Strategy | Match the strategy to the gradient (step / cut-fill / stilts); aim to balance cut and fill | Don't build on uncompacted fill; don't over-cut |
| Retaining walls | Design drainage (gravel backfill, drain pipe, weep holes) into every wall; engineer anything over ~2 m | Don't backfill with clay or omit weep holes |
| Drainage | Plan catch-drains, surface channels and stable outfalls from day one | Don't let runoff sheet across cut faces or pond against the building |
| Foundations | Bear on firm natural ground; step footings; get a structural sign-off | Don't found on fill or leave the downhill toe exposed to erosion |
Sources & further reading
1. Bureau of Indian Standards, National Building Code of India 2016 (NBC 2016) — Part 3 Development Control & General Building Requirements, including provisions for building on hill slopes and natural drainage. BIS, New Delhi.
2. Bureau of Indian Standards, IS 14458 — Guidelines for Retaining Wall for Hill Area (multiple parts: gabion, RCC, design of retaining/breast walls). BIS.
3. Bureau of Indian Standards, IS 1904 — Code of Practice for Design & Construction of Foundations in Soils: General Requirements, and IS 1892 — Code of Practice for Subsurface Investigation for Foundations. BIS.
4. Francis D.K. Ching, Architecture: Form, Space & Order — chapters on site, level change and the section. Wiley.
5. Christopher Alexander et al., A Pattern Language — patterns on building edges, terraced slopes and connection to the land. Oxford University Press.
6. Relevant State Town & Country Planning / Development Authority hill-area building bylaws (e.g. Himachal Pradesh, Uttarakhand, Karnataka, Tamil Nadu Hill Area regulations) — for cut-height limits, slope-stability certificates and ridge-line controls. Consult your local authority.
If you are still sizing up the land itself, start with the cluster pillar on site analysis for homeowners and the step-by-step on how to evaluate a residential plot. Once the slope is settled, the designing for views and privacy guide will help you make the most of the outlook your gradient has given you.
Export this guide
Related Guides — Deep-dive reading
Foundation & Subsoil Drainage in India: French Drains, Weep Holes and Keeping Groundwater Off Foundations, Basements and Retaining Walls
A professional guide to subsoil drainage in India — French drains built from perforated pipe, gravel and geotextile; sub-surface drains around basements; weep holes and drainage board on retaining walls; and how you route the water you collect to a sump or soak pit. Plus the high-water-table and black-cotton-soil problems that make it hard, and why drainage and waterproofing are one system, not two.
PlumbingSite Analysis for Homeowners: How to Read a Plot Before You Build
The master guide to reading your land — its legal envelope, sun, wind, slope, soil, access, neighbours, views, services and microclimate — before you buy a plot or draw a plan.
Site PlanningRoof Access & Walkways
Someone will need to get onto your roof several times a year — to clear a drain, service the tank, wash the solar panels, check the waterproofing. Access designed into the house is far safer and cheaper than a ladder propped against a wall. This guide covers the ways up (mumty stairs, fixed ladders, hatches, loft ladders), the ways around (walkways and duckboards over fragile or waterproofed surfaces), and the guardrails and anchor points that make maintenance safe.
RoofingRelated Tools — Try Free
Rainwater Tank Sizer
How big should your rainwater tank be? Computes annual harvest, recommended tank capacity in litres, water-bill savings, and payback — for 10 Indian cities.
RWH CalculatorCross-Ventilation Analyzer
Estimate airflow and air changes per hour (ACH) from room size, window areas, layout, and local wind — with NBC 2016 Part 8 compliance check.
Ventilation CalculatorMonsoon-Readiness Checklist
Pre-rain home audit across 9 categories — terrace, drains, waterproofing, electrical, HVAC, pest, vehicles, documents.
Seasonal Audit