
Lift Power Requirements (India): Load, Wiring, Earthing and Supply
What a home lift actually draws, and the dedicated circuit, cable, protection and earthing it needs
A home lift is, electrically, a fairly polite appliance. It does not draw a fortune of power, but it does insist on being supplied properly — its own circuit, the right cable, the right protection, and above all a sound earth. Get those four things right and a residential lift will run for decades on a modest connection. Get them careless, and you invite nuisance trips, voltage sag that strains the motor, and — in the worst case — an earthing fault on a metal box that people stand inside.
This guide walks an intelligent homeowner through the whole electrical picture: how much power the lift actually needs, why it wants a dedicated circuit, what cable and protection to specify, how earthing and a stable supply matter, and how modern machine-room-less (MRL) and regenerative drives cut the running cost. We deliberately do not settle the single-phase versus three-phase question here — that decision has its own guide, single-phase vs three-phase lifts. Read this one for the wiring and earthing; read that one for the supply decision.
A home lift sips power but demands a clean, dedicated, well-earthed supply. The cable, the breaker and the earth matter far more than the kilowatts.
How much power does a home lift actually draw?
Most people overestimate this. A small residential lift is not an industrial machine — its connected load is roughly 1.5 to 5 kW, depending on drive type, capacity and speed. For comparison, that is in the same ballpark as a single split air-conditioner or a water-heater. The lift does not run continuously either; it draws current only during the few seconds of each trip, and almost nothing while parked.
Two numbers matter, and they are different:
- Connected (peak) load — the maximum the motor draws while accelerating a loaded car upward. This is what sizes your cable and breaker.
- Running (average) energy — what actually appears on your electricity bill, which is far smaller because the lift is idle most of the day.
The drive type changes the picture a lot. A counterweighted traction lift only has to move the difference between the car and its counterweight, so the motor works against a fraction of the full load. A pneumatic vacuum lift (PVE), by contrast, draws more on the way up (the turbine does all the work) and almost nothing on descent, which is controlled gravity. Hydraulic lifts draw a strong pulse while the pump pushes oil up, then nothing on the gravity-fed way down.

Power requirements at a glance
The table below is indicative — confirm the exact figures with your vendor and electrician for the specific model and capacity you choose. Numbers vary by manufacturer, car size, speed and floors served.
| Drive type | Typical connected load | Usual supply | Notes on draw |
|---|---|---|---|
| Pneumatic vacuum (PVE) | ~1.5 to 4 kW | Single-phase 230 V | High on ascent, near-zero on descent |
| Hydraulic (small home) | ~2 to 5 kW | Single or three-phase | Strong pump pulse up; gravity down |
| Gearless traction / MRL | ~1.5 to 4 kW | Single or three-phase | Lowest running energy; counterweighted |
| Geared traction (older) | ~3 to 5 kW+ | Three-phase | Less efficient; being phased out |
| Screw / winding-drum | ~2 to 4 kW | Single or three-phase | Steady draw while climbing |
| ARD / standby battery | Small, separate | Battery (DC) | Independent of the main supply |
A useful rule of thumb: a compact two- to three-person home lift on a single-phase supply typically sits at the lower end of this range. As capacity and speed climb, so does the connected load — and at some point you cross into three-phase territory, which is exactly the threshold the phase-decision guide helps you judge.
Why a dedicated circuit is non-negotiable
The single most important wiring rule is this: the lift gets its own circuit, run straight from the main distribution board, feeding nothing else.
This is not gold-plating. There are concrete reasons:
- Stable voltage. A motor starting under load draws a brief surge. On a shared circuit, that surge dims lights and, worse, the lift itself sees voltage sag from other appliances — sag that makes the motor run hot and the drive misbehave.
- Clean isolation. A dedicated breaker lets a technician (or the ARD) cut power to the lift alone, without plunging the rest of the house into darkness, and without other circuits feeding back into a lift that is supposed to be dead during service.
- Correct protection. A circuit sized and protected for the lift's exact load will trip on a genuine fault but tolerate the normal starting surge. A breaker shared with kitchen loads cannot be tuned to both.
- Clean diagnosis. When something trips, you know precisely what tripped.

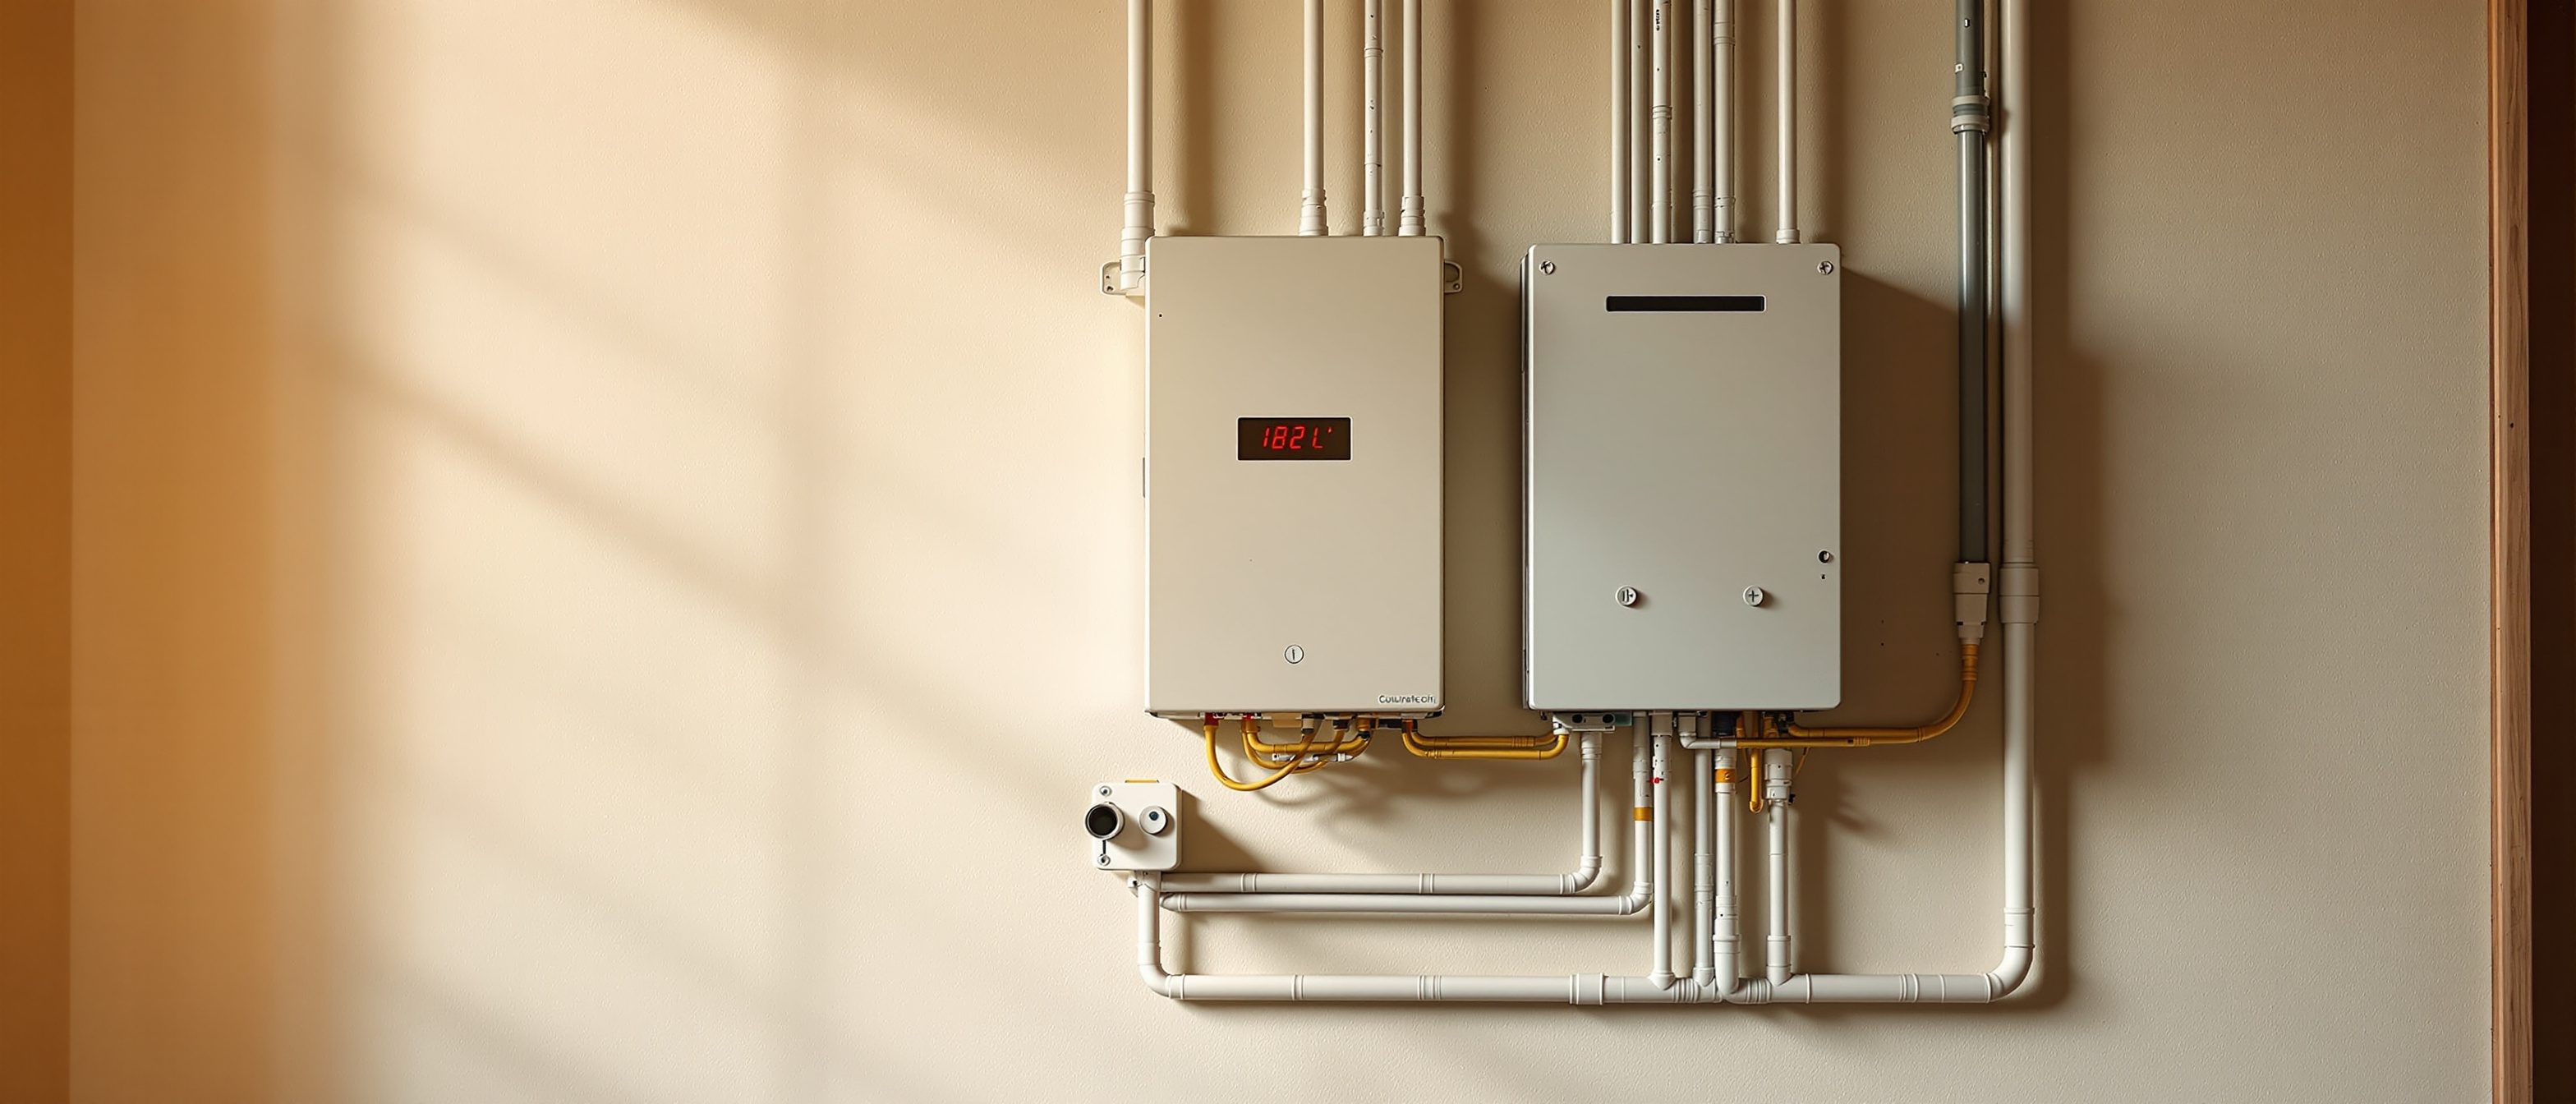
Cable size and protection
The cable must carry the lift's full-load current without overheating across the actual run length from the board to the machine, with allowance for voltage drop on a long run. Undersized cable is a common, hidden mistake: it works on day one and overheats for years. Your electrician sizes the conductor from the manufacturer's stated current and the cable route — do not let anyone eyeball this.
Protection sits at two levels:
- An MCB (miniature circuit breaker) rated for the lift, sized to ride through the starting surge but trip on overload or short circuit.
- An RCBO (or an MCB paired with an RCCB) that adds earth-leakage protection — it trips the instant current starts flowing to earth through a fault, which is the protection that matters most on a metal cabin people stand inside.
The vendor states the recommended breaker rating; the electrician confirms it against the cable and the board. These two professionals must agree the numbers before the shaft electricals are roughed in.
Earthing — the safety system you cannot see
If you remember one thing from this guide, make it this: a home lift must be properly earthed.
A lift is a large grounded metal structure — car, frame, rails, controller cabinet, landing doors — that people physically occupy and touch. If a live conductor ever chafes against that metal, a sound earth gives the fault current a low-resistance path straight to ground. That does two things at once: it makes the metalwork safe to touch, and it lets the RCBO sense the leakage and trip in a fraction of a second. Without a good earth, the fault current may instead wait quietly for the next person to become its path.
A correct installation provides:
- A dedicated earth electrode (or a tie into the building's earthing system) of adequately low resistance.
- A continuous earth conductor bonding the machine, controller, car and metal landing components.
- The earth-leakage device (RCBO/RCCB) on the lift's own circuit.
Earthing is not a place to economise, and it is not something to assume the building "already has". On a new lift, confirm explicitly that the lift's earth is dedicated, measured and documented. The state lift inspectorate, where one applies, will check it — and so should you.
A stable supply — the often-forgotten requirement
Indian supply voltage swings. A lift drive is happiest within a defined voltage band; persistent sag or surge shortens the life of the motor, drive electronics and contactors. If your area sees wide swings, discuss a voltage stabiliser sized for the lift, or confirm the drive's own tolerance, with your vendor. A drive that hunts and faults on every brownout is usually a supply problem, not a lift defect.
Power cuts are a separate matter, handled by the battery system rather than the mains wiring — see the section on ARD below and the dedicated battery-backup systems guide.

Efficient drives cut the running cost
The good news is that the modern home lift is far cheaper to run than its reputation suggests. The drive technology has moved on.
- MRL / gearless traction can use around 40 percent less power than the older geared machines they replace. The motor drives the sheave directly, with no gearbox losses, and a frequency-controlled (VVVF) drive feeds it only the current each moment needs.
- Regenerative drives go one step further: when the car descends loaded, or rises light, the motor acts as a generator and the drive feeds that energy back into the home's supply instead of burning it off as heat. Over years of use this trims both the bill and the heat dumped into the machine space.
- Automatic standby — the lift cutting its own cabin light and fan after a period of idleness — shaves the parked-state draw to almost nothing.

When you compare quotations, ask whether the drive is regenerative and whether the machine is gearless MRL. The difference is real money over the life of the lift, and it also reduces the heat you have to ventilate out of the machine space.
The separate small supply for rescue: the ARD
There is one more power source in a home lift, and it is independent of everything above: the ARD (Automatic Rescue Device) battery.
In India, where outages are routine, an ARD is essential — never buy a lift without it. It is a small, separate battery supply whose only job is, on a mains failure, to move the car to the nearest floor and open the doors automatically, so no one is ever stranded between floors. It is not the same as keeping the lift in normal service through a long power cut; that requires a larger lift UPS or inverter, which is a different decision covered in the battery-backup guide.
For your electrical planning, the point is simply this: the ARD has its own battery and charger, sized by the vendor, and it works regardless of which drive or phase you chose. Provision space and a feed for it, and confirm it is included.
What to provision with your electrician and vendor
The electrical work splits cleanly into two responsibilities, and the gaps between them are where mistakes happen. Coordinate these before civil and wiring work is roughed in:
With your electrician (the home side):
- A dedicated circuit from the main board to the lift machine, nothing else on it.
- Correctly sized cable for the full-load current and the actual run length, with voltage-drop allowance.
- The MCB / RCBO rating the vendor specifies, plus earth-leakage protection.
- A dedicated, measured, documented earth for the lift.
- A stable supply, with a stabiliser if local voltage swings warrant it.
- A feed and space for the ARD battery and charger.
With your lift vendor (the lift side):
- The exact connected load, full-load current and recommended breaker rating in writing.
- Whether the model is single- or three-phase (then see the phase-decision guide).
- Confirmation the ARD is included and its battery specification.
- Any voltage-tolerance or stabiliser requirement for the drive.
Make the vendor put the connected load, current and breaker rating in writing, then have your electrician design the circuit to match. The handover gap between "lift" and "house" is where electrical mistakes hide.
A complete pre-installation list of these items lives in the lift specification checklist, and the whole journey — choosing, sizing, regulation — sits under the residential elevator buyer's guide.
In short
A home lift needs surprisingly little power — roughly 1.5 to 5 kW — but it needs that power delivered well: a dedicated circuit, properly sized cable, MCB/RCBO protection, a sound earth, and a stable supply. Choose a gearless MRL or regenerative drive and the running cost drops further. Insist on an ARD with its own battery. Pin the numbers down with your vendor in writing, hand them to your electrician, and the electrical side of your lift becomes the part you never have to think about again.
References
- IS 14665 (Electric Traction Lifts) Part 1 — Outline dimensions (BIS): https://law.resource.org/pub/in/bis/S05/is.14665.1.2000.pdf
- IS 14665 Part 2 — Installation, operation and maintenance (BIS): https://law.resource.org/pub/in/bis/S05/is.14665.2.1-2.2000.pdf
- IS 15259 — Hydraulic lifts (companion code, by name).
- National Building Code of India 2016, Part 8 (Building Services), Section 5 — Installation of Lifts, Escalators and Moving Walks (BIS): https://www.bis.gov.in/standards/technical-department/national-building-code/
- BIS Guide for Using NBC 2016: https://www.bis.gov.in/wp-content/uploads/2022/08/Booklet-Guide-for-Using-NBC-2016.pdf
- Nibav — machine-room-less (MRL) home elevator: https://www.nibavlifts.com/machine-room-less-mrl-home-elevator/
- Renutron — lift UPS / inverter / backup (India): https://www.renutron.com/lift-inverter-india-lift-backup-lift-ups.php
Figures are indicative and vary by model, capacity, speed and supply — always confirm with your vendor and a licensed electrician.
Export this guide
Related Guides — Deep-dive reading
Power Failure Safety in Elevators (India): What Happens and What to Do
A power cut does not drop the car. Here is exactly what happens, why an ARD is non-negotiable in India, and how to protect the controller so your lift restarts safely.
Home Lifts & AccessibilityResidential Elevator Buyer's Guide (India 2026): Types, Cost, Sizing, Regulation & How to Choose
Everything an Indian homeowner needs to choose, size, budget, license and maintain a home lift the right way.
Home Lifts & AccessibilityHow Home Lifts Work (India): Hydraulic, Traction, Screw and Vacuum Explained
A plain-language look inside the four drive types that lift a home elevator, plus the core components and safety systems every homeowner should be able to name.
Home Lifts & AccessibilityRelated Tools — Try Free
Home Lift Comparison Tool
Compare hydraulic, traction, pneumatic vacuum and screw lifts side by side for your home.
Lift ComparisonElectrical Safety & Load Audit
Home electrical audit — 10 categories, 65+ checkpoints across earthing, RCCB, MCB, wiring, switchboards, appliance circuits, DG/inverter backup.
Safety AuditHome Lift Cost Calculator
All-in home lift cost by floors, type, capacity and city — equipment, civil, GST and AMC, with a drive-type comparison.
Lift Calculator