
Complete Guide to Home Electrical Planning in India
The homeowner's planning workflow for a home's electrics — how to estimate the load, plan circuits and the distribution board, decide switch and socket positions room by room, future-proof for solar, EV charging and smart controls, and hand a clean brief to a licensed electrician.
The most expensive electrical mistakes are made before any wire is pulled — in the planning. A socket in the wrong place, a forgotten AC point, no neutral at the switch for future automation, a distribution board with no spare ways, a load estimate that ignores the EV you will buy in three years: each is cheap to fix on paper and painful to fix once the walls are plastered. This guide is the homeowner's planning workflow — how to think through a home's electrics methodically, so the brief you hand your electrician is complete, future-ready, and right the first time.
It sits under the residential electrical systems pillar (read that first for how the system works) and feeds the new-home design guide and the renovation guide.
The safety line. Planning is exactly the homeowner's job — deciding what you want, where, and how much. Turning that plan into a live installation is the electrician's job. This guide helps you produce a clear, complete brief and judge the result; it does not ask you to wire anything. Load sizing, cable sizing and code compliance must be confirmed by a licensed electrician.
The planning workflow, at a glance
Good electrical planning follows an order, because each step feeds the next. Do them out of sequence and you plan circuits before you know the load, or place sockets before you know how you will live in the room.
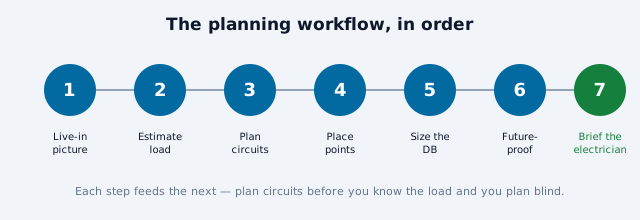
1. Understand how the home will be lived in — rooms, appliances, habits, who lives there, how it may change.
2. Estimate the electrical load — total demand, realistically diversified.
3. Plan the circuits — group points into protected circuits by function and area.
4. Place switches and sockets room by room — the layout that decides daily convenience.
5. Size the distribution board — enough ways for today, spare ways for tomorrow.
6. Future-proof — solar, EV, smart, expansion.
7. Brief the electrician — turn it into a drawing and a schedule they can build to.
Step 1: Understand how the home will be lived in
Before any numbers, picture daily life in each room. Where will the bed go — and therefore where do you want bedside switches and phone-charging sockets? Does the kitchen have a hob, microwave, mixer, and maybe a dishwasher, all potentially on at once? Will the study double as a workshop? Is there an elderly resident who needs reachable, well-lit switches? This human picture is what makes an electrical plan fit the home rather than follow a generic template — and it is the one part only you can supply.
Step 2: Estimate the electrical load
The load is the total power the home draws. You estimate it by listing every appliance with its wattage, then applying a diversity factor — because you never run everything simultaneously — to get the realistic maximum demand in kilowatts. That number drives the sanctioned load you request from the DISCOM, the main switch and cable sizes, and how many circuits you need.
A rough sense of appliance loads in an Indian home:
| Appliance | Typical power |
|---|---|
| LED light point | 5 – 20 W |
| Ceiling fan | 50 – 75 W |
| Refrigerator | 150 – 400 W |
| Television | 50 – 150 W |
| Air-conditioner (1.5 ton) | 1,500 – 2,000 W |
| Geyser (storage) | 2,000 – 3,000 W |
| Microwave / induction hob | 1,200 – 2,100 W |
| Washing machine | 500 – 2,000 W |
| Water pump | 370 – 1,100 W |
| Home EV charger (AC) | 3,300 – 7,400 W |
Add the connected load, apply diversity, and you have your demand. Rather than do this by hand, use the electrical load calculator for a first estimate — then have a licensed electrician confirm it against the actual appliances and the code. The headline lesson: modern homes are getting hungrier — ACs, induction cooking and EV charging have pushed typical demand well above what older homes were wired for, which is why generous, future-aware load planning pays off.
Step 3: Plan the circuits
With the load known, group the home's points into circuits — separate protected paths from the distribution board. The principles, following IS 732 : 2019 and the National Electrical Code (SP 30 : 2023):
- Separate lighting from power. A socket fault should never darken the house.
- Dedicate a circuit to each heavy appliance — geyser, each AC, the kitchen, a pump, an EV charger. Heavy loads on shared circuits cause tripping and overheating.
- Group general sockets by area — one circuit per zone, so the whole home is not on one breaker.
- Keep circuits within sensible limits — a handful of points each, so a fault is contained and cable size matches load.
Good circuit planning is what makes a home both safe (faults contained, cables correctly sized) and serviceable (you can isolate one part without killing the rest). The distribution board is designed around this circuit list.
Step 4: Place switches and sockets, room by room
This is where planning meets daily life. Walk each room and decide where control and power should sit. Some room-by-room pointers for Indian homes:
- Living room: switches at each entrance (two-way for through-rooms), sockets for TV/media wall, a few spare sockets on each wall, a point for a future AC.
- Bedroom: two-way switching from door and bedside, bedside sockets and USB points, an AC point, a spare wall socket.
- Kitchen: generous dedicated sockets above the counter (never too few — the kitchen is the hungriest room), separate points for hob, microwave, fridge, chimney and a water purifier, all at sensible heights and clear of the sink and hob.
- Bathroom: a geyser point (with its own switch outside or a rated pull-cord), a shaver/appliance socket well away from water, and moisture-appropriate fittings.
- Study / work: plenty of sockets and data points — home working has made this the second-hungriest room after the kitchen.
- Circulation & outdoors: two-way stair and passage lighting, a doorbell, outdoor weatherproof points, and a point for a future EV charger near parking.
A simple discipline saves years of regret: count the sockets you think you need, then add more. Retrofitting a socket into a finished wall is disruptive and ugly; an extra point during wiring costs very little.
Step 5: Size the distribution board
The distribution board (DB) must have enough ways (breaker positions) for every circuit — plus spare ways for the future. A DB packed full on day one has no room for the solar circuit, the EV charger, or the extra bedroom you convert later. Plan the DB with the RCCB (or RCBOs) and MCBs your circuit list requires, then add 20–30% spare capacity. Where and how the DB sits — accessible, labelled, near the entry — is covered in the new-home design guide.
Step 6: Future-proof
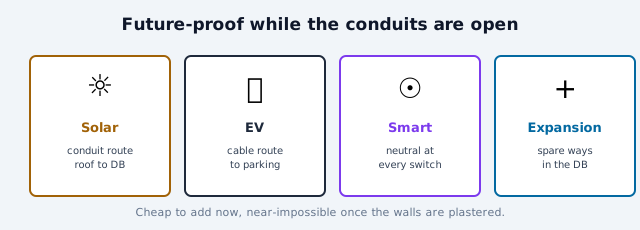
The cheapest time to prepare for the future is while the conduits are open. Four things to plan in now, even if you install them later:
- Solar-ready: leave a conduit route from roof to DB, and spare DB ways, so rooftop solar and a net-metered connection can be added without breaking walls.
- EV-ready: run a suitably sized cable route (or at least a conduit) to the parking spot and reserve a DB way — home EV charging is a heavy, growing load.
- Smart-ready: insist on a neutral wire at every switch box and spare conduit capacity, so smart switches, dimmers and automation can be added later. This one decision, made now, is the difference between an easy upgrade and a rewire.
- Expansion-ready: spare DB ways, a slightly larger main cable, and conduit stubs to areas you may extend.
Step 7: Brief the electrician
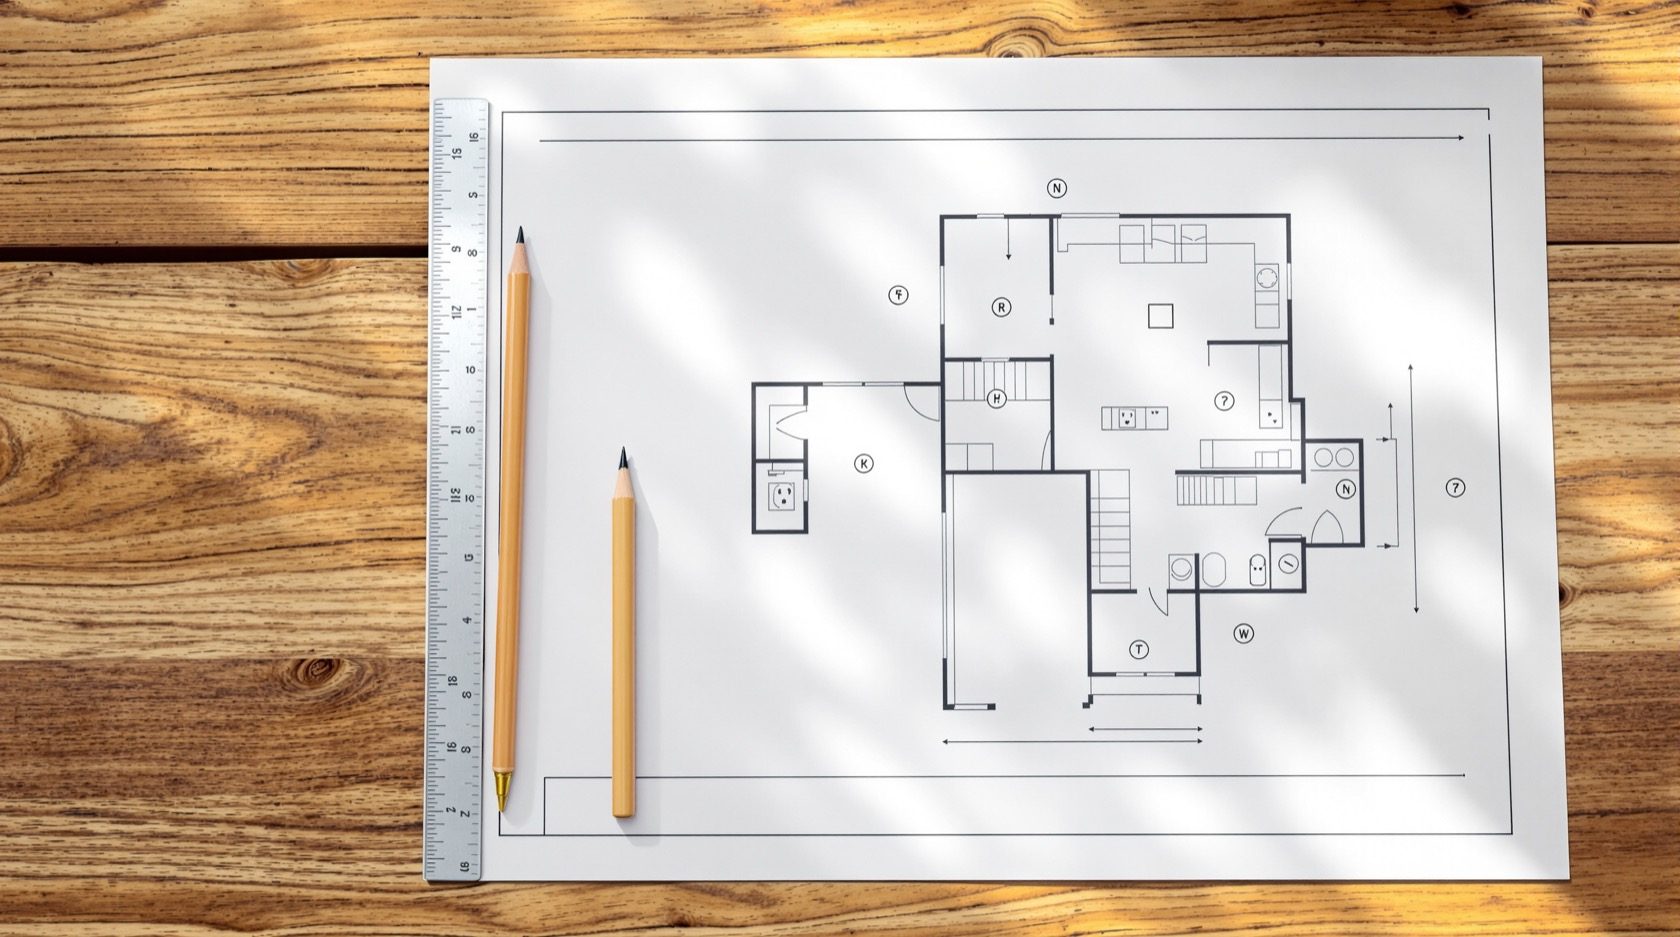
Finally, turn the plan into something buildable: an electrical layout drawing marking every light, switch, socket and appliance point on the floor plan, plus a circuit list and your future-proofing requirements. This is what you hand — and discuss — with your licensed electrician. A clear brief does three things: it gets you the home you actually planned, it lets you compare quotes fairly, and it becomes the record you check the finished work against.
The professional resources — load schedules, circuit schedules, DB schedules — formalise this for larger projects; for a home, a marked-up plan and a circuit list are usually enough.
Common planning mistakes to avoid
- Too few sockets, especially in the kitchen and study — the number-one regret.
- No neutral at switches, blocking any future smart upgrade.
- A full distribution board with no spare ways.
- Ignoring future loads — no plan for solar, EV or an extra AC.
- Skimping on earthing and the RCCB to save cost — the one place never to economise.
- Placing the DB somewhere inaccessible or unlabelled.
- Copying a generic layout instead of planning to how the home is actually lived in.
The one-line answer
Plan a home's electrics in order: understand how it will be lived in, estimate the load, plan protected circuits, place switches and sockets room by room (and then add more), size the distribution board with spare ways, and future-proof for solar, EV and smart controls — then hand a clear drawing and circuit list to a licensed electrician. Everything expensive to fix later is cheap to get right on paper now.
Where to go next
- How the system works: Residential Electrical Systems.
- Building new: Electrical Design Guide for New Homes.
- Upgrading an old home: Electrical Renovation & Rewiring Guide.
- Estimate demand: Electrical Load Calculator.
References
- IS 732 : 2019, Code of Practice for Electrical Wiring Installations (Fourth Revision), Bureau of Indian Standards.
- National Electrical Code of India, SP 30 : 2023, Bureau of Indian Standards: https://www.bis.gov.in/
- IS 3043 : 2018, Code of Practice for Earthing, BIS.
- Bureau of Energy Efficiency, Standards & Labelling programme: https://beeindia.gov.in/
- Ministry of New and Renewable Energy (rooftop solar / net metering): https://mnre.gov.in/
- Ministry of Power, EV charging infrastructure guidelines: https://powermin.gov.in/
Planning figures and appliance loads are indicative for typical Indian homes. Final load, cable and protection sizing must be done by a licensed electrician to the current code. Verify any standard's status via the BIS catalogue before relying on it.
Export this guide
Related Guides — Deep-dive reading
Residential Electrical Systems: The Complete Guide for Indian Homes
How the electricity in an Indian home actually works — from the utility supply and meter through the distribution board, circuits, wiring, earthing and protection, to lighting, safety, energy efficiency, smart controls, solar and backup — written so a homeowner can understand, plan and judge it, and know exactly where a licensed electrician must take over.
Electrical & WiringFuture-Proof Wiring Systems for Indian Homes
Build electrical headroom now so tomorrow's loads are plug-and-play, not demolition.
Future-Ready HomesBathroom Electrical India: Loads, IP Zones, RCD Protection & the Complete Wiring Plan
The complete guide to bathroom electrical planning for Indian homes — the loads and points (geyser on a dedicated 16 A circuit, exhaust, mirror and lights, shaver socket, smart WC), the IP zones 0/1/2 that fix where fittings can sit near water, mandatory 30 mA RCD/RCBO earth-leakage protection, earthing, keeping switches outside the wet zone, cable sizing and getting conduits right before plastering — all per IS 732 and NBC 2016.
BathroomsRelated Tools — Try Free
Electrical Load Calculator
Estimate a home's connected load and realistic maximum demand from its appliances, whether it needs single or three-phase supply, and a suggested main switch rating.
ElectricalElectrical Safety & Load Audit
Home electrical audit — 10 categories, 65+ checkpoints across earthing, RCCB, MCB, wiring, switchboards, appliance circuits, DG/inverter backup.
Safety AuditFull-Room BOQ — Living, Bedroom, Kitchen, Bath
Room-wise BOQ across living, bedrooms, kitchen, utility, and bathrooms with line-item pricing.
Full-Room BOQ