
Door Frame Installation: Set a Chowkhat True (India 2026)
Step by step on setting a door frame into the opening — propping, bracing, plumb, level and square, fixing and grouting — so the leaf hangs perfectly.
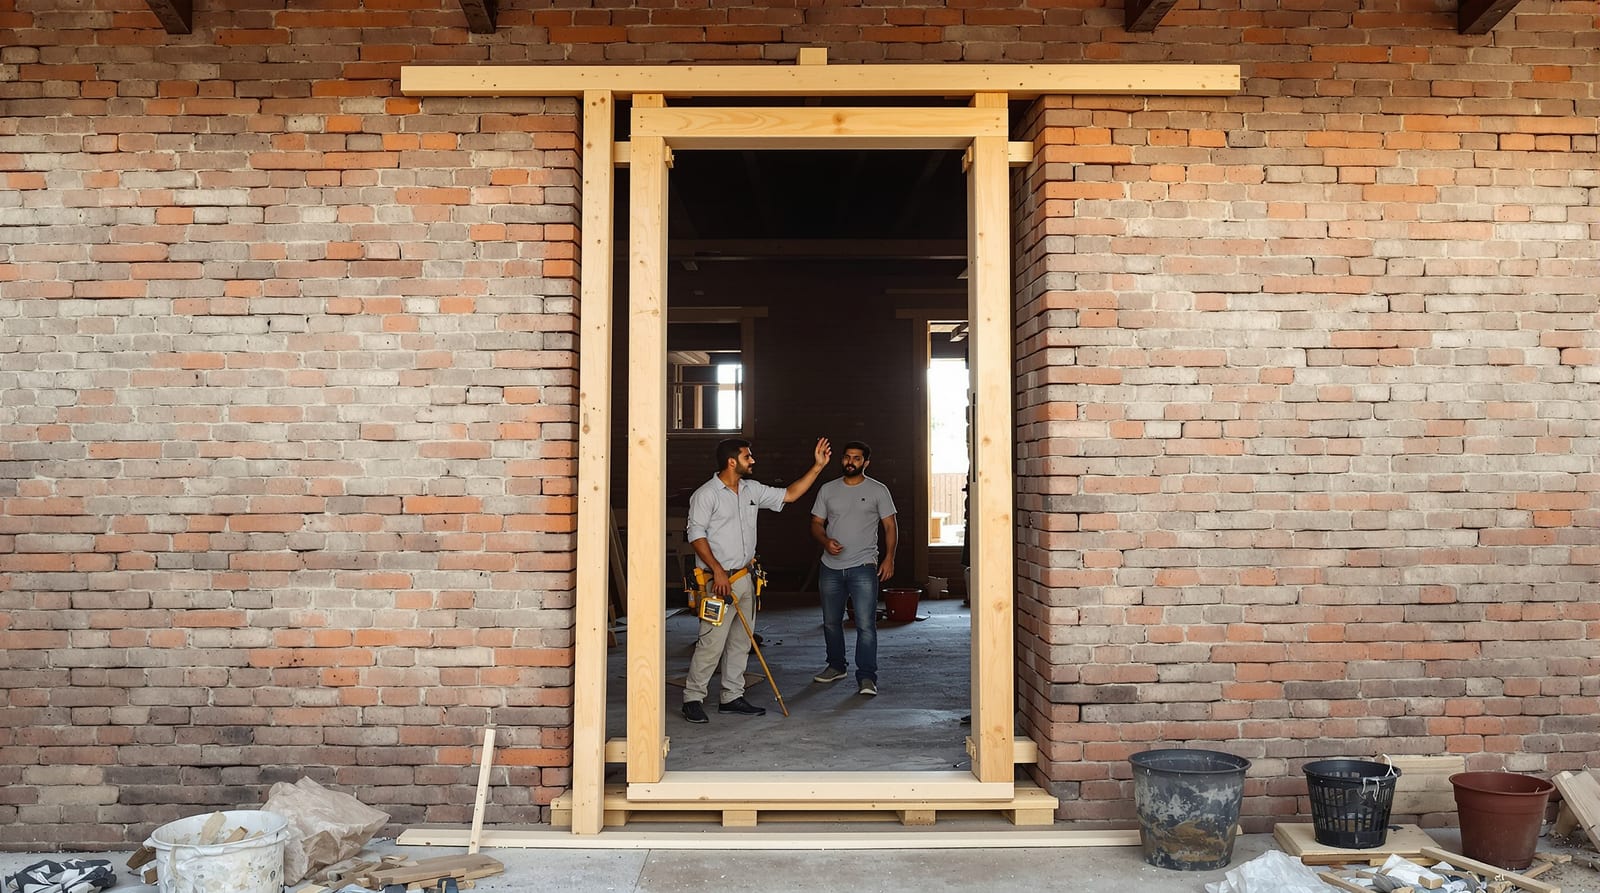
Getting door frame installation right is the single most decisive half-hour on a doorset. The frame (chowkhat) is the datum off which everything else is measured — if it goes into the wall plumb, level and square, the leaf will hang with even 3mm margins and latch with a soft click for decades; if it goes in racked or out of plumb, no amount of planing the shutter will save it, and you will be chasing a self-swinging, rubbing door for the life of the building. This is a site-engineer and carpenter's guide to physically setting the frame in the opening: how to position it, prop and brace it, dial it true with wedges, fix it to the masonry, and finally grout or foam the gap. The relevant standards are IS 4021 (timber frames), IS 4351 (steel frames) and NBC 2016 for minimum widths and free egress.
Before the frame goes in
Never lift a frame to an opening that has not been checked. The rough opening should be the frame outer size plus ~10-12mm packing gap on each side and over the head — large enough to shim true, small enough to grout. Confirm there is a lintel or RCC header over the opening with 150-200mm bearing each side; a frame set under no lintel will be crushed by the wall above. Measure the opening width at top, middle and bottom and height at both jambs, and check the diagonals for square before you commit.
The base of a timber jamb must land on a DPC (damp-proof course) or a stone/RCC base block, never on a wet or unfinished floor, and the foot must be anti-termite treated. In India's damp, monsoon and termite climate this is not optional — the truest installation in the world cannot save a frame whose foot rots out. For bathrooms and external wet zones, prefer WPC, PVC, RCC or aluminium frames over timber for the same reason. Knock off the horns (jamb projections) for internal frames, or leave them long to embed in floor and wall for main-door frames built in early.
Build-in versus fix-later: choosing the sequence
There are two ways a frame meets a wall, and the choice drives everything that follows.
Build-in (frame-first): the frame is set and propped, then the masonry is raised around it course by course, with holdfasts or lugs grouted into each mortar bed. This gives the strongest, most monolithic bond and is standard for main doors and pressed-steel frames in new construction. The risk is the frame getting knocked out of plumb during bricklaying, so it must be braced hard and checked as the wall rises.
Fix-later (opening-first): the wall is built with a rough opening (often around a temporary timber template), and the frame is fitted into the finished opening afterwards with screws, rawl plugs or frame anchors. This is the norm for renovations, frame replacements and most factory doorsets, and it lets the wet trades finish first. You trade a little raw bond strength for far better control and cleaner work.
| Factor | Build-in (frame-first) | Fix-later (opening-first) |
|---|---|---|
| Bond strength | Strongest, monolithic | Good, mechanical fixings |
| Typical use | Main doors, steel frames, new build | Renos, replacements, factory sets |
| Fixing method | Holdfasts / lugs in mortar | Screws, rawl plugs, anchors |
| Risk | Frame knocked out of plumb | Opening too tight or out of square |
| Wet trades | Frame exposed to plaster/mortar | Frame protected, fitted clean |
| Control over true | Harder — fix as wall rises | Easier — shim a finished hole |
The installation sequence, step by step
1. Position the frame in the opening
Offer the frame up to the rough opening and centre it for the ~10-12mm gap each side. Decide the set-back — how far the frame face sits from the wall face — to suit the architrave and the finished wall thickness. Mark the floor for the hinge side so the leaf swings as designed (the handing and swing is fixed now, not later).
2. Prop and brace it
Stand the frame in and hold it with diagonal timber props to the floor and a temporary cross-brace (a batten screwed corner to corner) to stop the frame racking. A loose frame will drift the moment you fix the first holdfast, so the bracing must be solid before any fixing goes in. Slide tapered hardwood wedges under each jamb foot, on the DPC, to carry the weight and let you adjust height.
3. Get it plumb, level and square
This is the heart of the job. Set a spirit level on each jamb and adjust the wedges and props until both jambs read plumb within ~1-2mm over the height. Level the head across the top. Then check square by measuring the two diagonals — equal diagonals mean a true rectangle. A frame can be plumb on each jamb yet still be wound (twisted in plane), so sight down the rebate and check both faces. See door frame plumb and level for the full method.
4. Fix to the masonry
With the frame held true, fix it. For build-in timber frames, set M.S. holdfasts — 3 per jamb at roughly 600 / 1350 / 2050mm, embedded in 1:2:4 cement-concrete pockets on the brick bed joints. For fix-later work in a finished wall, drill and fix with 8-10mm rawl plugs and screws (or chemical/sleeve anchors in AAC and hollow block). The full method and spacing live in door frame fixing methods and anchoring to masonry.
5. Pack behind hinges and the lock
Before you grout, insert solid shims behind every hinge position and behind the lock/strike, so the fixing clamps the jamb against a hard packer, not into space. Skip this and the jamb flexes inward each time the door is used — the reveal wanders and the latch stops catching. The hinge and lock packers should go in with the fixings, never after.
6. Grout or foam the gap
Only once the frame is fixed and confirmed true do you fill the perimeter gap. Steel frames are back-filled with 1:3 cement mortar so there is no void along the jamb — see door frame grouting. Timber and uPVC frames take low-expansion PU foam (one 750ml can covers roughly 2-3 door perimeters), or backer rod and sealant. Re-check plumb after foaming: high-expansion foam can bow a jamb inward, which is why low-expansion is specified.
7. Re-check, then proceed
With fixings and grout set, remove the cross-brace, re-confirm plumb and square, and only then hang the leaf, fit the lock, add the architrave and seal. If you set the frame wrong, you find out now — the leaf will not close to an even gap.
Clearances and tolerances to hold
| Check | Target | Why it matters |
|---|---|---|
| Jamb plumb | Within ~1-2mm over height | Leaf self-swings or rubs if off |
| Head level | Within ~1-2mm | Uneven top reveal, latch misalign |
| Diagonals (square) | Equal, within ~2-3mm | Out-of-square = leaf won't latch |
| Perimeter gap to wall | ~10-12mm each side | Room to shim true and grout |
| Reveal around leaf | ~3mm even all round | The mark of a true hang |
| Holdfasts / fixings per jamb | 3 (4 for 2.4m+) | Fewer = jamb bows |
| Base on DPC | Mandatory | Stops the frame foot rotting |
Common installation mistakes
The failures that haunt a doorset all trace back to this stage: a frame not plumb or square (the leaf self-swings, rubs or won't latch); no packing behind hinges and lock (the jamb bows in use); high-expansion foam bowing the jamb after it was set true; no DPC at the base so the timber foot rots in the first monsoon; an uneven reveal from a racked frame; and a missing lintel that crushes the head. None are fixable cheaply once plaster and paint are on — which is exactly why the half-hour spent propping, bracing and checking plumb is the highest-leverage work on the whole door. When the wall is out of plumb, the opening is undersized or the leaf is heavy, this is carpenter-and-engineer territory; a true fit cannot be improvised. See door installation mistakes for the full list.
Related guides and tools
This sits inside the door frames layer of the complete door guide. Get the rough opening and opening prep right first, then nail the frame plumb and level and the fixing methods; finish with grouting and avoid the installation mistakes. To plan it on site, use the door rough opening calculator and the door gap foam calculator.
Frequently asked questions
How do I make sure a door frame is square when I install it?
Set each jamb plumb with a spirit level, level the head across the top, then measure the two diagonals of the frame — when both diagonals are equal (within ~2-3mm) the frame is a true rectangle. Also sight down the rebate to catch any twist, because a frame can read plumb on each jamb yet still be wound out of plane.
Should I fix the door frame before or after grouting?
Fix it first and grout last. Set the frame plumb, level and square, brace it, drive the holdfasts or screws, and pack behind the hinges and lock — only then fill the perimeter gap with cement mortar (steel) or low-expansion PU foam (timber). Grout poured before the frame is true just locks an error in permanently.
Why does my new door rub or swing open by itself?
Almost always because the frame went in out of plumb or out of square. If a jamb leans, gravity pulls the leaf to swing open or shut; if the frame is racked, the leaf binds on one corner and the gaps go uneven. No amount of planing the shutter fixes a frame that was set wrong — the cure is to re-true the frame.
Can I install a door frame in an existing wall without breaking it open?
Yes — that is the fix-later method. Build or use a rough opening sized ~10-12mm larger than the frame each side, set the frame true with wedges and braces, then drill and fix with rawl plugs and screws (or chemical anchors in AAC and hollow block). It is the standard approach for renovations and frame replacements.
What foam should I use to fill the gap around a timber door frame?
Use low-expansion (door-and-window grade) PU foam, never general high-expansion foam — the latter keeps growing as it cures and can bow a jamb inward, ruining a frame you set true. One 750ml can covers roughly two to three door perimeters. Re-check plumb after foaming and trim the cured foam flush before the architrave goes on.
Do the standards govern frame installation?
IS 4021 covers timber door, window and ventilator frames and assumes holdfasts built into masonry; IS 4351 covers pressed-steel frames built in and grouted with cement mortar. NBC 2016 governs minimum door widths and free egress, and RPwD accessibility rules cover thresholds. The standards set the framework, but a true fit still depends on a skilled carpenter checking plumb, level and square on site.
Export this guide
Related Guides — Deep-dive reading
Door Frame Fixing Methods: Holdfasts & Anchors (India 2026)
How to fix a chowkhat to masonry with M.S. holdfasts, lugs, screws and frame anchors — numbers, spacing and packing that keep the frame true.
Home Doors & EntrancesDoor Frame Anchoring to Masonry: Holdfasts (India 2026)
How to anchor timber, steel and WPC door frames into brick, concrete block, AAC and RCC walls — fixings, edge distance, loads and India site realities.
Home Doors & EntrancesDoor Opening Preparation Before Fitting (India 2026)
How to prep a door opening before the chowkhat goes in — checking size, plumb and square, confirming the lintel, laying DPC and marking holdfasts.
Home Doors & EntrancesRelated Tools — Try Free
Door Material Comparison Tool
Compare 2–4 door materials on cost, durability, maintenance, security and moisture resistance.
Comparison ToolWindow Cost Calculator
Estimate window price plus installation by type, frame material, size, glass and quantity.
Window CalculatorCross-Ventilation Analyzer
Estimate airflow and air changes per hour (ACH) from room size, window areas, layout, and local wind — with NBC 2016 Part 8 compliance check.
Ventilation Calculator