
Wall Primer & Putty: The Prep That Makes Paint Last
The two prep coats under every good paint job — what putty and primer each do, the types of each, when you need them (and when you can skip), and how to apply them in order.
Ask any painter what makes a paint job look flawless and last for years, and they will point not at the paint but at what goes under it: putty and primer. These two prep coats are invisible in the finished wall, and they are exactly why the finished wall looks smooth and even and does not peel. Skip them to save a little, and the topcoat shows every flaw and lets go early; do them properly, and cheap paint outlasts expensive paint applied badly. This guide demystifies both — what each does, the types, when you truly need them, and how to apply them.
It sits under the interior paint guide and the master wall-finishes guide.
Putty and primer: what each does
The confusion usually starts here, because people assume the two are interchangeable — they are not.

Putty smooths and fills. It fills the pinholes, hairline scratches and unevenness that plaster leaves, giving a glass-smooth base — it is a filler, not a sealer. Primer seals and bonds. It seals the porous, uneven surface so paint absorbs evenly, and helps the paint grip — it saves topcoat paint and stops patchiness. They do different jobs and are not interchangeable: putty makes the wall smooth, primer makes it ready to hold paint evenly. Most quality jobs use both.
Types of wall putty
"Putty" is several different materials, and using the wrong one — especially in a wet area — causes problems.

White cement putty — cement-based, tough and water-resistant; the popular all-rounder for interior and exterior masonry walls. Acrylic putty — a polymer putty, flexible with a fine finish; for interior smooth finishes and over old paint. POP (Plaster of Paris) — gives a very smooth interior finish but is not water-resistant (interior dry areas only). Gypsum — a smooth interior finish, interior only. The rule of thumb: white cement putty for exteriors and wet areas (it resists water); acrylic, POP or gypsum for smooth interior finishes only. And on an already-smooth gypsum plaster wall, you can often skip putty entirely.
Types of primer
There is a primer for each surface and problem, and matching them is what makes paint last.

The main ones: water-based wall primer (the everyday interior primer, low-odour); solvent-based wall primer (for tricky, chalky or damp-prone surfaces, with better sealing); exterior primer (weatherproof and alkali-resistant for outside walls); alkali-resistant primer (for new plaster and masonry, stopping alkali attack and efflorescence); stain-blocking primer (seals water stains, marks and bleed-through); and specialty primers (metal, wood, or a bonding primer for tile and glossy surfaces). Match the primer to the surface and the problem — new plaster wants alkali-resistant, stains want a stain-blocker, a glossy surface wants a bonding primer. The right primer is why paint lasts.
Do you actually need them?
Not every job needs both — here is when each is essential and when you can skip.

Putty is needed for rough or uneven plaster, pinholes and hairline scratches, cement-plastered walls, and whenever you want a flawless smooth finish — and can be skipped on already-smooth gypsum plaster or minor jobs. Primer is essential on new plaster or putty, bare or patchy walls, big colour changes (dark to light), repainting over stains or distemper, glossy or non-porous surfaces, and exteriors — and is merely optional (though still helpful) when repainting a sound wall the same colour with a quality self-priming paint. Skipping primer is the most common false economy — on new, patchy or repaired walls it is non-negotiable.
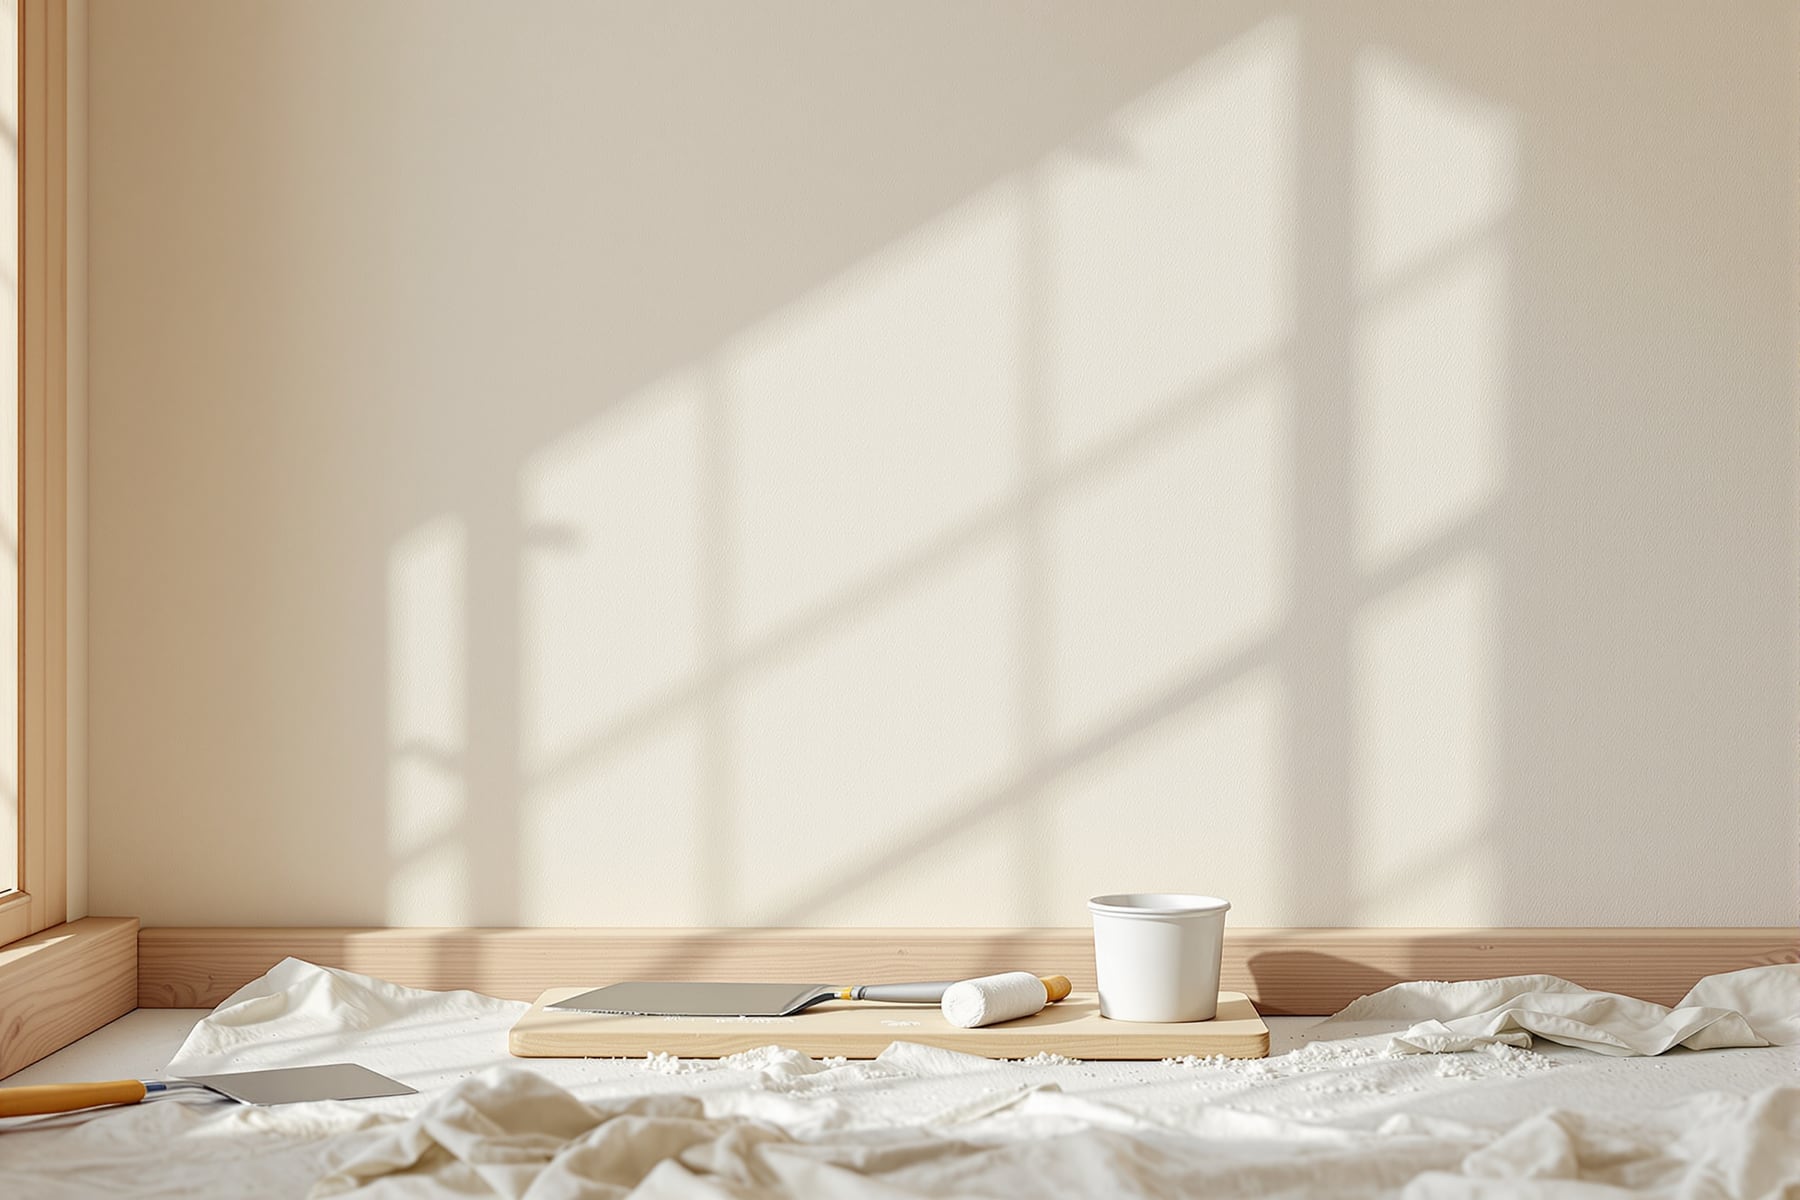
Applying putty and primer, in order
The sequence and the discipline between coats are what turn good materials into a flawless finish.

Work in order: prep a clean, dry, sound wall (fix cracks); putty coat 1 thin and even with a blade, then let it dry; sand smooth and wipe off the dust; putty coat 2 if needed for a flawless finish, then sand again; primer in one even coat to seal and even the absorption, dried per the label; an optional light sand to knock down any nibs; then paint two coats of your topcoat. Let each layer dry fully and sand between — the smoothness and even sheen of the final paint are built in these prep coats, not the topcoat, and dust is the enemy, so wipe clean before priming and painting.
Putty and primer are the quiet foundation of every good paint job: putty for a smooth wall, the right primer for a lasting bond. Get them right and the topcoat — even an inexpensive one — looks flawless and stays put for years. For the paint that goes on top, see the interior paint guide; for the plaster beneath, the gypsum vs cement plaster guide.
Interactive · Putty + primer quantity
6.3 kg putty · 0.5 L primer
Estimated prep cost
₹0
69 sq ft to prep
Export this guide
Related Guides — Deep-dive reading
Interior Wall Paint: The Complete Guide for Indian Homes
Everything under the colour — the layers beneath the paint, the five types to choose from, why sheen matters more than you think, how much you actually need, and the order of work that separates a job that lasts from one that peels.
Wall FinishesVitrified Tile Maintenance: How to Care for Vitrified & PGVT Floors in India
Vitrified and PGVT tiles are India's most common, near maintenance-free floor; the real weak point is the cement grout, not the tile, so this guide shows the simple routine, post-construction haze and stain removal, and how to keep the gloss.
Flooring & SurfacesExterior Wall Paint: The Complete Guide for Indian Homes
The coat that fights the sun and the monsoon — the weatherproofing system beneath the colour, why your climate zone decides the paint, the five exterior types, how these paints fail, and the order of work that makes a warranty mean something.
Wall FinishesRelated Tools — Try Free
Painting Prep & Quality Checklist
Painting audit — 10 categories, 65+ checkpoints across surface prep, putty, primer, emulsion coats, enamel, external, ceilings, defects, final QC.
Painting QCMaterial Comparison Sheet
India's interior material cheatsheet — plywood, finishes, hardware, countertops, paints, waterproofing.
Reference GuidePaint Colour Visualiser
Visualise 80+ Asian Paints, Berger, and Nerolac colours on sample Indian rooms before you buy.
Visualiser