
Wall Mounted Basin Tap India: Spout Projection, Concealed Plumbing, Height & Cost
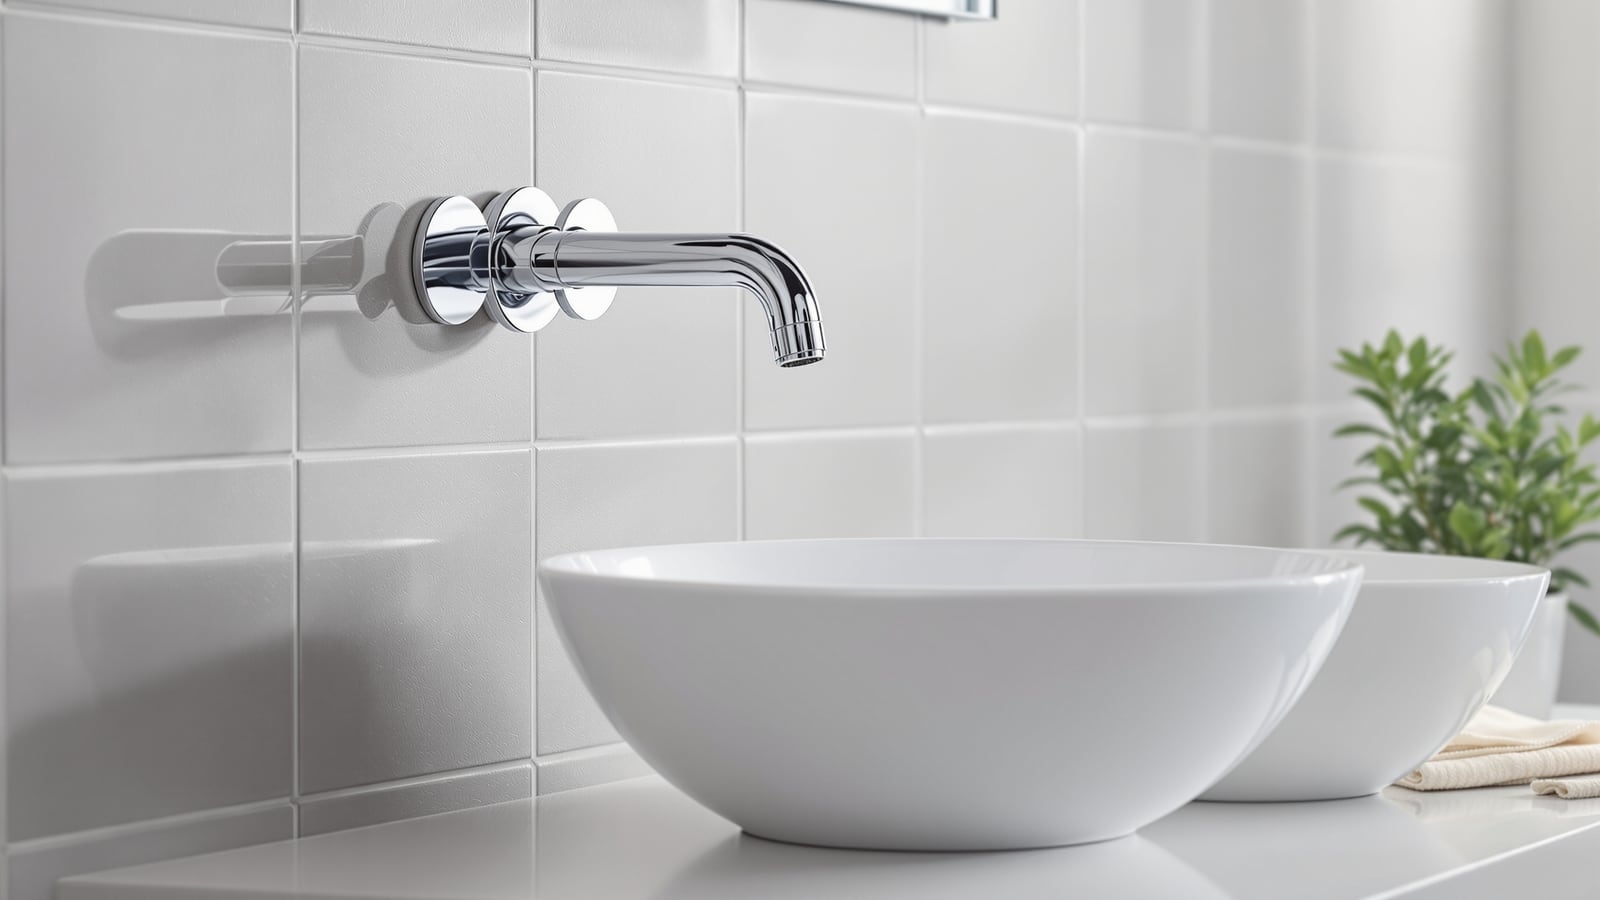
A practical, India-first guide to wall-mounted basin faucets — where the spout emerges from the wall above a countertop or vessel basin, plumbing hidden in the wall. Spout projection and height over the basin, why it must be planned before tiling, pros and cons versus deck-mounted taps, servicing, and rupee costs.
A wall-mounted basin tap does something a normal tap cannot: it disappears into the wall. Instead of a body standing on the basin or countertop, only the spout and lever(s) project from the tiled wall, and every pipe, valve and cartridge sits buried in the masonry behind. The counter is left completely clear — nothing to wipe around, no chrome base collecting grime. It is one of the cleanest looks in a modern Indian bathroom, and one of the least forgiving to get wrong, because almost every decision has to be locked before the wall is tiled.
This is the wall-mounted faucet guide in the Studio Matrx bathroom hub. It sits under the bathroom faucets guide, which covers the whole family of taps, and it pairs closely with the countertop basin guide — the two are almost always specified together, because the basin depth and rim height decide where the spout must land. If you like hidden plumbing generally, read it alongside the concealed faucet guide, where the same in-wall logic applies to showers and bath fillers.
The one rule that matters more than any other: a wall-mounted basin tap is decided at the plumbing rough-in, not at the showroom. Once the wall is tiled, the spout position is fixed forever. Plan the basin, the spout height and the projection together, on paper, before the plumber closes the wall.
What a wall-mounted basin tap actually is
A wall-mounted (or "wall-hung") basin faucet splits into two parts:
- The concealed body / rough-in — a brass valve body, usually with a single-lever cartridge or two ceramic-disc spindles, plastered into the wall and connected to the hot and cold supply lines. This is fitted at the plumbing stage, protected by a plaster guard, and never seen again.
- The exposed trim — the spout, the lever or handles, and the wall flange (escutcheon) that covers the hole. This is fitted after tiling, and its reach into the room is fixed by how deep the body was set.
Because the body is buried, the depth it is set at — the distance from finished tile face to the valve — must exactly suit the trim's spout. Set it too deep and the spout barely clears the wall; too shallow and the flange will not sit flush. Reputable ranges (Jaquar, Kohler, Grohe, Hindware and others as examples) publish an adjustment tolerance, but you cannot rescue a badly placed body without breaking tile.
The two dimensions that decide everything: projection and height
Two numbers make or break a wall-mounted basin tap. Get them from the basin's own dimensions, not from habit.
Spout projection is how far the spout reaches out from the finished wall. The water stream must land near the centre of the bowl, not on the back rim (splashing up the wall) and not on the front edge (splashing you). For a countertop vessel basin set forward on a slab, the spout must reach out over the slab and past the basin's back edge — often 150–250 mm of projection, sometimes more for a wide vessel.
Spout height is measured from the point where water leaves the spout down to the bottom of the basin. Too low and you cannot fit your hands or a bottle under it; too high and the falling stream splashes hard. For a tall vessel basin sitting proud on a counter, the spout has to be raised well above the counter to clear the rim with usable space beneath.
As a starting point for planning, the table below gives workable ranges. Always confirm against the specific basin and the manufacturer's spout data.
| Dimension | Countertop / vessel basin | Under-counter or wall-hung basin |
|---|---|---|
| Spout projection from wall | 150–250 mm | 120–200 mm |
| Spout outlet above counter | 250–320 mm | not applicable |
| Clear space under spout | 250–300 mm | 150–220 mm |
| Body set depth (tile face to valve) | per trim spec, typ. 40–75 mm | per trim spec |
| Rough-in height (outlet centre from FFL) | 1000–1150 mm | 900–1050 mm |
FFL is finished floor level. The rough-in height decides how high on the wall the body sits; the basin rim height plus the clear-space allowance drives it.
Why it must be planned before tiling
This is the single biggest difference from an ordinary tap, and where most Indian site failures happen. A deck-mounted tap is fitted at the very end and can be swapped in an afternoon. A wall-mounted tap is committed at the plumbing rough-in stage, weeks earlier, when the basin may not even be on site.
That means the sequence has to run in the right order:
1. Choose the exact basin first — its width, depth and rim height set every faucet dimension.
2. Choose the exact faucet trim so you know its spout projection and required body-set depth.
3. Mark and fix the concealed body on the wall at the correct height and depth, plumbed dead level, before plastering.
4. Pressure-test the concealed connections and photograph the wall before it is closed — you will never see those joints again.
5. Waterproof and tile, keeping the plaster guard on the body until the trim goes on.
6. Fit the exposed trim last, once tiling has cured.
Skip step 4 at your peril. A concealed joint that weeps behind finished tile is one of the most expensive leaks to chase — see the bathroom planning for new homes guide for how the plumbing rough-in fits the wider build programme, and coordinate it with the concealed faucet guide so all in-wall bodies are set on one visit.
Wall-mounted versus deck-mounted: the honest trade-off
Neither is "better" — they trade a cleaner look and harder servicing against convenience and easy repair.
| Factor | Wall-mounted basin tap | Deck-mounted (counter/basin) tap |
|---|---|---|
| Counter look | Clear, uncluttered, premium | Tap base sits on counter |
| Cleaning | No base to wipe around; wipe the slab in one stroke | Grime rings around the base |
| Works with vessel basins | Excellent — clears a tall bowl | Needs a tall "vessel" spout |
| Planning | Must be fixed before tiling | Decided at the very end |
| Servicing a cartridge | Access via the trim; body stays in wall | Easy, from above/below the counter |
| If something fails badly | May need tile removed to reach the body | Swap the whole tap in an afternoon |
| Leak consequence | Hidden in wall — expensive to trace | Visible, easy to catch |
| Cost (trim + concealed body) | Higher | Lower |
The strongest case for wall-mounted is a countertop or vessel basin on a slab, especially a stone or solid-surface counter you do not want to drill, and a minimalist scheme where the clear counter is the whole point. The strongest case against it is a rented or fast-turnaround fit-out, or anywhere you value being able to change the tap later without touching the wall.
Servicing reality in India
Be clear-eyed about maintenance. Our hard water scales up cartridges and aerators; a wall-mounted tap will eventually want its cartridge changed like any other. The good news is that on a well-designed concealed body the cartridge is reached from the front, through the trim — you pull the lever and flange, and service the cartridge without opening the wall. Insist at purchase that the concealed body is a serviceable-from-front design and that the cartridge is a standard, stocked size (ceramic-disc cartridge to the intent of IS 8931 sanitary fittings). Fit an inline stop / angle valve on the supplies inside the wall recess so water can be isolated for service. Where a cheap body buries a non-serviceable valve, a failure genuinely can mean breaking tile — which is exactly why brand and body quality matter more here than on any deck tap.
Costs in an Indian bathroom
A wall-mounted basin tap is a two-part purchase: the concealed body and the exposed trim, often sold separately. Budget for both, plus the extra plumbing labour at rough-in.
| Item | Indicative cost (₹) |
|---|---|
| Concealed body (brass, single-lever) | 1,500–5,000 |
| Exposed trim — spout + lever (economy) | 2,500–6,000 |
| Exposed trim — spout + lever (premium/designer) | 8,000–30,000+ |
| Two-handle wall-mounted set (body + trim) | 4,000–12,000 |
| Extra plumber labour at rough-in | 800–2,500 |
| Inline stop/angle valves (pair) | 400–1,200 |
A sensible mid-range wall-mounted basin mixer lands around ₹6,000–15,000 all-in (body plus trim plus the extra rough-in labour), against perhaps ₹2,500–8,000 for a comparable deck-mounted single-lever mixer. You pay a premium for the look and the hidden plumbing — and you pay it once, at the start, when the decision cannot be undone. For the full spread of tap types and finishes, return to the bathroom faucets guide.
The short checklist
- Choose the exact basin and trim first; derive projection, height and rough-in from them.
- Confirm the spout projection clears the bowl and lands water at the centre, not the rim.
- Set the concealed body dead level at the right depth for the trim, on the tile plane you will actually finish to.
- Pressure-test and photograph every concealed joint before the wall is closed.
- Buy a serviceable-from-front concealed body with a standard cartridge, and add inline isolation valves.
- Keep the plaster guard on until tiling has cured; fit the exposed trim last.
Done with this discipline, a wall-mounted basin tap gives an Indian bathroom its cleanest possible vanity — a clear counter, no chrome to scrub around, and plumbing that simply is not there to see. Done in a hurry, it is the one tap that can cost you a wall. Plan it early, buy the body well, and it will reward you for years.
References
- NBC 2016 (National Building Code of India), Part 9 — Plumbing Services — water supply rough-in, concealed pipework and testing of buried connections.
- IS 8931 — Ceramic Discs / Sanitary Fittings — reference intent for single-lever and disc-cartridge basin mixers used as wall-mounted trim.
- IS 1172 — Basic Requirements for Water Supply, Drainage and Sanitation — supply and drainage provisions serving basins.
- IS 2556 — Vitreous Sanitary Appliances (Vitreous China) — for the countertop and vessel basins these taps serve.
- CPHEEO Manual on Water Supply and Treatment — reference for supply pressures and fittings in Indian building services.
- BIS product certification — verify the concealed body and cartridge carry appropriate marks and are a serviceable, stocked design before it is plastered into the wall.
Export this guide
Related Guides — Deep-dive reading
Concealed Diverter Faucet India: In-Wall Body, Diverters, Cost & Servicing Guide
In-wall concealed faucets and diverters for Indian bathrooms — how the concealed body buried behind the tiles works with the exposed trim plate and lever, single, two-way and three-way diverters that route water to the overhead rain shower, hand shower and spout, why the hidden brass body is the part that really matters, and how to plan the rough-in before you tile.
BathroomsConcealed vs Exposed Plumbing India: Which Bathroom Fittings Are Better?
A fair head-to-head on concealed (in-wall) versus exposed bathroom plumbing and fittings for Indian homes — how each looks, what each costs to fit, and the one trade-off that decides it: a hidden concealed leak means breaking tiles, while exposed stays reachable.
BathroomsBasin Mixer Tap India: Single-Lever Buying Guide, Spout Height, Cartridge & Cost (2026)
How a single-lever basin mixer blends hot and cold on one control — what supplies it needs, the spout height that matches your basin, the ceramic cartridge that decides its life, pop-up waste, tall vessel mixers, finishes, flow rate, and rupee tiers versus separate pillar taps.
BathroomsRelated Tools — Try Free
Before vs After — Cost Reality Check
Compare what you expected to pay vs what you actually paid, category by category.
Reality CheckMonsoon-Readiness Checklist
Pre-rain home audit across 9 categories — terrace, drains, waterproofing, electrical, HVAC, pest, vehicles, documents.
Seasonal AuditPlumbing Pressure-Test & Leak Checklist
Pre-closure pressure and leak test — 9 categories, 60+ checkpoints across water supply, drainage, fixtures, waterproofing, hot water, tanks.
Pre-Closure Test