
Tile Grouting Guide India: Cement vs Epoxy Grout, Joint Width, Mixing, Curing and Sealing
How to grout tile floors properly in Indian homes: choosing cement versus stain-proof epoxy grout, getting timing and joint width right, floating it in, clearing haze, curing and sealing.
Grout is the thin band of filler between your tiles, and on a typical Indian floor it adds up to a surprising amount of visible surface. Get it right and the floor reads as one clean plane that wipes clean for years. Get it wrong and you live with yellowed, cracking, mould-streaked lines that make a good tile job look cheap. This guide walks through the single most consequential decision, cement versus epoxy grout, and then the craft of mixing, applying, cleaning, curing and sealing so the joints last as long as the tiles.
Cement grout vs epoxy grout: the decision that matters most
Almost every grout complaint in an Indian home, the yellowing, the dark stains around the dining table, the mouldy bathroom lines, comes back to one thing: the floor was grouted with ordinary cement grout where epoxy was the smarter buy. Cement grout is a cement, sand and polymer powder you mix with water. It is cheap, easy and fine in low-traffic, dry rooms. But it is porous, so it drinks up spills, oil, chai, turmeric and hard-water minerals, and it needs sealing and re-sealing to stay clean.
Epoxy grout is a two-or-three part system, resin plus hardener plus coloured filler, that cures into a dense, non-porous plastic. It does not absorb anything, so it is effectively stain-proof, waterproof and chemically resistant. It does not yellow the way cement does, because there is no Portland cement to react with water minerals and no open pores for grime to lodge in. It costs more and is fussier to apply, but in kitchens, bathrooms, utility areas and any spill-prone zone it is genuinely worth it.
| Factor | Cement grout | Epoxy grout |
|---|---|---|
| What it is | Cement plus sand plus polymer, mixed with water | Resin plus hardener plus coloured filler (2-3 parts) |
| Material cost (indicative, plus 18% GST) | Roughly ₹40-90 per kg | Roughly ₹350-700 per kg |
| Stain resistance | Porous, absorbs oil, chai, turmeric, hard water | Non-porous, effectively stain-proof |
| Water and mould resistance | Needs sealing; mould-prone in wet areas | Waterproof, mould and chemical resistant |
| Yellowing over time | Yes, hard water and grime discolour it | No, no open pores or cement to react |
| Sealing required | Yes, reseal every 1-2 years | No, sealed by its own chemistry |
| Workability and clean-up | Easy, beginner friendly | Sticky, short pot life, harder to clean haze |
| Best for | Dry rooms, low traffic, budget jobs | Kitchens, bathrooms, utility, high-spill zones |
| Typical lifespan looking clean | 2-5 years before whitening or regrout | 10-15 years plus, low maintenance |
A common, sensible compromise in Indian homes: epoxy grout in the kitchen and bathrooms where it pays back fastest, and a good polymer-modified cement grout in bedrooms and the living room. Reputable brands for both include MYK Laticrete, Roff (Pidilite), Bal Endura and Fevicol, all of which sell colour-matched ranges.
Joint width and how it pairs with grout choice
Joint width is decided when the tiles are laid, not at grouting, so plan it with your tiler. Rectified large-format vitrified and PGVT tiles can take a tight 2 mm joint; non-rectified ceramic needs 3 mm or more to absorb size variation. Never lay zero-joint, butt-jointed tiles indoors, the floor needs that joint to absorb thermal movement, and without it tiles tent and pop.
| Tile type | Typical joint width | Suggested grout |
|---|---|---|
| Rectified vitrified / PGVT, large format | 2 mm | Epoxy or fine sanded cement |
| Non-rectified ceramic | 3 mm | Cement (sanded) or epoxy |
| Bathroom and wet-area tiles | 2-3 mm | Epoxy (waterproof, mould-proof) |
| Outdoor / terrace | 3-5 mm | Flexible cement or epoxy |
Match the grout type to the joint: wide joints take sanded cement grout well, while very narrow 2 mm joints in glossy tiles look cleanest with epoxy or an unsanded fine grout that will not scratch the surface. For getting even joints in the first place, see Studio Matrx on tile leveling and spacers, and for the laying itself, how to lay floor tiles.
Timing: grout 24 hours after laying
Do not grout the same day the tiles go down. The adhesive or mortar bed under the tiles needs to set first, grout it too soon and you trap moisture under the tiles, which causes efflorescence (white salt bloom) in the joints and weakens the bond. The standard rule in Indian practice is to grout 24 hours after laying for tile adhesive, and a little longer, up to 48-72 hours, over a thick cement-sand mortar bed which holds more water. Before grouting, scrape any adhesive that has squeezed up into the joints, clean the joints out so they are at least two-thirds of the tile thickness deep, and vacuum or brush the dust away. Joints must be dry and clean for the grout to bond.
Mixing the grout
Mixing is where many DIY jobs go wrong. Follow the bag, but the principles are constant.
For cement grout, add powder to clean water (not water to powder) in the ratio the manufacturer prints, typically around 0.2-0.25 litres of water per kg of powder. Mix to a smooth, lump-free, peanut-butter consistency, let it slake (rest) for about 5-10 minutes, then re-stir briefly. Mix only what you can use in 20-30 minutes. Crucially, keep the water ratio identical across batches, varying water changes the shade, so a too-wet batch dries lighter and you get patchy joints.
For epoxy grout, mix the resin and hardener thoroughly first, then add the coloured filler powder and blend until uniform with no streaks. Epoxy has a short pot life, often only 30-45 minutes in Indian summer heat, so mix small quantities and work fast. Once it starts to stiffen, discard it, do not add water or solvent to revive it.
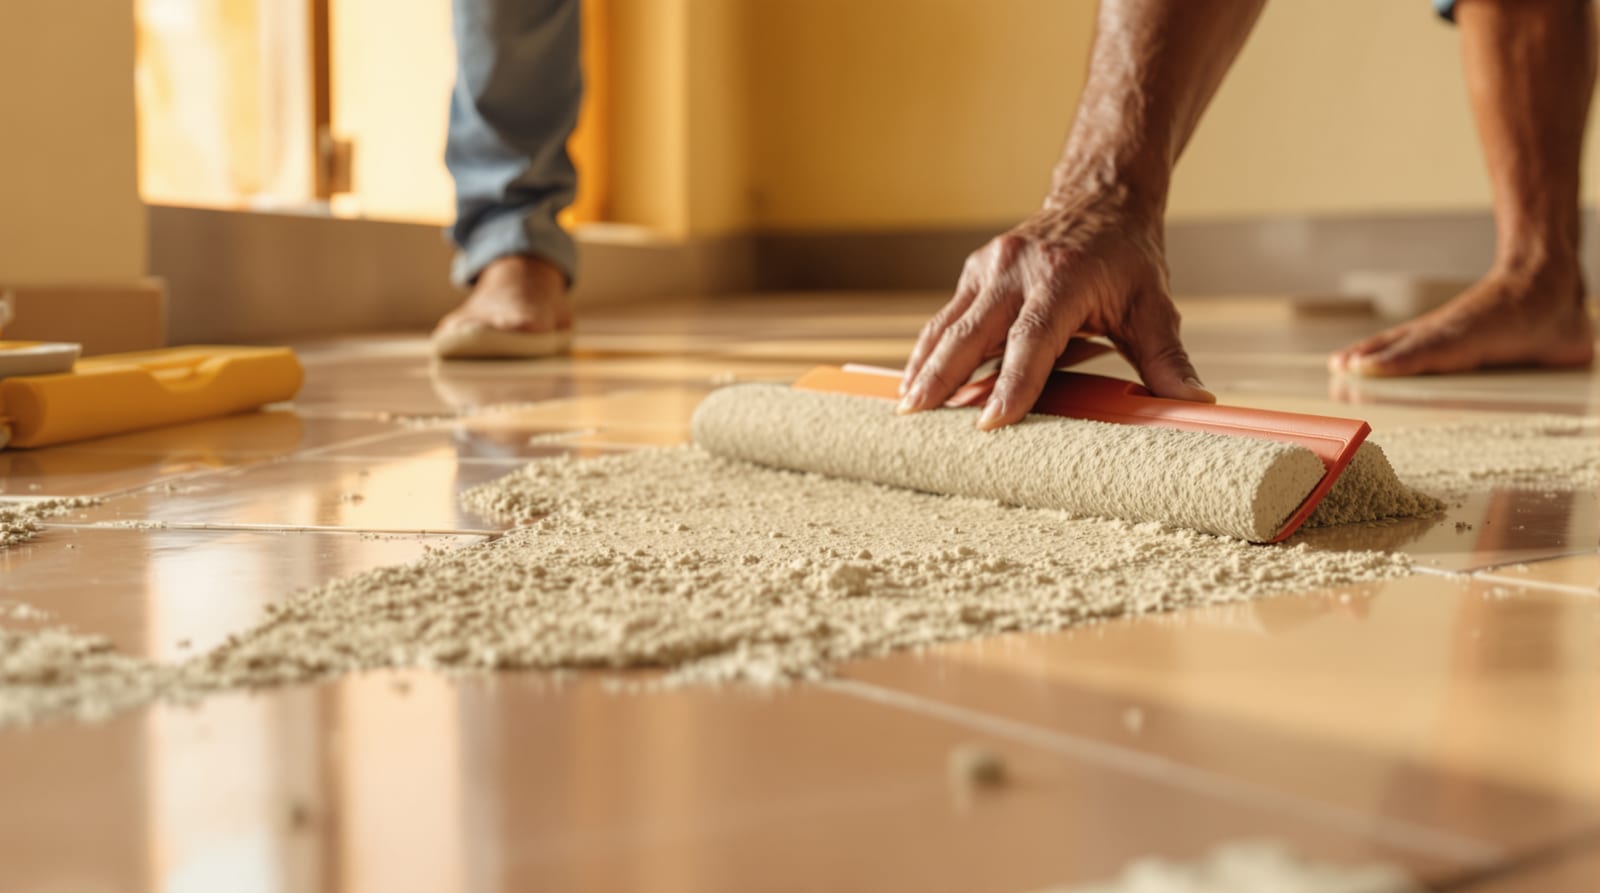
Applying grout with a float
Hold a rubber grout float at roughly 45 degrees to the floor and spread the grout diagonally across the joints, pressing it in firmly so the joint fills completely with no air gaps. Working diagonally matters because dragging the float along a joint scoops grout back out of it. Pack the joints full, then tilt the float steeper, almost on edge, and scrape off the excess from the tile faces, again moving diagonally so you do not dig the grout out. Do one manageable area at a time, around 1-2 square metres, before it skins over.
Below is a section through a grouted joint between two tiles, showing how the grout fills from the top of the adhesive bed up to a slightly concave finish flush with the tile faces.
After packing a section, give it 10-15 minutes (less for epoxy) so the grout firms up, then tool the joints to a smooth, slightly concave line with a damp sponge or a jointing tool. This concave profile sheds water and looks neat.
Cleaning the haze
As cement grout dries it leaves a cloudy film, grout haze, over the tile faces. Once the joints are firm but the haze is still fresh (within an hour or two), wipe the tiles with a barely damp sponge, rinsing the sponge often in clean water and wiping diagonally so you do not pull grout out of the joints. Change the water frequently. After it dries fully, a final buff with a dry cloth lifts the last bloom. If cement haze hardens, a dilute proprietary grout-haze remover clears it, but never use acid on tiles that touch cement grout, the acid eats the grout.
Epoxy haze is unforgiving, it must be removed while still workable, because once epoxy cures on the tile face it is extremely hard to shift. Epoxy jobs use a two-bucket method and a scrubbing pad with a little water and the manufacturer's epoxy emulsifier within the working window. This is the main reason epoxy is best left to an experienced applicator.
Curing, then sealing cement grout
After grouting, keep foot traffic off the floor for 24 hours and avoid washing or wetting the floor for the first few days. Cement grout cures by hydration, so in dry, hot Indian summers a light mist of water once or twice a day for 2-3 days produces a stronger, less crack-prone joint. Epoxy grout cures chemically and is usually walkable in 24 hours and fully cured in about 7 days; it needs no water curing.
Once cement grout has fully cured (about a week), seal it. A penetrating grout sealer soaks into the porous grout and repels water and stains, dramatically slowing yellowing and making the floor far easier to keep clean. Reseal cement grout every 1-2 years, especially in kitchens and bathrooms. Epoxy grout needs no sealer, its non-porous chemistry is the sealer, which is exactly why it resists yellowing in the first place. When cement grout does eventually discolour, you can often restore it rather than regrout; see Studio Matrx on grout cleaning and whitening.
Choosing grout colour: match or contrast
Colour is a design choice with practical consequences:
- Matching the grout to the tile makes joints disappear, so the floor reads as one continuous surface. This is the popular modern look for large-format vitrified floors.
- Contrasting grout (a darker line on light tiles, or a defined line on patterned tiles) emphasises the geometry and suits classic, retro and patterned floors.
- For practicality, mid-tone greys and beiges hide dirt far better than brilliant white, which shows every mark. In kitchens and bathrooms, a slightly darker grout plus epoxy is the lowest-maintenance combination.
Buy grout colour samples and check them against the tile in daylight, dried grout is a shade or two lighter than the wet mix. To estimate how much grout you need before you buy, use the Studio Matrx grout quantity calculator, which factors in tile size, joint width and floor area.
Frequently asked questions
Is epoxy grout really worth the extra cost?
In kitchens, bathrooms and utility areas, yes. It is stain-proof, waterproof, mould-resistant and does not yellow, so it stays looking new for 10-15 years with no sealing. The higher material and labour cost is repaid in years of low maintenance and no regrouting. In dry bedrooms and living rooms, good polymer-modified cement grout is usually enough.
How long after laying tiles should I grout?
Wait at least 24 hours after laying over tile adhesive, and 48-72 hours over a thick cement-sand mortar bed. The bed must set first, grouting too soon traps moisture, causes white efflorescence in the joints and weakens the bond.
Why does my cement grout turn yellow and how do I stop it?
Cement grout is porous, so it absorbs oil, chai, turmeric and hard-water minerals that discolour it, and it can grow mould in damp areas. Sealing it after curing and resealing every 1-2 years slows this greatly. To avoid it entirely in wet and spill-prone zones, use epoxy grout, which has no open pores to stain or yellow.
Can I use acid or Harpic to clean grout lines?
No. Acidic cleaners eat cement grout and etch natural stone like marble and Kota. Use a pH-neutral cleaner, or a dilute proprietary grout-haze remover used strictly as directed. Epoxy grout tolerates cleaning chemicals far better but a mild cleaner is still best.
What joint width should I use?
Around 2 mm for rectified large-format vitrified and PGVT tiles, and 3 mm or more for non-rectified ceramic to absorb size variation. Never butt tiles together with no joint indoors, the floor needs the joint to absorb thermal movement, or tiles can tent and pop.
Export this guide
Related Guides — Deep-dive reading
Floor Sealing and Resealing Guide India: How to Seal Marble, Granite, Kota, Sandstone, Terrazzo and Cement Grout
Why porous natural stone and cement grout floors need sealing, the simple water-drop test to check if resealing is due, penetrating versus topical sealers, how to clean-dry-coat-buff, how often to reseal, and what you should never seal.
Flooring & SurfacesVitrified Tile Maintenance: How to Care for Vitrified & PGVT Floors in India
Vitrified and PGVT tiles are India's most common, near maintenance-free floor; the real weak point is the cement grout, not the tile, so this guide shows the simple routine, post-construction haze and stain removal, and how to keep the gloss.
Flooring & SurfacesHow to Lay Floor Tiles in India: Complete Step-by-Step Guide
A practical, mason-grade walkthrough for tiling an Indian home floor — base check, dry layout, adhesive vs mortar bed, leveling, lippage and grouting.
Flooring & SurfacesRelated Tools — Try Free
Grout Quantity Calculator
Estimate grout in kg and cost by tile size, joint width and thickness — cement or epoxy grout.
Flooring CalculatorFull-Room BOQ — Living, Bedroom, Kitchen, Bath
Room-wise BOQ across living, bedrooms, kitchen, utility, and bathrooms with line-item pricing.
Full-Room BOQWindow Cleaning Cost Calculator
Estimate professional window cleaning cost per visit and per year by access and frequency.
Window Calculator