
Microcement Walls: The Complete Guide for Indian Homes
The thin, seamless cement skin that goes over almost anything — what microcement is, where it works including wet rooms, how it's applied by hand, the look and colours, and how it compares with tile.
Microcement has quietly become the most requested "designer" wall finish in India, and it is easy to see why: it wraps a bathroom, a feature wall or a whole room in a single seamless skin — no joints, no grout lines, nothing to scrub or mould — and it does it in a coating just a few millimetres thick that can go straight over your existing tile or plaster without demolition. It reads as smooth, industrial-calm concrete, comes in almost any colour, and once sealed it is waterproof enough for a shower. This is the finish behind a great many of the calm, jointless interiors you admire.
This is the complete guide to microcement walls for Indian homes — a deep dive under the decorative wall finishes guide and the master wall-finishes guide into the seamless finish everyone is asking for. We will pin down exactly what microcement is, map where it works (including the wet rooms that are its speciality), walk through how it is applied by hand, look at its finishes and colours, and weigh it honestly against tile. (For microcement underfoot, see the companion on microcement flooring.)
What microcement actually is
The confusion around microcement usually clears the moment you see how thin it is and what it goes onto. It is not a thick plaster or a screed — it is a skin.

Microcement is a thin, cement-and-polymer coating — typically just 2–3 mm built up from a bonding primer with a fibreglass mesh, a couple of base coats and a couple of finish coats, then sealed. That thinness is the whole point: it is seamless (no tiles, no joints, no grout), it is thin and light enough to go straight over existing tile, plaster or concrete with no demolition and no dust, it is waterproof once sealed (so it is genuinely shower-ready), and it bonds to almost any surface — walls, floors, counters, even curved forms. It is the same material family as microcement flooring, applied vertically.
Where microcement works
Because it is thin, seamless and sealable, microcement goes almost anywhere — but it earns its keep most where joints and grout are a problem.

It shines in bathrooms and showers (seamless and waterproof when sealed, with no grout to mould), on kitchen walls and backsplashes (wipe-clean, one continuous surface), on living and feature walls (that smooth industrial calm), over old tile (bonding straight on top, sparing you a messy demolition), across floors and stairs (the same surface can flow wall-to-floor), and even outdoors or on a balcony with a UV- and weather-grade sealed system. The headline reason architects specify it: one seamless material can wrap floor, wall and shower in a continuous skin with zero grout lines.
How microcement is applied
Microcement is a hand craft, not a quick coat, and knowing the process explains both the price and why the applicator matters.

The sequence runs over several days: prep a sound, dry, crack-free surface; apply a bonding primer and fibreglass mesh at joints and corners; trowel two base coats, sanding between; apply two thin finish coats, worked by hand to create the soft cloudy movement that is microcement's signature; sand smooth; apply two to three coats of sealer (this is what makes it waterproof); and let it cure to full hardness, treating it gently at first. It is genuinely skill-intensive — usually five to seven days of work — and both the surface movement and the waterproofing come from those finish coats and the seal, which is why a proven applicator is worth insisting on.
The microcement look
Part of microcement's appeal is that it is not one look but a small family of them, tunable in sheen, texture and colour.

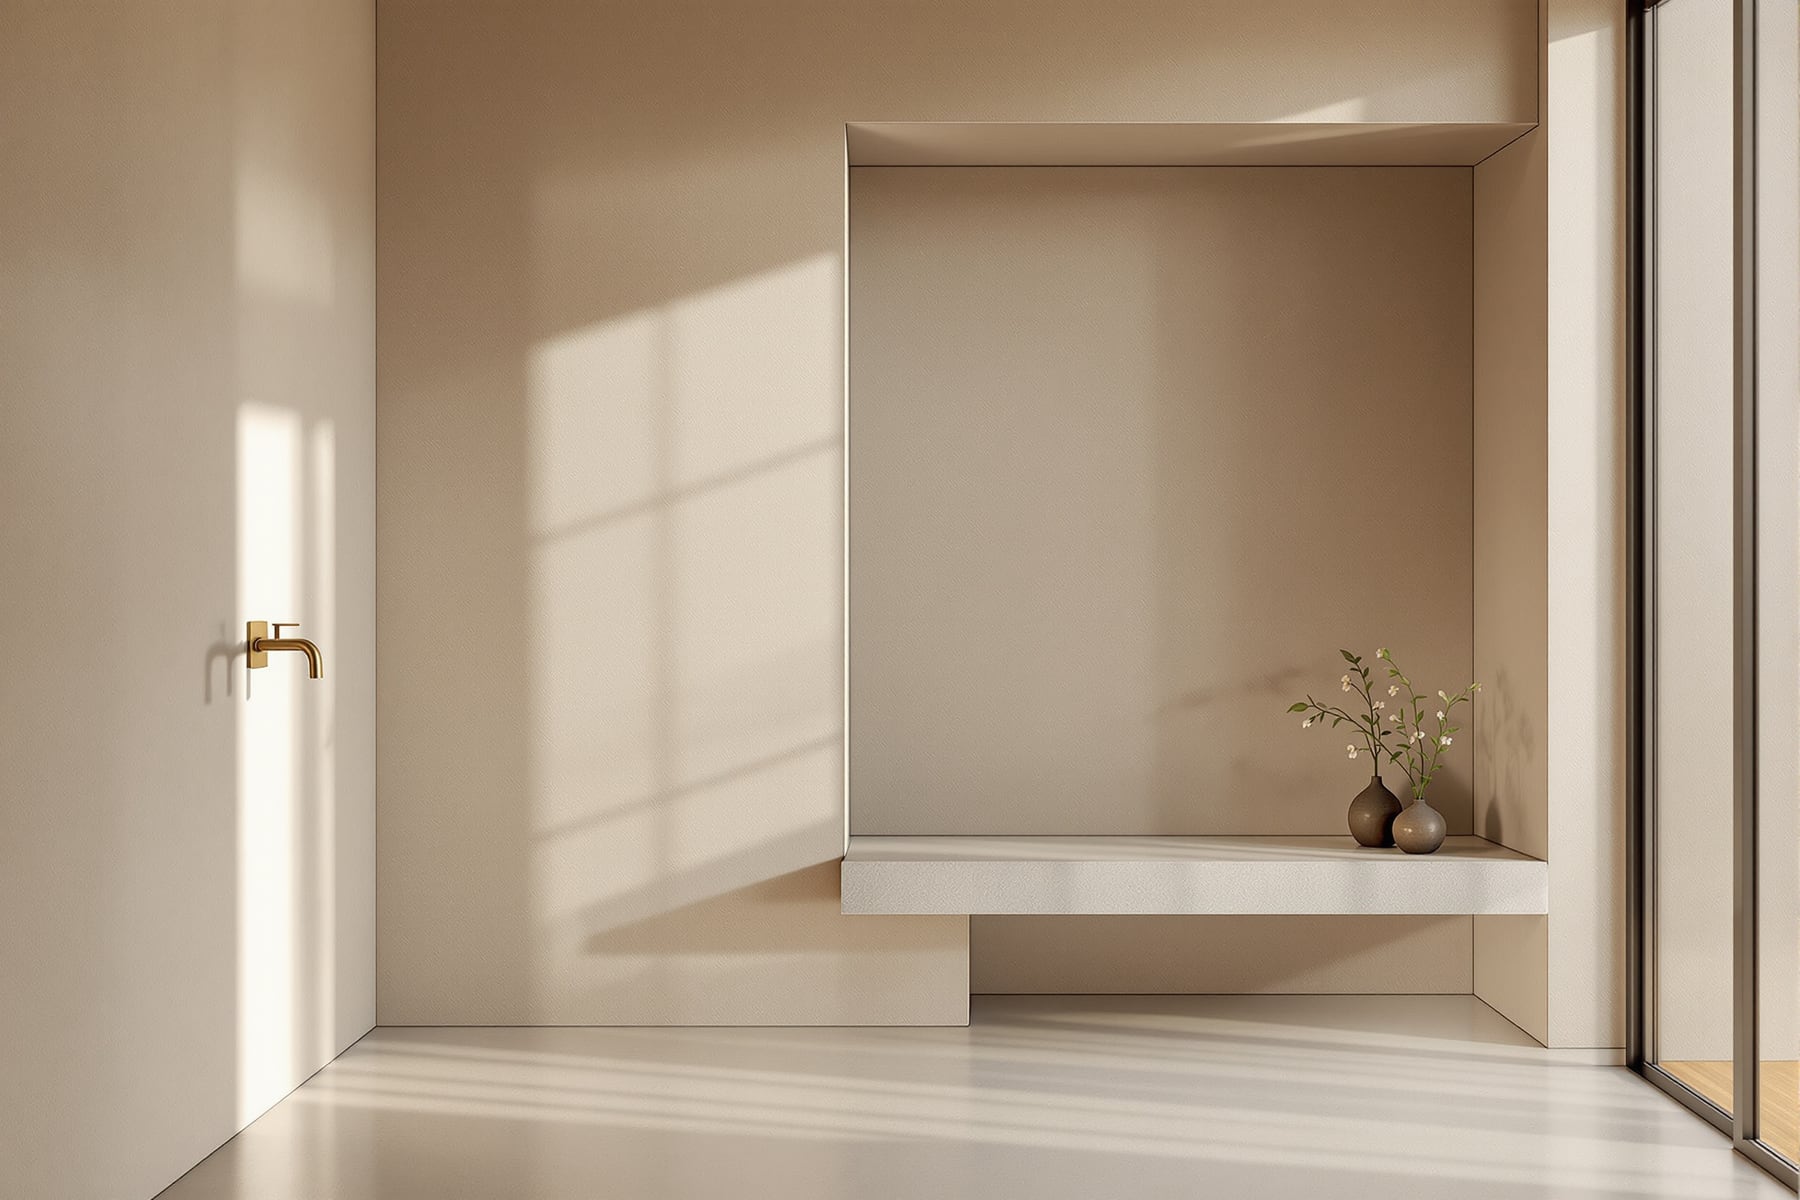
You can have it matte (flat and sealed), satin (a soft sheen), with visible trowelled movement (cloudy hand-worked passes), or fine and near-uniform. Colour is integral, pigmented into the material rather than painted on top, and while it comes in almost any shade, the warm greys, taupes, clays, off-whites and terracottas are the most popular. In character it reads as smooth concrete with an industrial calm, and because it is hand-troweled, every wall is subtly unique — that gentle tonal cloudiness is the signature, not a defect. It gives a similar calm to fair-face concrete, but thinner, applied on site, and in any colour you like.
Microcement versus tile
In a bathroom or kitchen, microcement's real rival is tile, and each wins on different terms.

Microcement wins decisively on seamless, grout-free continuity and on the ability to go over existing surfaces without demolition, and it delivers that calm concrete look tile can only imitate. Tile wins on cost (₹90–400/sq ft installed against microcement's ₹300–450), on easy repair (swap a cracked tile, whereas a microcement patch blends but needs a specialist), and on the sheer range of looks. Both waterproof a wet wall well — microcement as a sealed seamless skin, tile via a membrane plus grout you must maintain — and both last, though microcement wants re-sealing every few years to stay waterproof. So: choose microcement for a seamless, grout-free skin over old surfaces; choose tile for lower cost and easy repair.
Microcement is the finish that made "seamless" mainstream — thin, jointless, waterproof when sealed, and able to reinvent an old tiled bathroom in a few millimetres. Get a proven applicator, keep it sealed, and it gives a calm, continuous surface nothing else quite matches. For the wider artisan family it belongs to — Venetian plaster, lime wash, tadelakt — step back to the decorative wall finishes guide.
Export this guide
Related Guides — Deep-dive reading
Decorative Wall Finishes: The Complete Guide for Indian Homes
The artisan tier — microcement, Venetian plaster, lime wash, tadelakt and more. The whole family of hand-troweled finishes, the look each one gives, where they work (including wet rooms), what they cost in skill and money, and how they're built up by hand.
Wall FinishesMicrocement Flooring in India: The Seamless 2-3 mm Concrete Look
A thin, hand-applied cement-polymer coating that gives a jointless concrete or stone surface over your existing floors, tiles and walls — no demolition.
Flooring & SurfacesVenetian Plaster Walls: The Complete Guide for Indian Homes
The luxury lime-and-marble finish burnished to a stone-like glow — what Venetian plaster is, the matte-to-mirror look, how it's applied, where it belongs, and the cost, skill and care it demands.
Wall FinishesRelated Tools — Try Free
Full-Room BOQ — Living, Bedroom, Kitchen, Bath
Room-wise BOQ across living, bedrooms, kitchen, utility, and bathrooms with line-item pricing.
Full-Room BOQMaterial Comparison Sheet
India's interior material cheatsheet — plywood, finishes, hardware, countertops, paints, waterproofing.
Reference GuideDoor Paint Calculator
Estimate paint and primer litres and cost to paint your doors by size, number of doors, coats and paint type.
Door Calculator