
How to Fix Peeling Paint: Diagnose, Repair, Prevent
Find the cause first, then fix it for good — why paint peels, the golden rule of curing the cause, the step-by-step repair, spot-repair versus stripping, and how to stop it recurring.
Peeling paint is one of the most common — and most misunderstood — wall problems. The instinct is to scrape the flakes, slap on a fresh coat, and move on. But peeling paint is a symptom, and painting over the symptom without curing the cause is the single most wasteful home-repair mistake, because it will simply peel again. The right approach is to diagnose why it is happening, fix that first, then do a proper feathered repair. Do it that way and the wall stays put for years; do it the quick way and you will be back with a scraper next season.
This guide sits under the interior paint guide and the master wall-finishes guide.
Why paint peels: diagnose first
Before you touch a scraper, work out why — because the cause decides the cure.

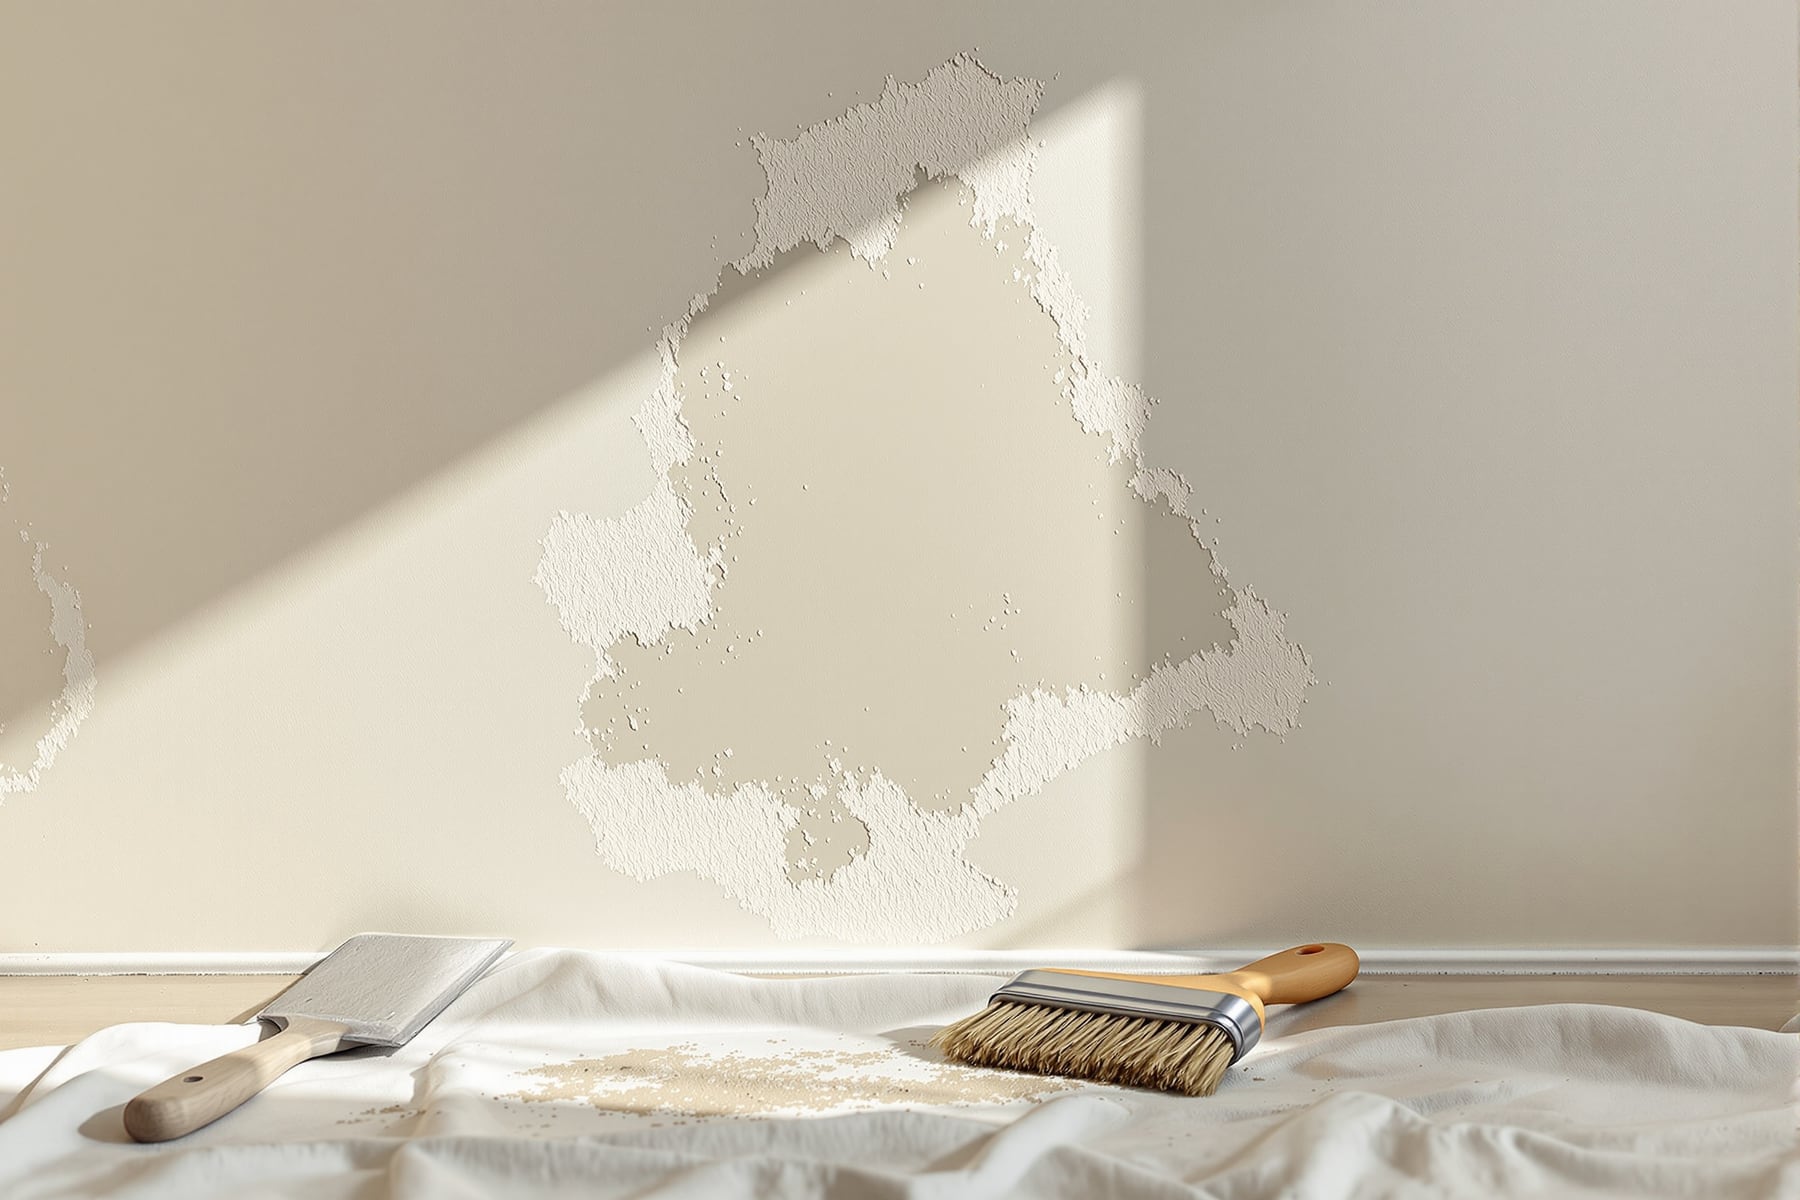
The usual culprits: moisture/damp (the number-one cause — a leak, rising damp or condensation, showing as bubbling and flaking, often patchy); poor prep (paint applied over dirt, grease, dust or a glossy un-keyed surface, peeling in sheets); no primer (the paint never bonded); incompatible layers (new paint over chalky distemper, or oil over water-based); age or sun (old brittle paint, or UV on exteriors, cracking then flaking); and the wrong paint (interior paint used outside, or non-washable paint in a wet area). Fixing peeling paint starts with which of these it is.
The golden rule: fix the cause first
This is the paragraph that saves the most repainting: cure the underlying problem before you repair anything.

If damp is the cause, no repair will hold until the water is dealt with. So fix leaks (plumbing, roof, external cracks), stop rising damp (damp-proofing), reduce condensation (ventilation, an exhaust fan in wet rooms), let the wall dry out fully (days to weeks), and remove incompatible old coatings (chalky distemper) and clean off grease and dust. Repainting a peeling wall without curing the cause is wasted effort and paint — cure, dry, then repaint.
The repair, step by step
With the cause fixed, the repair itself is straightforward — and one technique makes it invisible.

Work through: scrape all flaking paint back to sound, well-stuck edges; feather the edges by sanding the hard edges of the remaining paint so the patch will sit flush with no visible ridge; fill any dips or damaged plaster with filler and sand flush; clean off the dust (and degrease if needed); prime the bare patches (essential for bond and even sheen); and repaint with two coats, feathering into the surrounding paint — ideally recoating the whole wall for a seamless colour match. The secret to an invisible repair is feathering — that smooth taper is what hides the join.
Spot-repair or strip it all?
Not every peeling wall needs the same response — sometimes a patch will do, sometimes the whole wall must come off.

Spot-repair when the failure is small and isolated, the rest of the paint is well-stuck, the cause was a one-off (a fixed leak), or it is a low-visibility wall. Strip the whole wall when flaking is widespread, when you see alligatoring (a cracked, crazed pattern all over), when there are many old incompatible layers or chalky distemper underneath, or when patches keep spreading. As a rule of thumb, if more than about a third of the wall is failing or it is crazed all over, spot-repairs will look patchy and keep failing — strip back to a sound surface and start clean.
Stop it happening again
A proper repair is only half the job; preventing a repeat is the other half.

Prevention comes down to: fix moisture at source (leaks, damp-proofing, drainage); proper prep (clean, degrease, key a glossy surface); always prime bare, patchy or repaired areas and big colour changes; quality paint of the right type (washable emulsion inside, weatherproof outside, anti-fungal in wet rooms); ventilate (exhaust fans cut condensation); and don't over-thin or rush the coats. Peeling is almost always preventable — kill the damp, prep well, prime, and use the right paint, and the wall stays put for years.
Fix peeling paint properly and it is a permanent repair, not a recurring chore: diagnose the cause, cure it, feather and repaint, and prevent the repeat. For choosing the right paint in the first place, see the interior paint guide; where damp is the real issue, the waterproofing guide goes deeper.
Export this guide
Related Guides — Deep-dive reading
Interior Wall Paint: The Complete Guide for Indian Homes
Everything under the colour — the layers beneath the paint, the five types to choose from, why sheen matters more than you think, how much you actually need, and the order of work that separates a job that lasts from one that peels.
Wall FinishesExterior Wall Paint: The Complete Guide for Indian Homes
The coat that fights the sun and the monsoon — the weatherproofing system beneath the colour, why your climate zone decides the paint, the five exterior types, how these paints fail, and the order of work that makes a warranty mean something.
Wall FinishesDoor Painting Guide for Indian Homes (2026): Prep, Paint, Coats & Cost
How to paint a door the right way — remove hardware, clean, sand, fill and prime, then choose enamel, PU or acrylic for wood, flush, metal or WPC doors, brush vs roller vs spray, the correct panel-door painting order, coats and monsoon drying caveats, with ₹ for a DIY repaint vs a painter.
Home Doors & EntrancesRelated Tools — Try Free
Painting Prep & Quality Checklist
Painting audit — 10 categories, 65+ checkpoints across surface prep, putty, primer, emulsion coats, enamel, external, ceilings, defects, final QC.
Painting QCMonsoon-Readiness Checklist
Pre-rain home audit across 9 categories — terrace, drains, waterproofing, electrical, HVAC, pest, vehicles, documents.
Seasonal AuditPlumbing Pressure-Test & Leak Checklist
Pre-closure pressure and leak test — 9 categories, 60+ checkpoints across water supply, drainage, fixtures, waterproofing, hot water, tanks.
Pre-Closure Test